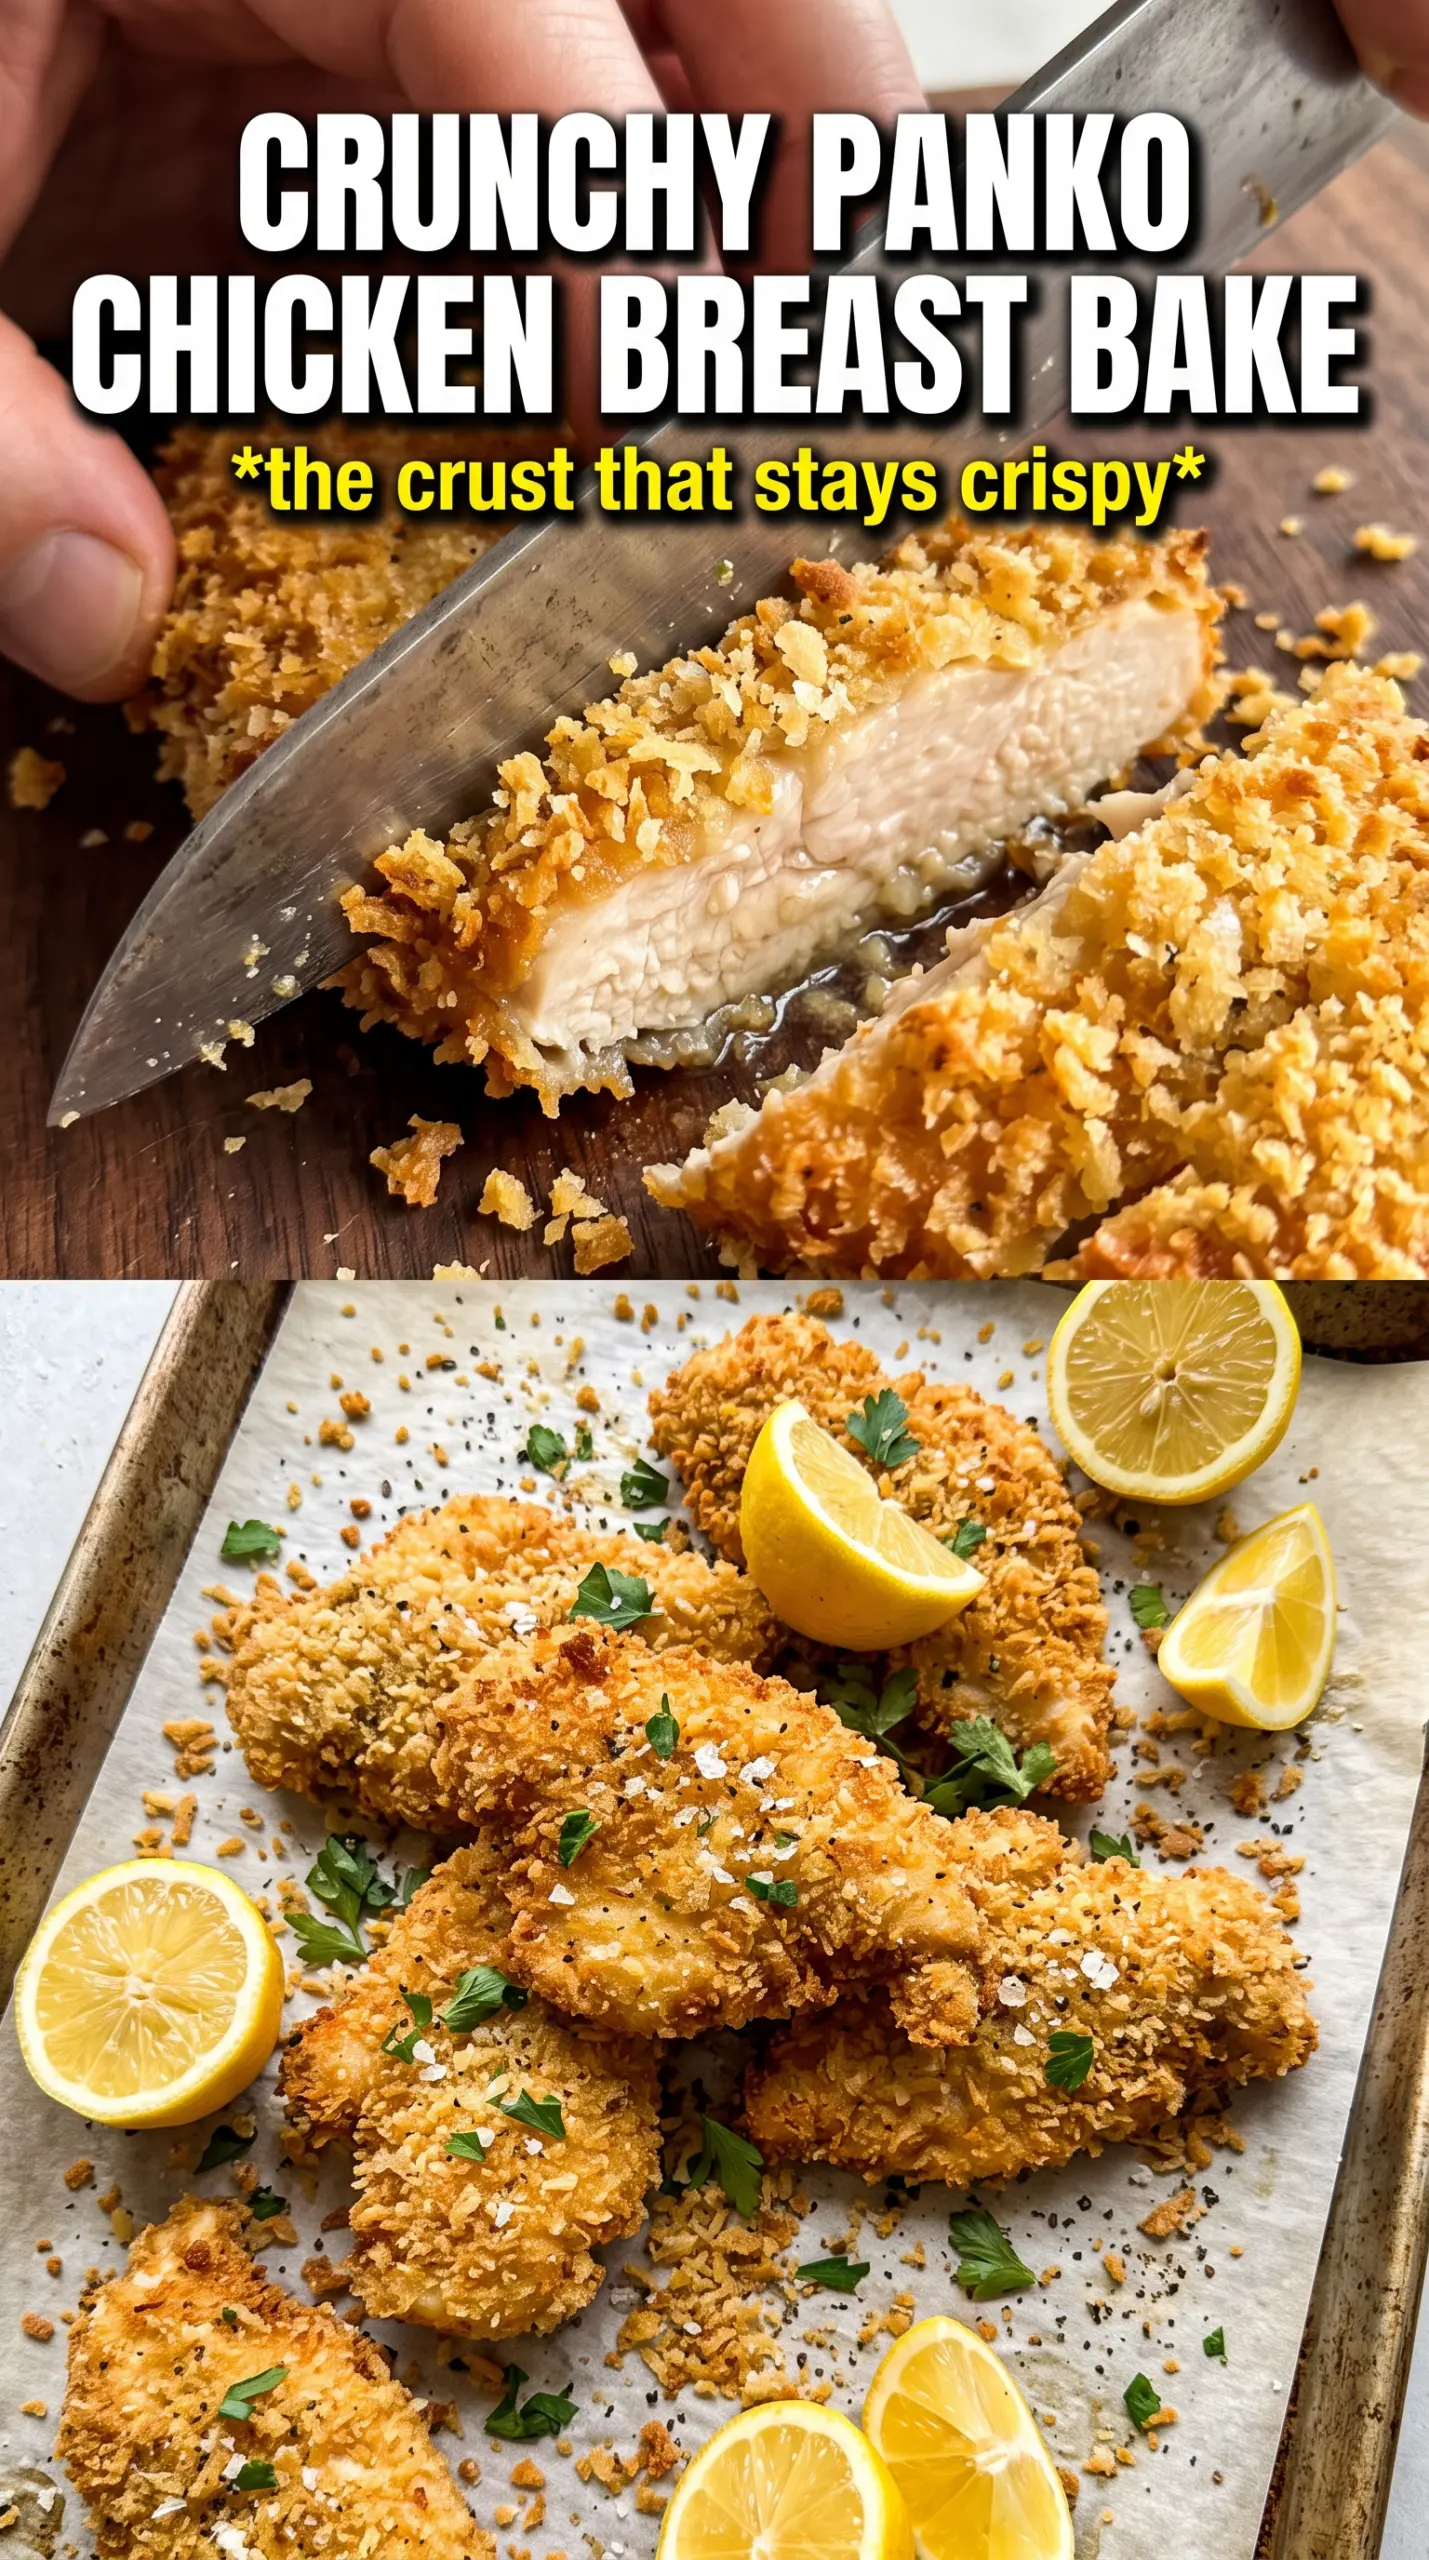
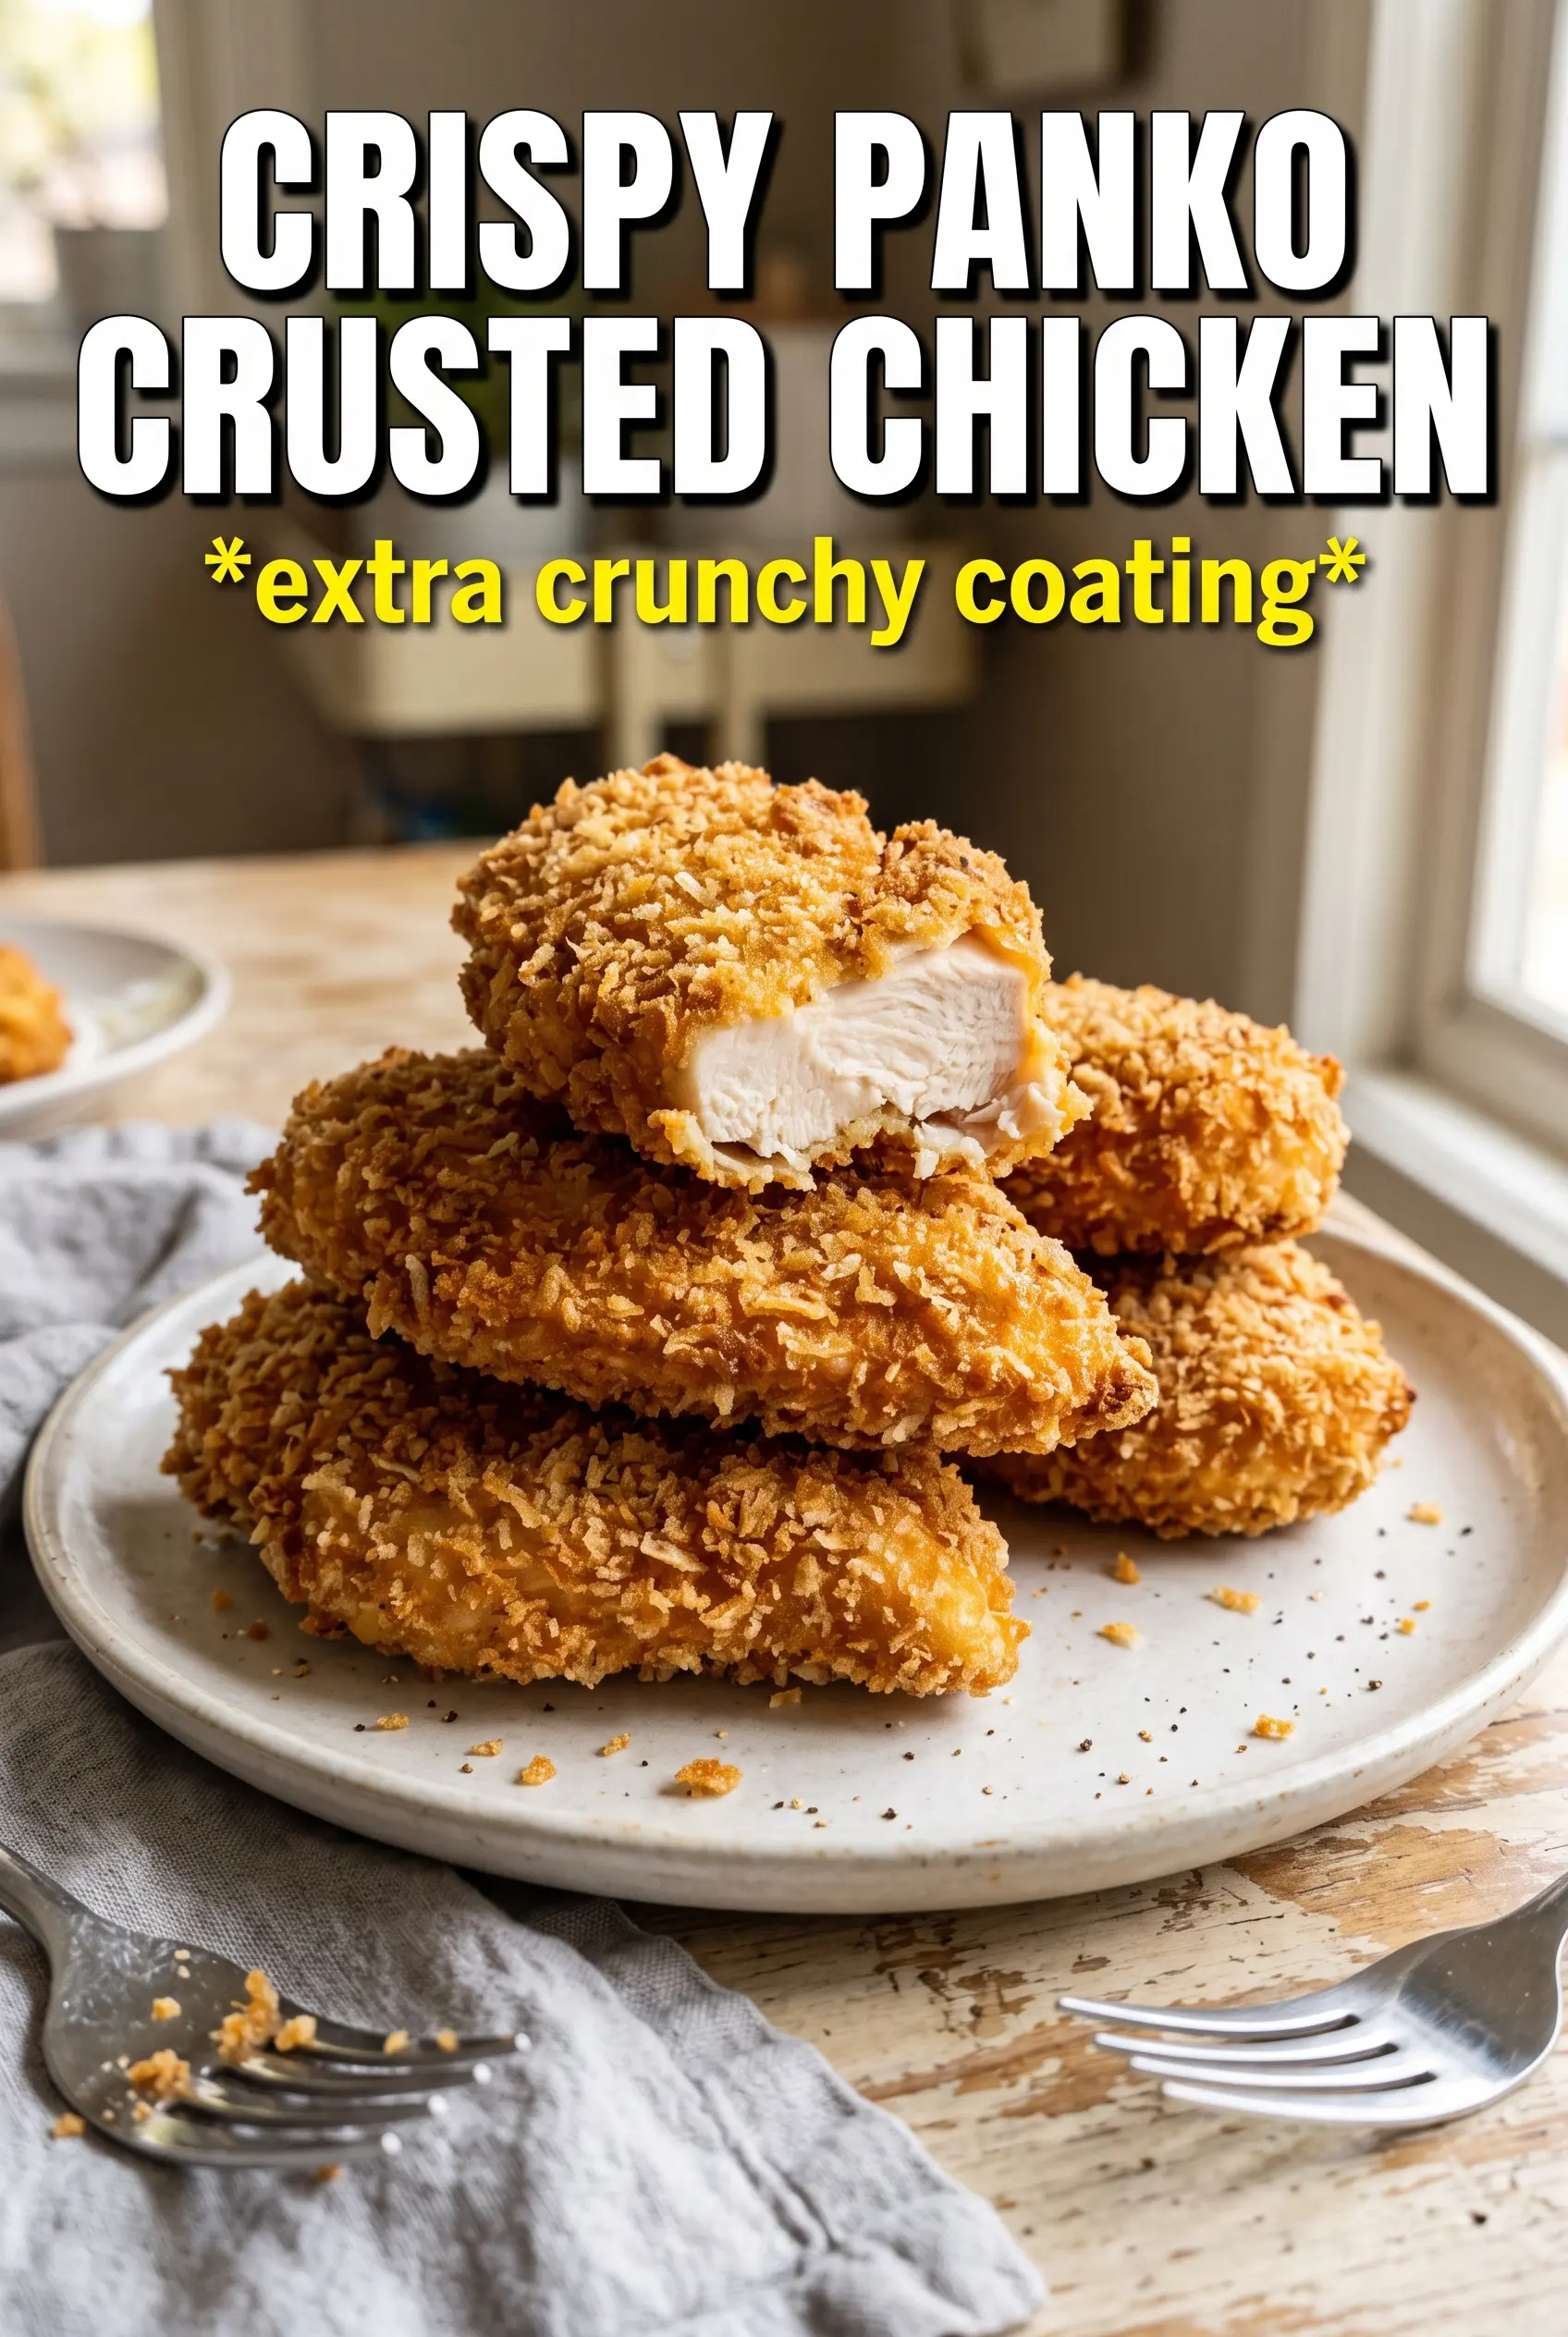
Crispy panko crusted chicken breasts bring the kind of crackly, golden crust that actually stays crisp from the oven to the plate. The coating bakes into a deep bronze shell with a light, airy crunch, while the chicken underneath stays juicy instead of dried out. It’s the kind of weeknight dinner that looks like you worked harder than you did.
What makes this version work is the combination of a dry, even breading and a hot oven with airflow underneath the chicken. The flour gives the egg something to grab, the Parmesan adds salt and browning, and the panko brings that loose, shattery texture regular breadcrumbs can’t match. A little oil on top matters, too — that’s what helps the crumbs toast instead of just drying out.
Below, I’ll walk through the small details that keep the crust from falling off and show you how to get the same crunch every time, even if you’ve had breaded chicken turn soggy before.
The crust stayed crunchy even after I plated it, and the Parmesan-panko mix browned up beautifully in 22 minutes. My husband kept saying it tasted like restaurant chicken, especially with the lemon on top.
Like this crispy panko crusted chicken? Save it for the nights when you want shatteringly crunchy baked chicken without frying.
The Crunch Falls Apart When the Chicken Is Too Wet
Panko chicken fails for one simple reason: the coating has nothing stable to cling to. If the chicken is uneven, wet, or crowded on the pan, the crumbs steam before they brown and the crust starts slipping off in patches. Pounding the breasts to an even thickness helps them cook at the same pace, but it also gives you a flatter surface that holds the breading better.
The other mistake is packing the crumbs on loosely. Pressing the panko mixture firmly onto the chicken matters more than people think, especially around the edges where the coating likes to lift first. The wire rack also earns its keep here. Air can move around the chicken, so the bottom crisps instead of going soft against a flat pan.
What Each Ingredient Is Actually Doing in the Crust
- Chicken breasts — Pounding them to an even thickness keeps the thinner end from drying out before the thicker part is done. If your pieces are large, split them first so they cook more evenly and don’t hang in the oven too long.
- Panko breadcrumbs — This is the crunch. Regular breadcrumbs are denser and finer, so they’ll give you a tighter coating, but they won’t give that airy, crisp shell panko does.
- Parmesan — It adds salt, browning, and a little nutty depth. Use finely grated Parmesan so it blends into the crumbs instead of clumping.
- Olive oil or cooking spray — The crumbs need fat on the surface to toast properly. Without it, the coating bakes up pale and dry instead of bronze and crisp.
- Italian seasoning, garlic powder, and smoked paprika — These season the crust itself, not just the chicken. The paprika gives a warmer color and a faint smoky edge that makes the whole thing taste more finished.
The Breading and Bake That Keep the Crust Tight
Set Up a Clean Breading Line
Season the chicken first, then move in order: flour, egg, then panko. The flour needs to coat the surface in a thin, even layer or the egg will slide right off, and that means the crumbs won’t stay put. Keep one hand for dry ingredients and one for wet if you can, because gummy breading fingers are how the coating gets patchy. The panko mixture should look evenly speckled with Parmesan before it touches the chicken.
Press the Crumbs, Don’t Just Sprinkle Them
When you add the panko, press it onto the chicken with the flat of your hand so it really grabs. Turn the breast and press again on both sides and along the edges. If the coating looks shaggy in the best way, that’s what you want — loose enough to crisp, but attached enough to survive the bake. A bare spot now will stay bare later, so take the extra few seconds here.
Bake Hot and Give It Airflow
Place the chicken on the rack and get it into the oven right away. The hot oven at 425°F helps the crumbs brown before the chicken overcooks, and the rack keeps the bottom from steaming. The crust should turn deep golden brown and feel firm when you tap it; if it still looks pale in spots, give it another couple of minutes. Pull it when the thickest part reaches 165°F, then let it rest for 3 minutes so the juices settle instead of running out onto the plate.
Three Ways to Work This Into Your Weeknight Rotation
Gluten-Free Crust Swap
Use certified gluten-free panko and keep the rest of the breading the same. The texture stays close to the original, though some gluten-free crumbs brown a little faster, so start checking a minute or two early.
Dairy-Free Version
Skip the Parmesan and add 2 to 3 tablespoons of nutritional yeast for a savory, cheesy note. You’ll lose a little of the deep browning that Parmesan brings, so rely on the oil spray and watch the color closely near the end of baking.
Chicken Cutlets for Faster Cooking
Slice the breasts in half horizontally before pounding if you want thinner cutlets. They’ll cook in less time and give you even more crust-to-chicken ratio, but you’ll need to start checking for doneness around the 14-minute mark.
Storage and Reheating
- Refrigerator: Store leftovers in an airtight container for up to 3 days. The crust softens a bit in the fridge, but it still holds up well if you reheat it properly.
- Freezer: Freeze after baking and cooling completely. Wrap each piece tightly, then reheat straight from frozen for best texture; the coating won’t stay as crisp as fresh, but this does freeze better than most breaded chicken.
- Reheating: Warm on a rack in a 375°F oven or air fryer until hot and crisp again. Skip the microwave if you want the crust to stay crunchy, because it turns the panko soft almost immediately.
Questions I Get Asked About This Recipe
Crispy Panko Crusted Chicken Breasts
Ingredients
Equipment
Method
- Preheat the oven to 425°F. Line a baking sheet with a wire rack and spray with cooking spray for crisp airflow.
- Season the chicken breasts with salt, pepper, and garlic powder to taste. Set up three stations with flour, beaten eggs, and panko mixed with Parmesan, Italian seasoning, garlic powder, and smoked paprika.
- Dredge the chicken in flour, shaking off excess. This first layer helps the egg and panko stick firmly.
- Dip each chicken breast into the beaten egg. Let excess egg drip off so the coating stays light and even.
- Press the chicken firmly into the panko mixture on all sides. Keep pressure steady so the coating stands tall during baking.
- Drizzle or spray the breaded chicken with olive oil and place it on the prepared rack. Bake for 20-22 minutes at 425°F until the crust is deep golden brown and the internal temperature reaches 165°F.
- Rest the chicken for 3 minutes after baking. Garnish with fresh parsley and serve with lemon wedges.