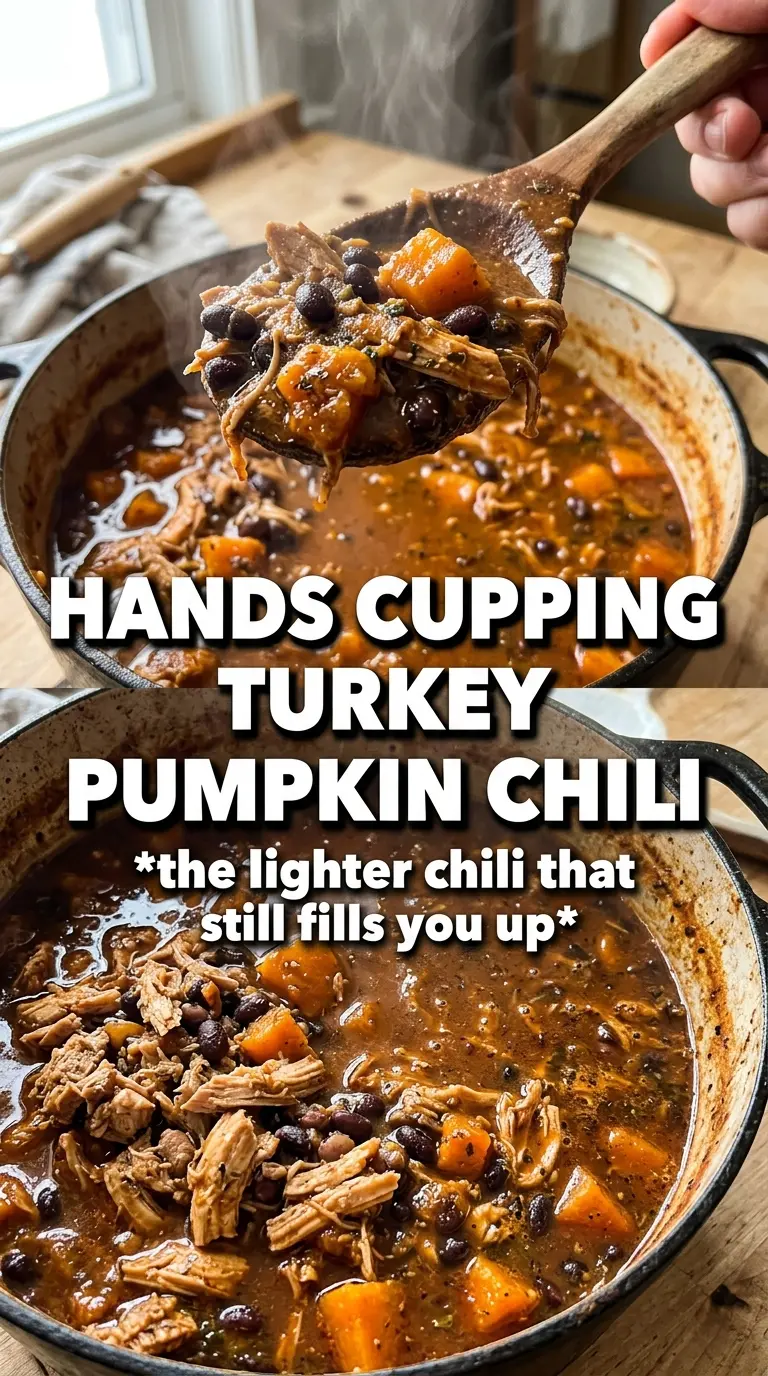
Turkey pumpkin chili lands in that sweet spot between hearty and light, with a bowlful of body, a mellow simmered sweetness, and enough spice to keep every spoonful interesting. The pumpkin doesn’t make it taste like pie; it thickens the pot, rounds out the tomatoes, and gives the broth a velvety finish that clings to the turkey and beans instead of sliding right off them.
Ground turkey can go dry and flat fast, so the trick here is building flavor early with onion, garlic, chili powder, cumin, smoked paprika, and just a little cinnamon. The pumpkin puree goes in with the broth and tomatoes, which gives it time to meld instead of tasting separate or chalky. White beans add creaminess without needing any dairy in the pot, and the green chiles keep the whole thing from leaning too sweet.
Below, I’ve included the one simmering detail that keeps this chili thick without turning pasty, plus a few smart swaps if you need to work with what’s already in your pantry.
The pumpkin thickened the chili beautifully and the spices were balanced enough that it tasted cozy, not sweet. I simmered it the full 30 minutes and the beans held their shape while the broth turned rich and hearty.
Like this turkey pumpkin chili? Save it to Pinterest for a thick, smoky bowl that turns out hearty without feeling heavy.
The Secret to Keeping Turkey Chili Thick Without Losing the Broth
Turkey chili gets watery when the pot is rushed. Ground turkey releases moisture, pumpkin puree needs time to dissolve into the liquid, and beans need a gentle simmer to give up a little starch. If you boil it hard the whole time, you drive off flavor before the chili has had a chance to come together, and the texture stays thin instead of turning spoon-coating.
The fix is simple: brown the turkey first, then let the onion soften before the spices go in. That short spice toast wakes everything up and keeps the chili from tasting flat. Once the broth, pumpkin, tomatoes, and beans are added, bring it to a boil just long enough to get things moving, then lower the heat and let it simmer until the liquid reduces and the pumpkin stops tasting separate.
- Ground turkey — Use 93% lean if you can. It has enough fat to stay flavorful without making the pot greasy, and it browns better than extra-lean turkey. If all you have is very lean turkey, add a small drizzle of oil at the start.
- Pumpkin puree — Use plain pumpkin puree, not pumpkin pie filling. The puree gives this chili its thick, silky base and a mild sweetness that balances the spice. Canned is the right choice here; fresh pumpkin usually brings more water than body.
- White beans — Cannellini or great northern beans both work well. They soften into the chili without falling apart completely, and that makes the broth feel creamier. Rinse them well so the canning liquid doesn’t muddy the flavor.
- Green chiles — These add gentle heat and a little brightness. They don’t make the chili spicy-hot, but they keep the pumpkin from reading dull. If you need less heat, use mild diced green chiles; don’t skip them entirely unless you plan to add a little extra chili powder or cumin for balance.
What Each Ingredient Is Actually Doing in This Recipe
- Primary ingredient (the star) — Quality matters most. Choose the best you can find.
- Cooking medium (oil, butter, or broth) — This carries flavors and prevents dryness.
- Seasonings (salt, pepper, spices, herbs) — Layer flavors so nothing overpowers. Build depth gradually.
- Aromatics (garlic, onion, herbs) — Cook with fat to bloom flavors. Become the foundation.
- Supporting ingredients — Complement the main ingredient without overpowering it.
- Sauce or liquid (if applicable) — Brings flavors together. Balance richness with acid.
- Acid (lemon, vinegar, wine, or other) — Brightens and prevents flat-tasting results.
- Final finish (garnish, glaze, or sauce) — Prevents one-dimensional taste and adds visual appeal.
Building the Pot in the Right Order
Brown the Turkey First
Cook the turkey in a large pot over medium-high heat until it loses its pink color and starts to pick up some golden edges. Don’t keep stirring constantly; letting it sit for a minute or two at a time helps it brown instead of steaming. If a little fond sticks to the bottom, that’s a good sign — those browned bits become part of the chili once the liquid goes in. Drain off excess fat if there’s more than a thin coating left in the pot.
Wake Up the Onion and Spices
Add the diced onion and cook it until it softens and turns translucent, about 4 minutes. Stir in the garlic, chili powder, cumin, smoked paprika, cinnamon, and cayenne, and cook for another minute or two until the pot smells deep and toasty. If the garlic starts to brown hard, the heat is too high; pull the pot back a bit because burnt garlic gives the chili a bitter edge.
Let the Pumpkin Melt into the Broth
Stir in the pumpkin puree, diced tomatoes, beans, green chiles, and chicken broth, then bring the pot up to a boil. Once it’s bubbling, lower the heat and simmer until the chili thickens and the flavors stop tasting separate, usually 25 to 30 minutes. The pumpkin should disappear into the broth and the beans should still hold their shape. If it looks too thick before it’s done, add a splash of broth. If it still looks loose near the end, keep simmering with the lid off for the last few minutes.
The Final Seasoning and Bowl Finish
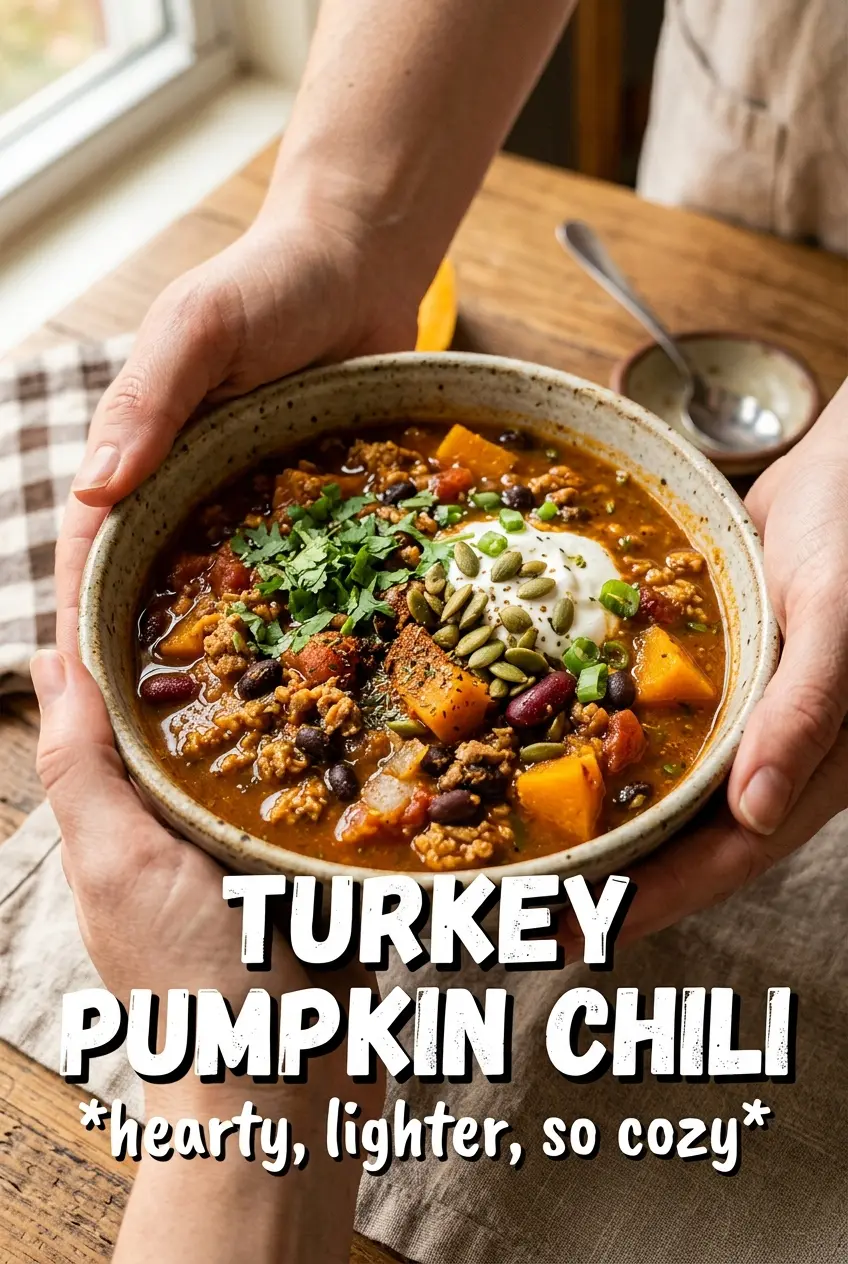
Taste before serving and add salt and pepper as needed. Pumpkin and beans both need enough salt to wake them up, so don’t stop after one taste if the flavor still feels dull. Ladle the chili into bowls and top it with sour cream, avocado, and cilantro. The cool dairy and creamy avocado balance the warmth of the spices and give each bowl a cleaner finish.
How to Adapt This Chili for Different Eaters and Different Pantries
Dairy-Free Bowl
Skip the sour cream topping and finish with avocado, cilantro, or a squeeze of lime. The chili itself is already dairy-free, so this swap keeps the texture intact and just changes the final garnish. If you want more creaminess, stir in a spoonful of plain dairy-free yogurt at the end, off the heat.
Use Ground Chicken Instead
Ground chicken works in the same method, but it’s a little milder and leaner than turkey. Add a drizzle of oil when you brown it and taste carefully at the end, because chicken needs salt and spice a little more aggressively to stand up to the pumpkin.
Make It a Little Spicier
Add more cayenne, or stir in chopped jalapeño with the onion. That gives you heat that lands earlier and more clearly than just piling on chili powder. The pumpkin will still soften the burn, so you can push the spice a little farther than you might with a tomato-only chili.
Storage and Reheating
- Refrigerator: Store in an airtight container for up to 4 days. It thickens as it sits, which is normal.
- Freezer: This freezes well for up to 3 months. Cool it completely first, then portion it into freezer-safe containers so it thaws evenly.
- Reheating: Warm it gently on the stovetop over medium-low heat with a splash of broth or water if needed. The most common mistake is blasting it over high heat, which can make the beans break down and the turkey turn dry.
Answers to the Questions Worth Asking
Turkey Pumpkin Chili
Ingredients
Equipment
Method
- Brown ground turkey in a large pot over medium-high heat until no longer pink, then drain the fat.
- Sauté onion for 4 minutes, then add garlic and all spices and cook for 2 minutes, until fragrant with a darker, toasted look.
- Add pumpkin puree, diced tomatoes, white beans, diced green chiles, and chicken broth to the pot and bring to a boil, with steady bubbling across the surface.
- Simmer for 25-30 minutes until the chili thickens and the flavors develop, stirring occasionally so it doesn’t stick.
- Season with salt and black pepper to taste, then serve topped with sour cream, avocado, and cilantro.