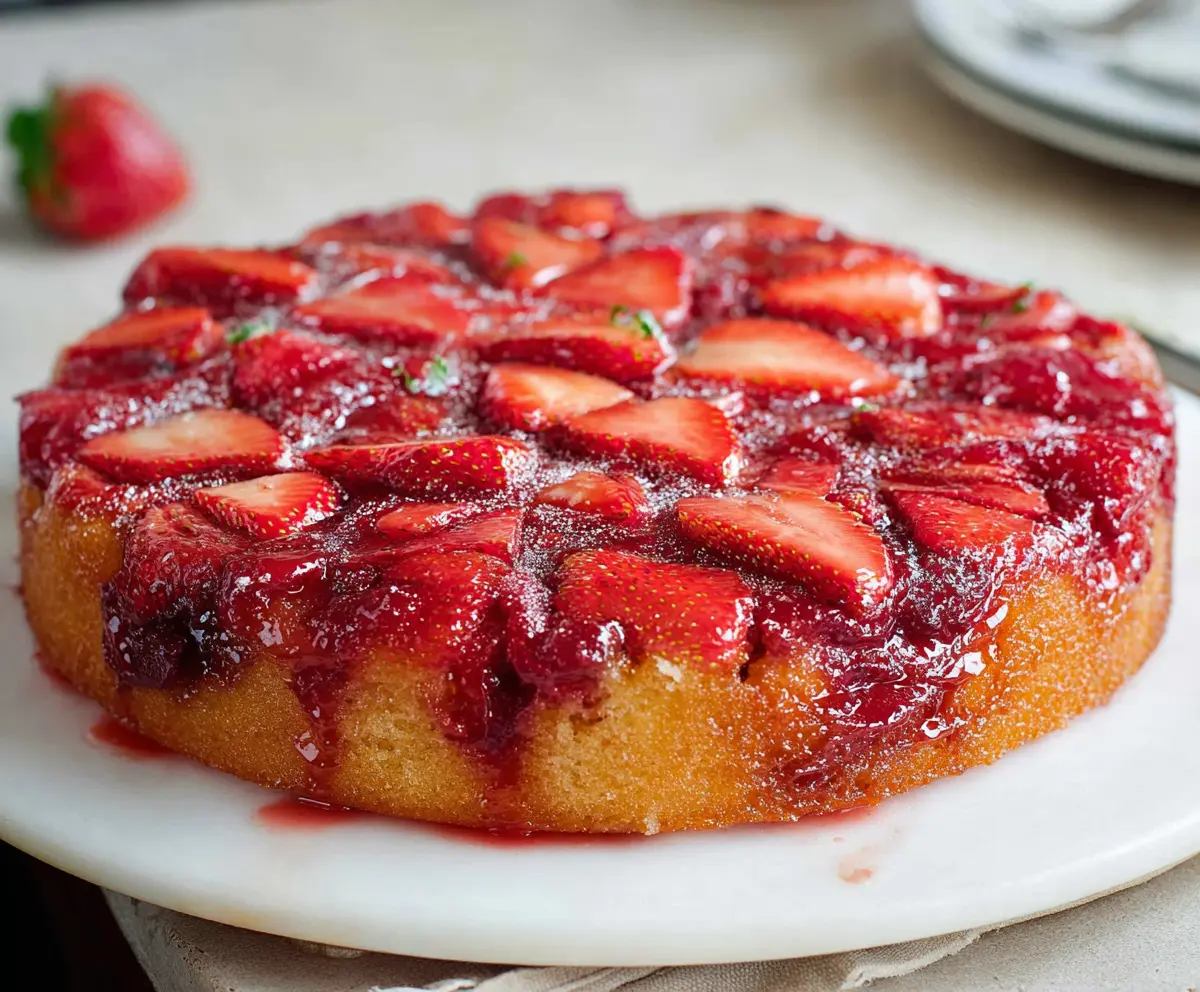
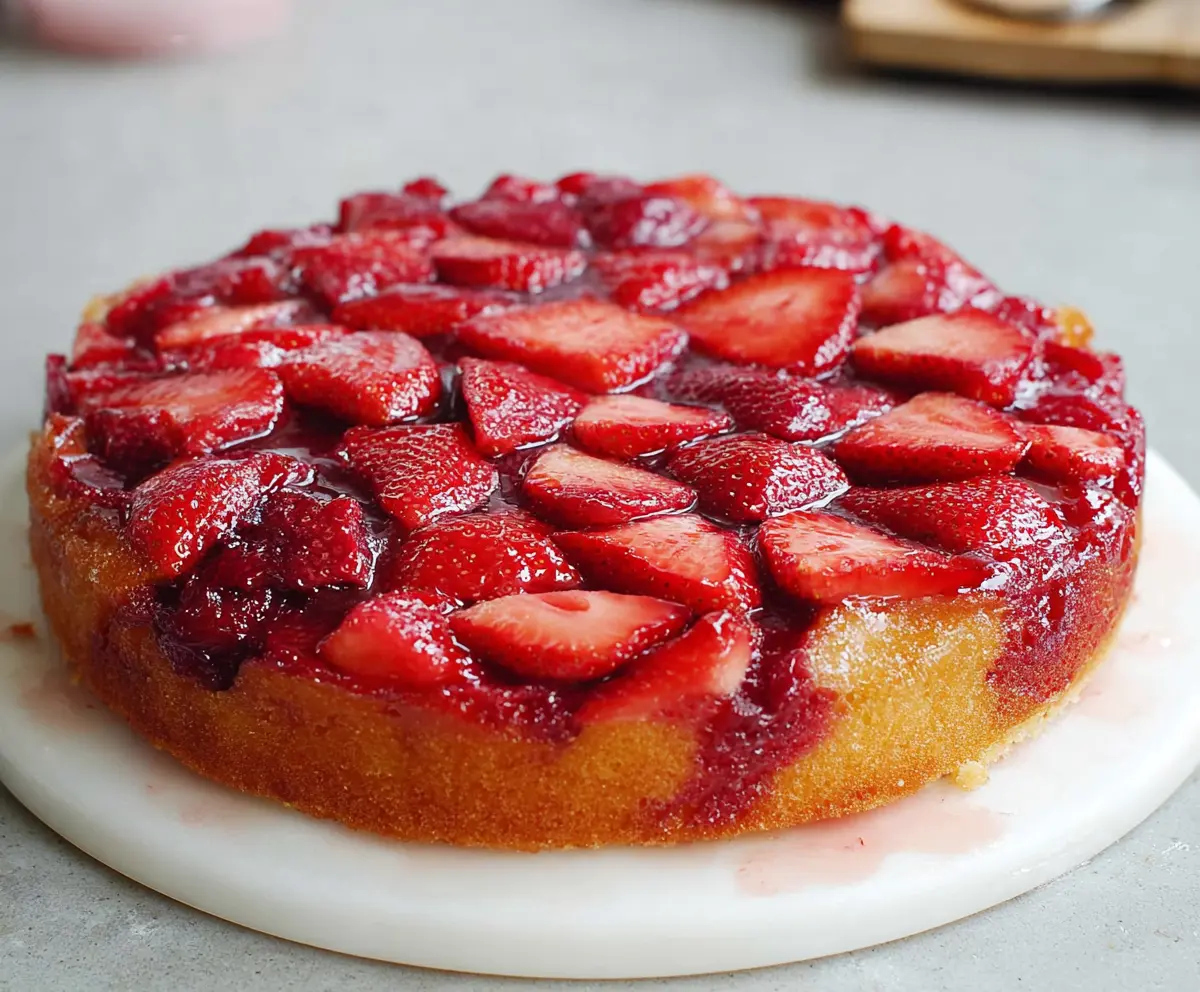
This Strawberry Upside Down Cake is a fruity delight! Sweet strawberries sit on top of moist cake, making it as pretty as it is tasty. It’s perfect for sharing at gatherings!
When I flip it over, the bright strawberries feel like a party on a plate! I always enjoy a slice with whipped cream on top. Yum!
Key Ingredients & Substitutions
Butter: You’ll need unsalted butter for both the topping and the cake batter. It’s important for flavor control. If you’re out of unsalted, you can use salted butter but reduce any additional salt in the recipe.
Brown Sugar: Light brown sugar adds moisture and a bit of caramel flavor. If you don’t have it, white sugar with a tablespoon of molasses mixed in can work well as a substitute.
Strawberries: Fresh strawberries are key for this dish but you could use other berries like blueberries or sliced peaches in a pinch. Just adjust the sweetness based on the fruit you choose.
All-Purpose Flour: This recipe calls for regular all-purpose flour. For a gluten-free option, you can use a 1-to-1 gluten-free baking blend, which will yield similar results.
Milk: Whole milk gives the cake a nice texture. If you need a dairy-free option, almond milk or oat milk can be great substitutes. Just ensure they are unsweetened to keep the flavor balanced.
How Do I Get My Cake to Come Out Smoothly from the Pan?
Inverting your cake can be a little tricky if it’s stuck. Follow these tips to get it out cleanly:
- Grease the cake pan generously, paying special attention to the edges.
- After baking, let it cool for about 10 minutes as instructed. This helps loosen it from the pan.
- Run a knife along the edges to separate the cake from the pan before inverting.
- Use a plate that comfortably covers the pan, and flip quickly while being careful not to spill any topping.
With these steps, you’ll have a beautiful strawberry topping right on your cake!
How to Make a Delicious Strawberry Upside Down Cake
Ingredients You’ll Need:
For the Topping:
- 1/2 cup unsalted butter
- 3/4 cup packed light brown sugar
- 2 cups fresh strawberries, hulled and sliced
For the Cake Batter:
- 1 1/2 cups all-purpose flour
- 2 tsp baking powder
- 1/2 tsp salt
- 1/2 cup unsalted butter, softened
- 1 cup granulated sugar
- 2 large eggs
- 1 tsp vanilla extract
- 1/2 cup whole milk
How Much Time Will You Need?
This delightful cake will take about 30 minutes to prepare and around 45-50 minutes to bake. After baking, allow an extra 10 minutes for cooling in the pan. So, you’ll have a delicious Strawberry Upside Down Cake ready to enjoy in about 1.5 hours!
Step-by-Step Instructions:
1. Preheat and Prepare the Pan:
First, preheat your oven to 350°F (175°C). While it’s heating, take an 8 or 9-inch round cake pan and grease it well with butter or cooking spray to ensure your cake doesn’t stick.
2. Making the Topping:
In a small saucepan over medium heat, melt 1/2 cup of unsalted butter. Once melted, stir in the packed light brown sugar and cook this mixture until the sugar is dissolved and it’s nice and bubbly. Pour this delicious mix into the bottom of the greased cake pan, spreading it evenly to cover the bottom.
3. Adding the Strawberries:
Now, arrange the sliced strawberries in a single layer over the brown sugar mixture. Try to cover the surface as much as you can so every bite has some strawberry goodness!
4. Mix the Dry Ingredients:
In a medium bowl, sift together the all-purpose flour, baking powder, and salt. This helps to aerate the flour for a fluffier cake.
5. Creaming the Butter and Sugar:
In a large mixing bowl, beat the softened butter and granulated sugar together with an electric mixer until the mixture is light and fluffy. This step is key for a soft cake!
6. Adding Eggs and Vanilla:
Beat in the eggs, one at a time, making sure to mix well after each addition. Then, add in the vanilla extract for that delicious flavor.
7. Combining Dry and Wet Ingredients:
Now it’s time to bring it all together! Gradually add the dry ingredients to the butter mixture, alternating with the milk. Start and end with the dry ingredients. Mix just until everything is combined; be careful not to over-mix!
8. Pouring the Batter:
Carefully spoon the batter over the strawberries in the cake pan, spreading it evenly. Make sure to cover the strawberries entirely with the batter to keep them nestled nicely underneath.
9. Baking the Cake:
Place the cake pan in the oven and bake for 45-50 minutes or until a toothpick inserted into the center comes out clean. Your kitchen is going to smell amazing!
10. Cooling the Cake:
Once baked, let the cake cool in the pan on a wire rack for about 10 minutes. After cooling, run a knife around the edges to help loosen it from the pan.
11. Inverting the Cake:
Get a serving plate or a cake stand and place it upside down over the cake pan. Carefully invert the cake pan so that the cake drops onto the plate, with the strawberry topping facing up. This is where the magic happens!
12. Serving:
Allow the cake to cool slightly. If you like, you can dust the top with powdered sugar for a nice finish. Then, slice and enjoy your delicious Strawberry Upside Down Cake!
Enjoy your delightful creation! 🍓🍰
Can I Use Frozen Strawberries Instead of Fresh?
Yes, frozen strawberries can work in a pinch! Just make sure to thaw them and drain any excess liquid before adding them to the cake to prevent sogginess.
How Should I Store Leftovers?
Store any leftover cake in an airtight container at room temperature for up to 2 days or in the refrigerator for up to 5 days. To maintain freshness, consider covering it with plastic wrap.
Can I Make This Cake Ahead of Time?
Absolutely! You can bake the cake a day in advance and store it covered at room temperature. Just reheat it briefly in the oven before serving if you’d like it warm.
What If My Cake Sticks to the Pan?
If your cake sticks, don’t panic! Run a thin knife around the edges and carefully invert it back into the pan to try again. Using parchment paper at the bottom can also help prevent sticking next time!