
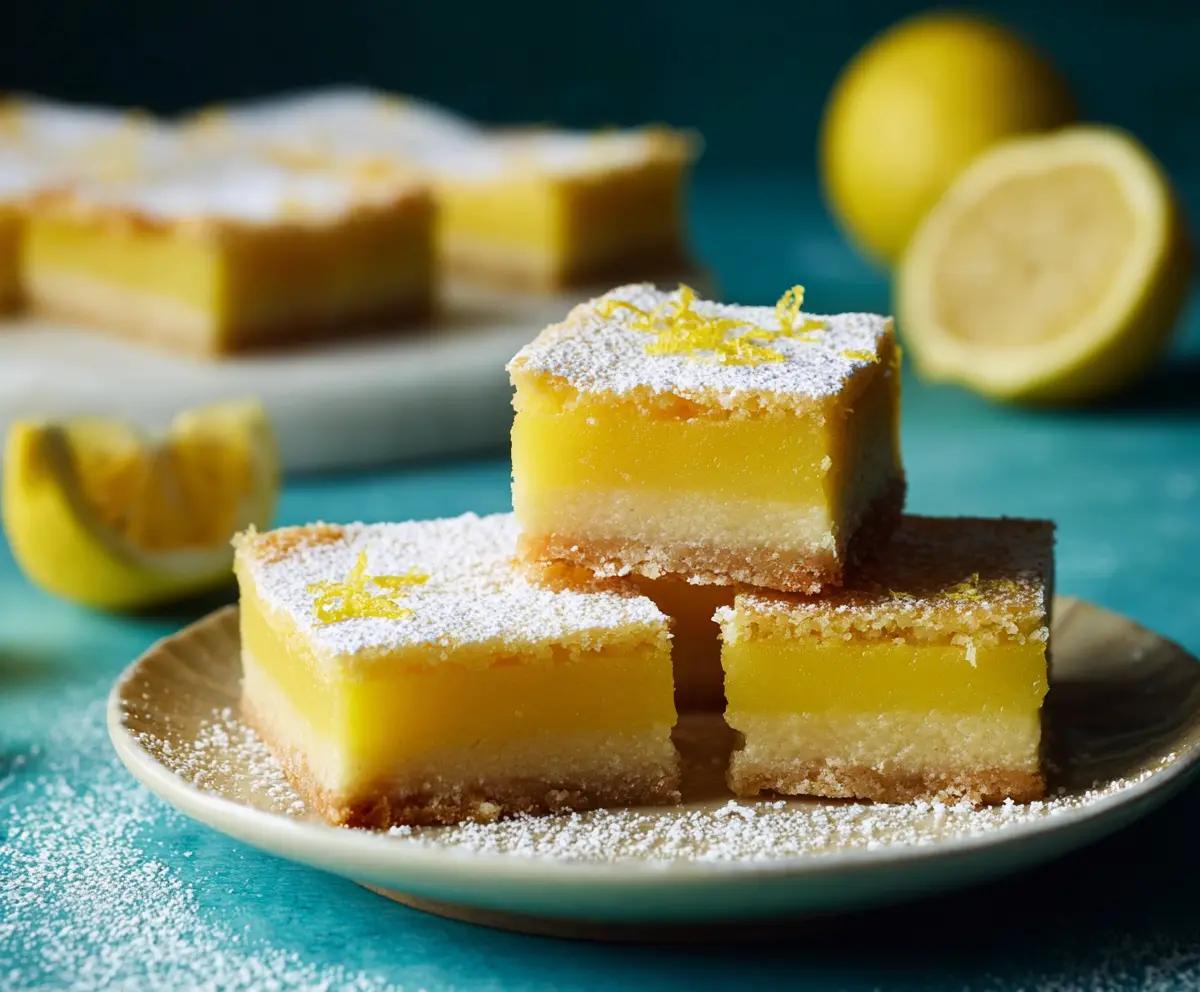
These Spring Lemon Bars are a refreshing treat! With a zesty lemon filling on a buttery crust, they’re the perfect blend of sweet and tart.
Every bite feels like sunshine on your taste buds! I love serving them chilled for a cool dessert that brightens up any day. 🍋
Ingredients & Substitutions
Unsalted Butter: Butter is essential for a rich, tender crust. If you’re in a pinch, you can use margarine or a dairy-free butter substitute. However, I always recommend going with unsalted butter for better control over the saltiness of the final dish.
Granulated Sugar: Both the crust and lemon filling require granulated sugar. For a healthier option, you could try coconut sugar or a sugar substitute, but it might alter the flavor slightly. Always keep in mind that sugar helps in achieving that lovely, golden crust and sweet filling.
All-Purpose Flour: This is crucial for both the crust and filling to give structure. You can swap it for whole wheat flour for added nutrition, but it may change the texture. Gluten-free flour blends work well too if you’re avoiding gluten.
Fresh Lemon Juice & Zest: Fresh lemons provide a zesty brightness. If lemons aren’t available, bottled lemon juice works in a pinch but won’t be as vibrant. Use about 1/3 cup of lemon juice for every 2 lemons if you’re short on zest.
Powdered Sugar: Dusting with powdered sugar adds a sweet finish and a nice presentation. If you’re out, a sprinkle of granulated sugar can substitute, though it won’t have the same fine and pretty appearance.
How Do I Ensure My Lemon Filling Sets Just Right?
Getting the lemon filling to set can be tricky. Follow these tips to achieve that perfect, smooth texture:
- Use room temperature eggs as they mix better and lead to a fluffier filling.
- Whisk the mixture until it’s completely smooth before pouring it onto the crust. Lumps can affect how well it sets.
- Don’t skip cooling the crust before adding the filling. This prevents the filling from cooking too fast and helps it set properly.
- Keep a close eye while baking. The filling should be set, with just a slight jiggle in the center when you remove it.
Letting the bars cool completely before refrigerating is key. Overnight chilling is even better if you can wait!
How to Make Spring Lemon Bars
Ingredients You’ll Need:
For the Crust:
- 1 cup (2 sticks) unsalted butter, softened
- 1/2 cup granulated sugar
- 2 cups all-purpose flour
- 1/4 teaspoon salt
For the Lemon Filling:
- 4 large eggs
- 1 1/2 cups granulated sugar
- 1/4 cup all-purpose flour
- 2/3 cup fresh lemon juice (about 3-4 lemons)
- Zest of 2 lemons
For Topping:
- Powdered sugar, for dusting
Time Estimate:
This delightful recipe will take about 15 minutes of prep time, around 40-45 minutes of baking, and then you’ll need at least 2 hours for chilling. So, all in all, you can say it’ll take about 3 hours to enjoy these yummy lemon bars—most of that is just waiting for them to cool!
Step-by-Step Instructions:
1. Preheat the Oven and Prepare the Pan:
Start by preheating your oven to 350°F (175°C). Don’t forget to line a 9×13-inch baking pan with parchment paper. Make sure to leave some overhang on the sides to help lift the bars out later. This will make it so much easier!
2. Make the Crust:
In a big mixing bowl, cream together the softened butter and sugar until the mixture is light and fluffy—it should look a little like whipped cream! Next, sprinkle in the flour and salt, and mix gently until everything is just combined. The dough will be crumbly, which is perfect!
3. Press the Dough into the Pan:
Now, take that dough and press it evenly into the bottom of your prepared baking pan. Make sure to press it down firmly so that it holds together nicely during baking.
4. Bake the Crust:
Pop the crust into your preheated oven and bake it for 18-20 minutes, or until the edges turn a light golden color. Once it’s done, take it out of the oven and set it aside to cool a bit.
5. Prepare the Lemon Filling:
While the crust is baking, it’s the perfect time to whip up the lemon filling. In a clean mixing bowl, whisk together the eggs, sugar, flour, lemon juice, and lemon zest until the mixture is smooth and well combined. You want it to be nice and creamy!
6. Bake the Lemon Bars:
Pour that delicious lemon filling over your warm crust, and then return the pan to the oven. Bake for another 20-25 minutes. Keep an eye on it—you want the filling to be set and not jiggly in the center.
7. Cool and Chill:
Once the lemon bars are done baking, take them out and let them cool completely on a wire rack. After they’ve cooled down, pop them in the fridge for at least 2 hours to fully set. Patience is key!
8. Serve:
When you’re ready to enjoy, use the parchment paper overhang to lift the lemon bars out of the pan. Dust the top with powdered sugar for that lovely finish. Cut into squares and serve chilled or at room temperature.
Enjoy your bright, tangy Spring Lemon Bars with a soft crust and smooth, zesty filling! They’re perfect for any gathering, or just as a treat for yourself!
Can I Use a Different Type of Sugar in This Recipe?
Yes, you can experiment with different sugars! Coconut sugar can be used for a healthier alternative, though it might give the bars a darker color and slightly alter the flavor. Just remember that the sweetness level is similar to granulated sugar.
Can I Make These Lemon Bars Gluten-Free?
Absolutely! You can use a gluten-free all-purpose flour blend in place of regular flour. Make sure it’s a blend that contains xanthan gum for the best texture. The substitution will still yield delicious lemon bars!
How Should I Store Leftover Lemon Bars?
Store any leftover lemon bars in an airtight container in the refrigerator. They’ll stay fresh for up to 5 days. To keep them extra protected, you can wrap them in plastic wrap before placing them in the container.
Can I Freeze Lemon Bars for Later?
Yes, lemon bars freeze beautifully! Once they are fully set and chilled, wrap individual bars in plastic wrap and then place them in a freezer-safe container. They can be frozen for up to 3 months. Thaw them overnight in the fridge before enjoying!