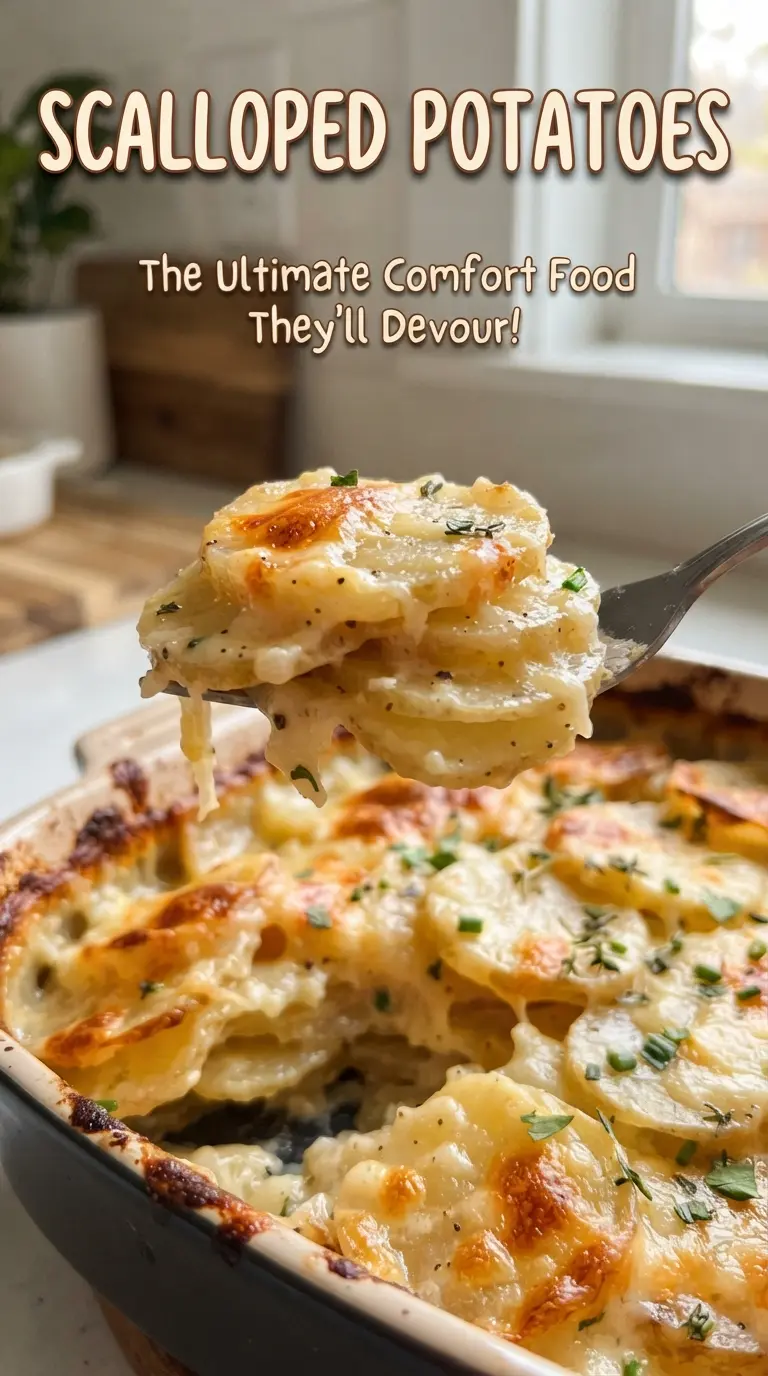
Scalloped potatoes land on the table with tender layers, a creamy sauce that settles into every slice, and a browned top that gives each spoonful a little bit of contrast. The best versions don’t turn watery or gluey. They slice cleanly, hold their shape, and still melt the second they hit your fork.
This version leans on a quick stovetop sauce before it ever goes into the oven. That extra step matters because raw milk poured over potatoes can leave you guessing about thickness and seasoning. Cooking the flour with the butter first keeps the sauce smooth, and simmering it briefly before baking gives the potatoes a head start on rich, even flavor.
Below, I’ve included the small details that keep the sauce from breaking, the potatoes from staying chalky in the center, and the top from browning before the layers are tender. If scalloped potatoes have ever come out loose, bland, or uneven, the fixes are in here.
The sauce thickened up perfectly and the potatoes were tender all the way through without turning mushy. I used the full resting time and the slices held together when I served them.
Save these creamy scalloped potatoes for the nights when you want thinly layered potatoes, a silky sauce, and a golden Parmesan top.
The Difference Between Creamy and Watery Scalloped Potatoes
Watery scalloped potatoes usually come from one of two places: the potatoes gave off too much starch too early, or the sauce never thickened enough to coat the layers before baking. Russets help here because they soften beautifully, but they also need a sauce that has some body going in. If the sauce is thin in the pan, it won’t magically fix itself in the oven. You’ll end up with liquid pooling under the layers instead of clinging to them.
The other thing that matters is the rest time at the end. Straight from the oven, the sauce is still loose and the layers are fragile. Give it 15 minutes and it settles into a sliceable, creamy casserole instead of collapsing into a puddle.
- Russet potatoes — These soften quickly and give you that classic tender, layered texture. Slice them evenly to 1/8 inch so they cook at the same rate. Uneven slices are the fastest way to end up with hard centers and mushy edges.
- Flour and butter — This is what turns milk and cream into an actual sauce. If you skip the minute-long cook on the flour, the sauce can taste raw and stay loose.
- Parmesan — It adds salt, nuttiness, and a browned top. A finely grated Parmesan melts and browns more evenly than a coarse shred.
What Each Ingredient Is Actually Doing in the Sauce and Layers
- Potatoes — Russets give the dish structure and that classic soft center. Yukon Golds can work if that’s what you have, but they’ll make the final texture a little waxier and less fluffy.
- Onion — Thin slices soften as the dish bakes and give the sauce a sweet backbone. Slice them thin enough that they disappear into the layers instead of staying crunchy.
- Milk and cream — Whole milk keeps the sauce from feeling too heavy, while cream gives it richness and a velvety finish. Using all cream makes the dish richer but also heavier; using lower-fat milk leaves the sauce thinner and less stable.
- Thyme and garlic — Garlic gets cooked briefly in butter so it tastes round, not sharp. Fresh thyme brings a clean herbal note that cuts through the richness. Dried thyme can stand in, but use less because it’s more concentrated.
Building the Sauce and Baking the Layers So They Finish at the Same Time
Starting the Roux
Melt the butter, then cook the garlic just until fragrant, about 30 seconds. Add the flour and whisk for a full minute so the mixture turns past raw pastiness and into a smooth, pale paste. If the roux looks dry or grainy, keep whisking over steady heat until it loosens and coats the pan evenly.
Thickening the Cream Base
Whisk in the milk and cream gradually so the sauce stays smooth. Bring it to a gentle simmer and let it thicken enough to coat a spoon; it should look silky, not like paste. If you boil it hard, the dairy can scorch on the bottom and the sauce can taste flat, so keep the heat moderate and patient.
Layering for Even Tenderness
Layer half the potatoes and onions, then spoon over some of the sauce before repeating. That matters because the potatoes on the bottom need help just as much as the ones on top. Pouring all the sauce in at once can leave the top greasy and the bottom under-sauced, so spread it in layers as you build.
Finishing the Top
Cover the dish tightly with foil for the first hour so the potatoes steam through. Uncovering too early dries out the top before the centers are tender. Once the potatoes are fork-tender, add the Parmesan and bake until the surface is bronzed and bubbling at the edges. Let it rest before serving so the sauce thickens enough to hold together.
How to Adapt Scalloped Potatoes Without Losing the Creamy Texture
Make It Gluten-Free
Swap the all-purpose flour for a 1:1 gluten-free blend that includes xanthan gum, or use a cornstarch slurry at the end if that’s what you keep on hand. The sauce will still thicken, but cornstarch gives a glossier finish and a slightly softer set than a flour roux.
Make It Lighter
Use all whole milk instead of part cream if you want a lighter dish, but expect a thinner sauce and a less plush finish. The potatoes will still bake up tender, though the final casserole won’t have the same rich, spoon-coating texture.
Add a Ham-Friendly Variation
Fold in small dice of cooked ham between the potato layers if you want this to lean more toward a main dish. Keep the salt a little lower at the start, since ham and Parmesan both bring plenty of seasoning on their own.
Storage and Reheating
- Refrigerator: Store covered for up to 4 days. The sauce will firm up, which is normal.
- Freezer: It freezes, but the texture softens a bit after thawing. Wrap tightly and freeze in portions for up to 2 months.
- Reheating: Reheat covered at 350F until hot in the center, then uncover for a few minutes to revive the top. Don’t blast it on high heat or the sauce can split before the middle warms through.
Answers to the Questions Worth Asking

Scalloped Potatoes
Ingredients
Equipment
Method
- Preheat oven to 375F and butter a 9x13-inch baking dish so the potatoes release easily.
- Melt butter, then cook garlic for 30 seconds, stirring until fragrant with a lightly sizzled look.
- Whisk in all-purpose flour and cook for 1 minute, stirring until it turns slightly thick and smooth.
- Gradually whisk in whole milk and heavy cream, then simmer until slightly thickened and glossy, scraping the bottom as it thickens.
- Season with salt, black pepper, and fresh thyme leaves, stirring until evenly distributed and fragrant.
- Layer russet potatoes and onion in the dish in three layers, creating even stacks with no gaps.
- Pour sauce over each layer, then gently settle the layers so the sauce flows between slices.
- Cover with foil and bake for 1 hour at 375F until the potatoes are tender when pierced.
- Uncover, sprinkle grated Parmesan over the top, and bake 25-30 minutes at 375F until golden and fork-tender.
- Rest scalloped potatoes for 15 minutes before serving so the sauce thickens and slices hold their shape.