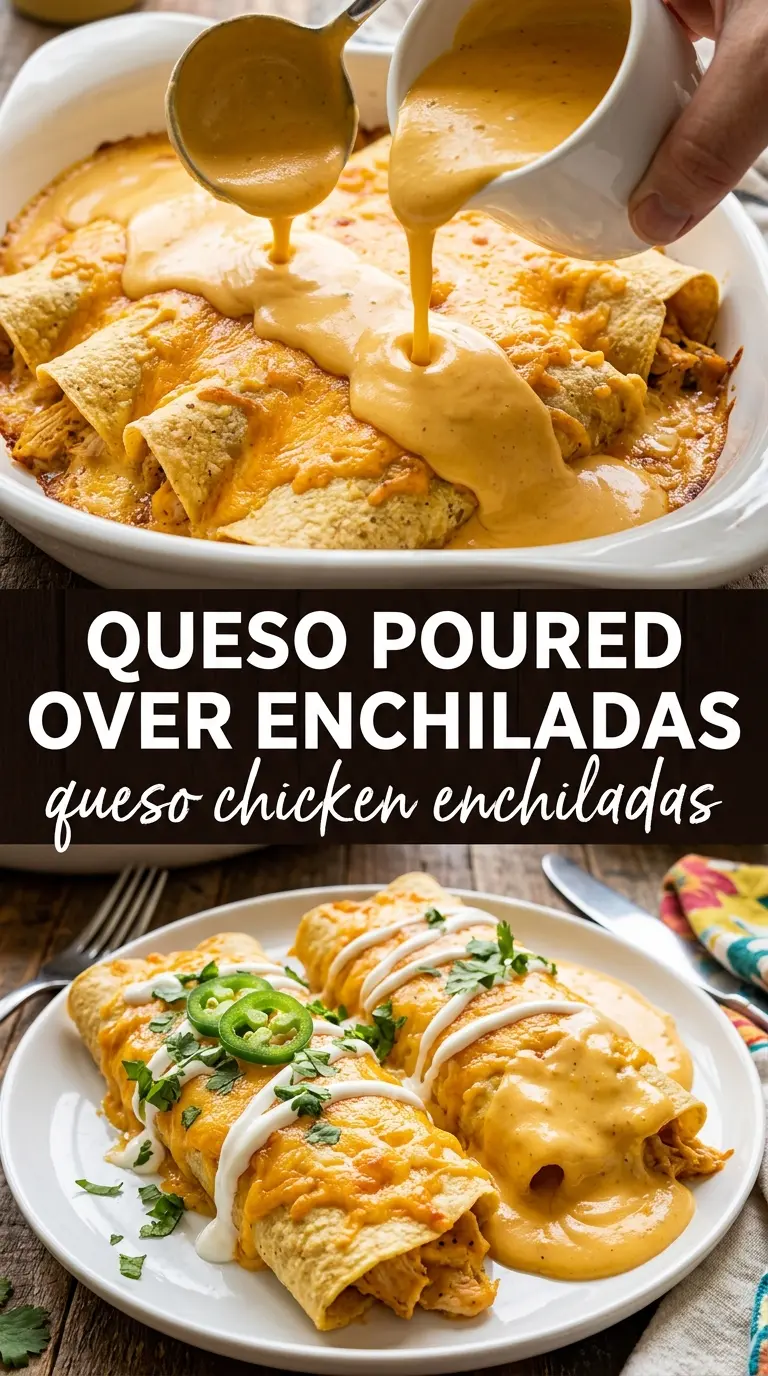
Queso chicken enchiladas come out creamy, saucy, and fully covered in that smooth, melty cheese sauce that clings to every rolled tortilla. The filling stays simple on purpose, which lets the queso sauce do the heavy lifting. You get tender shredded chicken, a little heat from the Rotel and green chiles, and a baked casserole that comes to the table bubbling at the edges with a golden top.
What makes this version work is the balance in the sauce. Velveeta gives it the silky body that won’t break in the oven, while a little milk and chicken broth keep it loose enough to pour over the enchiladas instead of turning it into a stiff blanket. The chicken mixture is also kept fairly dry before baking, so the tortillas don’t slump and go soggy under the sauce.
Below, I’ve included the small details that matter most: how to keep the enchiladas rolled tight, why the queso should stay at a gentle simmer, and a few smart swaps if you want to adjust the heat or make these ahead.
The queso sauce stayed smooth all the way through baking, and the tortillas held their shape instead of falling apart. I used the Rotel with mild green chiles and it had just enough kick for my kids and me.
Save these queso chicken enchiladas for the nights when you want a bubbling Tex-Mex casserole with a smooth, pourable cheese sauce.
The Reason This Queso Sauce Stays Creamy in the Oven
Most enchilada sauces thicken in the oven because they start out too thin or rely on cheese alone for body. This queso sauce is built differently. The Velveeta melts into the milk and broth without separating, and the Rotel adds enough acidity and texture to keep the sauce from tasting flat.
The other detail that matters is heat control. If you push the sauce too hard, the dairy can tighten up and lose that glossy finish. A gentle simmer is enough to melt everything together. Once it’s smooth, pull it from the heat and pour it right away so it stays loose enough to coat the enchiladas evenly.
What Each Ingredient Is Actually Doing in These Enchiladas
- Shredded chicken — Use cooked chicken that’s already tender and easy to pull apart. Rotisserie chicken works well because it stays moist and saves time, but any plain cooked chicken is fine as long as it isn’t heavily sauced.
- Flour tortillas — Flour tortillas roll tightly and bake up soft instead of cracking. Corn tortillas can be used, but they need to be warmed first and they’ll give you a more traditional texture with a little more bite.
- Velveeta — This is what gives the queso sauce its smooth, stable melt. A block-style processed cheese is the easiest way to get a sauce that stays creamy in the oven instead of turning grainy.
- Rotel tomatoes with green chiles — This adds acidity, heat, and little bits of tomato that keep the sauce from tasting one-note. If you want less heat, use mild Rotel or drain off a little of the liquid before adding it.
- Monterey Jack — This melts nicely on top and gives the finished casserole a real cheese pull. It’s worth buying a block and shredding it yourself if you can, since pre-shredded cheese doesn’t melt as smoothly.
- Green chiles — These go into the filling and give the chicken a little extra lift without overpowering the queso. They’re mild, so they’re a good place to add flavor without changing the whole dish.
How to Keep the Tortillas Rolled, Filled, and Sauced Without Getting Soggy
Mix the Filling First
Combine the chicken, green chiles, and a little of the cheese before you start rolling. That small bit of cheese helps the filling hold together, and the chiles spread through the chicken instead of sitting in pockets. Keep the filling compact, not wet, or the tortillas will split when you roll them.
Roll Them Tight and Place Them Seam-Side Down
Spoon the filling near one edge, roll the tortilla snugly, and set it seam-side down in the baking dish. If the tortillas are overfilled, they’ll unroll under the sauce and the casserole will bake unevenly. Tight rolls give you neat slices and keep the center from collapsing when you serve it.
Make the Queso Low and Slow
Melt the butter and garlic first, then add the milk, Velveeta, Rotel, and broth over gentle heat. Stir until the sauce is smooth and glossy, with no lumps left at the bottom of the pan. If it looks grainy, the heat is too high; take it off the burner and stir until it smooths back out.
Bake Until the Edges Bubble Hard
Pour the sauce over the enchiladas, finish with the remaining cheese, and bake until the top is melted and the edges are bubbling. That bubbling at the rim tells you the center is hot too. Don’t overbake it waiting for a dark top, or the tortillas will get too soft and the sauce can tighten up.
How to Adapt These Enchiladas Without Losing the Creamy Queso Finish
Make It Spicier
Use hot Rotel, add a few sliced jalapeños to the filling, or spoon extra jalapeños over the finished casserole. The heat stays balanced because the queso sauce is rich, but don’t overdo it unless you want the peppers to take over the whole dish.
Dairy-Free Version
This one takes a bigger adjustment because the queso sauce depends on dairy for its texture. Use a dairy-free melting cheese and unsweetened oat milk or almond milk, then accept that the sauce will be thinner and less silky than the original. It still works as a baked enchilada casserole, but it won’t have the same Velveeta-style creaminess.
Corn Tortilla Swap
Corn tortillas give you a more classic enchilada feel and a slightly firmer bite. Warm them first so they don’t crack while rolling, and expect them to absorb a little more sauce than flour tortillas. That makes the casserole taste deeper, but the slices won’t be quite as soft.
Make-Ahead Assembly
You can roll the enchiladas and make the queso sauce ahead, then store them separately. Assemble just before baking so the tortillas don’t soak up too much sauce overnight. If you need to bake from cold, add a few extra minutes and cover the dish loosely for the first half of the bake.
Storage and Reheating
- Refrigerator: Store leftovers in a covered dish for up to 4 days. The tortillas will soften a little more as they sit, but the flavor holds up well.
- Freezer: This freezes well if you bake it first and cool it completely. Wrap tightly and freeze for up to 2 months; thaw overnight in the fridge before reheating.
- Reheating: Reheat covered in a 325°F oven until hot in the center. The biggest mistake is blasting it in the microwave on high, which can make the sauce separate and the tortillas rubbery.
Questions I Get Asked About This Recipe
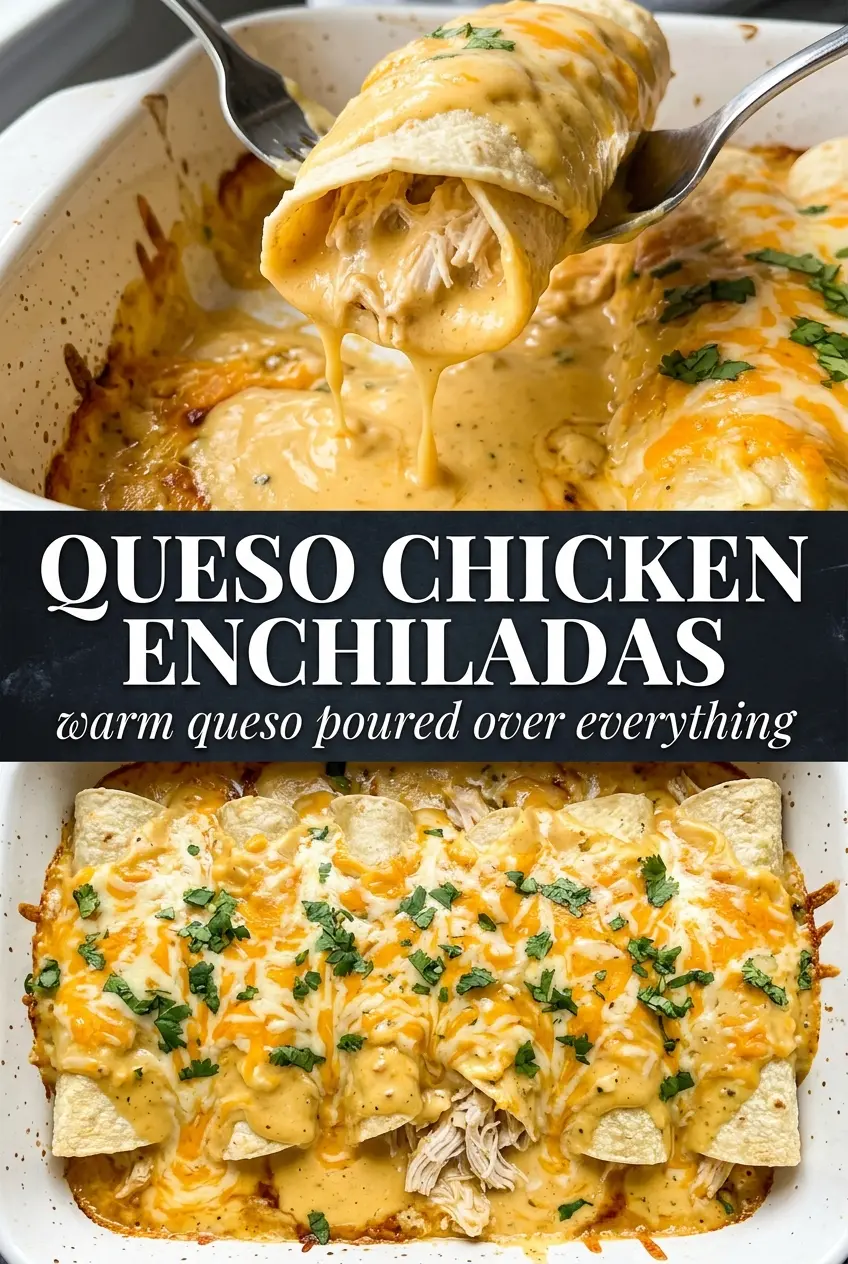
Queso Chicken Enchiladas
Ingredients
Equipment
Method
- Preheat the oven to 375°F and grease a 9x13 baking dish so the tortillas don’t stick. Arrange the dish where you can easily load the casserole.
- Mix the shredded chicken with the diced green chiles and 1/2 cup of the shredded Monterey jack. Fill each tortilla, roll tightly, and place seam-side down in the dish.
- Melt the butter in a saucepan over medium heat, then add the minced garlic and cook for 1 minute. Stir until fragrant.
- Add the whole milk and bring it to a gentle simmer over medium heat. Keep it at a simmer so it heats evenly without boiling hard.
- Stir in the cubed Velveeta, the Rotel tomatoes with green chiles, and the chicken broth. Stir until fully smooth and creamy with no visible cheese lumps.
- Pour the queso sauce over the enchiladas and sprinkle the remaining cheese on top. Use a spatula to lightly spread sauce so corners are coated.
- Bake at 375°F for 20–25 minutes until bubbly and golden at the edges. Look for thick, bubbling queso around the sides of the casserole.
- Top the hot enchiladas with sour cream, cilantro, and jalapeños and serve immediately. Add the toppings right before serving so they stay fresh and bright.