Pumpkin protein muffins bake up with a tender crumb, a domed top, and just enough heft to keep breakfast from feeling like a sugar rush. The pumpkin gives them that deep orange color and moist texture people want in a muffin, while the protein powder and oats make them feel more substantial than a standard bakery-style bake. They’re the kind of muffin that works as breakfast, snack, or a quick post-workout bite without tasting like a compromise.
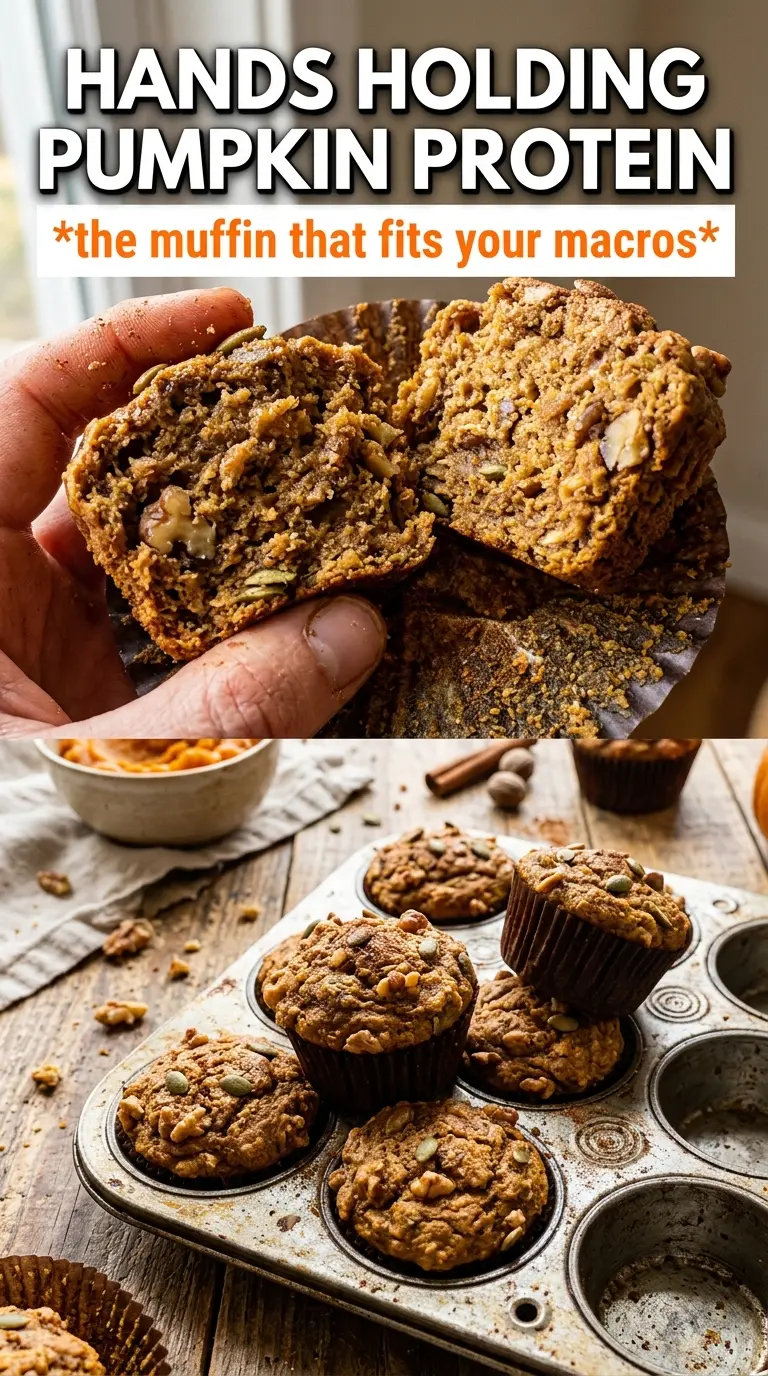
What makes this version work is the balance between moisture and structure. Pumpkin puree brings a lot of softness, so the eggs and oat flour have to do the job of setting the crumb without making it dry. Greek yogurt adds tang and helps keep the muffins from turning dense, and the coconut oil stays fluid enough to keep the texture tender after baking. The pumpkin seeds on top are more than decoration — they add a little crunch and help you spot the muffins that baked up with the nicest dome.
Below, I’ve laid out the ingredient details, the mixing order that keeps these muffins light, and a few swaps that actually work if you need them.
The muffins came out moist and held together perfectly, and I loved that the pumpkin seeds gave the tops a little crunch. Mine were done right at 21 minutes.
Save these pumpkin protein muffins for a breakfast that bakes up moist, hearty, and ready in under 30 minutes.
The Trick to Keeping Protein Muffins Tender Instead of Dry
Protein powder changes muffin batter fast. It drinks up moisture and can make the crumb tight if you mix too long or bake too far past done. That’s why the batter here gets folded just until the dry spots disappear and then goes straight into the pan. Overmixing is the fastest way to lose the soft, cake-like texture people want from a breakfast muffin.
The other thing that matters is using enough fat and moisture to balance the oats and protein. Pumpkin puree alone isn’t enough because it’s dense and can bake up pasty if the batter isn’t enriched with eggs, yogurt, and melted coconut oil. That combination gives the muffins structure without turning them chalky. Pull them when the tops spring back and a tester comes out with just a few moist crumbs, not bone-dry.
What Each Ingredient Is Actually Doing in These Muffins
- Old-fashioned oats, blended into flour — This gives the muffins body and a slightly hearty crumb. Oat flour from scratch tastes fresher than a bagged blend and helps the muffins stay soft instead of bready. Blend until you don’t see obvious flakes left behind.
- Vanilla protein powder — This is doing the heavy lifting for the protein boost and also some of the sweetness. Different brands behave differently, so if yours is very absorbent, don’t add extra dry ingredients to the batter. A whey-based or whey-casein blend usually bakes more tender than a very chalky plant powder.
- Pumpkin puree — Use pure pumpkin, not pie filling. Pie filling is already sweetened and spiced, which throws off the balance here. The puree gives moisture, color, and that unmistakable pumpkin flavor.
- Greek yogurt — This adds tang and keeps the muffins from feeling heavy. Full-fat or low-fat both work, but a thick plain yogurt gives the best texture. If you swap in a thinner yogurt, expect a slightly looser batter.
- Coconut oil — Melted coconut oil keeps the crumb tender once the muffins cool. Butter can be used instead if that’s what you have, but coconut oil stays a little softer at room temperature, which helps these muffins feel moist the next day.
Mixing the Batter Without Beating the Air Out
Build the dry base first
Start by blending the oats into a flour, then whisk them with the protein powder, spices, baking powder, baking soda, and salt. You want the leaveners evenly distributed so you don’t end up with one muffin rising higher than the rest. If you skip this step and dump everything together at once, the protein powder can clump and leave a slightly gritty bite.
Whisk the wet ingredients until smooth
Combine the pumpkin, eggs, maple syrup, melted coconut oil, vanilla, and Greek yogurt until the mixture looks uniform and glossy. The coconut oil should be melted but not hot enough to cook the eggs. If it hits the batter too warm, it can leave little streaks and make the mixture look broken before it even goes into the oven.
Fold, don’t stir aggressively
Add the dry ingredients to the wet and fold just until no dry pockets remain. The batter will be thick, and that’s normal. Stop as soon as the flour streaks disappear, because extra stirring tightens the crumb and makes protein muffins tough.
Bake for a domed top and clean center
Divide the batter evenly into the muffin tin, top with pumpkin seeds, and bake until the tops are set and a tester comes out clean, usually 20 to 22 minutes. If your oven runs hot, check early at 19 minutes. Let them cool in the pan for a few minutes before moving them to a rack so the centers finish setting without steam-softening the bottoms.
Make Them Dairy-Free
Swap the Greek yogurt for a thick unsweetened dairy-free yogurt. The muffins will still hold together, but the crumb will be a little less tangy and slightly softer. Pick a plain variety without added sugar so the batter doesn’t turn too sweet.
Use Butter Instead of Coconut Oil
Melted butter works if you want a richer, more classic muffin flavor. The texture will still be tender, but the muffins may firm up a little more once cooled. Let the butter cool slightly before adding it so it doesn’t scramble the eggs.
Make Them Gluten-Free
These are already built on oats, so the main thing is using certified gluten-free oats and checking your protein powder. The texture stays hearty and moist, though a little more fragile when warm. Give them time to cool before removing them from the pan if you want neat edges.
Storage and Reheating
- Refrigerator: Store in an airtight container for up to 5 days. They stay moist, though the top can soften a little in the fridge.
- Freezer: These freeze well. Wrap individually and freeze for up to 2 months, then thaw at room temperature or overnight in the fridge.
- Reheating: Warm in the microwave for 15 to 20 seconds or in a low oven until just heated through. Don’t overheat them or the protein powder can take on a dry, rubbery texture.
Answers to the Questions Worth Asking
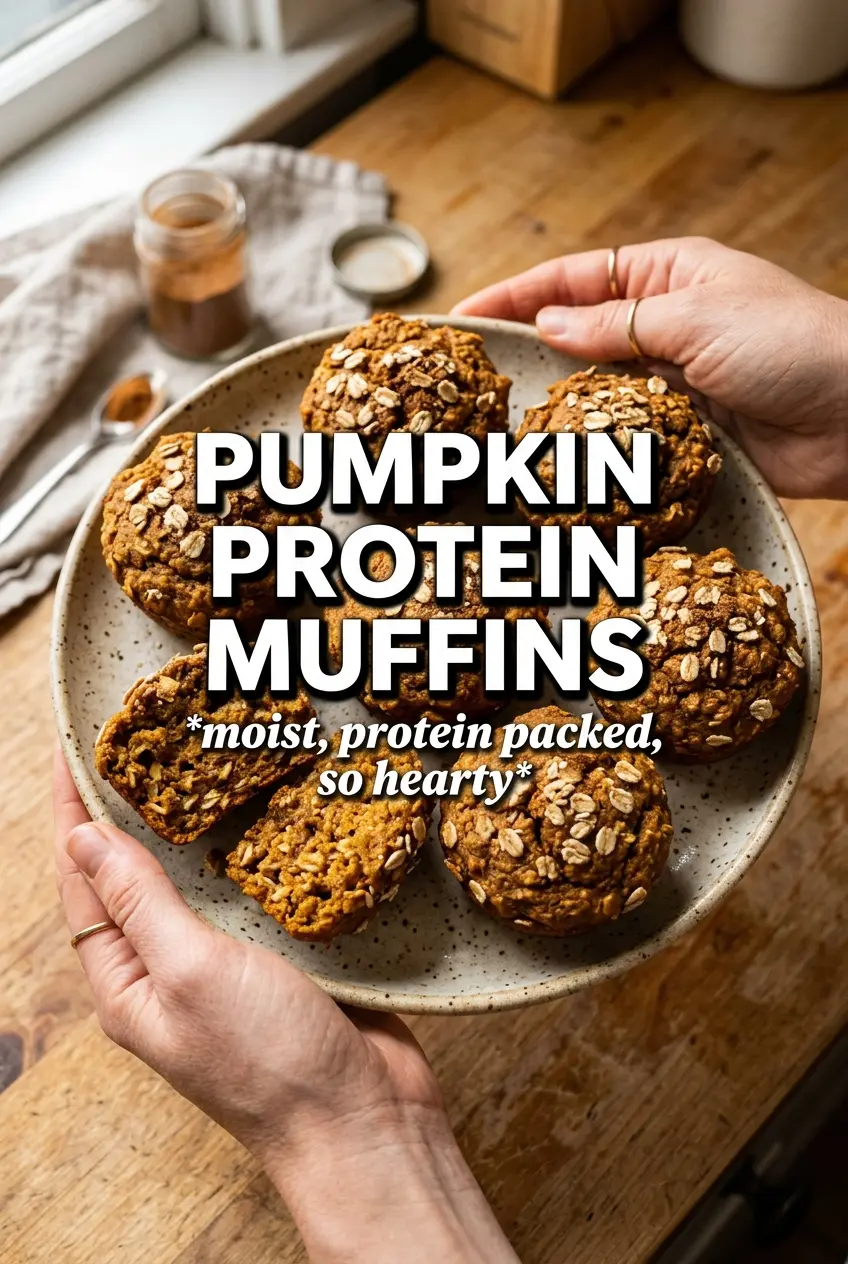
Pumpkin Protein Muffins
Ingredients
Equipment
Method
- Preheat oven to 375F, then line a 12-cup muffin tin. Visual cue: set up liners so the batter releases cleanly.
- Blend old-fashioned oats into a flour, then combine it with vanilla protein powder, pumpkin pie spice, cinnamon, baking powder, baking soda, and salt. Visual cue: the dry mix should look evenly speckled.
- Whisk pumpkin puree, eggs, maple syrup, melted coconut oil, vanilla, and plain Greek yogurt until smooth. Visual cue: the wet mixture should be uniform and glossy.
- Fold the dry mix into the wet mix until just combined, then divide batter into the muffin cups. Visual cue: small streaks are okay—overmixing makes them tough.
- Top each muffin with pumpkin seeds. Visual cue: seeds should sit visibly on the domes.
- Bake for 20-22 minutes at 375F until a toothpick comes out clean. Visual cue: tops will be golden-orange and spring back lightly.