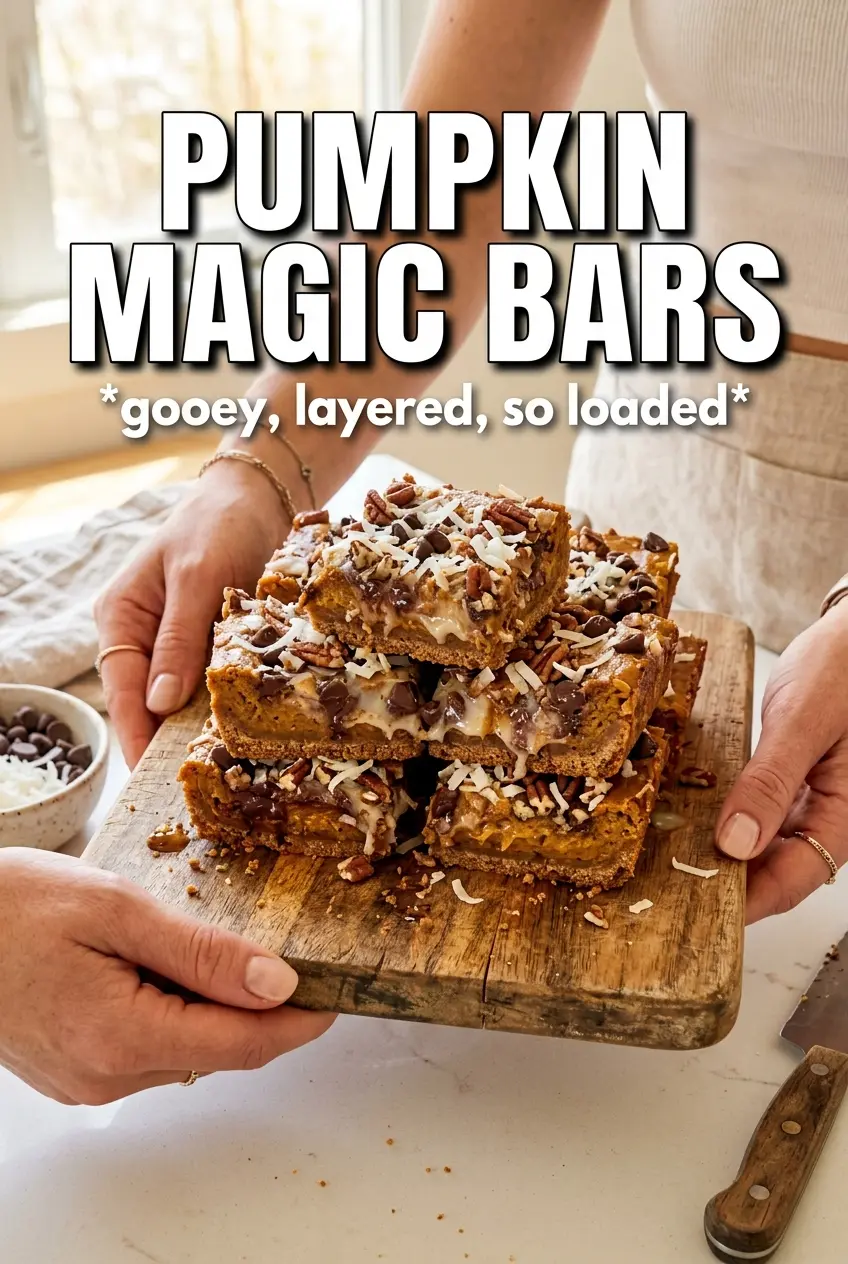
Pumpkin magic bars hit that sweet spot between chewy, gooey, and crisp around the edges. The gingersnap crust brings a warm snap that keeps the bars from tasting flat, and the pumpkin layer gives the whole pan a soft, custardy center without turning it heavy. Every bite has a little crunch from pecans and toffee, plus pockets of melted white chocolate and butterscotch.
What makes this version work is the balance. Pumpkin puree gets whisked into sweetened condensed milk with pumpkin pie spice and cinnamon, so the filling stays rich but still sets enough to slice cleanly after cooling. The trick is to press the toppings down gently before baking — just enough to help everything fuse together, not so much that you bury the layers.
Below, I’ll walk through the one step that keeps the crust from getting soggy, plus a few swaps that make these bars easier to adapt if you need a nut-free or dairy-free version.
The gingersnap crust stayed crisp on the bottom and the pumpkin layer set up beautifully after cooling. I cut mine after an hour and they were messy, but the next day they sliced into perfect clean bars.
Save these Pumpkin Magic Bars for the kind of dessert that slices cleanly, bakes in one pan, and layers gingersnaps, pumpkin, coconut, and toffee in every bite.
The Part That Keeps the Bottom from Going Soggy
Magic bars live or die by the base. If the crust gets greasy or soft, the whole pan turns muddy, and you lose the contrast that makes each layer worth eating. Here, the melted butter is poured straight into the pan before the crumbs go down, which helps the gingersnaps hydrate just enough to pack into a firm layer without needing a separate mixing bowl.
The other thing that matters is the pumpkin layer. Sweetened condensed milk already brings thickness and sugar, so the pumpkin puree is there for body and flavor, not as the main sweetener. That keeps the filling from tasting watered down. Bake until the edges are golden and the center no longer sloshes when you move the pan. If the middle still looks loose, give it a few more minutes; underbaking here is what makes bars fall apart after cooling.
What Each Layer Is Doing in These Pumpkin Magic Bars
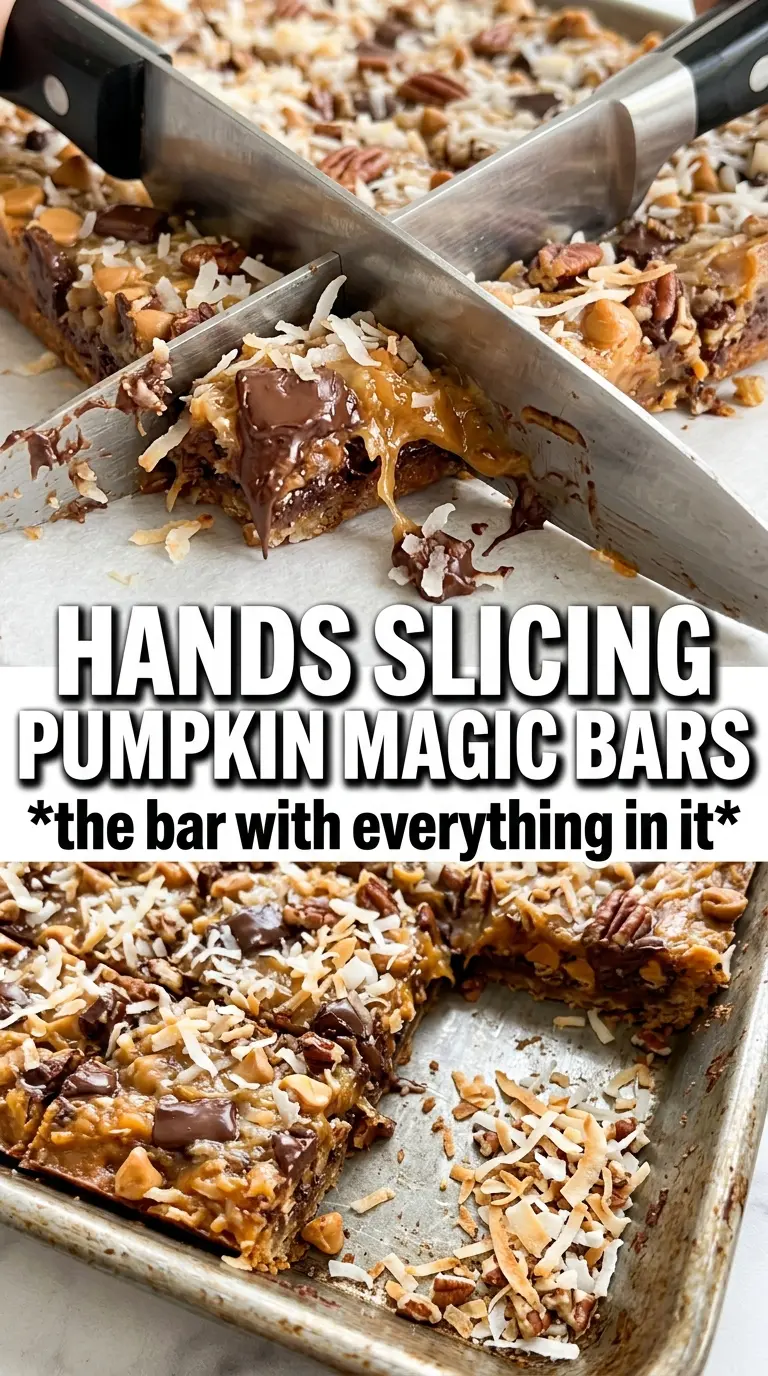
- Gingersnap cookie crumbs — These bring spice and structure. Graham crackers work in a pinch, but they taste softer and less defined; gingersnaps give the bars a darker, sturdier base that stands up to the sweet filling.
- Sweetened condensed milk — This is what ties everything together and helps the bars set into slices. There isn’t a real substitute for the texture it creates, but if you use a dairy-free condensed coconut milk, expect a slightly softer finish.
- Pumpkin puree — Use plain pumpkin puree, not pumpkin pie filling. Pie filling already contains sugar and spice, which makes the bars too sweet and throws off the set.
- White chocolate chips and butterscotch chips — These melt into pockets of sweetness that keep the bars from tasting one-note. If you only have one type, use it, but the mix gives a better balance against the pumpkin.
- Pecans and toffee bits — These add crunch after baking and keep the bars from becoming all soft layers. Chop the pecans roughly so you still get texture without giant pieces that make cutting messy.
Building the Layers So They Bake as One
Starting with the buttery crumb base
Pour the melted butter into the 9×13 pan first, then sprinkle the gingersnap crumbs over it and spread them evenly. Don’t leave dry patches, or those spots will turn sandy instead of forming a compact crust. A light press with the back of a spoon helps, but you don’t want to mash it into a hard slab. The goal is a base that holds together when sliced, not a cookie crust that feels dense and brittle.
Whisking the pumpkin layer smooth
Mix the sweetened condensed milk, pumpkin puree, pumpkin pie spice, and cinnamon until the color looks even and there are no streaks of pumpkin left. If the mixture looks thin, that’s normal; it thickens as it bakes. Pour it over the crust slowly so you don’t disturb the crumb layer underneath. An uneven pour can push the crust around and leave bare spots at the edges.
Pressing on the toppings without crushing them
Scatter the coconut, white chocolate chips, butterscotch chips, pecans, and toffee bits evenly over the top, then press everything down gently with clean hands. This is the step that helps the layers lock together. If you press too hard, the chips sink and the bars lose their layered look; if you skip it, the topping can slide off when you cut them. Bake until the edges are deeply golden and the center is just set, then let the pan cool completely before slicing.
Three Ways to Adjust These Bars Without Ruining the Texture
Make them nut-free
Leave out the pecans and add an extra 1/2 cup of white chocolate chips or more toffee bits. You’ll lose some of the earthy crunch, but the bars will still slice neatly and keep the same layered look.
Make them dairy-free
Use dairy-free sweetened condensed milk and swap the butter for melted coconut oil or a plant-based butter. The bars will set a little softer, but the pumpkin layer still bakes into clean squares once fully cooled.
Swap the cookie crust
If you can’t find gingersnaps, use graham cracker crumbs plus 1 extra teaspoon of pumpkin pie spice. The flavor will be milder and less sharp, but the texture will still hold if you use the same amount of butter.
Storage and Reheating
- Refrigerator: Store in an airtight container for up to 5 days. The bars firm up as they chill, which actually makes the layers cleaner when you cut them.
- Freezer: These freeze well. Wrap the cut bars tightly and freeze for up to 2 months, then thaw in the refrigerator so the topping stays intact.
- Reheating: They’re best served at room temperature, not warm. If you heat them, the filling softens and the chips can turn greasy, so let chilled bars sit out for 20 to 30 minutes before serving.