Soft, pillowy pumpkin gnocchi with a nutty brown butter finish earns its place on the table fast. The best bites are tender but not gummy, with just enough structure to hold onto the sauce and a little fork-marked texture on the outside. When it’s made well, it tastes like the kind of dinner that took all afternoon, even though the actual work is straightforward.
The difference is moisture control. Pumpkin puree and ricotta both carry a lot of water, and if you skip drying them properly, the dough turns loose and the gnocchi cook up heavy instead of light. A restrained hand with the flour matters too; too much makes the dumplings dense, while too little leaves you with sticky ropes that fall apart in the water. Brown butter and sage do the rest. They bring a deep, toasted note that balances the sweetness of the pumpkin without burying it.
Below, I’ll walk through the part that trips people up most: how to judge the dough before you roll it, plus the simplest way to keep the gnocchi tender after boiling. The walnut and sage finish is worth reading through too, because it turns a simple bowl into something that feels complete.
I dried the pumpkin like you said and the gnocchi actually held their shape in the water. The brown butter and crispy sage made them taste restaurant-level, and the walnuts added the best crunch.
Save these pumpkin gnocchi for a night when you want tender dumplings, nutty brown butter, and crispy sage without a lot of fuss.
The Dough Only Works When the Pumpkin Is Dry Enough
The biggest mistake with pumpkin gnocchi is treating the puree like it’s ready to go straight from the can. Pumpkin and ricotta both hold moisture, and that extra water forces you to add more flour than you should. Once the flour climbs too high, the gnocchi stop tasting tender and start eating like little dumplings that sat too long in the pot.
Blotting the pumpkin and draining the ricotta changes everything. You’re aiming for a soft dough that’s just barely sticky, not a wet batter and not a firm bread dough. If the dough clings to your hands but still rolls, that’s the sweet spot. If it spreads on the board, add a spoonful of flour at a time, and stop the moment it holds together.
What Each Ingredient Is Actually Doing in These Gnocchi
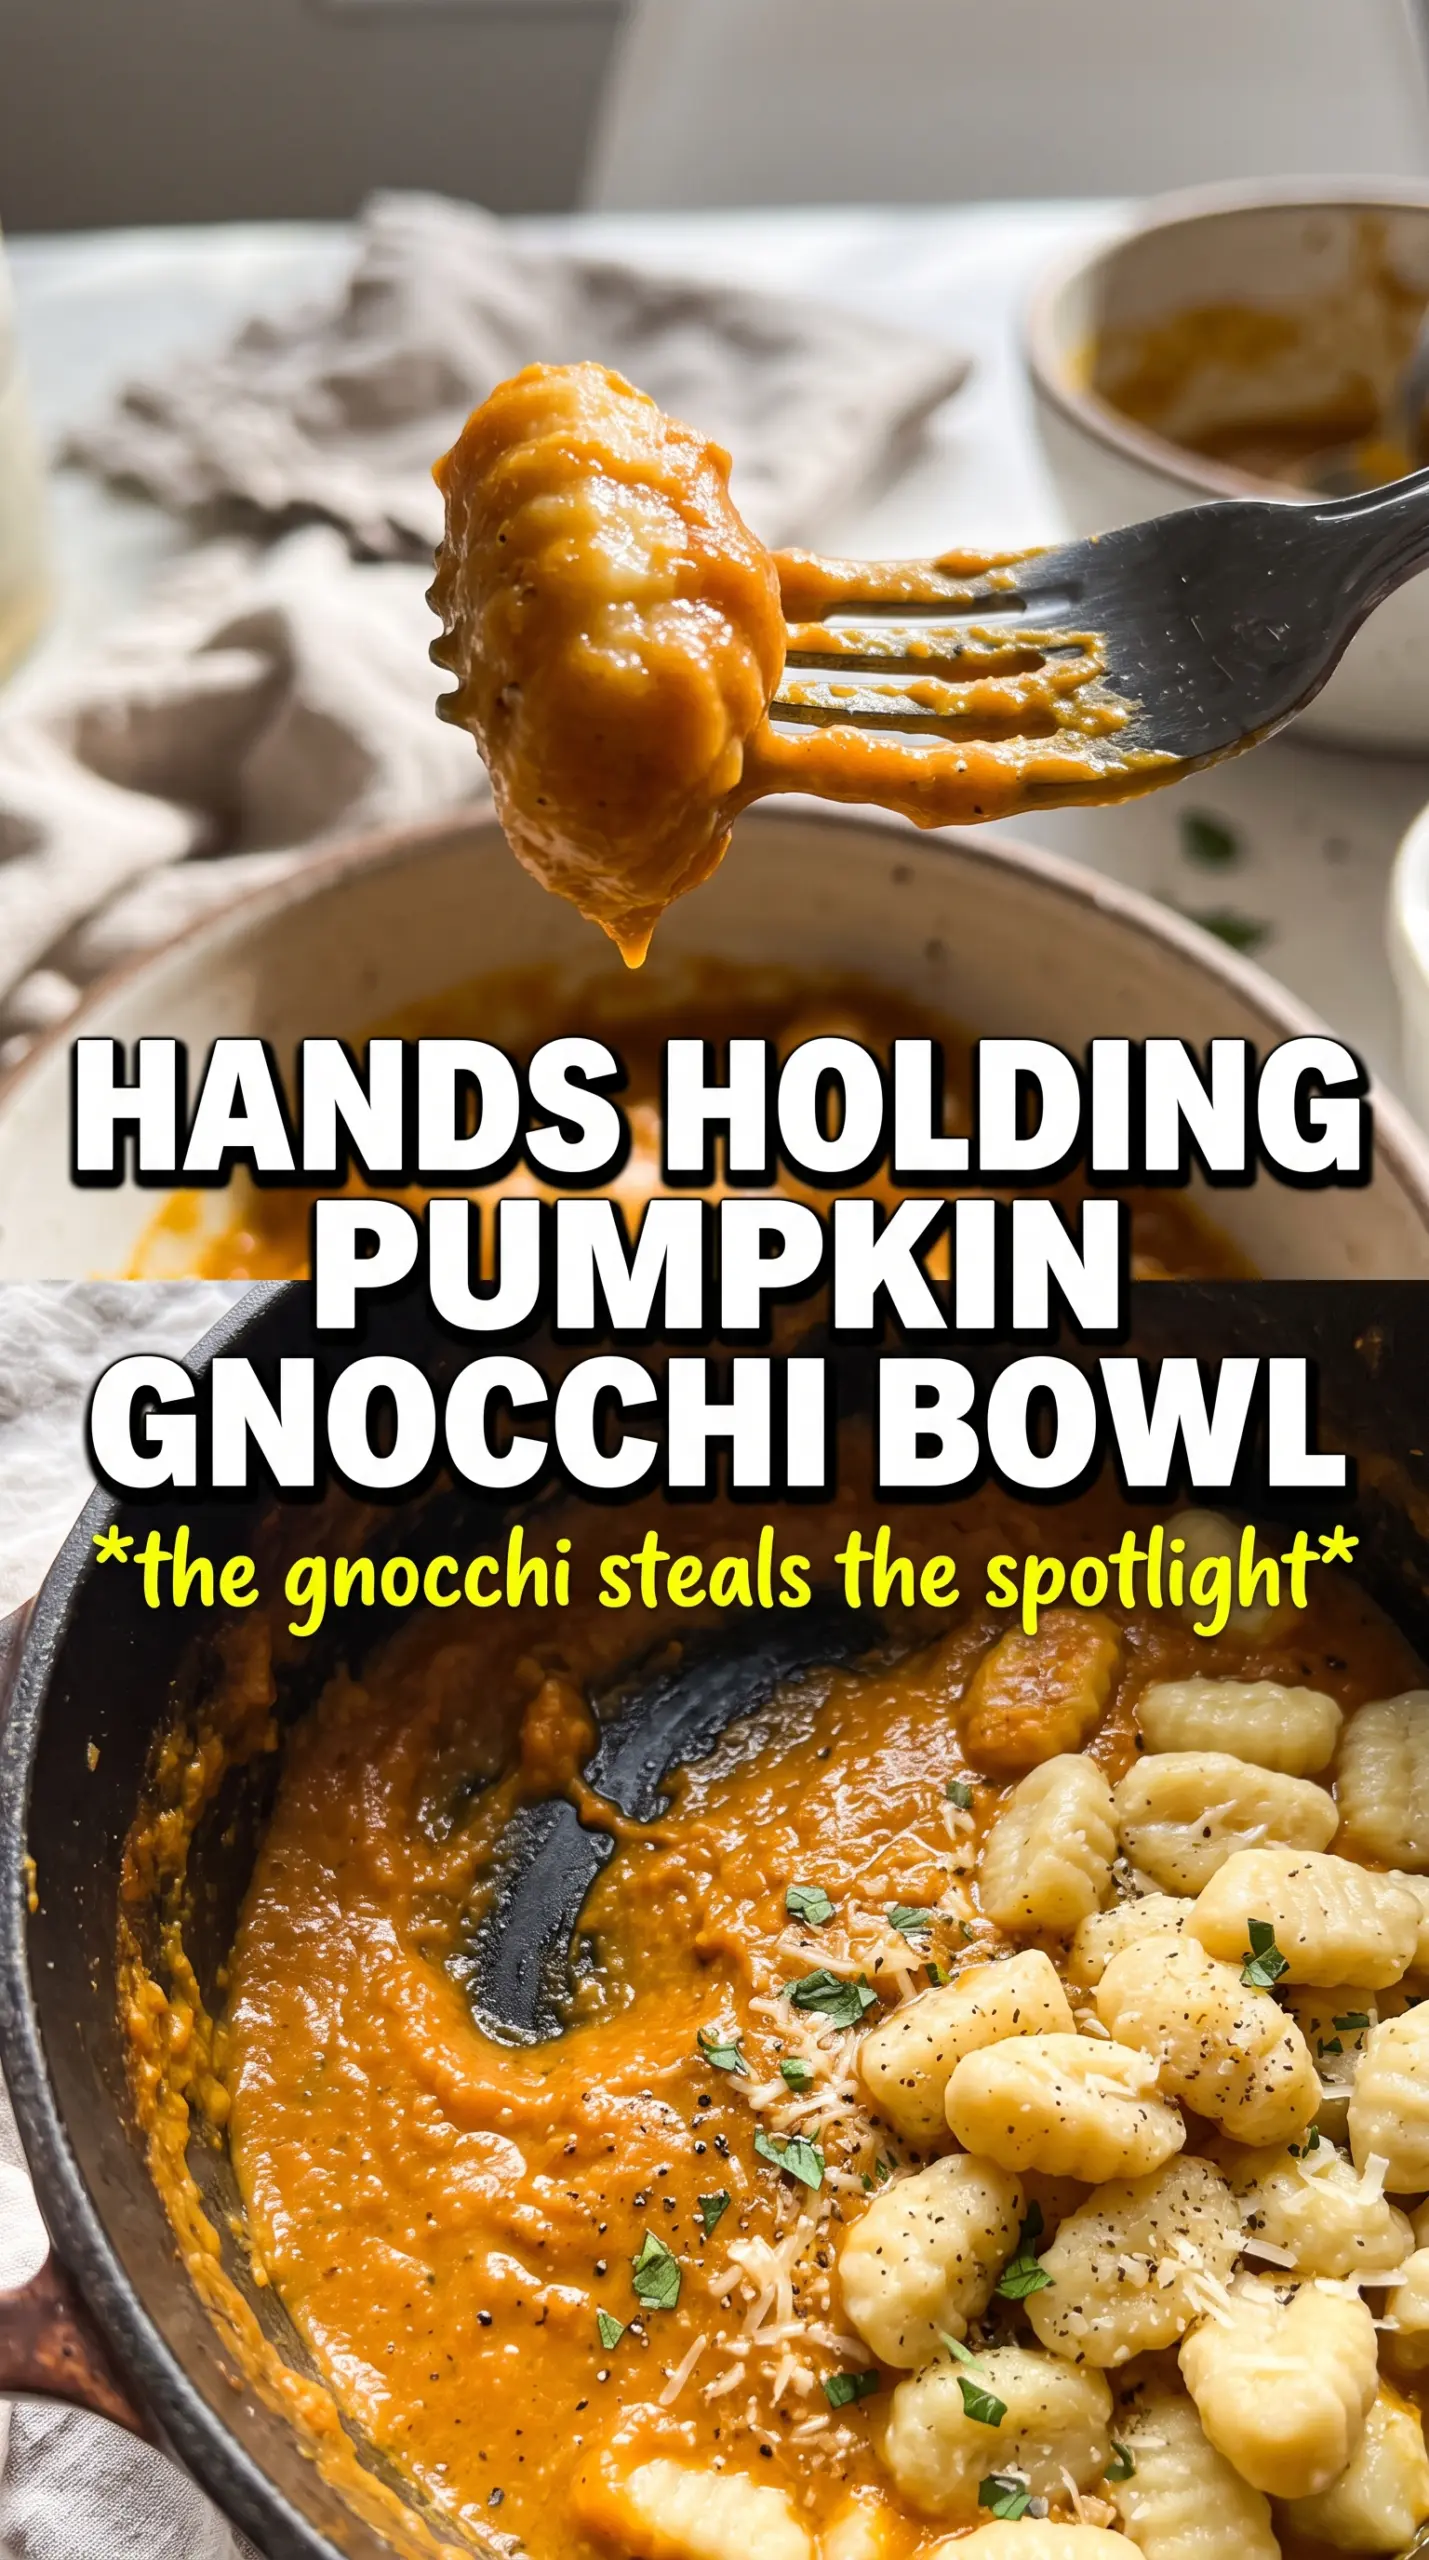
- Pumpkin puree — This gives the gnocchi their color and gentle sweetness, but only if it’s dry. Canned puree works fine here as long as you blot out the excess moisture first.
- Ricotta — Ricotta adds richness and softness that pumpkin alone can’t provide. Drain it well, or the dough gets loose and hard to handle.
- Egg — The egg helps the dough bind so the gnocchi keep their shape in boiling water. One egg is enough; adding more makes the dough springier and less delicate.
- Parmesan — Use finely grated parmesan so it blends smoothly into the dough. This is one place where quality matters, because the cheese is doing real seasoning work, not just acting as a garnish.
- Flour — Start with the lower amount and add only what the dough needs. Too much flour is the fastest way to lose the light texture that makes gnocchi worth making.
- Brown butter, sage, and walnuts — The butter brings depth, the sage turns crisp and aromatic, and the walnuts add crunch. Toasted walnuts are the right call because they echo the nutty notes in the brown butter instead of fighting it.
Rolling, Cutting, and Cooking Before the Dough Gets Tired
Bringing the Dough Together
Mix the pumpkin, ricotta, egg, parmesan, salt, nutmeg, and flour just until a soft dough forms. Don’t knead it hard. The more you work it, the more flour you’ll be tempted to add, and that’s how gnocchi turn dense. If the mixture looks shaggy but holds when pressed, you’re there.
Shaping the Pillows
Turn the dough onto a lightly floured surface and divide it into workable pieces. Roll each piece into a rope, then cut it into 1-inch pillows. A fork press gives the gnocchi a little ridged surface that catches the sauce, but don’t flatten them so much that they lose their shape.
Boiling Without Breaking Them
Use a large pot of well-salted water and keep it at a gentle boil, not a violent one. Add the gnocchi in batches if needed so the water doesn’t stop moving. They’re done when they float, usually in 2 to 3 minutes. Pull them out promptly; leaving them in the water after they rise makes them waterlogged and soft in the wrong way.
Brown Butter, Crispy Sage, and the Final Toss
Melt the butter over medium heat and watch for the foaming to calm down and the color to turn amber with browned milk solids at the bottom. Add the sage leaves once the butter is close, not early, or they’ll scorch before the butter develops flavor. Toss the drained gnocchi right into the pan and move them gently so they pick up the sauce without tearing. Finish with walnuts and a heavy dusting of parmesan while everything is still hot.
How to Adapt These Pumpkin Gnocchi Without Losing the Texture
Dairy-Free Version
Swap the ricotta for a thick dairy-free ricotta and use a good vegan parmesan-style cheese. The dough will be a touch softer, so add the flour slowly and stop as soon as it holds. For the sauce, use a plant-based butter that browns well; some versions just melt without developing the same nutty flavor.
Gluten-Free Adjustment
A 1:1 gluten-free flour blend can work, but the dough usually needs a little less handling and a short rest before shaping. Expect the gnocchi to be a bit more delicate in the water, so cook them in smaller batches and lift them out the second they float. The texture will still be tender, just slightly less elastic than the wheat version.
Make-Ahead for a Busy Night
Shape the gnocchi and lay them in a single layer on a floured tray, then refrigerate for a few hours before cooking. If you need more time than that, freeze them on the tray until firm and transfer to a bag. Cook from frozen and add another minute or so in the water; don’t thaw first or they can soften and stick together.
Swap the Walnuts for Another Crunch
Pecans work beautifully if that’s what you have, and they lean a little sweeter and more buttery. Toast them first so they stay crisp in the finished dish. If you skip the nuts entirely, add extra parmesan at the end for richness, but you’ll lose the contrast that makes the bowl feel complete.
Storage and Reheating
- Refrigerator: Cooked gnocchi keep for up to 3 days, though they soften a little as they sit.
- Freezer: Uncooked gnocchi freeze well. Freeze on a tray until solid, then move them to a freezer bag for up to 2 months.
- Reheating: Warm leftovers in a skillet with a small knob of butter over low heat. Don’t blast them in the microwave or they’ll turn rubbery and unevenly hot.
Questions I Get Asked About This Recipe
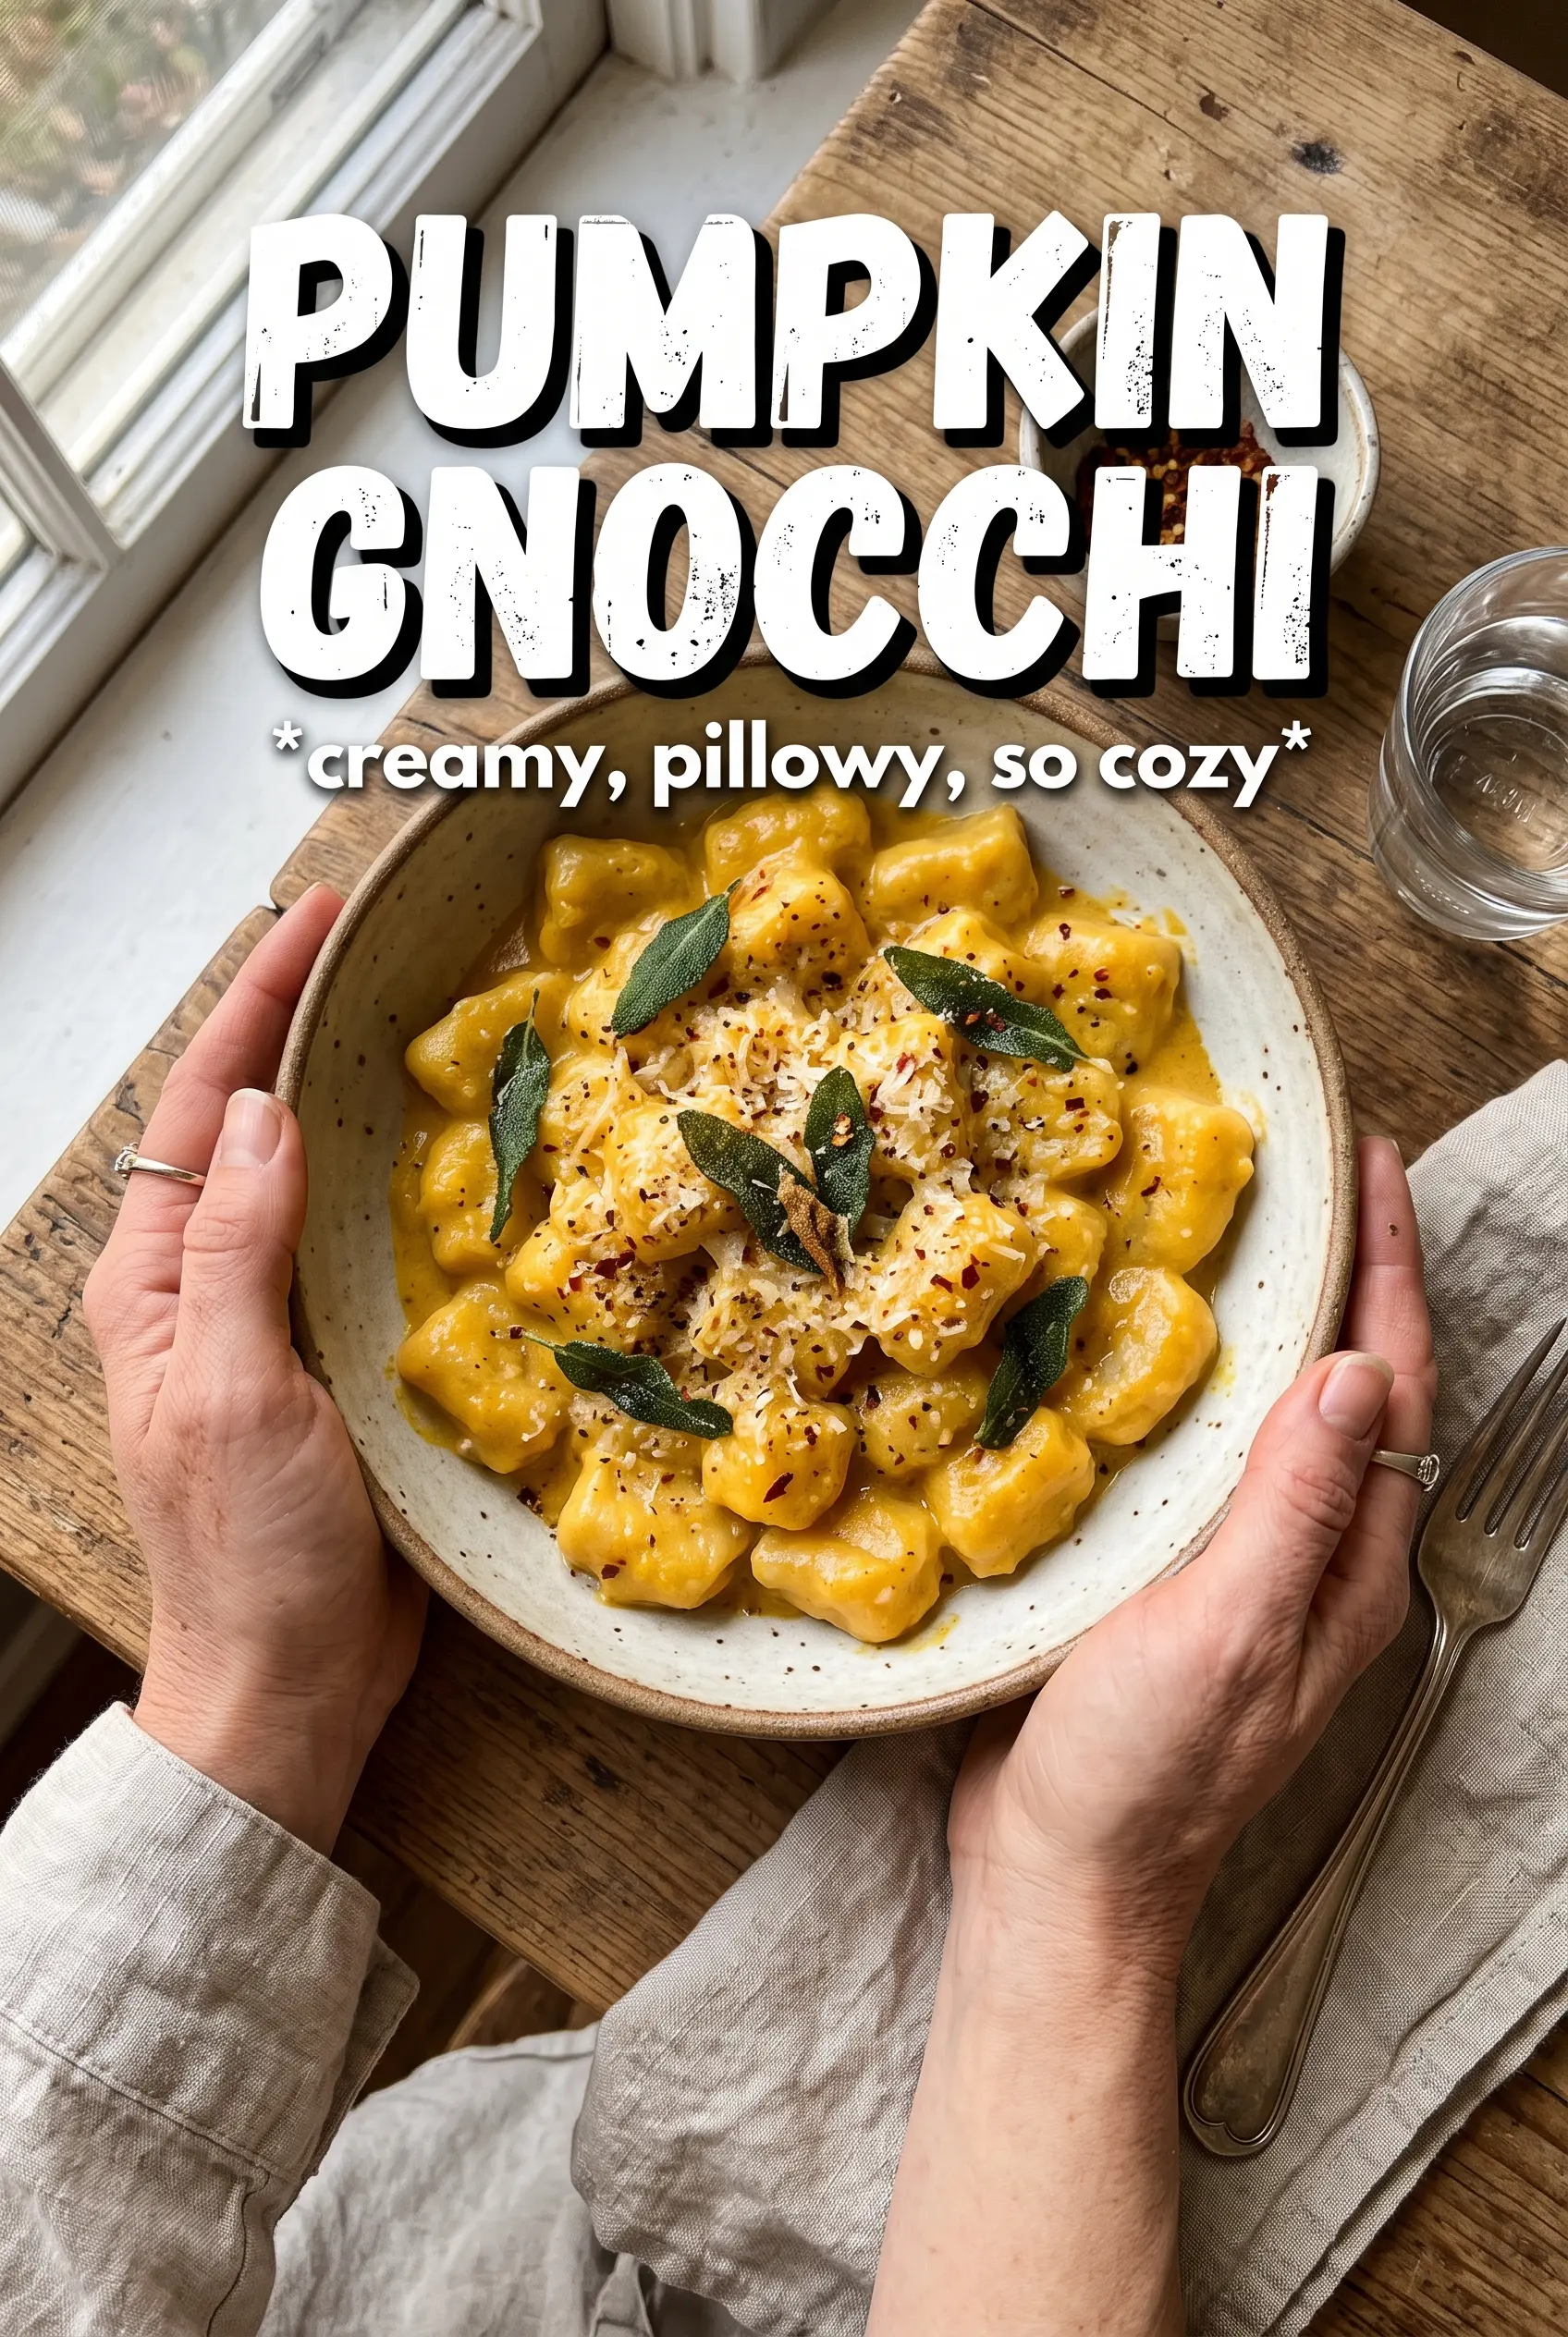
Pumpkin Gnocchi
Ingredients
Equipment
Method
- Blot the pumpkin puree and ricotta extremely dry, then stir them together until uniform. This removes excess moisture so the gnocchi can hold their shape.
- Add the egg, finely grated parmesan, salt, and nutmeg to the pumpkin mixture, then mix until combined. Scrape the sides to fully incorporate everything.
- Add all-purpose flour gradually until you get a soft, slightly sticky dough, starting with less than the full amount. Mix just until the flour disappears and stop before the dough turns firm.
- Roll the dough into ropes and cut into 1-inch pillows, then press each pillow lightly with a fork for texture. Set the pieces on a sheet pan in a single layer.
- Bring well-salted water to a boil, then add the gnocchi and cook until they float, 2-3 minutes. The instant they rise to the surface, pull them out to avoid overcooking.
- In a cast iron skillet over medium heat, melt the butter and cook until it turns nutty brown. Look for golden-brown milk solids and a toasty aroma before moving on.
- Add the fresh sage leaves to the brown butter and fry until crispy, stirring gently. When the leaves darken and crisp at the edges, remove them from the butter to prevent burning.
- Toss the cooked gnocchi in the brown butter just to coat, then top with crispy sage, toasted walnuts, and an extra parmesan dusting. Serve immediately while the gnocchi are hot and lightly glossy.