Pumpkin gingersnap cookies bake up with dark, crinkled tops, a sparkly sugar shell, and the kind of snap at the edges that makes them feel a little old-fashioned in the best way. The pumpkin stays in the background instead of turning the cookies cakey, so you get warm spice, molasses depth, and a crisp-chewy bite all in one cookie.
The trick is drying the pumpkin first. That small step keeps the dough from getting loose and gummy, which is the easiest way to lose the texture you want in a gingersnap. Brown sugar and molasses bring moisture and color, while the blend of ginger, cinnamon, cloves, allspice, and a little black pepper gives these cookies their sharp, warm finish.
Below, I’ll show you how to keep the centers thick, why the sugar roll matters, and what to change if you want a softer cookie or need a gluten-free version.
I followed the part about blotting the pumpkin and the cookies came out with those crinkly tops instead of spreading flat. The ginger really came through and the edges had the perfect little snap after cooling.
Save these pumpkin gingersnap cookies for the batch that bakes up crinkled, spicy, and crisp at the edges.
The Pumpkin Trick That Keeps These Cookies Snappy
Most pumpkin cookies drift toward soft, cakey, and puffy because pumpkin brings a lot of water with it. That’s fine for muffins. It’s the wrong move for a gingersnap. Blotting the puree first changes the dough from wet and loose to something that can hold its shape, which is what lets the tops crackle instead of puff.
The other thing that matters here is balance. Molasses and brown sugar add chew and color, but the baking soda pushes the cookies outward just enough to create those crinkled edges. If your cookies spread too much, the pumpkin was probably still too wet or the dough went in warm.
- Dry pumpkin puree — Press the pumpkin between paper towels until it looks dense and almost paste-like. That step removes the extra moisture that would otherwise blur the edges and soften the snap.
- Black pepper — This doesn’t make the cookies taste peppery. It sharpens the ginger and deepens the spice in the background, which is why the cookies taste more like a true gingersnap than a pumpkin spice cookie.
- Chilling the dough — Thirty minutes is enough to firm the butter and let the flour hydrate. Skip it and the cookies will spread before the sugar shell has time to set.
What Each Ingredient Is Actually Doing In This Cookie Dough

- All-purpose flour — This gives the cookies enough structure to hold a crinkled top and a crisp edge. A 1:1 gluten-free baking blend works well here if it contains xanthan gum, but the dough may need an extra few minutes of chilling.
- Molasses — This is the backbone of the gingersnap flavor. Dark molasses gives the deepest color and strongest flavor, but regular molasses also works. Don’t swap in blackstrap unless you want a much stronger, slightly bitter finish.
- Brown sugar — Brown sugar keeps the centers chewy and adds moisture. White sugar alone would make the cookies drier and flatter, which is not what you want here.
- Butter — Softened butter creams smoothly with the sugar and traps enough air for the cookies to spread in a controlled way. Melted butter changes the texture too much and usually gives you thinner cookies.
- Pumpkin puree — Use plain puree, not pie filling. Pie filling already has sweetener and spice added, and that throws off both texture and balance.
- Egg — The egg binds the dough and helps the centers set without turning dry. One egg is enough; adding more makes these cakier.
How to Keep the Centers Chewy and the Edges Crisp
Dry the Pumpkin Before Anything Else
Start by blotting the pumpkin puree until it loses the wet sheen and tightens up on the paper towel. This is the difference between a dough that scoops cleanly and one that smears into sticky blobs. If the puree still looks glossy, keep blotting. The dough will only get looser once the egg and molasses go in.
Cream the Butter and Sugar Until It Looks Fluffy
Beat the softened butter and brown sugar until the mixture turns lighter and a little airy. That’s where the cookies get their lift and their chewy center. If the butter is too cold, the mixture stays grainy; if it’s melted, the cookies spread too fast. Aim for soft enough to dent with a finger, not oily.
Fold in the Flour Just Until the Dough Comes Together
Once the dry ingredients go in, mix only until you stop seeing flour streaks. Overmixing builds too much gluten and makes the cookies tough instead of tender. The dough should be soft but scoopable after chilling. If it feels sticky, that usually means the pumpkin wasn’t dry enough.
Bake Until the Edges Set and the Tops Crinkle
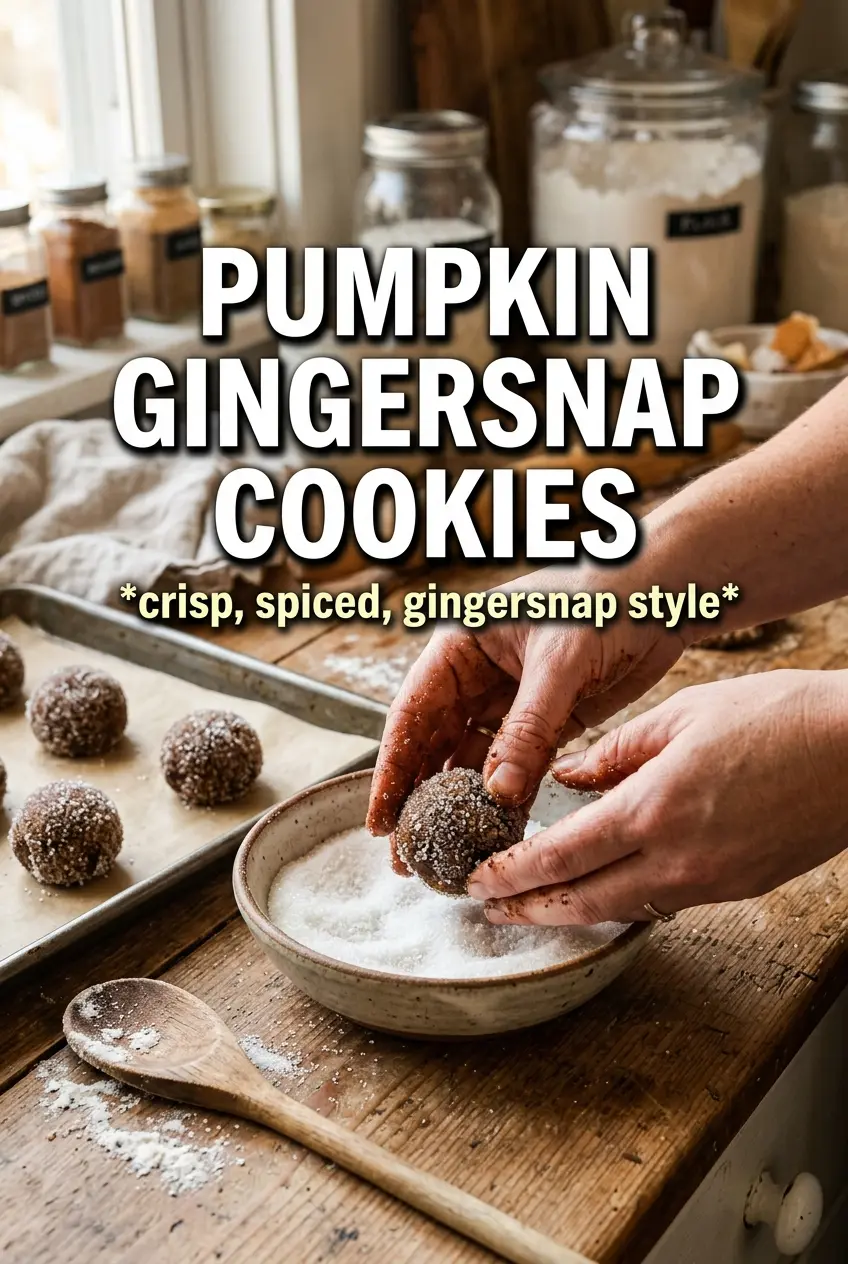
Roll each dough ball in granulated sugar before baking. That sugar shell helps the cookies crack and sparkle in the oven. Pull them when the edges look set and the centers still look a little soft; they’ll finish on the hot pan. Wait too long and you lose the chewy middle that makes these worth baking.
How to Adapt These for Different Kitchens and Different Moods
Gluten-Free Version
Use a good 1:1 gluten-free flour blend that includes xanthan gum. The cookies stay close to the original, but the dough may need a longer chill because gluten-free blends often start softer. Bake just until the edges set so they don’t dry out.
Softer, More Cakey Cookies
Add another tablespoon of pumpkin puree and skip the extra minute or two of baking. You’ll get a puffier cookie with less snap and more tender crumb. It’s a good direction if you want them closer to a soft spice cookie.
Extra-Spicy Gingersnaps
Bump the ginger up by another half teaspoon and add a pinch more black pepper. That gives the cookies a sharper bite and a longer finish without changing the texture. The molasses can handle the extra spice.
Storage and Reheating
- Refrigerator: Store in an airtight container for up to 5 days. The cookies soften a bit after the first day, but they keep their spice and stay chewy.
- Freezer: Freeze baked cookies for up to 2 months, or freeze the dough balls before baking. If freezing dough, roll in sugar right before baking, not before freezing.
- Reheating: Warm baked cookies in a 300F oven for 3 to 4 minutes. Don’t microwave them if you want the edges to stay crisp; the microwave makes them bendy and takes away the snap.
Answers to the Questions Worth Asking
Pumpkin Gingersnap Cookies
Ingredients
Equipment
Method
- Preheat oven to 375F, then line baking sheets with parchment or silicone mats for easy release.
- Blot pumpkin puree dry and whisk together all dry ingredients until evenly combined and no spice clumps remain.
- Beat softened butter and packed brown sugar until smooth, then mix in the blotted pumpkin puree, egg, molasses, and vanilla until fully incorporated.
- Fold in the flour mixture just until no dry streaks remain, then refrigerate the dough for 30 minutes.
- Scoop dough into 1-1/2 tablespoon balls, then roll each ball in granulated sugar to coat the surface.
- Bake at 375F for 9-11 minutes until the cookies crinkle and the edges look set and slightly crisp.