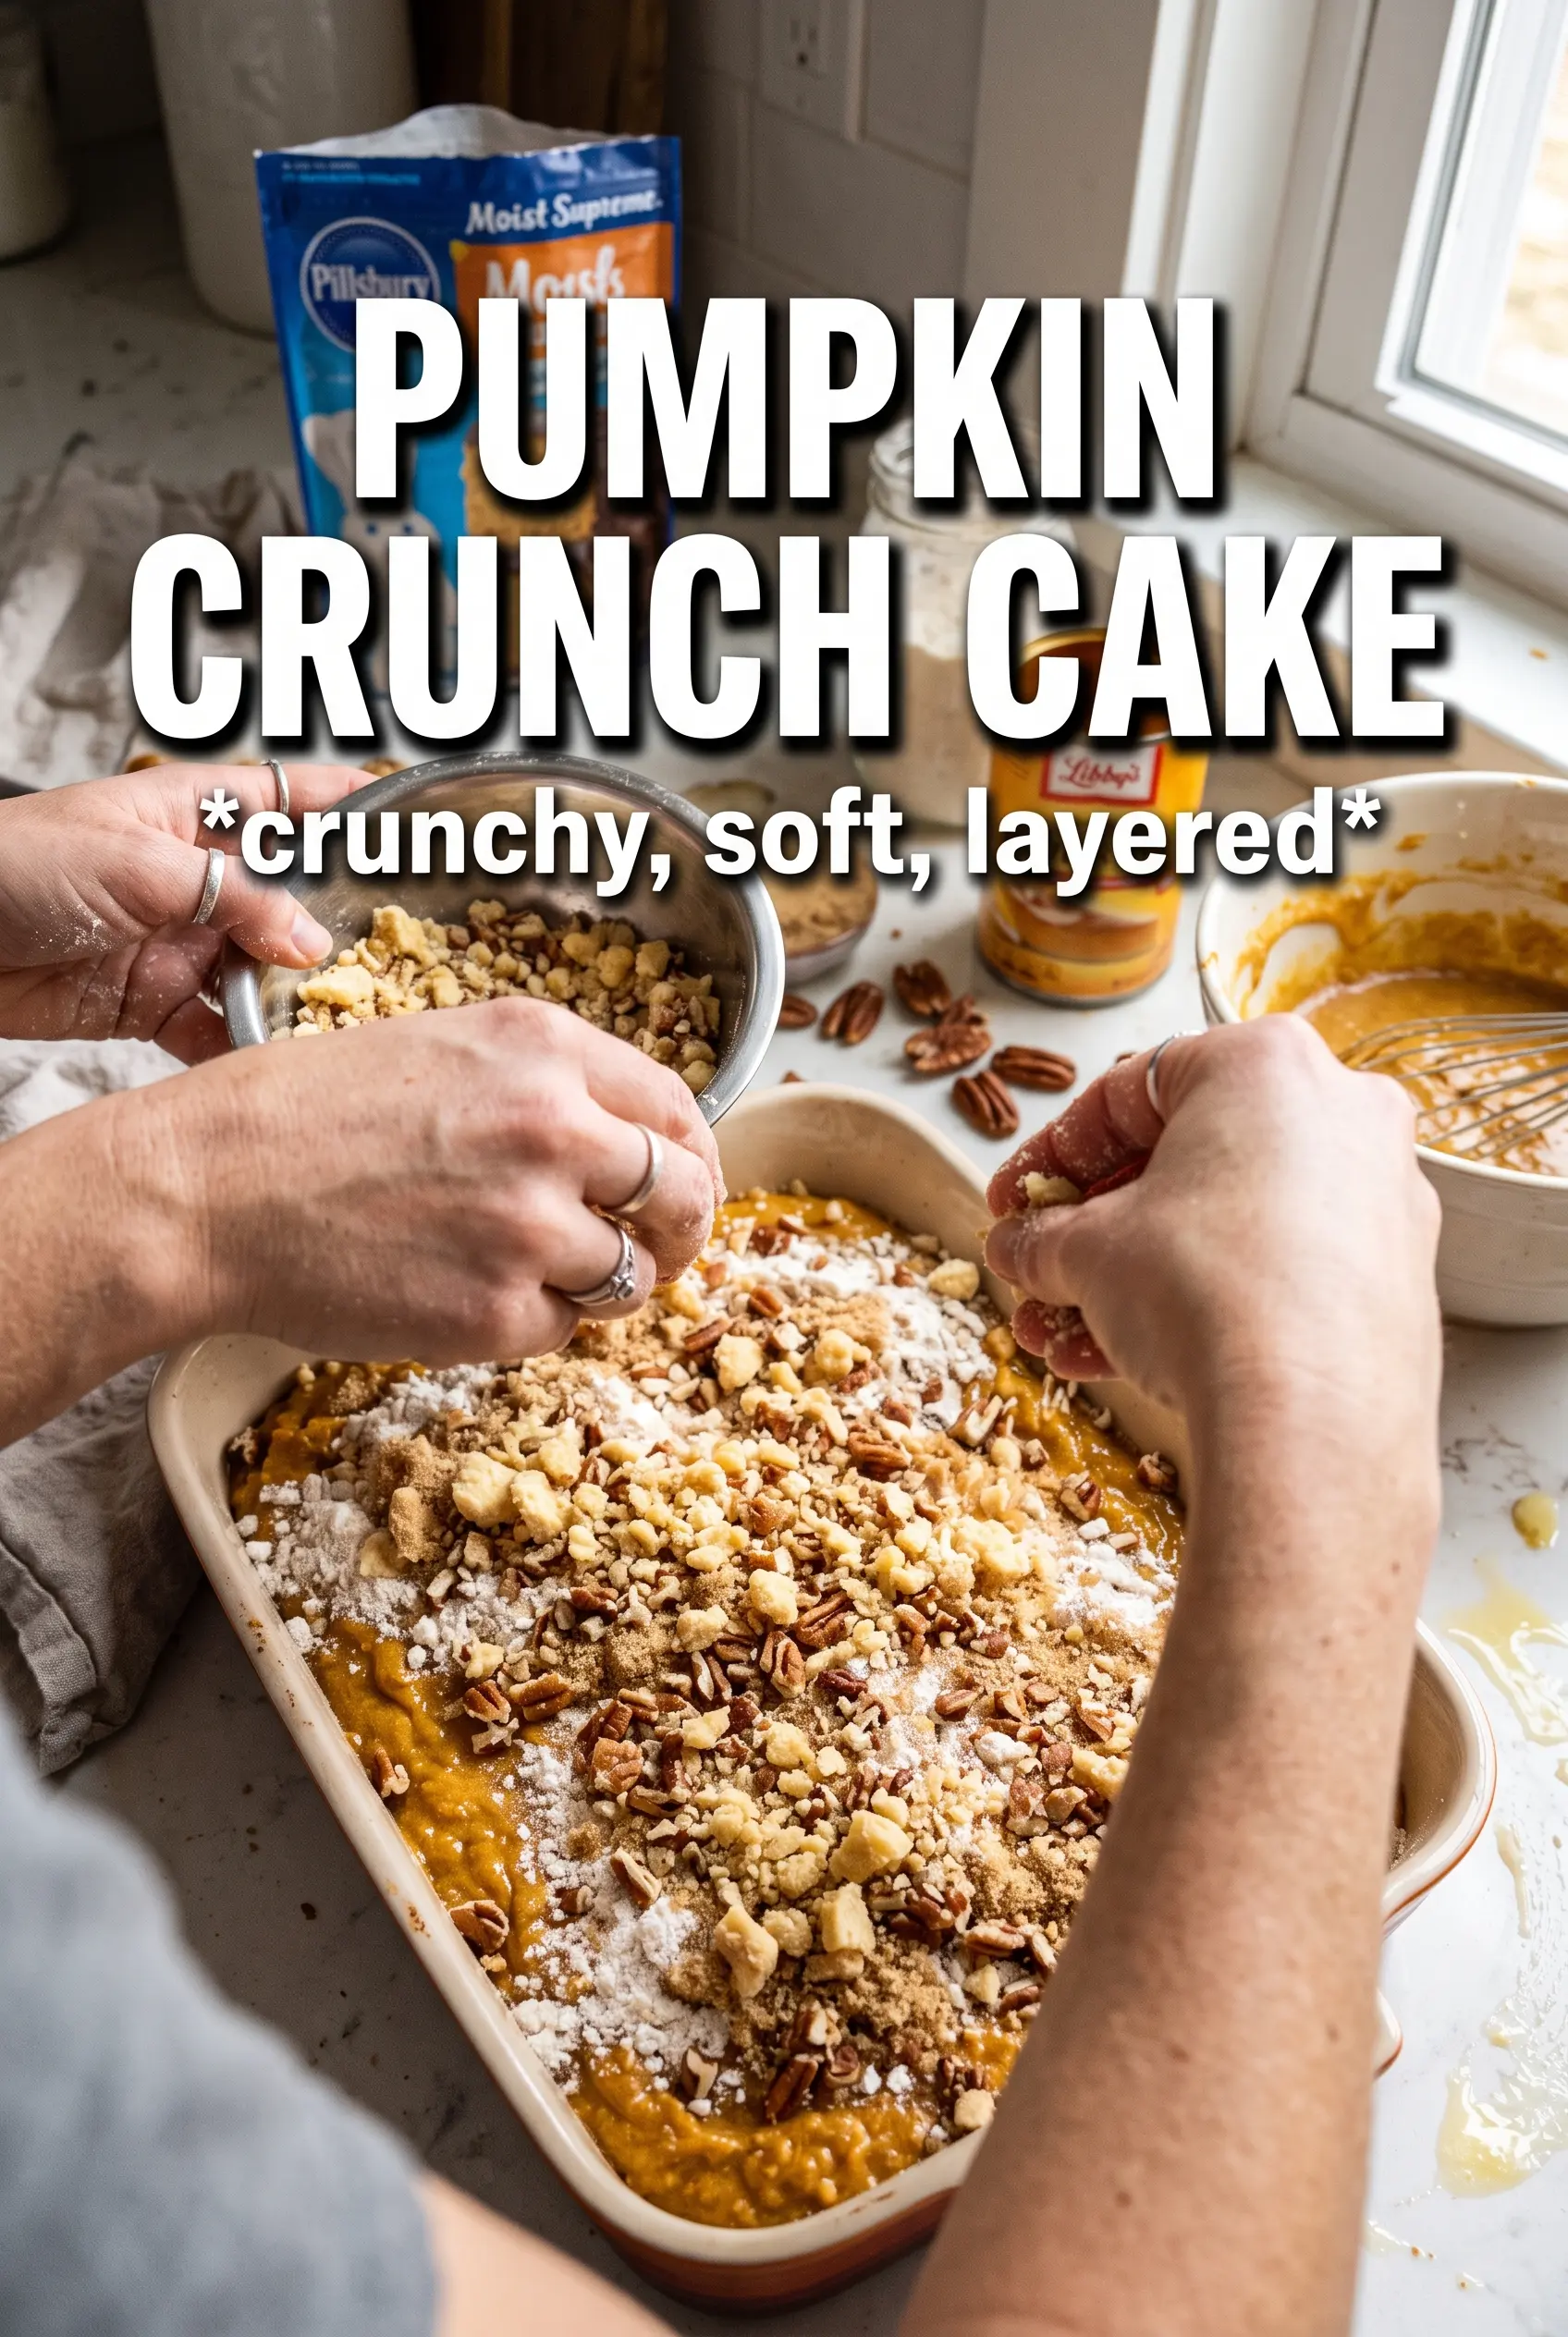
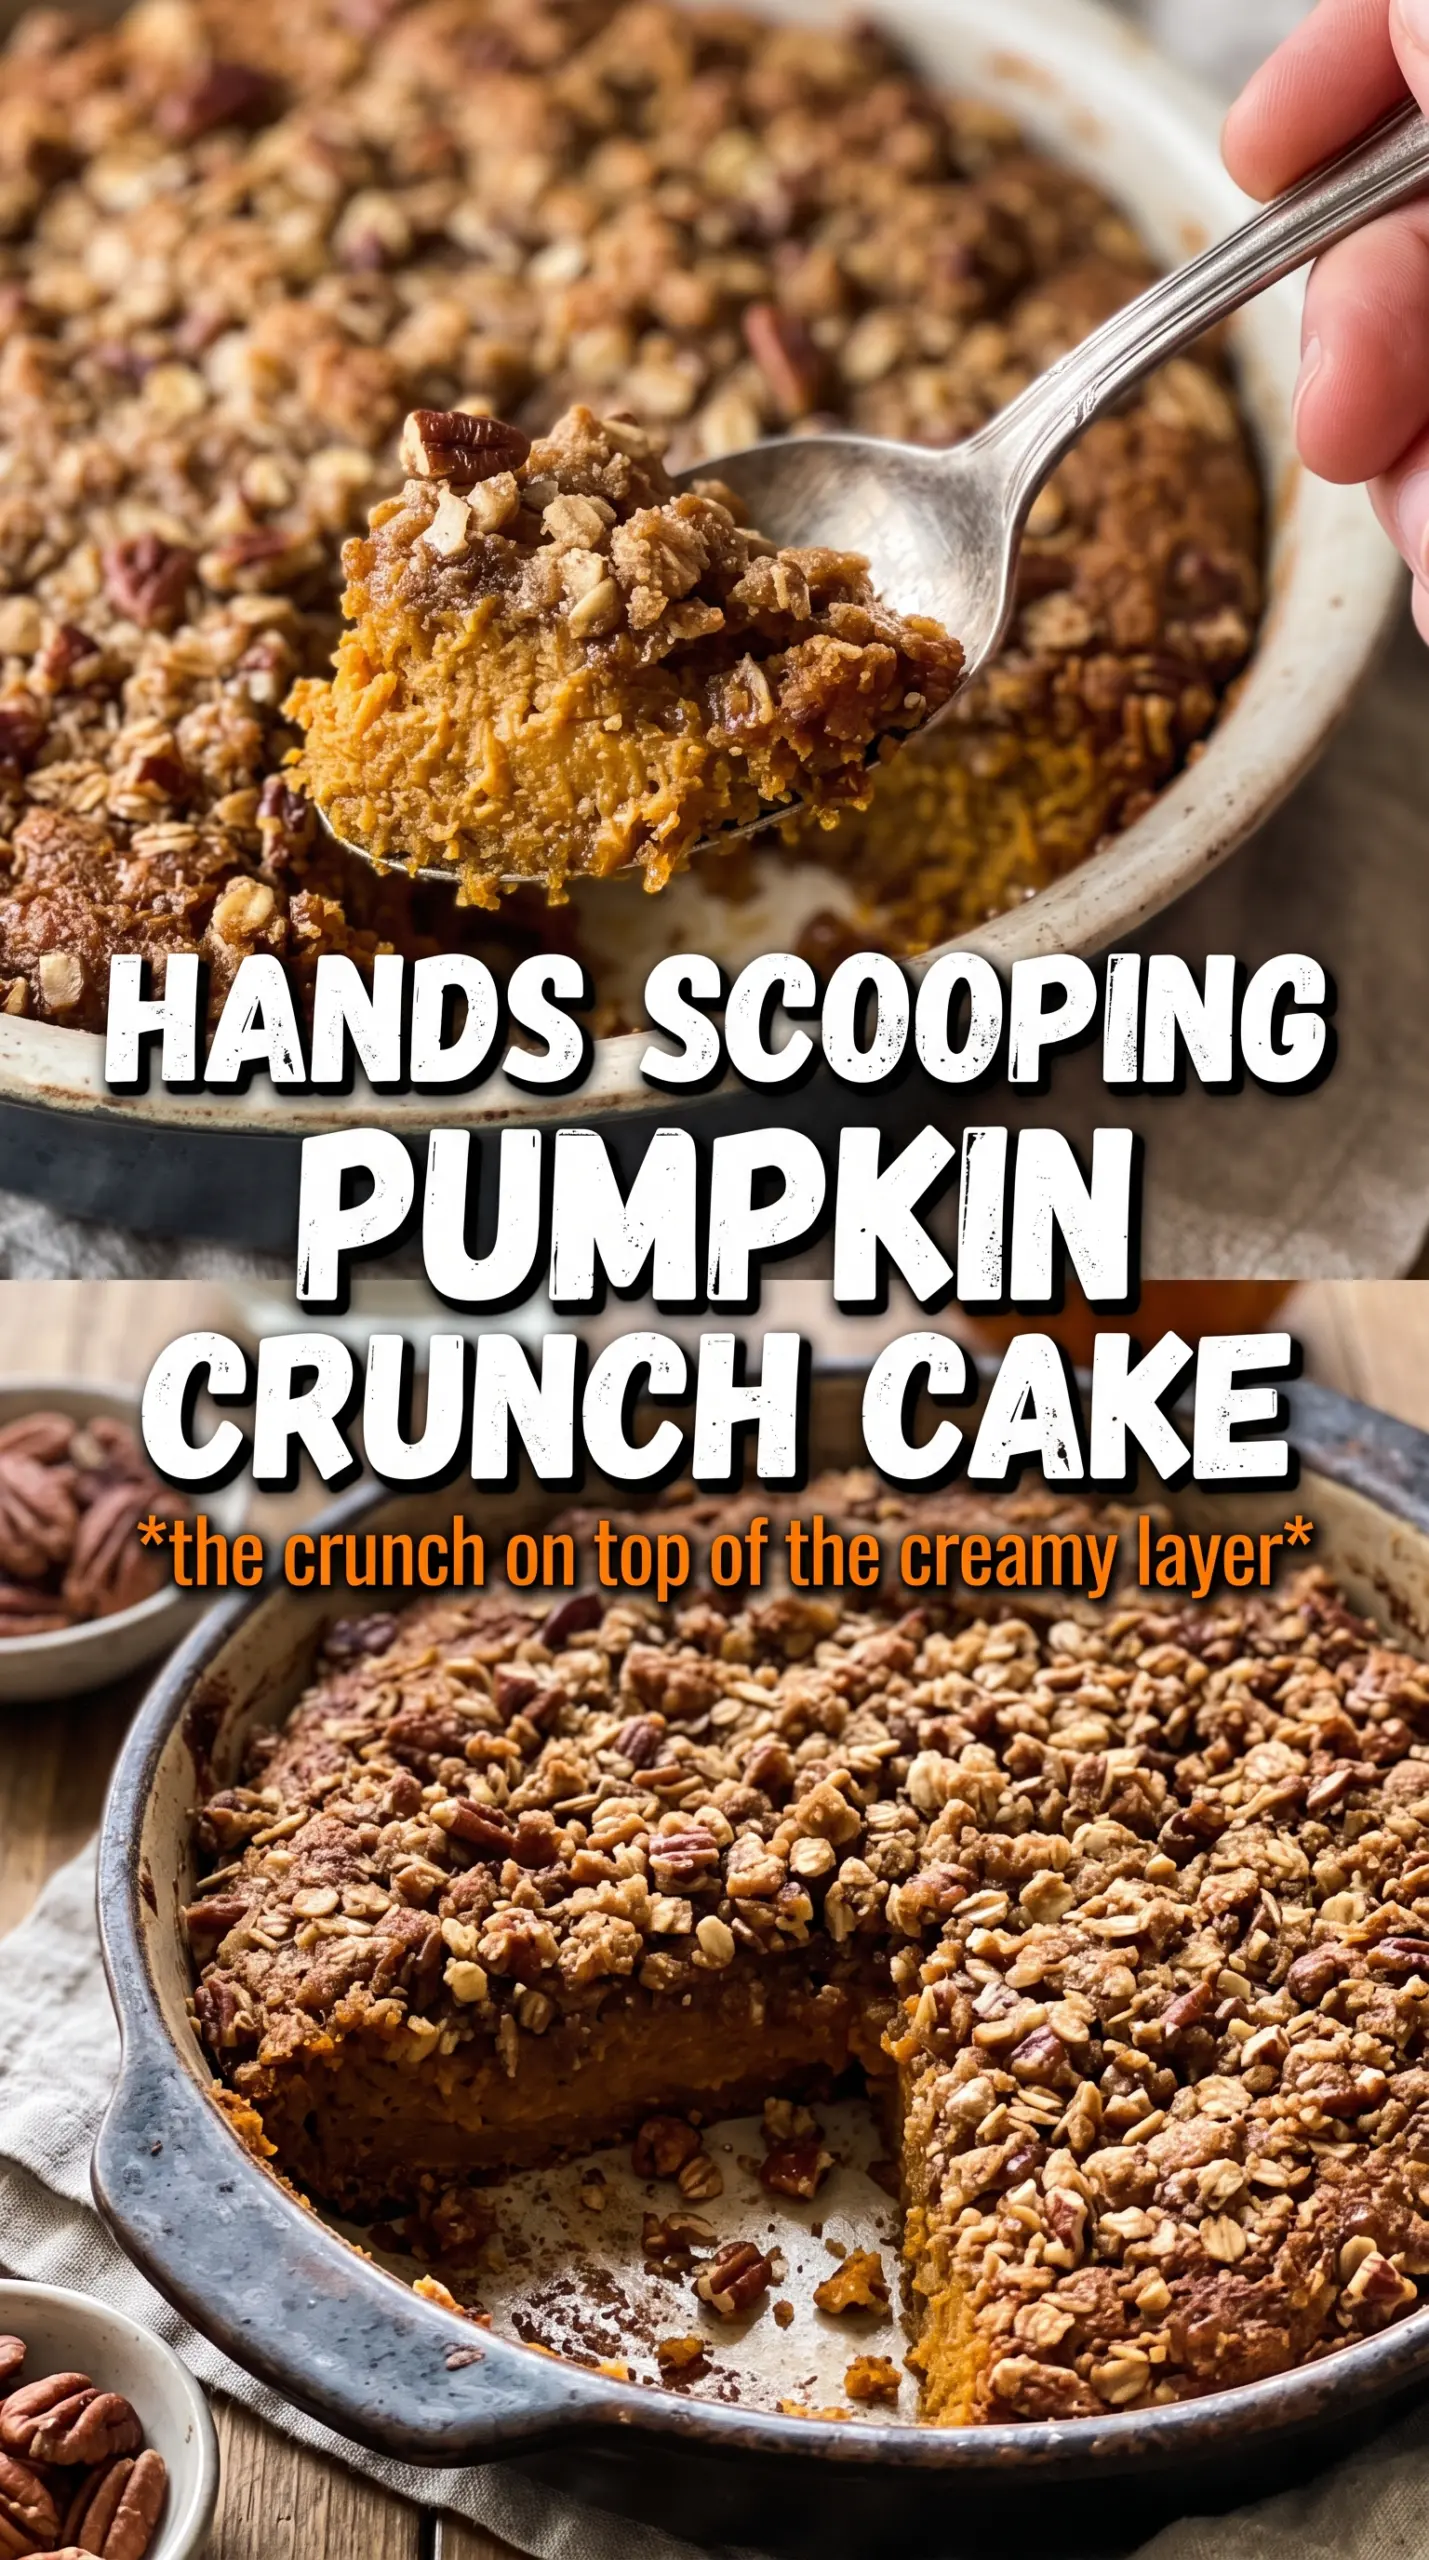
Pumpkin crunch cake lands somewhere between a custard pie and a buttery coffee cake, with a top layer that bakes into a crisp, pecan-studded crust and a pumpkin filling underneath that sets up silky and spoonable. The contrast is the whole point. You get soft pumpkin spice on the bottom, then that crackly, toasted topping that holds its texture even after it cools.
What makes this version work is the order of the layers. The pumpkin mixture goes in first and the dry cake mix stays dry on top so the butter can seep through and create those golden pockets instead of a soggy batter. If you stir, you lose the crunch. If the butter is drizzled evenly, the topping bakes into a proper crust instead of dry patches of cake mix.
Below you’ll find the small details that keep the texture right, plus a few ways to adjust it if you want to lean more spiced, more nutty, or make it without pecans.
The topping baked up crisp all the way across, and the pumpkin layer set beautifully without turning watery. I flipped it onto a platter for Thanksgiving and everyone asked how it stayed so crunchy.
Like this pumpkin crunch cake? Save it to Pinterest for that buttery pecan topping and silky pumpkin layer.
The Layer Order That Keeps the Topping Crunchy
The biggest mistake with pumpkin crunch cake is treating it like a dump-and-stir dessert. The pumpkin mixture has enough moisture to steam the cake mix if you mix everything together, which leaves you with a soft, pasty top instead of the crisp finish people are after. Keeping the cake mix dry on top lets the butter soak down in patches and bake into a crust.
Pan size matters here too. A 9×13 dish gives the filling enough depth to set without overflowing while still letting the topping brown in time. If you use a smaller pan, the center can stay loose while the edges overbake, and the pecans can scorch before the custard is done.
- Do not stir after the cake mix goes on. The dry mix needs to stay in place so it can absorb butter unevenly and crisp up.
- Use roughly chopped pecans. Fine pieces can sink and burn faster; larger pieces toast cleanly and keep their crunch.
- Cool completely before slicing. The pumpkin layer firms as it cools. Cutting too early turns the squares loose and messy.
What Each Ingredient Is Actually Doing in This Dessert
- Pumpkin puree — This gives the bottom layer its body and that unmistakable pumpkin flavor. Use plain pumpkin puree, not pumpkin pie filling, or the dessert will turn too sweet and the spice balance will be off.
- Evaporated milk — It adds richness without making the custard heavy. Regular milk works in a pinch, but the filling won’t be quite as creamy or set up with the same smooth texture.
- Eggs — They help the pumpkin layer bake into a sliceable custard. Whisk them in thoroughly so you don’t get streaks of egg white in the finished cake.
- Yellow cake mix — This is the shortcut that becomes the crunchy top. Don’t substitute a wet batter mix here; the dry mix is what bakes into those buttery crumbs and crisp edges.
- Butter — Melted butter is what transforms the dry topping into something golden and crisp. Pour it as evenly as you can, or you’ll end up with dry floury spots.
- Pecans — They add texture, toastiness, and a little bitterness that keeps the dessert from tasting one-note. Walnuts work too, but pecans give the best classic result.
The Minutes That Decide Whether It Sets or Stays Soupy
Mixing the Pumpkin Base
Whisk the pumpkin puree, evaporated milk, eggs, sugar, spice, cinnamon, and salt until the mixture looks smooth and uniform. You don’t need to beat in extra air; a gentle, thorough mix is enough. Pour it into a greased 9×13 dish and level it with the back of a spoon so the layer bakes evenly. If the filling looks lumpy before it goes in the oven, those lumps usually bake through as uneven pockets.
Building the Crunch Layer
Sprinkle the dry cake mix over the pumpkin layer in an even blanket, then scatter the pecans over the top. The surface should look fully covered, with no big gaps of pumpkin showing through. This is where people usually rush and dump the butter in one spot, which leaves dry flour patches in the finished topping. Drizzle the melted butter slowly across the whole pan so the surface gets coated from edge to edge.
Baking Until the Center Tells the Truth
Bake at 350°F until the top is deep golden and the center is set but not jiggly in a wet, sloshing way. If the pecans darken too fast, the pan is likely too close to the top element, so move it to the middle rack next time. The filling should look firm around the edges first, then settle in the center as it cools. Pull it early if you’re unsure; the residual heat finishes the custard better than an overbaked pan can.
Cooling Before the First Slice
Let the cake cool completely before serving it right side up, or flip it onto a board or platter if you want that pecan crust on display. Warm pumpkin crunch cake tastes fine, but it won’t hold a clean shape. Once it cools, a sharp knife gives neat squares and the topping keeps its crunch instead of collapsing into the custard.
Dairy-Free Version
Use full-fat canned coconut milk in place of the evaporated milk and dairy-free butter for the topping. The flavor will lean a little richer and coconut-forward, but the custard still sets well and the top still bakes up crisp.
Gluten-Free Swap
Use a gluten-free yellow cake mix with the same weight and keep everything else the same. The texture is slightly more delicate, but the butter still creates a good crust as long as you don’t stir the layers together.
No-Pecan Topping
Leave out the pecans and add an extra 1/2 cup of cake mix over the top if you want a plainer crunch. You lose the toasted nutty bite, but the dessert still bakes into a clean buttery crust.
Make It Ahead
Bake it a day in advance and let it cool fully before covering and chilling. The topping softens a little in the fridge, but a few minutes at room temperature brings back some of the crunch and makes slicing easier.
Storage and Reheating
- Refrigerator: Store covered for up to 4 days. The topping softens a bit, but the flavor stays strong.
- Freezer: It freezes well in tightly wrapped squares for up to 2 months. Thaw in the fridge overnight for the best texture.
- Reheating: Warm individual pieces in a 300°F oven for 10 to 12 minutes. Microwaving makes the topping soft, so use the oven if you want the crust to wake back up.