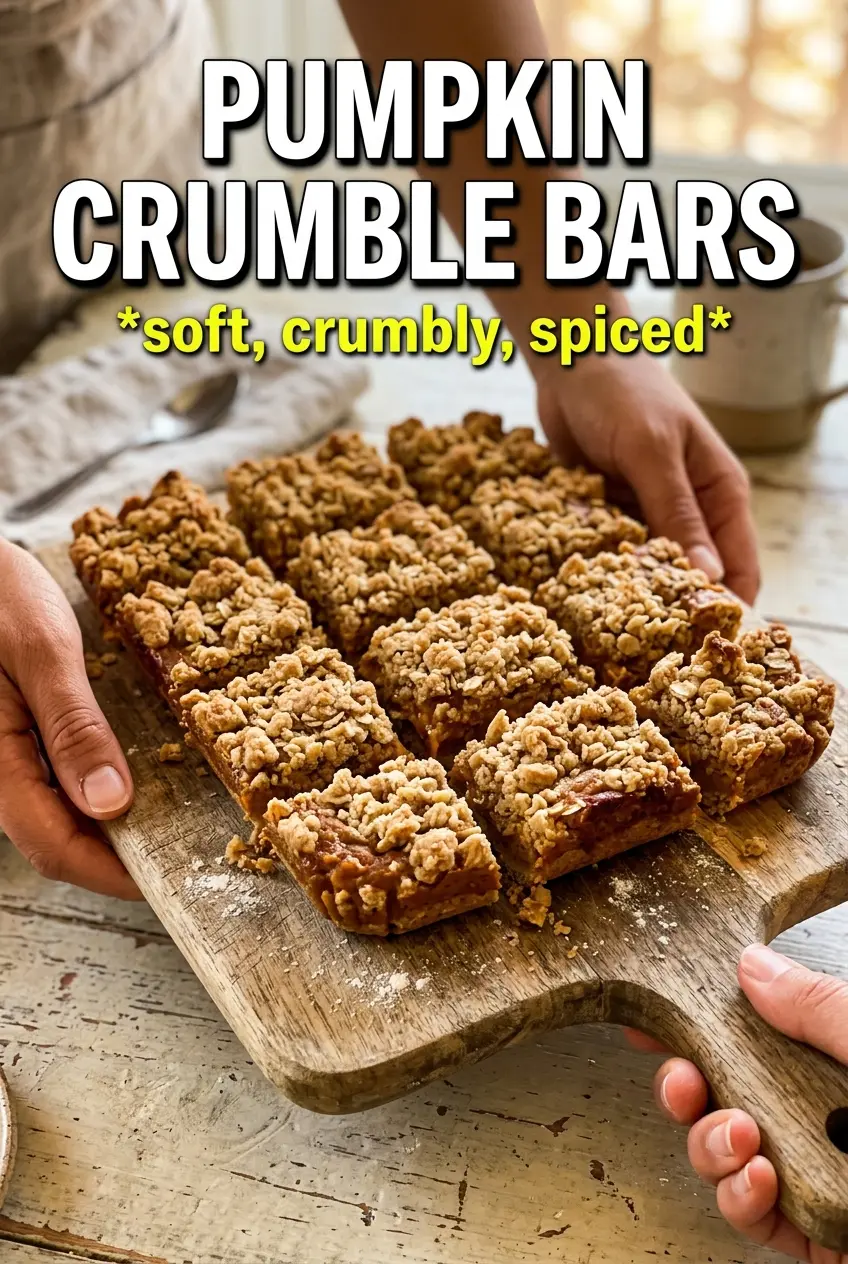
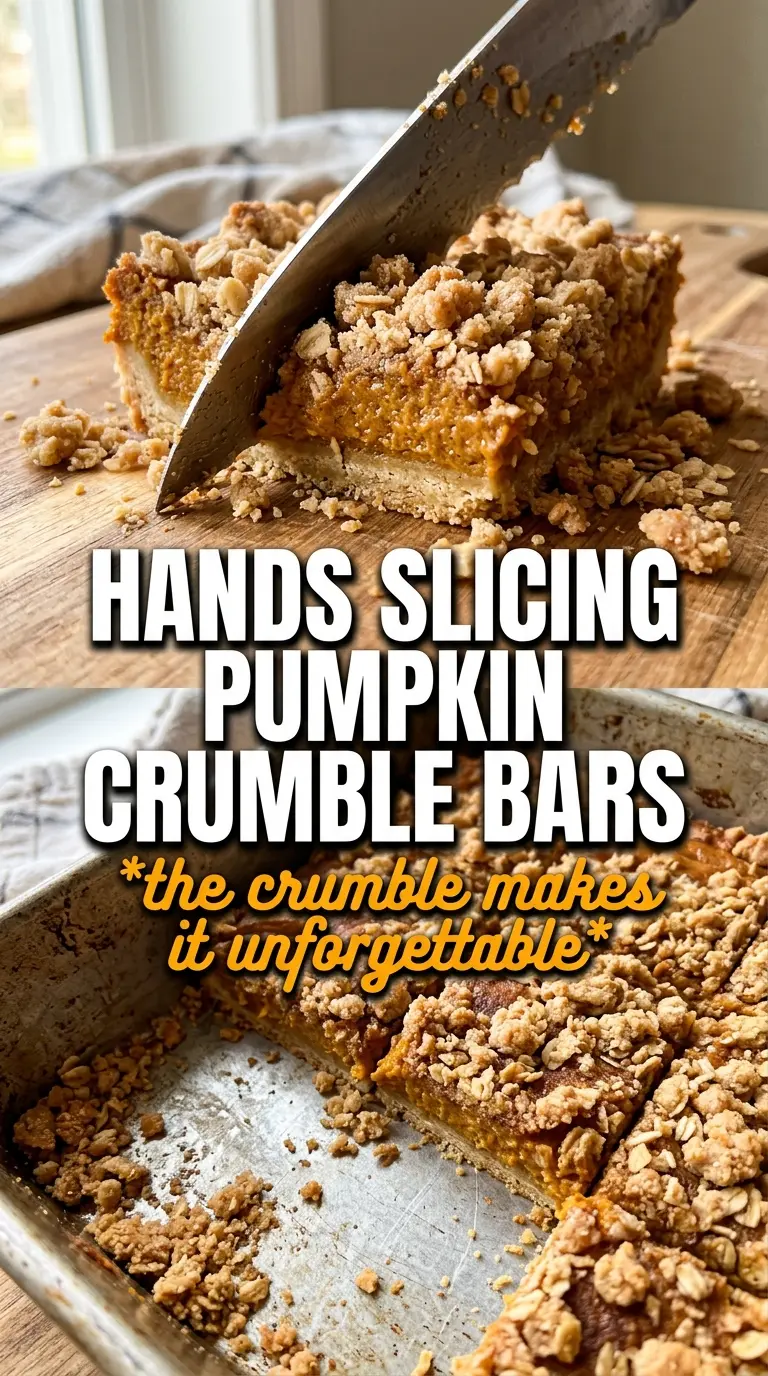
These pumpkin crumble bars bake up with a sturdy oat base, a smooth spiced pumpkin layer, and a golden topping that stays crisp instead of turning soft under the filling. The best part is the contrast: you get a clean slice, a creamy middle, and enough crumble on top to make every bite feel complete. They hold together well for serving, but they still eat like a proper dessert, not a squat little square pretending to be pie.
The trick is using cold butter in the crumble and pressing only part of it firmly into the pan before the first bake. That short par-bake gives the crust enough structure to support the filling, which keeps the bars from turning gummy at the bottom. The pumpkin layer is mixed until smooth and poured onto the hot crust so it starts setting from the edges right away. That helps the layers stay distinct once cooled.
Below, I’ve included the detail that matters most for getting clean slices, plus a few smart ways to adapt these bars if you need a gluten-free version or want to make them ahead.
The crumble baked up golden and stayed crisp even after chilling overnight. I was worried the filling would be too soft, but the bars sliced cleanly and the pumpkin layer set beautifully.
Save these pumpkin crumble bars for the dessert that cuts clean, travels well, and gives you that crisp oat topping with every slice.
The Par-Bake That Keeps the Bottom from Going Soft
Pumpkin bars can turn soggy fast if the base never gets a head start. The first bake is there to set the crust before the filling goes in, and it matters more than people think. Pressing two-thirds of the crumble mixture firmly into the pan gives you enough density to hold the bars together, while the remaining loose crumbs on top keep that classic crumble texture.
If you skip the par-bake, the butter melts into the filling instead of setting the oat mixture into a real base. The result is a layer that tastes fine but cuts badly and can slump apart once cooled. Hot crust also helps the pumpkin layer begin setting from underneath, which gives you neater slices and a cleaner bite.
What Each Ingredient Is Doing in the Crumble and Filling
- Rolled oats — They give the topping its nubby, rustic texture. Quick oats can work in a pinch, but they make the crumble finer and less defined.
- Cold unsalted butter — Cold butter is what creates the crumbly texture instead of a greasy paste. Keep it cubed and cut it in until the mixture looks like damp sand with some larger clumps.
- Brown sugar — This adds depth and helps the crust caramelize a little at the edges. Light or dark brown sugar both work; dark will taste a bit richer.
- Pumpkin puree — Use pure pumpkin, not pumpkin pie filling. Pie filling is already sweetened and spiced, which throws off the balance and can make the bars too loose.
- Sweetened condensed milk — This is the ingredient that makes the filling silky and sliceable. There isn’t a clean substitute for the texture it brings, so this is not the place to improvise.
- Pumpkin pie spice and cinnamon — The spice blend gives the filling that familiar warm backbone, while the extra cinnamon keeps the pumpkin flavor from tasting flat. Fresh spices matter here more than in the crumble because the filling is the main flavor layer.
- Eggs — They set the filling as it bakes. Whisk them in fully so the bars bake up smooth instead of spotting with bits of cooked egg.
Building the Layers Without Losing the Crumble
Mix the Crumble Until It Holds in Clumps
Stir the oats, flour, brown sugar, cinnamon, and salt first, then cut in the butter until the mixture looks uneven and crumbly with a few larger bits. You want some sandy texture and some pea-size clumps. If the butter gets too warm and blends in completely, the topping bakes up dense instead of crisp. Stop as soon as the mixture can be squeezed together lightly in your hand.
Press the Base Hard Enough to Set It
Take two-thirds of the crumble and pack it into the parchment-lined pan in an even layer. Use the bottom of a measuring cup or your hand to press it firmly, especially into the corners and along the edges. A loose base breaks apart when you slice the bars. Bake it until it looks dry on top and just barely darker at the edges, not deeply browned.
Pour the Filling Over the Hot Crust
Whisk the pumpkin puree, sweetened condensed milk, eggs, pumpkin pie spice, cinnamon, ginger, salt, and vanilla until completely smooth. Pour it over the hot crust right after the first bake. If the filling sits too long before baking, it can soak into the crust instead of sitting neatly on top. Scatter the remaining crumble over the surface, but don’t press it down.
Bake Until the Center Still Gives a Little
The bars are done when the top is golden and the filling is set around the edges with a slight wobble in the center. Don’t wait for the middle to look completely firm in the oven; it keeps cooking as it cools. Overbaking is the fastest way to get a dry, cracked filling. Let the pan cool all the way before drizzling the icing, or the glaze will melt and disappear into the bars.
How to Adapt These Bars for Different Kitchens
Gluten-Free Version
Swap the all-purpose flour for a good 1:1 gluten-free baking blend. The bars will still hold together, but the crumble may be a little more delicate, so let them cool completely before cutting.
Dairy-Free Version
Use a plant-based butter that bakes well and swap in sweetened condensed coconut milk for the filling. The flavor gets a faint coconut note, and the texture stays creamy enough to slice cleanly.
Extra-Spiced Filling
If you like a bolder pumpkin bar, add another 1/4 teaspoon of ginger or a pinch of cloves. That pushes the filling closer to classic pumpkin pie flavor without changing the texture.
Storage and Reheating
- Refrigerator: Store covered for up to 5 days. The crumble stays firmer after chilling, and the filling slices even cleaner on day two.
- Freezer: These freeze well. Wrap individual bars tightly and freeze for up to 2 months, then thaw in the refrigerator overnight.
- Reheating: Serve chilled or at cool room temperature. If you want to take the chill off, warm a bar for just a few seconds in the microwave; long heating softens the crumble and makes the filling loose.