Pumpkin crinkle cookies bake up with soft, cakey centers, cracked sugar-snow tops, and just enough spice to make every bite taste like the good part of fall without leaning heavy or sticky. The outside sets into that classic crinkled shell while the inside stays tender, which is exactly why these disappear fast once they hit the cooling rack.
The trick is in the pumpkin. It has to be blotted dry before it goes into the dough, or the cookies spread too much and lose that dramatic crinkle. Rolling the dough in granulated sugar first gives the powdered sugar something to cling to, and that double coating is what keeps the white finish bright instead of melting into the cookies as they bake.
Below you’ll find the timing that keeps the centers soft, the coating method that gives you the best cracks, and a few practical swaps if you need to adjust for what you have on hand.
The cookies came out with those big crackly tops and stayed soft in the middle even the next day. Blotting the pumpkin made a huge difference — mine didn’t spread into puddles like other recipes I’ve tried.
Love the crackly powdered sugar tops on these Pumpkin Crinkle Cookies? Save them to Pinterest for the days you want a soft, spiced cookie with a dramatic finish.
The Pumpkin That Makes or Breaks the Crinkle
Pumpkin crinkle cookies fail for one reason more than any other: too much moisture. Pumpkin puree carries a lot of water, and if it goes into the dough straight from the can, the cookies bake up puffier, softer, and more likely to spread before the crust has time to crack. Blotting it dry sounds fussy, but it’s the difference between a cookie that holds its shape and one that turns flat with dusty sugar on top.
The other key is the chill. This dough needs time for the flour to hydrate and the butter to firm back up after melting. If you scoop it right away, the sugar coating can dissolve before the oven sets the edges. A two-hour chill gives you thicker cookies and cleaner cracks.
- Pumpkin puree — Use pure pumpkin, not pumpkin pie filling. Blot it on paper towels until it feels dense and almost paste-like; that step matters more than any spice adjustment.
- Melted butter — Melted butter gives these cookies a softer, richer center than creamed butter would. Let it cool slightly before mixing so it doesn’t start cooking the eggs.
- Brown sugar — This adds moisture and a little molasses depth. Granulated sugar alone makes the cookies taste flatter and crack less nicely.
- Powdered sugar coating — The double roll is not optional. Granulated sugar underneath helps the powdered sugar stay bright and dramatic instead of soaking in during baking.
Building the Dough So the Tops Crack Instead of Collapse
Mix the Wet Ingredients Until the Pumpkin Disappears
Whisk the melted butter with both sugars first, then add the blotted pumpkin, eggs, and vanilla until the mixture looks smooth and slightly thickened. You don’t want streaks of pumpkin puree hiding in the bowl, because uneven moisture gives you uneven baking. If the butter is too hot, the eggs can scramble at the edges; it should feel warm, not hot, when you touch the bowl.
Fold the Flour In Only Until the Last Dry Bits Vanish
Stir the dry ingredients into the wet just until the flour disappears. Overmixing turns these cookies tougher and can make the tops less tender under that sugar shell. The dough will be soft and sticky, which is normal, and the fridge time is what makes it scoopable.
Roll, Coat, and Bake Before the Sugar Melts
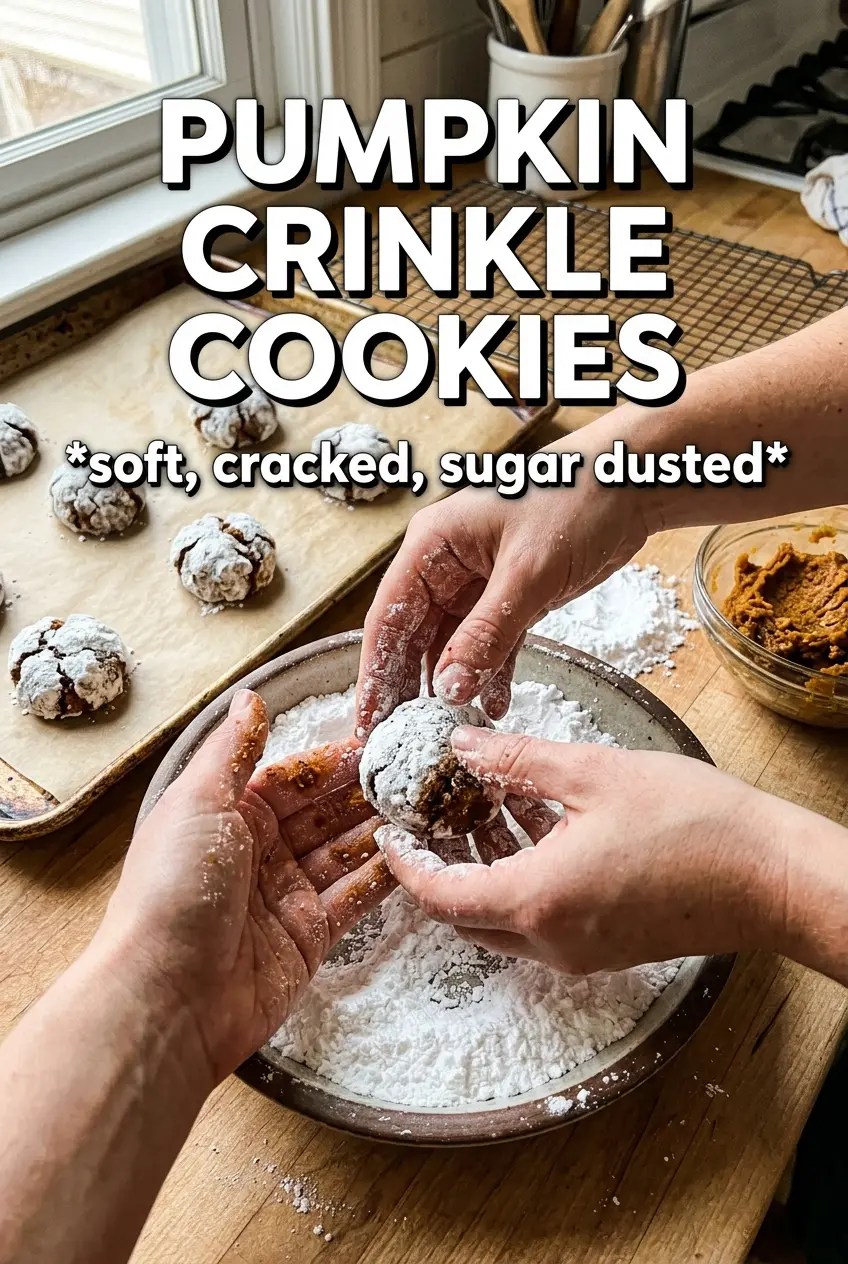
Scoop 1 1/2-tablespoon portions, roll them in granulated sugar, then coat them heavily in powdered sugar. Be generous here; a thin dusting won’t survive the oven heat as well. Bake until the cookies are puffed and deeply crinkled at the edges, but pull them before the centers look dry. If you wait until they seem fully set, they’ll be overbaked by the time they cool.
Make Them Extra Spiced
Add an extra 1/4 teaspoon of cinnamon or pumpkin pie spice if you want a warmer, more aromatic cookie. It won’t change the texture, but it will push the flavor more toward classic spice-cookie territory and away from mild pumpkin sweetness.
Gluten-Free Pumpkin Crinkle Cookies
Use a 1:1 gluten-free all-purpose flour blend that includes xanthan gum. The cookies will still crinkle and stay soft, though the crumb may be slightly more tender and less chewy than the original.
Dairy-Free Version
Swap the butter for a plant-based butter stick with a similar fat content. Avoid soft tub spreads, which can make the dough looser and reduce the defined crackle on top.
Storage and Reheating
- Refrigerator: Store in an airtight container for up to 5 days. The sugar coating softens a little, but the cookies stay tender.
- Freezer: Freeze the baked cookies in a single layer, then transfer to a container for up to 2 months. You can also freeze the scooped dough balls before coating and bake from frozen with a minute or two added.
- Reheating: Let cookies come to room temperature on their own. If you warm them, do it for just a few seconds in the microwave; too much heat melts the powdered sugar and makes the tops sticky.
Questions I Get Asked About This Recipe
Pumpkin Crinkle Cookies
Ingredients
Equipment
Method
- Whisk all-purpose flour, baking powder, pumpkin pie spice, cinnamon, and salt until evenly combined and no streaks remain.
- Whisk melted unsalted butter, granulated sugar, brown sugar, blotted pumpkin puree, eggs, and vanilla until smooth and glossy.
- Fold the dry ingredients into the wet ingredients just until no dry flour remains, then refrigerate dough for 2 hours.
- Preheat the oven to 350°F and line baking sheets.
- Scoop dough into 1-1/2 tablespoon balls, roll each ball in granulated sugar first, then roll very generously in powdered sugar.
- Bake at 350°F for 11-13 minutes until the cookies are crinkled and set at the edges; do not overbake.