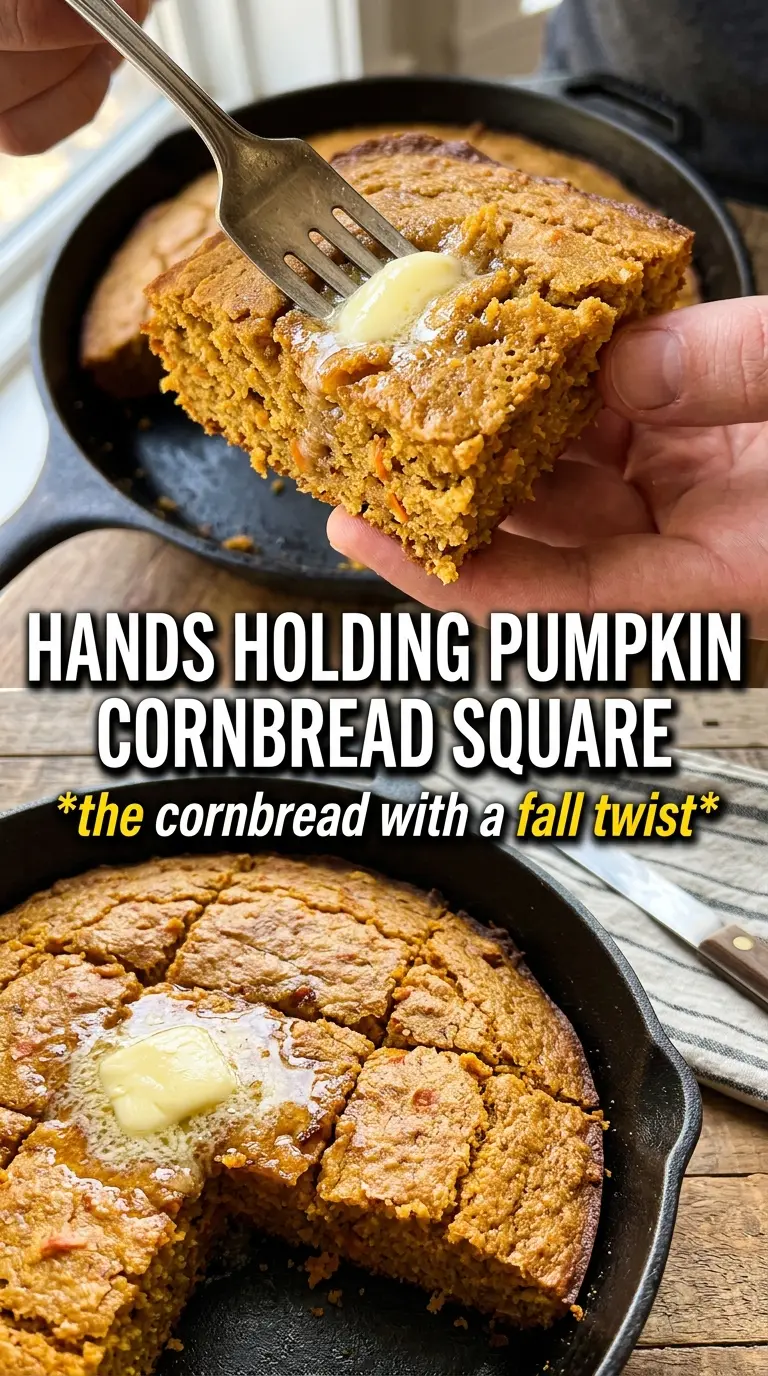
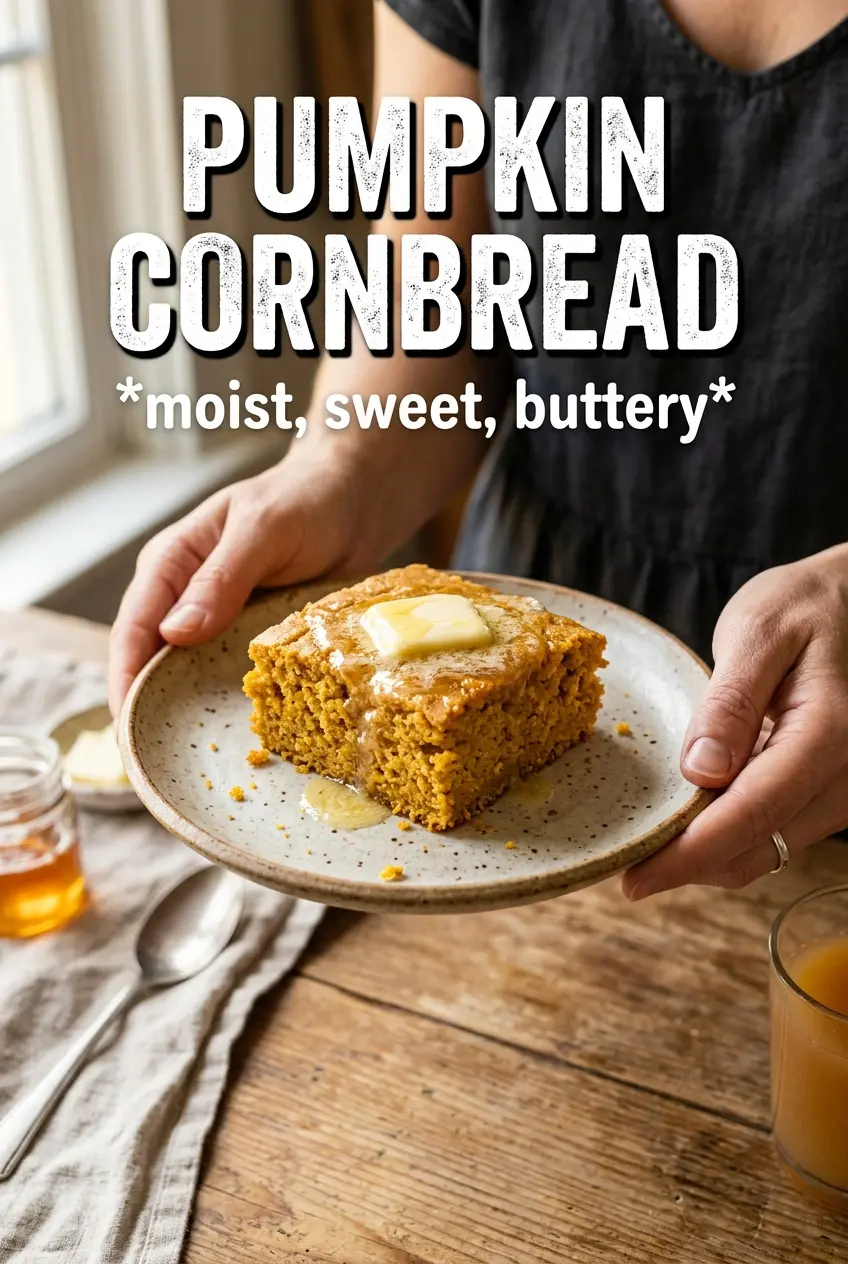
Golden-edged pumpkin cornbread lands with a tender crumb, a little sweetness, and that warm, just-barely-spiced aroma that makes people cut a second square before the first one is gone. The pumpkin keeps the center soft without turning it heavy, while the cornmeal gives the loaf its classic grit and the skillet builds those caramelized edges everyone reaches for first.
This version works because the batter stays simple and the balance is deliberate. Pumpkin puree brings moisture and color, but it’s not there to make the bread taste like pie. Honey rounds out the sugar and helps the top bake up with a light sheen, while cinnamon and pumpkin pie spice stay in the background instead of taking over. The result is cornbread that still tastes like cornbread, just richer and more plush.
Below you’ll find the small details that matter most: how to keep the crumb tender instead of gummy, why the cast iron skillet makes a difference, and a few smart swaps if you want to adjust the sweetness or dairy.
The honey butter melted into the warm skillet cornbread and the edges came out crisp while the center stayed soft. I baked it in cast iron like you said and it disappeared before dinner was even on the table.
Save this pumpkin cornbread for the day you want a tender, honey-sweet side with crisp skillet edges and whipped honey butter on top.
The Batter Needs to Stop Before It Looks Finished
Pumpkin cornbread goes wrong when the batter gets overmixed. Cornmeal can handle a little texture, but once flour and liquid are beaten together too long, the crumb tightens up and bakes up dense instead of tender. Stir until you no longer see dry flour, then stop. A few streaks are better than a tough slice.
The other trap is adding too much pumpkin. It’s tempting to push the puree higher for more color and moisture, but this recipe already has eggs, milk, butter, and honey working in the same direction. The balance here gives you a soft center with edges that still brown, not a spoonable middle that never sets.
- Cast iron or a metal pan — A preheated cast iron skillet gives the bottom and edges the best color. An 8×8 metal pan still works, but the crust will be a little softer.
- Honey — This sweetens the bread without making it taste candy-like. It also helps the top bake with a faint shine and keeps the crumb moist for a day or two.
- Pumpkin puree — Use plain pumpkin puree, not pumpkin pie filling. Pie filling already contains sugar and spices, which throws off both the sweetness and the texture.
- Baking powder — This is what gives the cornbread lift. If yours has been sitting in the cabinet for ages, test it first, because weak baking powder is the fastest way to get a flat, heavy pan.
What Each Ingredient Is Doing in the Skillet
- Cornmeal — This gives the cornbread its signature texture and keeps it from eating like cake. Yellow cornmeal brings a deeper color and a little more corn flavor than white cornmeal.
- All-purpose flour — The flour holds the structure together so the pumpkin doesn’t make the loaf crumbly. Don’t swap all of it for more cornmeal unless you want a much rougher, more fragile bake.
- Pumpkin puree — It adds moisture, color, and a soft, velvety crumb. If you need to use homemade puree, drain it well first so extra water doesn’t make the center gummy.
- Whole milk — The fat in whole milk keeps the batter richer and smoother. 2% works in a pinch, but skim milk makes the crumb leaner and a little drier.
- Melted butter — Butter gives the cornbread flavor and helps it brown. Let it cool slightly before whisking it in so it doesn’t scramble the eggs.
- Honey butter — The whipped honey butter is worth the extra minute. It melts into the warm cornbread and leans into the pumpkin spice without making the bread itself sweeter.
Getting the Edges Crisp Before the Center Sets
Heat the Pan First
Butter the skillet or pan, then let the oven get fully to 400F before the batter goes in. If you’re using cast iron, the preheated pan starts cooking the bottom immediately, which gives you those darker, crisper edges instead of a pale, soft base. A cold pan works, but the texture won’t be the same.
Mix the Wet and Dry Separately
Whisk the dry ingredients well so the baking powder and spice are evenly distributed, then whisk the wet ingredients until the pumpkin disappears into the milk and eggs. When the two bowls come together, fold them just until combined. The batter should look thick and slightly lumpy, not whipped smooth.
Watch for the Clean Toothpick, Not a Dry Top
Bake until the top is golden and a toothpick comes out clean or with just a few moist crumbs. If you wait for the surface to look completely dry, the center will already be overbaked. Pumpkin cornbread is best when the middle stays soft and the edges pull a little from the pan.
Serve It Warm With the Honey Butter
Whip the softened butter, honey, and cinnamon until fluffy so it spreads easily over the warm cornbread. The heat from the bread softens it into a glossy layer that seeps into the crumb. If you wait until the cornbread is completely cool, the honey butter just sits on top instead of melting in.
Three Ways to Make This Pumpkin Cornbread Your Own
Dairy-Free Version
Use melted coconut oil or a neutral oil in place of the butter, and swap the whole milk for an unsweetened non-dairy milk. You’ll lose a little of the butter-forward flavor, but the crumb stays soft and the pumpkin still carries the moisture.
Less Sweet, More Cornbread
Cut the sugar down to 2 tablespoons and skip the honey in the batter. The cornbread will taste more savory and less cake-like, which is the direction I’d go if you’re serving it with chili or soup.
Gluten-Free Swap
Replace the all-purpose flour with a 1:1 gluten-free baking blend that includes xanthan gum. The texture will be a touch more delicate, but the cornbread still bakes up well if you don’t overmix it.
Extra-Spiced Top
Add a pinch of nutmeg or a little more pumpkin pie spice to the dry ingredients if you want the spice to read more clearly. Keep it restrained, though, because too much spice can flatten the corn flavor and make the cornbread taste like dessert.
Storage and Reheating
- Refrigerator: Store leftovers covered for up to 4 days. The crumb tightens a bit in the fridge, but it stays moist enough to reheat well.
- Freezer: Freeze slices wrapped tightly for up to 2 months. Thaw overnight in the refrigerator before reheating so the center warms evenly.
- Reheating: Warm slices in a 300F oven for about 10 minutes or microwave briefly until just heated through. Don’t blast it on high heat, or the edges turn dry before the center is warm.
Answers to the Questions Worth Asking
Pumpkin Cornbread
Ingredients
Equipment
Method
- Preheat the oven to 400F, then butter a 9-inch cast iron skillet or an 8x8 pan.
- Set the prepared pan aside while you mix the batter.
- Whisk together the yellow cornmeal, all-purpose flour, granulated sugar, baking powder, cinnamon, pumpkin pie spice, and salt until evenly combined.
- Whisk the pumpkin puree, eggs, whole milk, melted unsalted butter, and honey until smooth.
- Fold the wet mixture into the dry mixture just until combined, then pour the batter into the prepared pan.
- Bake for 22-25 minutes at 400F, until the top is golden and a toothpick comes out clean.
- Whip the softened butter with honey and cinnamon until light and spreadable.
- Serve the pumpkin cornbread warm with the whipped honey butter.