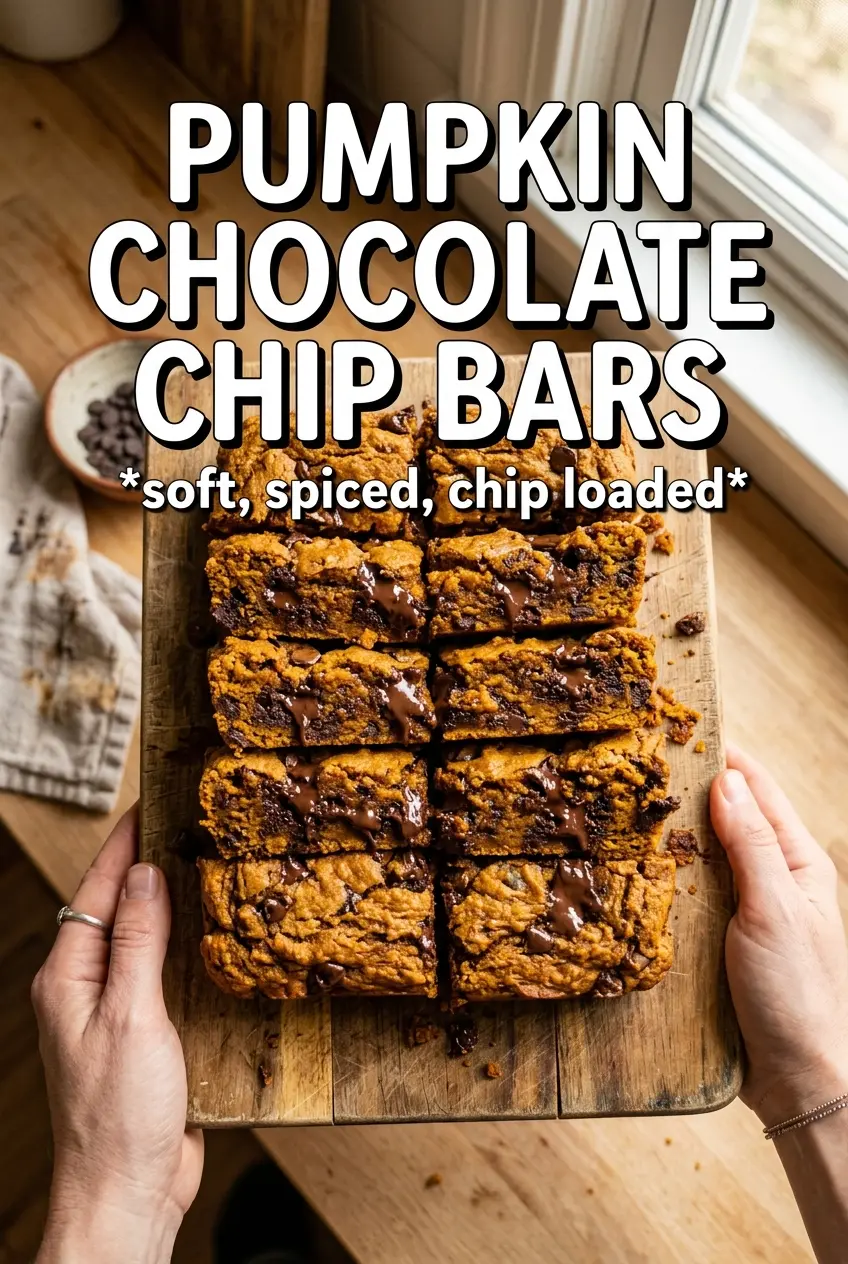
Pumpkin chocolate chip bars bake up thick, soft, and tender with that deep pumpkin spice warmth that keeps pulling people back for another square. The edges set into a light golden frame while the center stays moist and cakey, and the chocolate chips melt into little pockets that break up all that cozy spice with just enough sweetness.
What makes these bars work is the balance between pumpkin puree, oil, and eggs. Pumpkin adds moisture and body, but it doesn’t create the same richness as butter, so the oil keeps the crumb plush instead of dry or tight. The batter also stays on the thicker side, which helps the chips stay suspended all the way through the bars instead of sinking to the bottom.
I’ve included the little details that matter most, like when to stop mixing, how to keep the bars from turning gummy, and the easiest way to get clean squares once they’re cool.
The bars came out so moist and the chocolate stayed in little melted pockets all through the pan. I let them cool like you said and they cut cleanly instead of crumbling, which never happens for me with pumpkin bars.
Save these pumpkin chocolate chip bars for the days when you want a soft, spice-filled dessert with melted chocolate in every bite.
The One Mixing Mistake That Makes Pumpkin Bars Dense
Pumpkin bars can go heavy fast if the batter gets overworked. Once the dry ingredients hit the wet ingredients, the flour starts building structure immediately, and too much stirring pushes the bars toward a tight, bready crumb instead of the soft, tender texture you want.
The other trap is trying to judge doneness by color alone. These bars stay fairly soft and the top may not look dramatically browned, so the better test is the center: it should spring back lightly when touched and a toothpick should come out with a few moist crumbs, not wet batter. Pull them before they look fully set in the pan, because they finish firming as they cool.
- Pumpkin puree — Use pure pumpkin puree, not pumpkin pie filling. Pie filling already has sugar and spices added, which throws off the balance and can make the bars taste overly sweet and muddy.
- Oil — Vegetable oil keeps the crumb soft for days. Butter gives a richer flavor, but it also firms up more after cooling, which changes the texture these bars are known for.
- Chocolate chips — Semi-sweet chips are the best match here because they hold their shape against the spice. Milk chocolate works, but the bars can read sweeter and flatter.
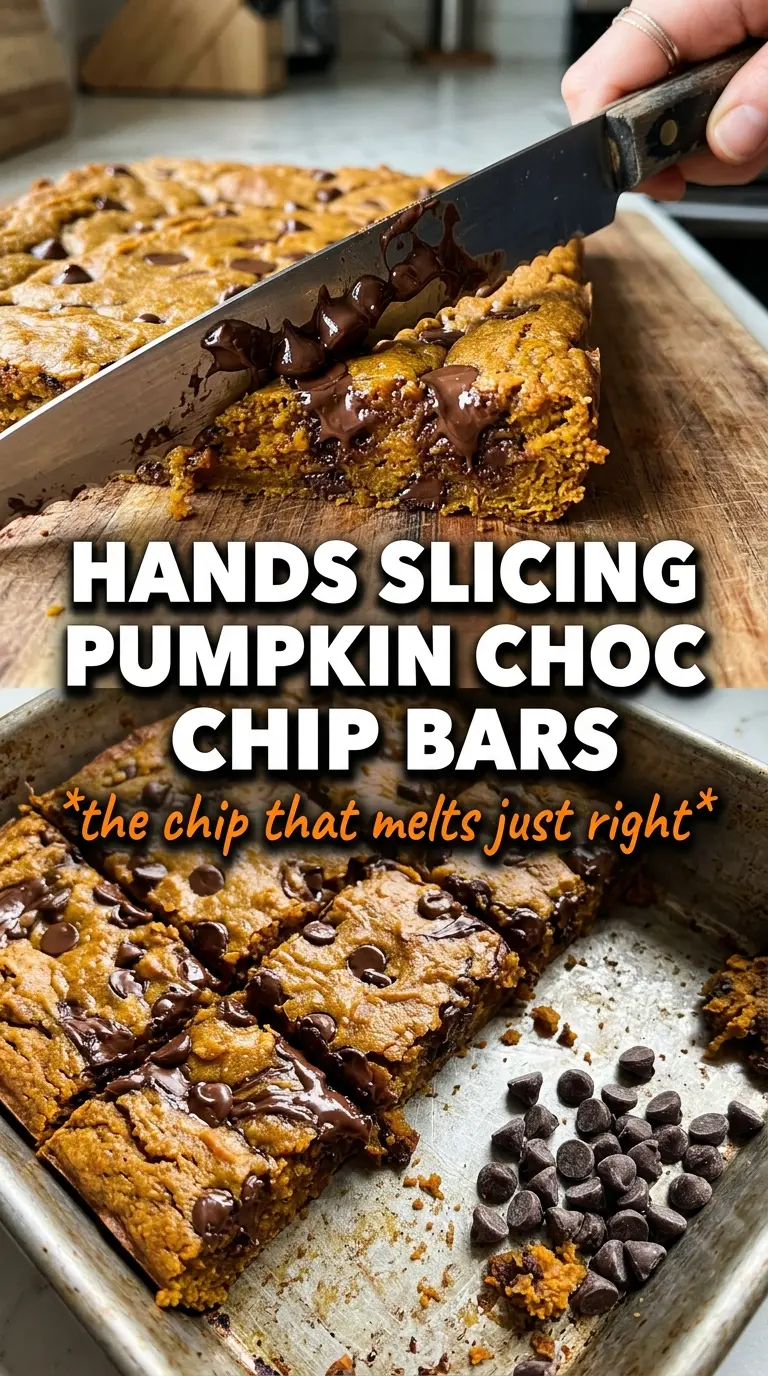
What Each Ingredient Is Actually Doing In These Bars
- All-purpose flour — This gives the bars their structure without making them cakey and dry. A lower-protein flour would make them a little too delicate, while bread flour would make them chewy in the wrong way.
- Pumpkin pie spice and cinnamon — Pumpkin pie spice brings the warm background notes, and the extra cinnamon makes the flavor pop instead of disappearing behind the chocolate. If your spice blend is old, the bars will taste flat even if everything else is right.
- Baking soda and baking powder — Together, they lift the bars just enough so they don’t bake up heavy. The soda helps with browning and balances the pumpkin’s acidity, while the baking powder adds a little extra rise for a softer bite.
- Brown sugar — This adds moisture and a deeper caramel note that plain white sugar can’t give you. The packed measurement matters because loose brown sugar won’t bring the same softness.
- Eggs — They bind the batter and help the bars set in the center. Room temperature eggs mix in more smoothly, but cold eggs still work if you whisk the batter well.
Building The Batter So The Bars Stay Soft, Not Gummy
Whisk the Dry Ingredients First
Start by whisking the flour, spices, baking soda, baking powder, and salt together until the color looks evenly speckled. That step keeps the leaveners from clumping in one bite and the spice from tasting uneven. If you skip it, you can end up with a pocket of baking soda or a bland corner of the pan.
Mix the Wet Ingredients Until Smooth
Whisk the pumpkin, sugars, oil, eggs, and vanilla until the mixture looks glossy and even. You’re not trying to whip air into it; you’re just dissolving the sugar enough that the batter bakes up smooth. If it looks grainy, keep whisking a little longer before adding the flour.
Fold, Don’t Beat
Add the dry ingredients to the wet and fold only until no flour streaks remain, then fold in most of the chocolate chips. The batter will be thick, and that’s exactly what you want. Overmixing at this point can make the bars tough and push the chocolate chips toward the bottom of the pan.
Watch the Center, Not the Clock
Spread the batter evenly in a greased 9×13 pan, scatter the remaining chips over the top, and bake until the edges are set and a toothpick comes out clean or with a few moist crumbs. Oven temperatures vary, so start checking a few minutes early. If the top is browning fast but the center still looks loose, lay a piece of foil loosely over the pan for the last few minutes.
How To Adapt These Bars Without Losing The Texture
Gluten-Free Version With A 1:1 Flour Blend
A good cup-for-cup gluten-free flour blend works here, as long as it includes xanthan gum or a similar binder. The bars will be slightly more tender and a little less structured, so cool them completely before slicing or they’ll crumble at the edges.
Dairy-Free Without Any Extra Work
These bars are already dairy-free as written if your chocolate chips are dairy-free too. That makes them an easy dessert for mixed crowds, and you won’t lose anything in texture because the oil is doing the richness work instead of butter.
Extra-Chocolate Version
Swap up to half the semi-sweet chips for dark chocolate chunks if you want a deeper, less sweet finish. Chunks give you larger melted pockets, while chips stay more evenly distributed, so using both gives the best of both textures.
Storage and Reheating
- Refrigerator: Store in an airtight container for up to 5 days. The bars stay moist, but the chocolate chips will firm up once chilled.
- Freezer: These freeze well. Wrap individual bars tightly and freeze for up to 2 months, then thaw at room temperature so the crumb stays soft instead of drying out.
- Reheating: Warm a bar for 10 to 15 seconds in the microwave if you want the chocolate soft again. Don’t overheat it or the edges can turn dry while the center is still cold.