Pumpkin cheesecake cupcakes bring the best parts of two desserts into one neat little bite: a buttery gingersnap crust, a smooth pumpkin filling, and that cool, tangy cheesecake finish that sets up cleanly in a muffin tin. They hold their shape better than a full cheesecake, but they still eat like something special, with a creamy center and just enough spice to keep each bite interesting.
The trick here is keeping the batter light and the bake gentle. Cream cheese and sugar need to go fully smooth before the eggs join in, or you end up chasing little lumps later. Pumpkin puree and sour cream add body and moisture, but too much mixing after they go in can make the filling dense instead of silky. The gingersnap crust does a lot of work too; it gives you structure, spice, and a crisp base that stands up to the filling without turning soggy.
Below, I’ve included the details that matter most for getting a clean set and a neat swirl of whipped cream on top. If you’ve ever had cheesecake cupcakes crack, slump, or bake up grainy, the notes here will save you a round of guesswork.
The crust stayed crisp under the filling and the centers set up perfectly after chilling. I topped them with a little extra cinnamon and they tasted like mini pumpkin cheesecakes from a bakery.
Love the gingersnap crust and creamy pumpkin center? Save these pumpkin cheesecake cupcakes for your next dessert tray or holiday bake.
The part that keeps these cupcakes from cracking
Cheesecake cupcakes fail for the same reasons full cheesecakes do: too much air in the batter, too much heat, and not enough patience after baking. The filling should look smooth and glossy before it goes into the oven, and it should come out with a slight wobble in the center, not a firm dome. If they look fully set in the oven, they’re already overbaked and the texture will turn dry once chilled.
The other thing that matters here is the crust. Press it firmly enough that it becomes a real base, not loose crumbs sitting under the filling. Gingersnaps give you more flavor than plain graham crackers and they handle the pumpkin spice better, which is why this version tastes deeper and more balanced without needing extra fuss.
- Don’t overmix after the eggs go in. Once the eggs are added, mix only until they disappear. Too much beating pulls in air, and air is what gives you cracks and puffed tops that sink later.
- Bake until the centers still move a little. A slight wobble in the middle means the residual heat will finish the job as they cool. The cupcakes should not look wet, but they should still jiggle when you tap the pan.
- Chill them before topping. The whipped cream stays cleaner and the texture gets smoother after the cupcakes have had time to rest in the refrigerator. Warm cheesecake will soften the topping and make the crust less crisp.
What each ingredient is actually doing in this dish
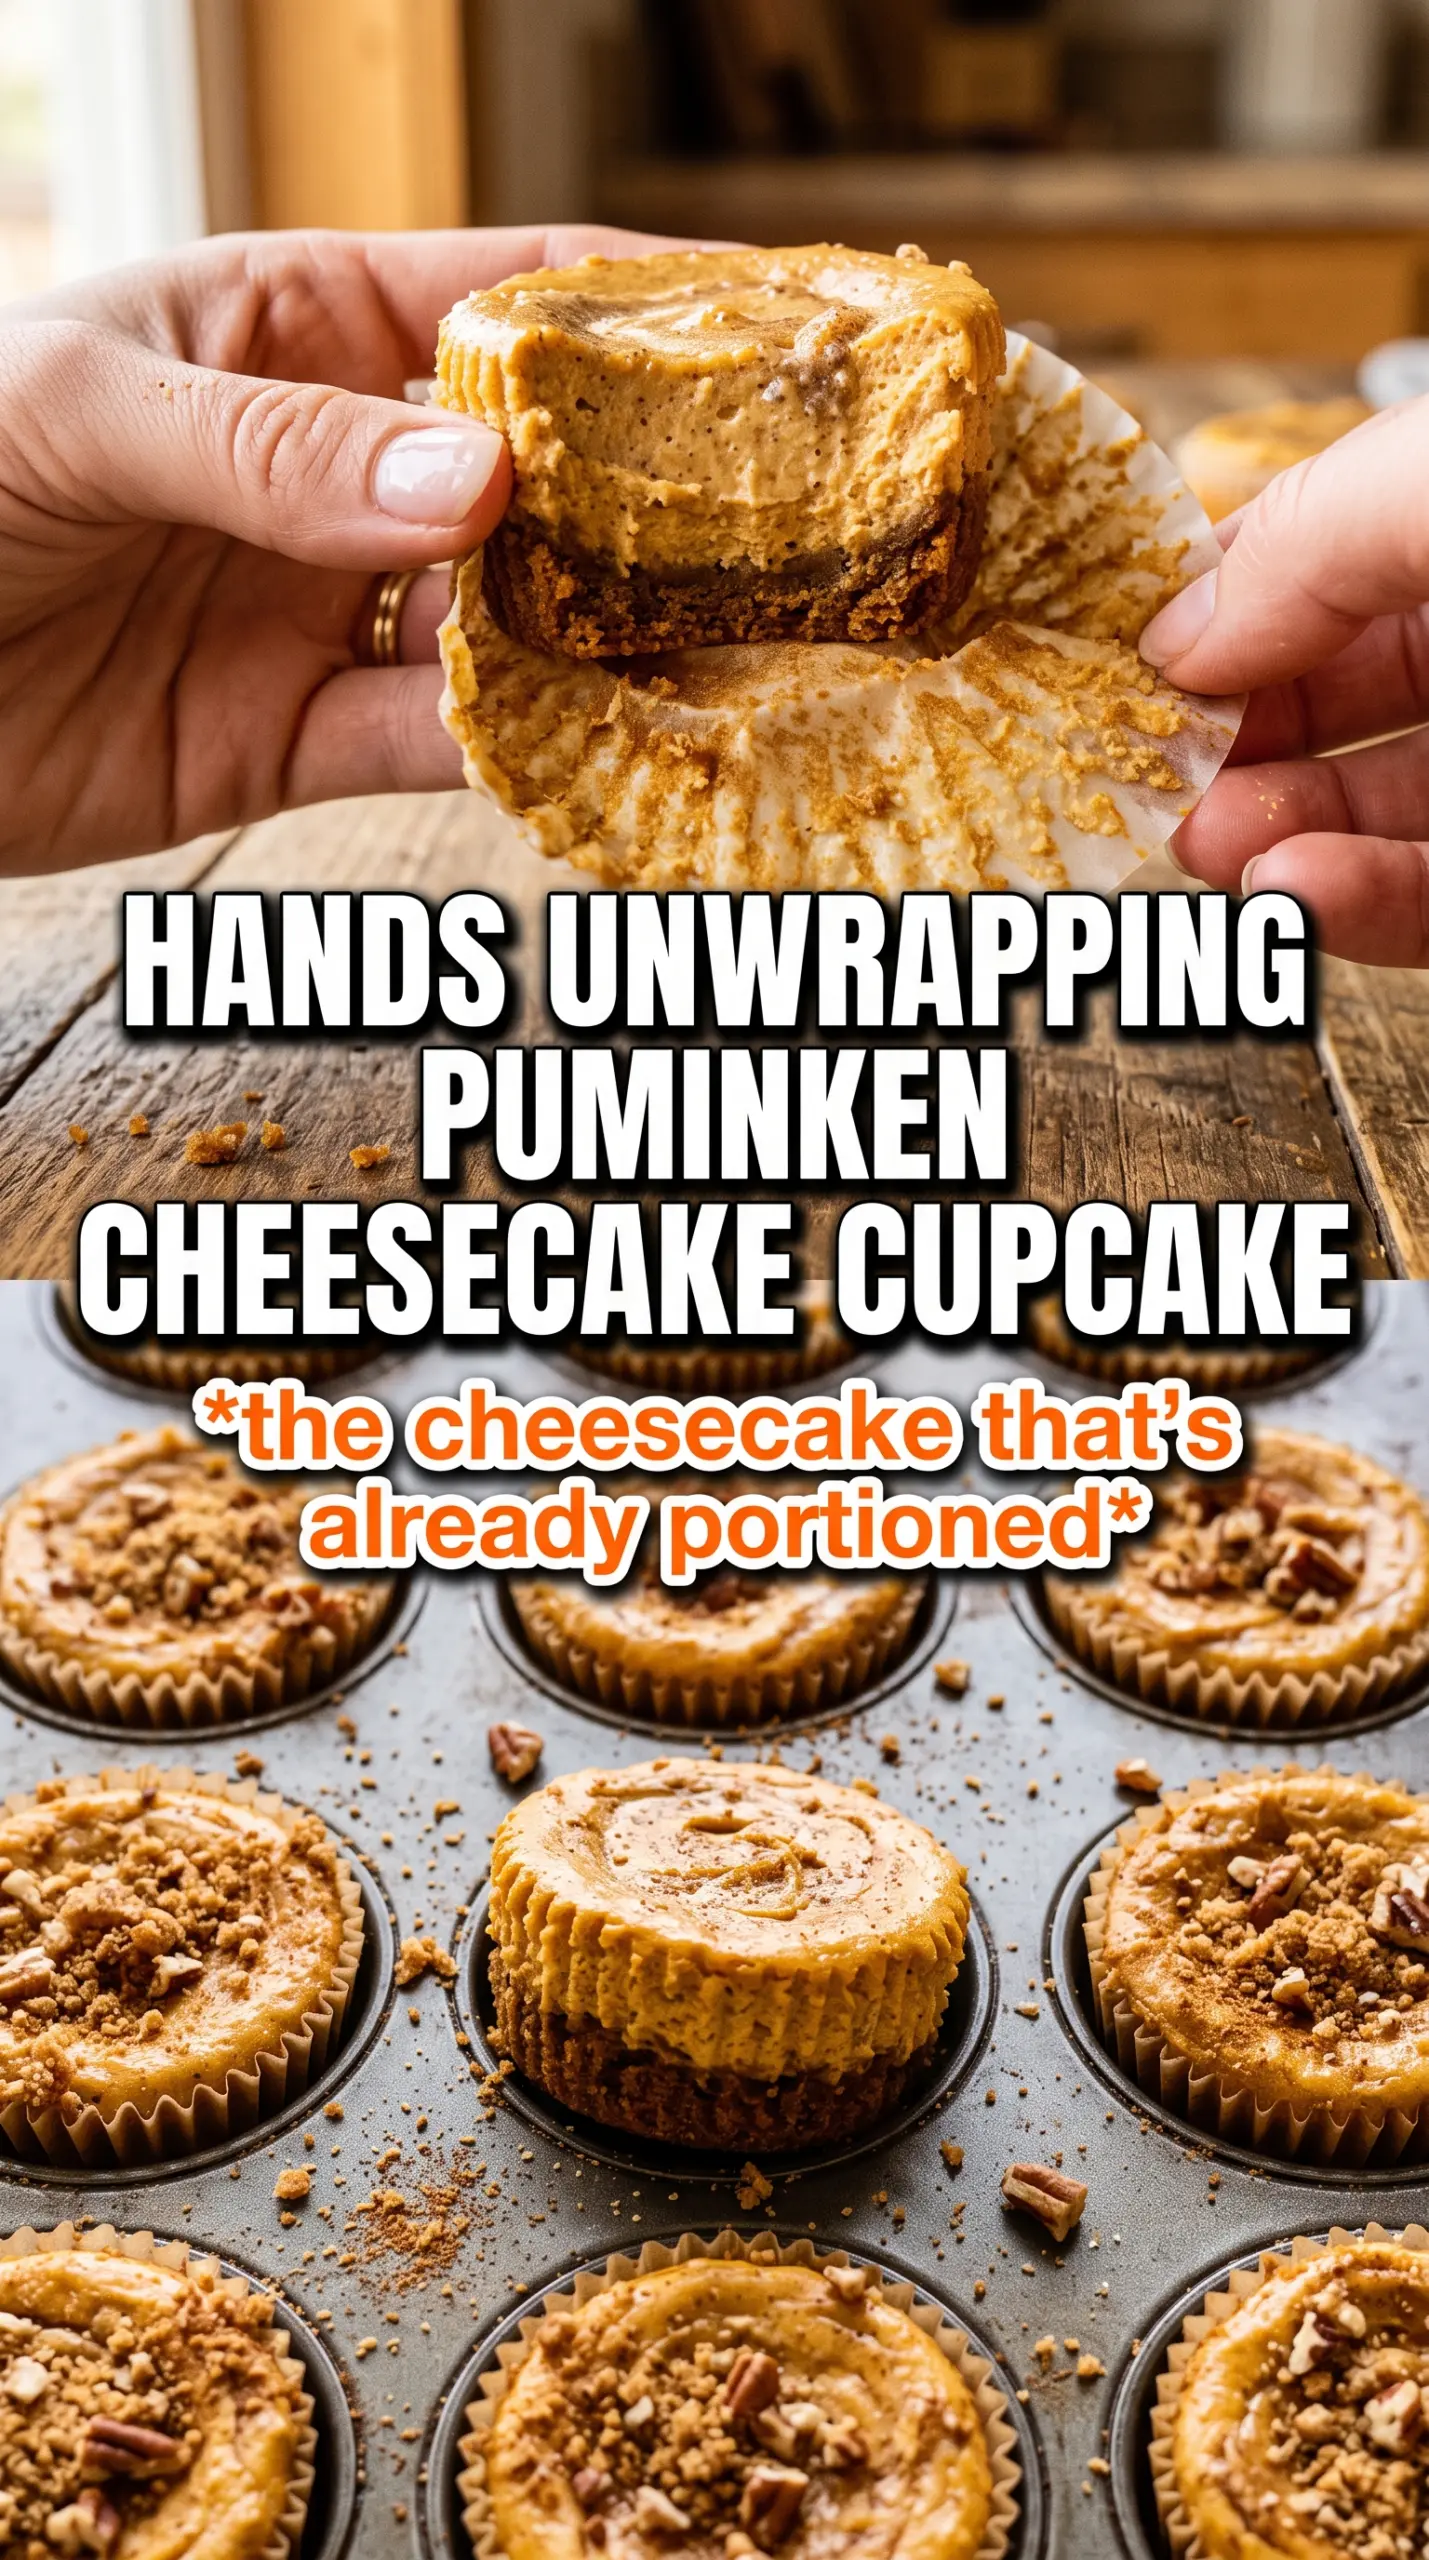
- Gingersnap crumbs — These bring spice and structure at the same time. Graham crackers work in a pinch, but they taste milder; gingersnaps give the crust a sharper, warmer edge that plays better with pumpkin.
- Cream cheese — Use full-fat cream cheese for the smoothest set and the best tang. Low-fat versions can turn loose and a little grainy, especially after chilling.
- Pumpkin puree — Use pure pumpkin, not pumpkin pie filling. The puree gives body and color without extra sugar or spices that would throw off the balance.
- Sour cream — This keeps the filling from tasting heavy and helps the texture stay supple after chilling. Plain Greek yogurt can work, but the result is a little sharper and less plush.
- Pumpkin pie spice and cinnamon — The spice blend carries the pumpkin flavor, while extra cinnamon rounds it out. If your pumpkin pie spice is old, the filling will taste flat, so use a fresh jar if you can.
Building the filling so it bakes up smooth
Pressing the crust first
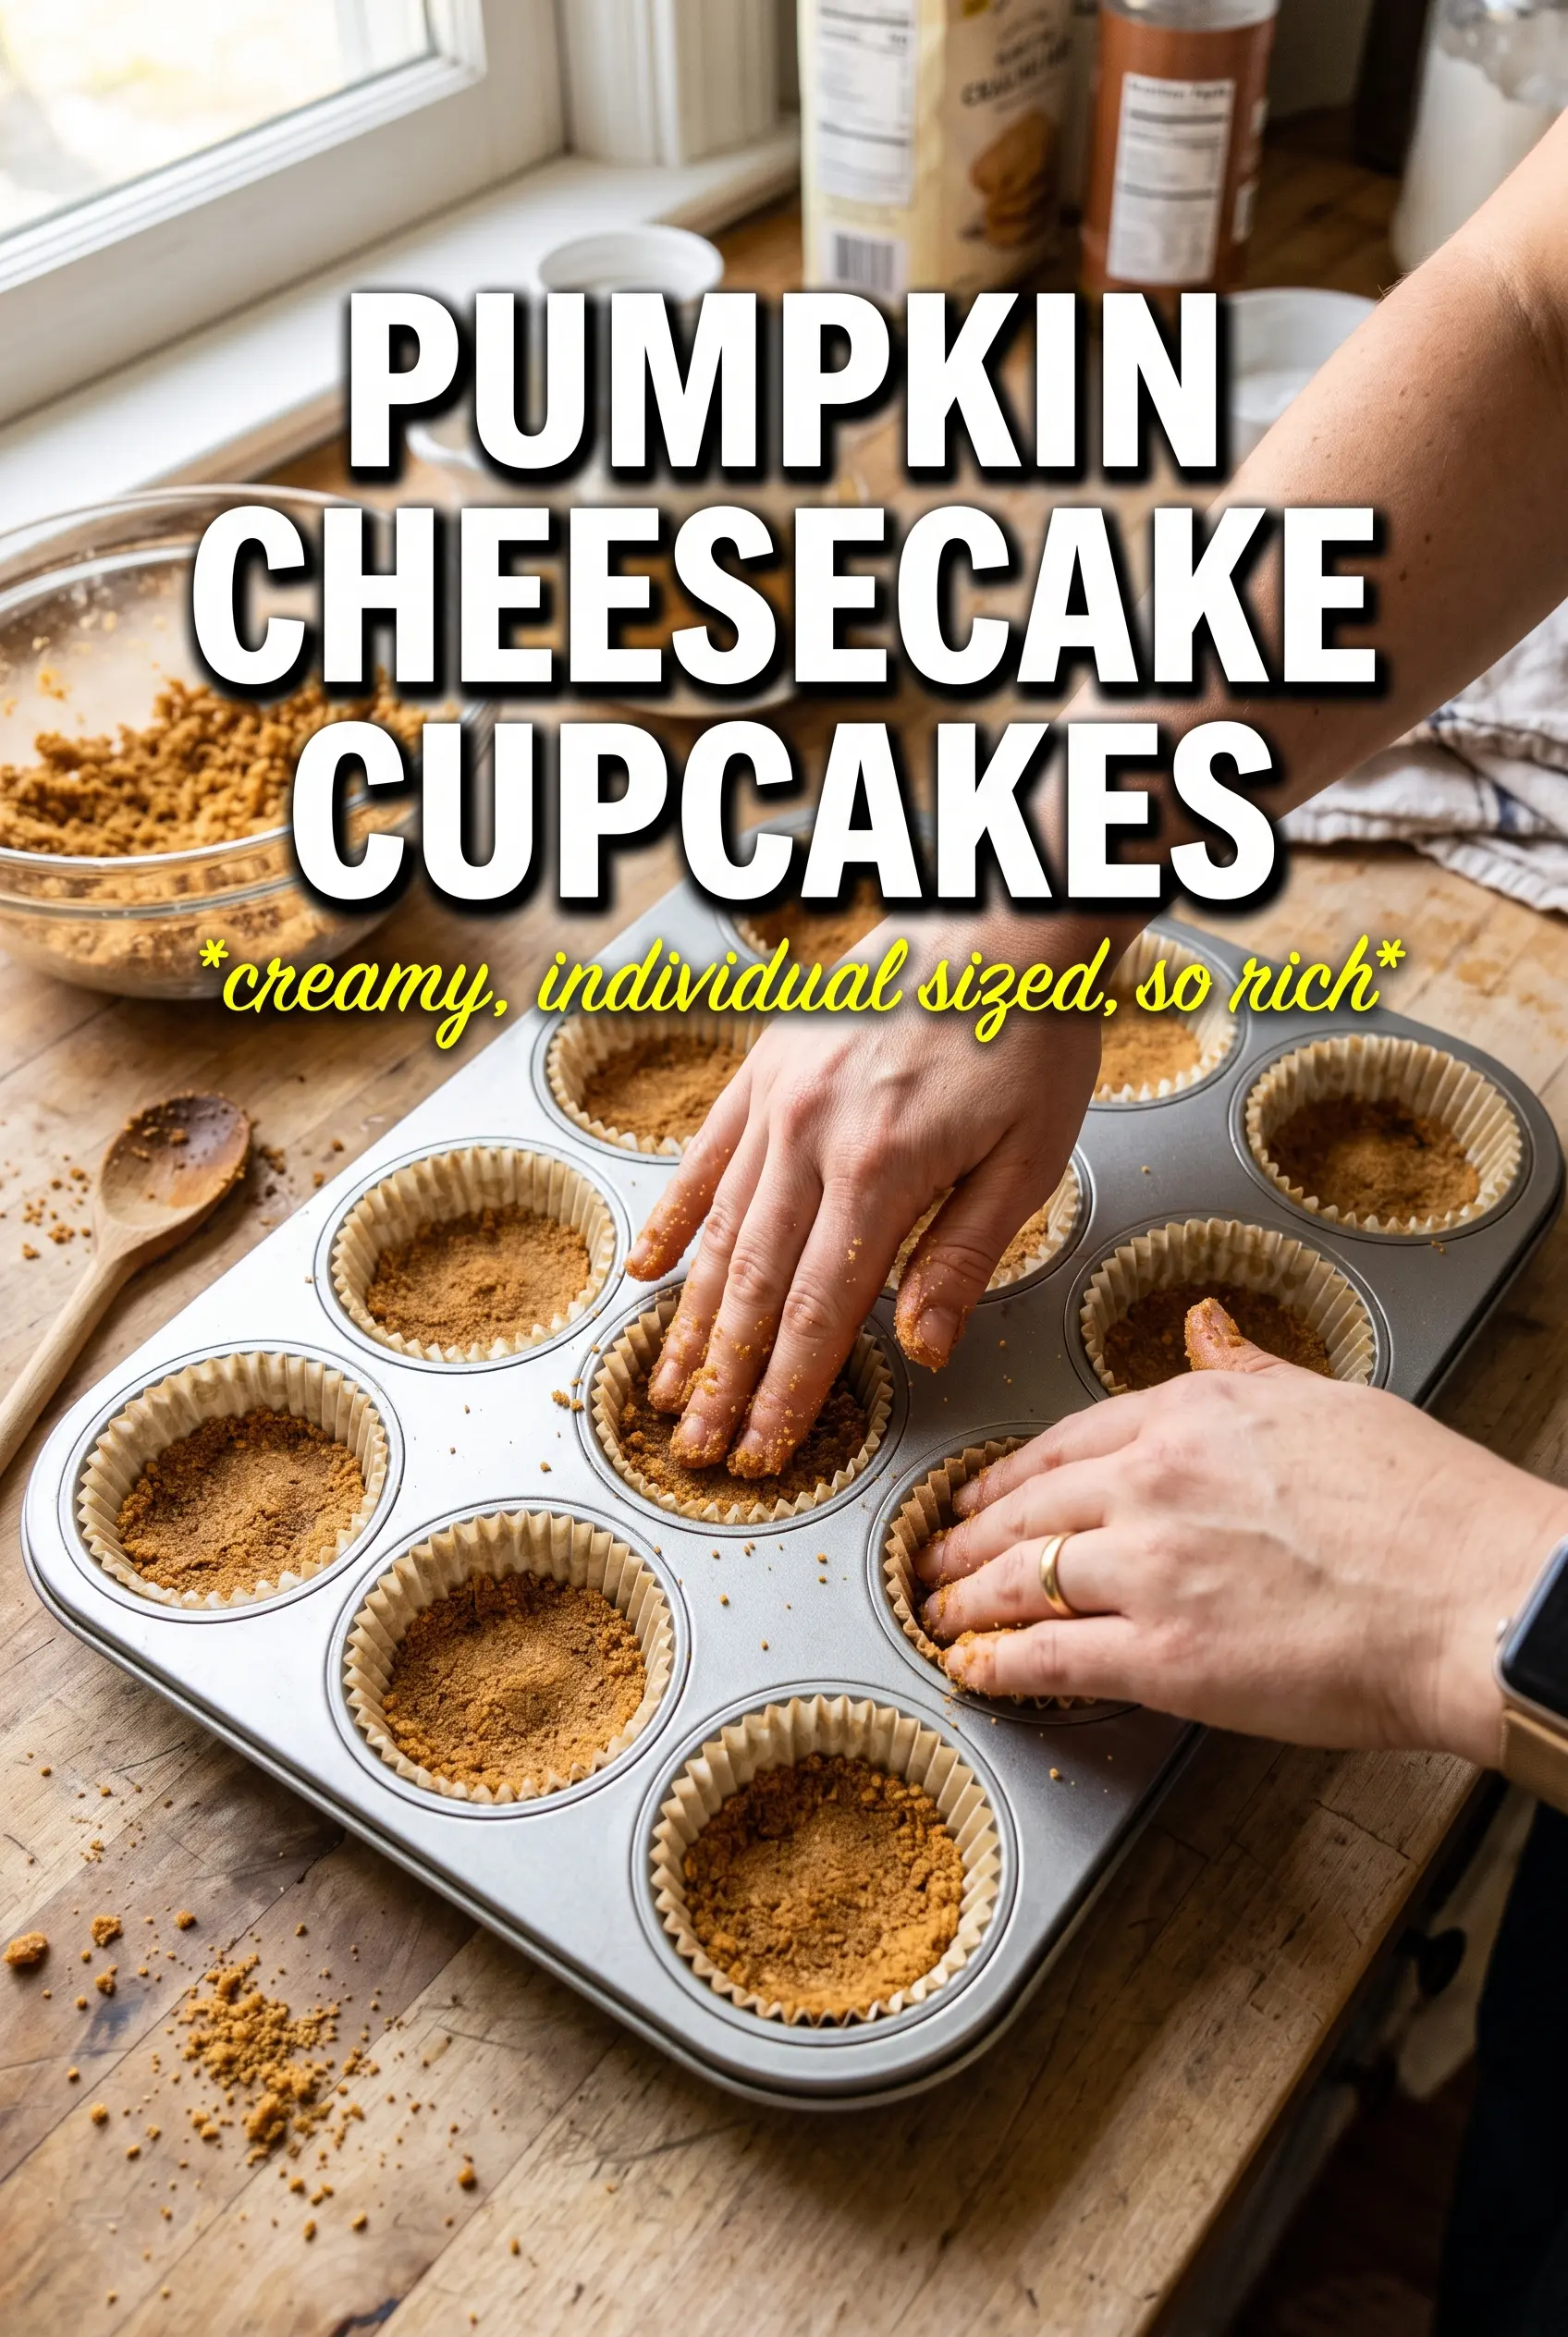
Mix the gingersnap crumbs, melted butter, and sugar until every crumb looks evenly damp, then press the mixture firmly into each liner. Use the bottom of a small glass or measuring spoon to pack it down; loose crumbs will scatter when you bite in. The goal is a thin, even layer that stays put under the filling and crisps up as it bakes.
Making the cheesecake base
Beat the cream cheese and sugar until the mixture looks completely smooth and no pale lumps remain. This is the stage that determines whether the cupcakes bake silky or speckled, so scrape the bowl well and keep going until the batter looks glossy. Add the eggs one at a time and stop mixing as soon as each one disappears.
Finishing with pumpkin and spice
Stir in the pumpkin puree, sour cream, pumpkin pie spice, cinnamon, and vanilla just until the batter is uniform. The filling will look thick but pourable, and that’s exactly right. Divide it among the liners until they’re nearly full, leaving a little space so the tops can set without spilling over.
Cooling and chilling without rushing it
Bake just until the centers have a slight wobble, then let the cupcakes cool completely before moving them to the refrigerator. If you try to chill them while they’re still warm, condensation can soften the crust and dull the texture on top. After about 3 hours in the fridge, they’ll be firm enough to top with whipped cream and a dusting of cinnamon.
How to adapt these without losing the texture
Gluten-free crust swap
Use certified gluten-free gingersnaps or gluten-free graham crackers in the crust. The texture stays nearly the same as long as the crumbs are fine and the butter is measured carefully, though some gluten-free cookies need an extra minute in the oven to firm up.
Dairy-free version
Use a dairy-free cream cheese that bakes well and swap the sour cream for a thick dairy-free yogurt. The filling won’t taste exactly the same, but you’ll still get a creamy center if you avoid very soft brands that loosen too much in the oven.
Mini muffin pan version
For bite-size cheesecakes, reduce the bake time and watch for the same slight wobble in the center. The crust ratio gets even better in smaller cups, but the filling sets faster, so start checking early and pull them before the tops puff or dry out.
Storage and Reheating
- Refrigerator: Store covered for up to 4 days. The crust softens a little after day one, but the filling stays creamy.
- Freezer: They freeze well without the whipped cream topping. Wrap each cupcake tightly and freeze for up to 1 month, then thaw overnight in the refrigerator.
- Reheating: These are best served cold, not warmed. If they’ve been frozen, thaw them slowly in the fridge so the filling doesn’t turn watery.
Answers to the questions worth asking
Pumpkin Cheesecake Cupcakes
Ingredients
Equipment
Method
- Preheat the oven to 325F, then line a 18-cup muffin tin with paper liners.
- Mix the gingersnap crumbs, melted butter, and sugar until the crumbs look evenly coated.
- Spoon a small amount of crust mixture into each liner and press firmly to form the base.
- Beat the cream cheese and granulated sugar until smooth, scraping the sides as needed.
- Add the eggs one at a time, mixing just until each is incorporated.
- Stir in the pumpkin puree, sour cream, pumpkin pie spice, cinnamon, and vanilla until smooth.
- Divide filling among the liners, filling each nearly full.
- Bake for 20-22 minutes, until the centers are just set with a slight wobble.
- Cool the cupcakes completely before chilling.
- Refrigerate the cupcakes for 3 hours to set the cheesecake filling.
- Top each cupcake with whipped cream and dust with cinnamon right before serving.