Pumpkin brownies hit that sweet spot between fudgy and creamy that keeps people reaching back for another square. The brownie layer stays dense and dark, while the pumpkin cheesecake swirl bakes into soft, tangy ribbons on top. The result feels a little more special than a standard pan of brownies, but it still slices cleanly and disappears fast from a dessert table.
What makes this version work is the contrast. The brownie batter starts with melted butter and chocolate, which gives you that glossy, rich base without a lot of extra fuss. The pumpkin layer is mixed separately until smooth, then swirled lightly so it bakes into distinct marbled pockets instead of sinking into the chocolate. That gentle swirl is the difference between a pretty pan and a muddy one.
Below, I’ll show you how to keep the brownie layer fudgy, how far to swirl the pumpkin mixture, and what to do if you want to make these a day ahead. Once you’ve made them once, the method is easy to repeat.
The pumpkin swirl baked up creamy and stayed on top instead of disappearing into the brownies. I pulled them at 34 minutes and got that perfect fudgy center with clean edges once they cooled.
Like the fudgy brownie base and marbled pumpkin cheesecake swirl? Save these Pumpkin Brownies for the next time you want a rich dessert that slices neatly and looks bakery-made.
The Swirl Has to Stay Separate
The biggest mistake with pumpkin brownies is overmixing the two batters together. Once the pumpkin mixture gets folded into the chocolate too aggressively, you lose the marbled look and end up with a heavier, more uniform bar that tastes fine but looks dull. The goal here is distinct layers that bake into each other at the edges while staying visibly separate in the center.
The brownie batter should be thick enough to spread, not pour like cake batter. That thickness helps it support the pumpkin dollops instead of letting them sink. When you drag a knife or skewer through the pan, stop while the swirl still looks obvious. If you chase perfect spirals too long, the batters blend and the top loses contrast.
- Butter and dark chocolate — This is the backbone of the fudgy base. Dark chocolate gives the brownies depth and keeps the pumpkin from making the whole pan taste too sweet. Semi-sweet chocolate works in a pinch, but the result will be a little lighter and less intense.
- Brown sugar — The brown sugar helps lock in moisture and adds a subtle caramel note that plays well with pumpkin spice. Granulated sugar alone will still work, but the brownies will be a touch less plush.
- Cream cheese — Don’t swap this out if you want the swirl to taste like cheesecake. It gives the pumpkin layer body, tang, and enough structure to sit on top of the brownie batter instead of melting into it.
- Pumpkin puree — Use plain pumpkin puree, not pumpkin pie filling. Pie filling already contains sugar and spice, which throws off the balance and makes the swirl looser.
- Cocoa powder — Cocoa deepens the chocolate flavor without adding extra fat. Natural cocoa is fine here, and Dutch-process works too if that’s what you keep in the pantry.
What Each Ingredient Is Actually Doing in This Recipe
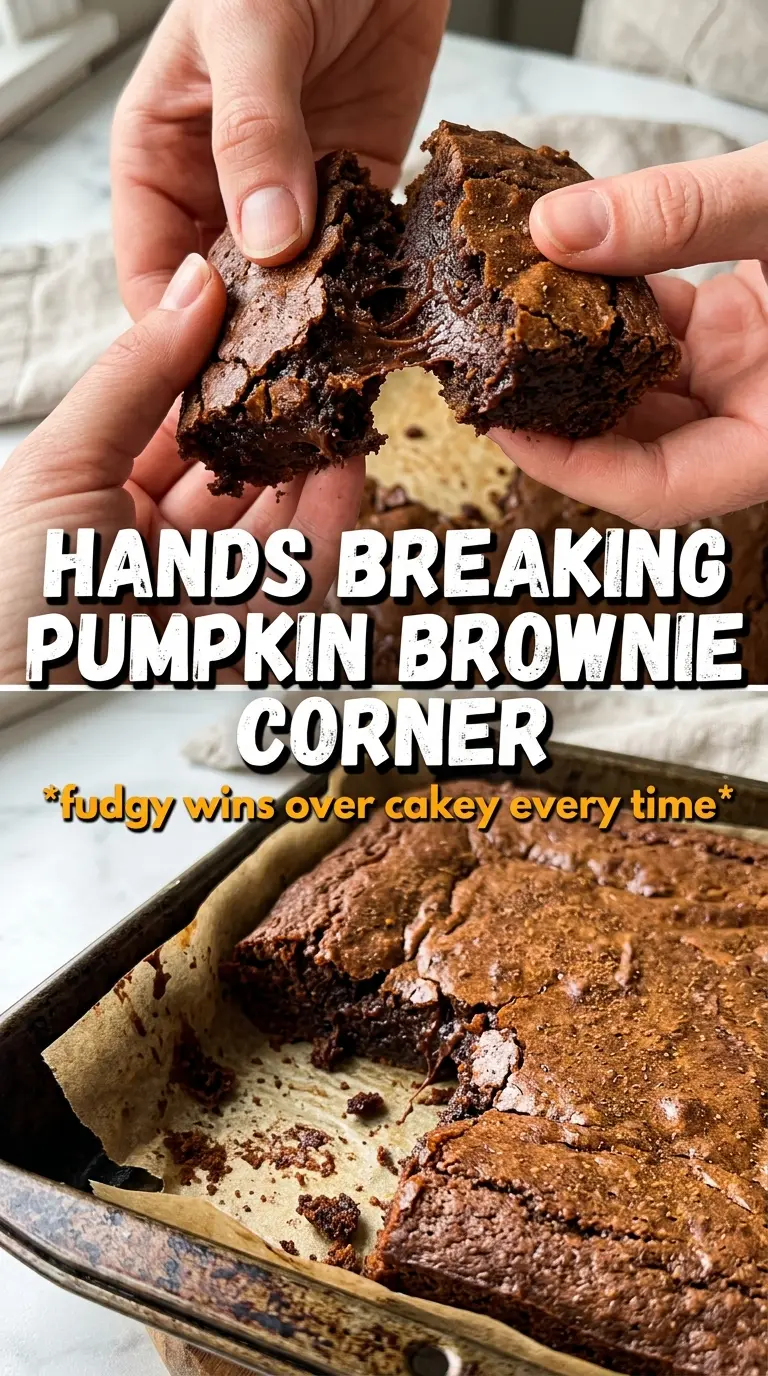
- Primary ingredient (the star) — Quality matters most. Choose the best you can find.
- Cooking medium (oil, butter, or broth) — This carries flavors and prevents dryness.
- Seasonings (salt, pepper, spices, herbs) — Layer flavors so nothing overpowers. Build depth gradually.
- Aromatics (garlic, onion, herbs) — Cook with fat to bloom flavors. Become the foundation.
- Supporting ingredients — Complement the main ingredient without overpowering it.
- Sauce or liquid (if applicable) — Brings flavors together. Balance richness with acid.
- Acid (lemon, vinegar, wine, or other) — Brightens and prevents flat-tasting results.
- Final finish (garnish, glaze, or sauce) — Prevents one-dimensional taste and adds visual appeal.
Getting the Marbled Top Without Overbaking the Center
Melting the Chocolate Base
Melt the butter and chopped chocolate together until the mixture is glossy and smooth, then let it cool for about 10 minutes before adding the eggs. If it’s too hot, the eggs can curdle and the batter turns grainy instead of silky. You want warm, not hot. When you whisk in the sugars, the mixture should look thick and shiny, like the start of a dense brownie batter.
Building the Brownie Batter
Fold in the flour, cocoa, and salt just until no dry streaks remain. Stop there. Overmixing at this stage develops too much structure and pulls the brownies toward cakey. The batter should look heavy and smooth, and it should take a little effort to spread into the pan.
Making the Pumpkin Swirl
Beat the cream cheese, pumpkin puree, sugar, egg, spice, cinnamon, and vanilla until completely smooth before dolloping it over the brownie layer. If the cream cheese stays lumpy, those bits won’t disappear in the oven. Spoon it across the surface in even blobs, then use a knife to make a few slow figure-eight passes. You’re aiming for ribbons, not full blending.
Knowing When to Pull the Pan
Bake until the edges are set and a toothpick in the center comes out with moist crumbs, not wet batter. The center should still look just a little soft when you take it out, because it keeps cooking as it cools. If you wait until the middle looks completely firm in the oven, the brownies will land dry. Cool them all the way before slicing, or the swirl layer will smear and the bars will crumble.
Make Them Gluten-Free
A good 1:1 gluten-free flour blend works here because the recipe already has plenty of fat and structure from the eggs and chocolate. The bars may be a little more delicate when warm, so let them cool completely before cutting. Avoid almond flour as a straight swap; it changes the texture too much and the brownies won’t set the same way.
Go Dairy-Free
Use dairy-free butter and a dark chocolate that doesn’t contain milk solids for the brownie base, then swap in a dairy-free cream cheese for the swirl. The flavor will still be rich, but the cheesecake layer may bake a little softer. Keep the cooling time the same so the center has a chance to firm up before slicing.
Dial the Pumpkin Spice Up or Down
The cinnamon and pumpkin pie spice give the swirl its warm bakery note, but you can shift the balance depending on what you like. Add an extra 1/4 teaspoon of pumpkin pie spice for a bolder finish, or reduce the cinnamon slightly if you want the chocolate to stay front and center. The pumpkin layer will still taste like pumpkin either way.
Storage and Reheating
- Refrigerator: Store in an airtight container for up to 5 days. The pumpkin cheesecake layer firms up in the fridge, which actually makes the squares slice more cleanly the next day.
- Freezer: These freeze well. Wrap individual squares tightly and freeze for up to 2 months, then thaw in the refrigerator overnight.
- Reheating: Warm a square for 10 to 15 seconds in the microwave if you want the chocolate softer. Don’t overheat it or the swirl can turn greasy and the center loses that fudgy texture.
Answers to the Questions Worth Asking
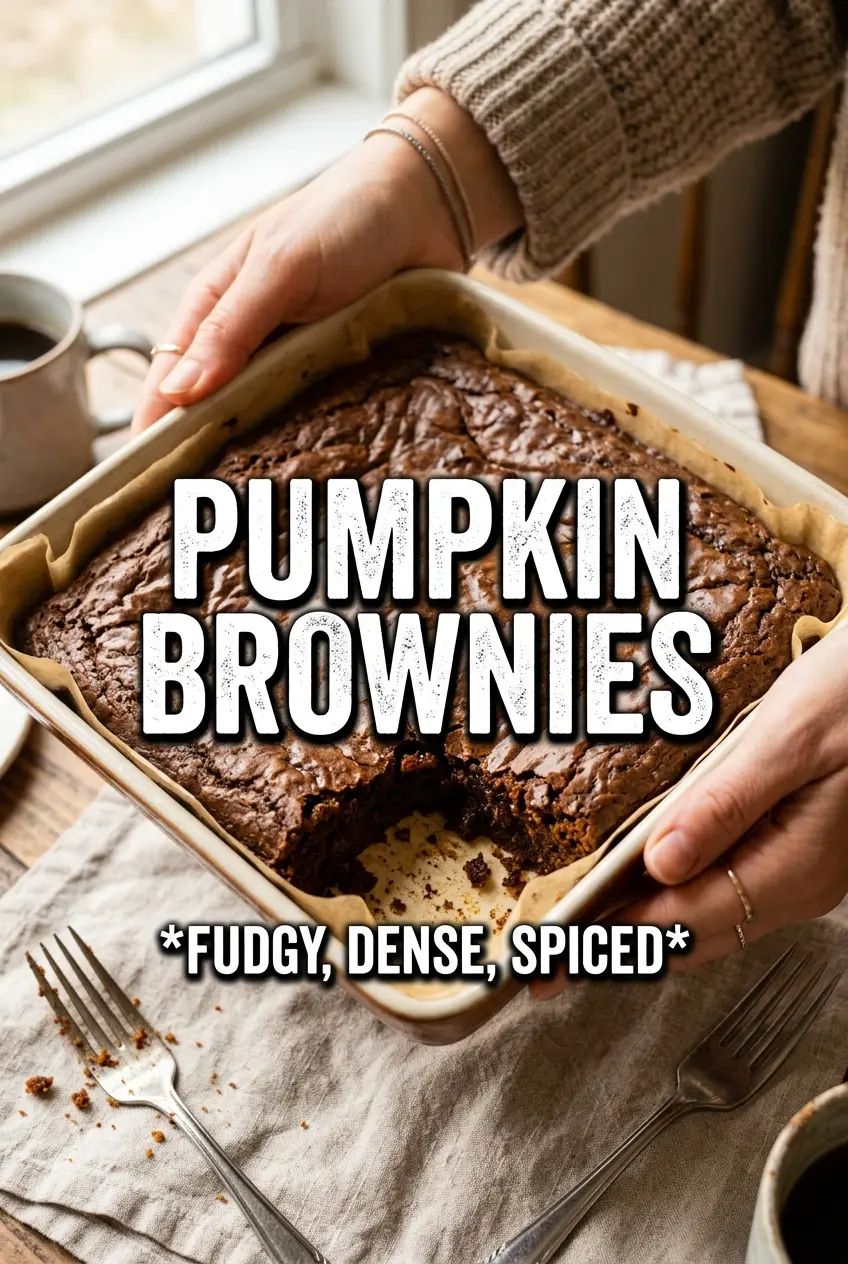
Pumpkin Brownies
Ingredients
Equipment
Method
- Preheat oven to 350F and line a 9x13 pan with parchment, ensuring the paper overhangs for easy lifting. Visual cue: parchment should fully cover the bottom so the brownies release cleanly.
- Melt unsalted butter and chopped dark chocolate together, then cool for 10 minutes. Visual cue: mixture should look smooth and glossy before cooling.
- Whisk in granulated sugar, packed brown sugar, eggs, and vanilla until combined. Visual cue: batter should thicken slightly and turn glossy.
- Fold in all-purpose flour, cocoa powder, and salt just until no dry streaks remain. Visual cue: batter should look thick and cohesive, not runny.
- Spread the brownie batter in the prepared pan in an even layer. Visual cue: corners should be filled and the top should look level.
- Beat softened cream cheese, pumpkin puree, granulated sugar, egg, pumpkin pie spice, cinnamon, and vanilla until smooth. Visual cue: the swirl mixture should be free of lumps and pour smoothly.
- Dollop the pumpkin swirl over the brownie batter. Visual cue: spoonfuls should sit on top in a visible layer rather than sinking completely.
- Swirl gently with a knife to create a marbled pattern across the surface. Visual cue: thin streaks of orange should run through the chocolate base.
- Bake for 30-35 minutes at 350F until the edges are set and a toothpick comes out with moist crumbs. Visual cue: center should still look slightly soft while the perimeter looks baked.
- Cool completely before cutting to prevent smearing. Visual cue: the surface should lose its sheen and feel firm to the touch.