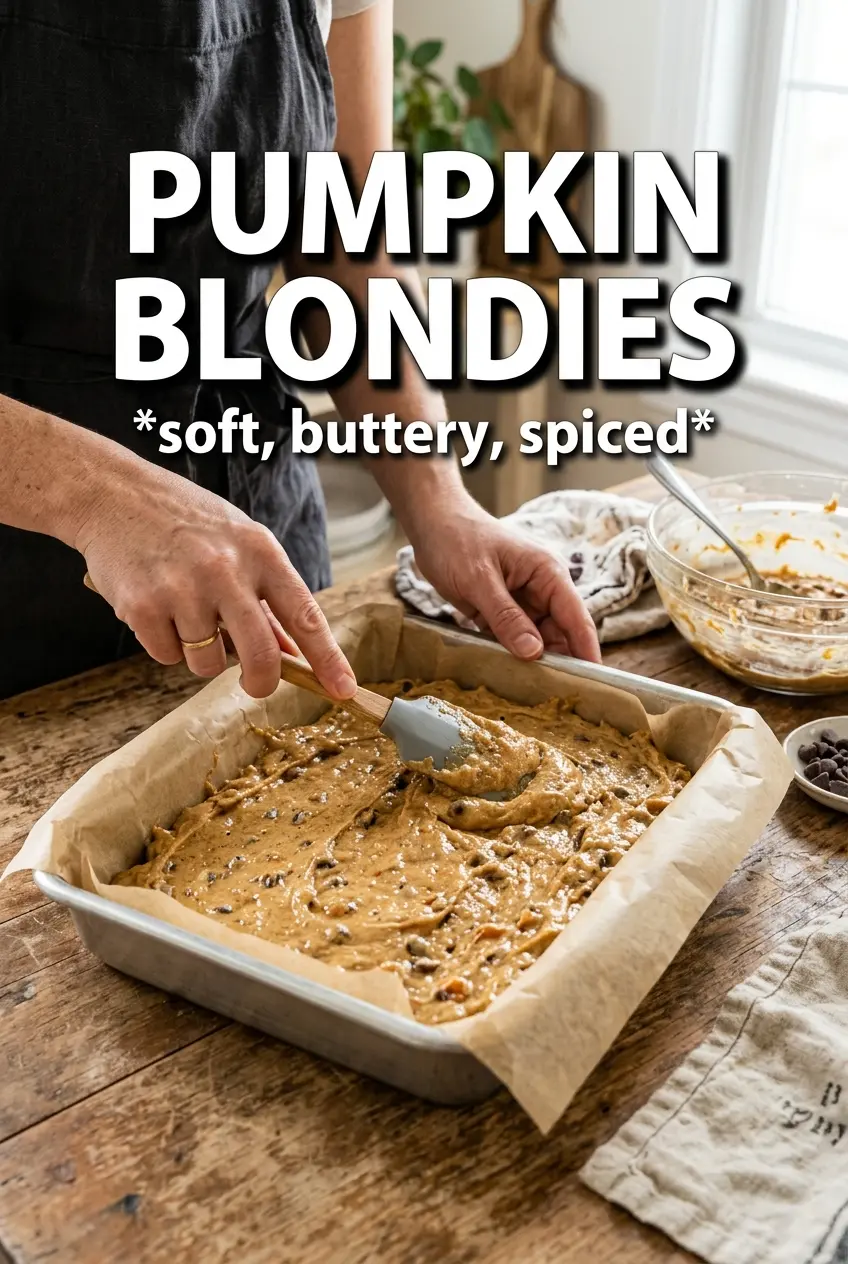
Pumpkin blondies bake up with the kind of chewy center and crisp-edged top that makes it hard to stop at one square. The pumpkin keeps them tender, but the browned butter and brown sugar pull the flavor toward toasted caramel instead of cake. That balance is what makes this version worth repeating.
The trick is keeping the pumpkin in check. A little goes a long way, and blotting it dry keeps the bars dense instead of soft and bready. Browning the butter adds depth that plain melted butter just can’t give, and the caramel drizzle at the end turns each square into something that feels a little more special without adding any extra fuss.
Below, I’m walking through the part that matters most: how to keep blondies chewy instead of cakey, how to handle the pumpkin so it doesn’t water down the batter, and the small finishing touch that makes the salt-and-caramel topping shine.
The browned butter made these taste almost like caramel candy bars, and blotting the pumpkin really did keep them chewy instead of cake-like. My pan disappeared by the next day.
Save these pumpkin blondies for the chewy brown-butter bars with caramel drizzle and flaky sea salt.
The Trick to Keeping Pumpkin Blondies Chewy, Not Cakey
Blondies get cakey fast when there’s too much moisture in the batter, and pumpkin is usually the thing that pushes them over the edge. That’s why the pumpkin puree gets blotted dry before it goes in. You’re not trying to remove every trace of moisture, just enough so the bars stay dense, fudgy, and sliceable once they cool.
Browning the butter matters here too. It gives the batter a toasted, nutty backbone that keeps the pumpkin from tasting flat, and it helps these bars feel more like a dessert with depth instead of a one-note spice bar. Don’t rush the cooling time after browning the butter. If it’s too hot, it can loosen the eggs and make the batter greasy.
- Browned butter — This is the flavor engine. Once it smells nutty and the milk solids turn amber, take it off the heat right away so it doesn’t tip from browned to burnt.
- Pumpkin puree — Use pure pumpkin, not pumpkin pie filling. Blotting it dry on paper towels keeps the crumb tight instead of soft and bready.
- Brown sugar — Packed brown sugar gives these bars their chew and that almost caramel-like finish. Light or dark brown sugar both work; dark brown sugar makes them a little deeper and more molasses-forward.
What Each Ingredient Is Actually Doing in These Bars
- All-purpose flour — Gives the bars structure without making them heavy. A one-for-one gluten-free baking blend can work, but the texture will be a little more delicate.
- Baking powder — Just enough lift to keep the bars from feeling dense. Too much would make them puff like cake instead of baking into blondies.
- Pumpkin pie spice and cinnamon — These layer the warm spice notes over the browned butter. If your spice blend is old, the bars will taste flat, so this is one place where freshness matters.
- Vanilla — It rounds out the brown sugar and pumpkin. Don’t skip it; this is one of those recipes where vanilla keeps the whole thing from tasting one-dimensional.
- Caramel sauce and flaky sea salt — This is the finish that makes the bars stand out. The caramel adds sticky sweetness, and the salt keeps each bite from leaning too sweet.
Building the Batter So the Center Stays Dense and Chewy
Brown the butter first
Melt the butter over medium heat and keep cooking until the foam drops and the milk solids sink to the bottom and turn golden brown. You want a nutty smell and amber flecks, not dark bits that smell sharp or bitter. Pull it off the heat and let it cool for about 10 minutes so it’s warm, not hot, before you mix in the sugar.
Mix the wet ingredients until smooth
Whisk the browned butter and brown sugar until the mixture looks glossy and a little thickened, then add the blotted pumpkin, eggs, and vanilla. The batter should look smooth and cohesive at this point. If the eggs go in while the butter is still too hot, they can start to curdle, and that throws off the final texture.
Fold, don’t beat, once the flour goes in
Add the dry ingredients and stir just until no streaks of flour remain. Overmixing is the fastest way to tough blondies because it builds too much gluten and makes the bars springy instead of chewy. Spread the batter evenly in the pan and smooth the top so it bakes consistently.
Watch for the set edges
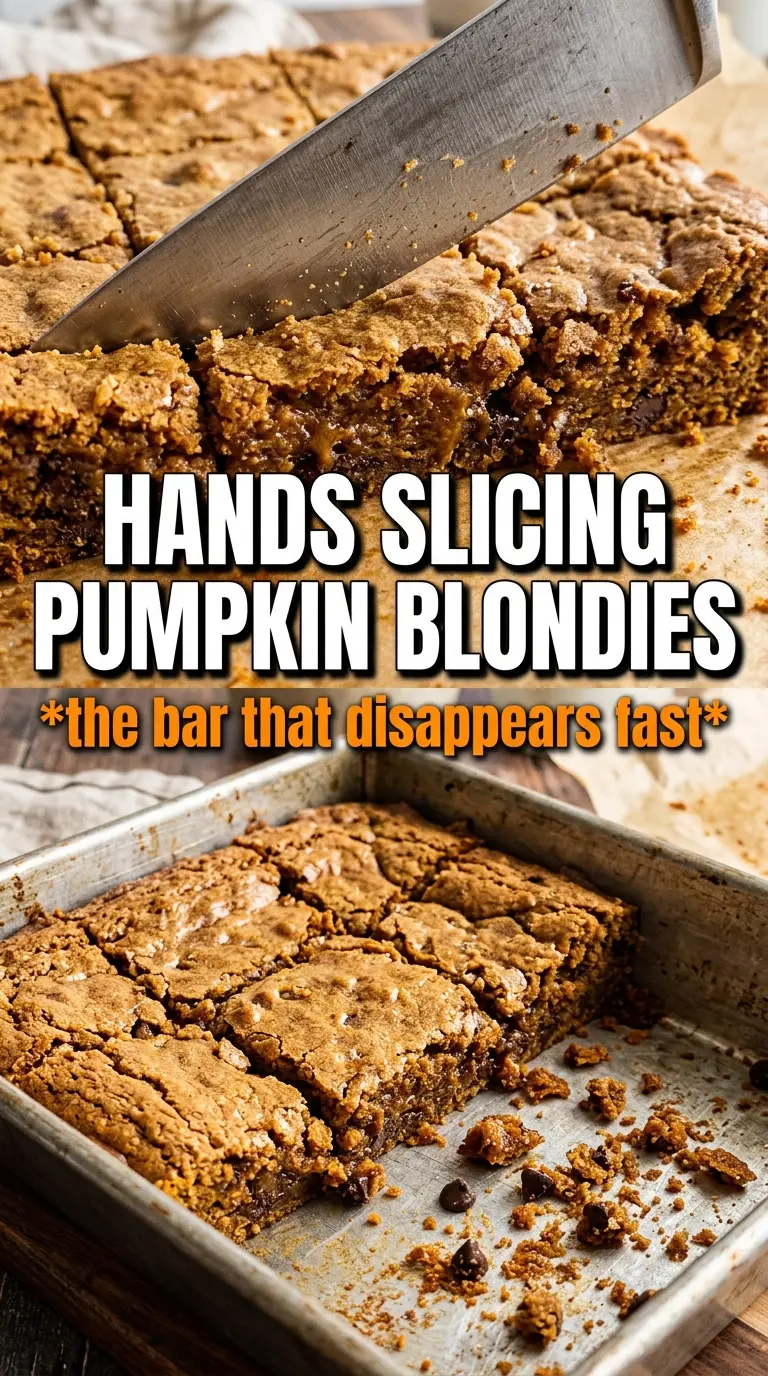
Bake until the edges look set and the center still has a slight softness when you nudge the pan. A toothpick should come out with a few moist crumbs, not clean and dry. If you wait for a perfectly dry tester, the bars will be overbaked by the time they cool.
Three Ways to Make These Pumpkin Blondies Fit Your Kitchen
Dairy-Free Pumpkin Blondies
Use a dairy-free butter that browns well, or a good vegan butter if you don’t need the browned notes as intensely. The bars will still be chewy, though the flavor loses a little of that toasted, nutty depth that browned dairy butter gives.
Gluten-Free Swap
A 1:1 gluten-free baking flour blend works well here because the batter doesn’t depend on yeast or a delicate crumb. The bars may be a touch more tender, so let them cool completely before cutting or they’ll crumble at the edges.
Extra Spice, Deeper Finish
If you want a stronger spice profile, add a pinch more cinnamon or swap in a darker pumpkin pie spice blend. That makes the bars lean warmer and more fragrant, but don’t push it too far or the spice will drown out the browned butter.
Storage and Reheating
- Refrigerator: Store in an airtight container for up to 5 days. The bars stay chewy, but the caramel topping may firm up.
- Freezer: Freeze the baked bars without caramel or salt for up to 2 months. Wrap tightly, then thaw at room temperature before topping.
- Reheating: These are best at room temperature, but a 10-second microwave hit softens them if they’ve been chilled. Don’t overheat them or the texture turns greasy and the caramel melts off.