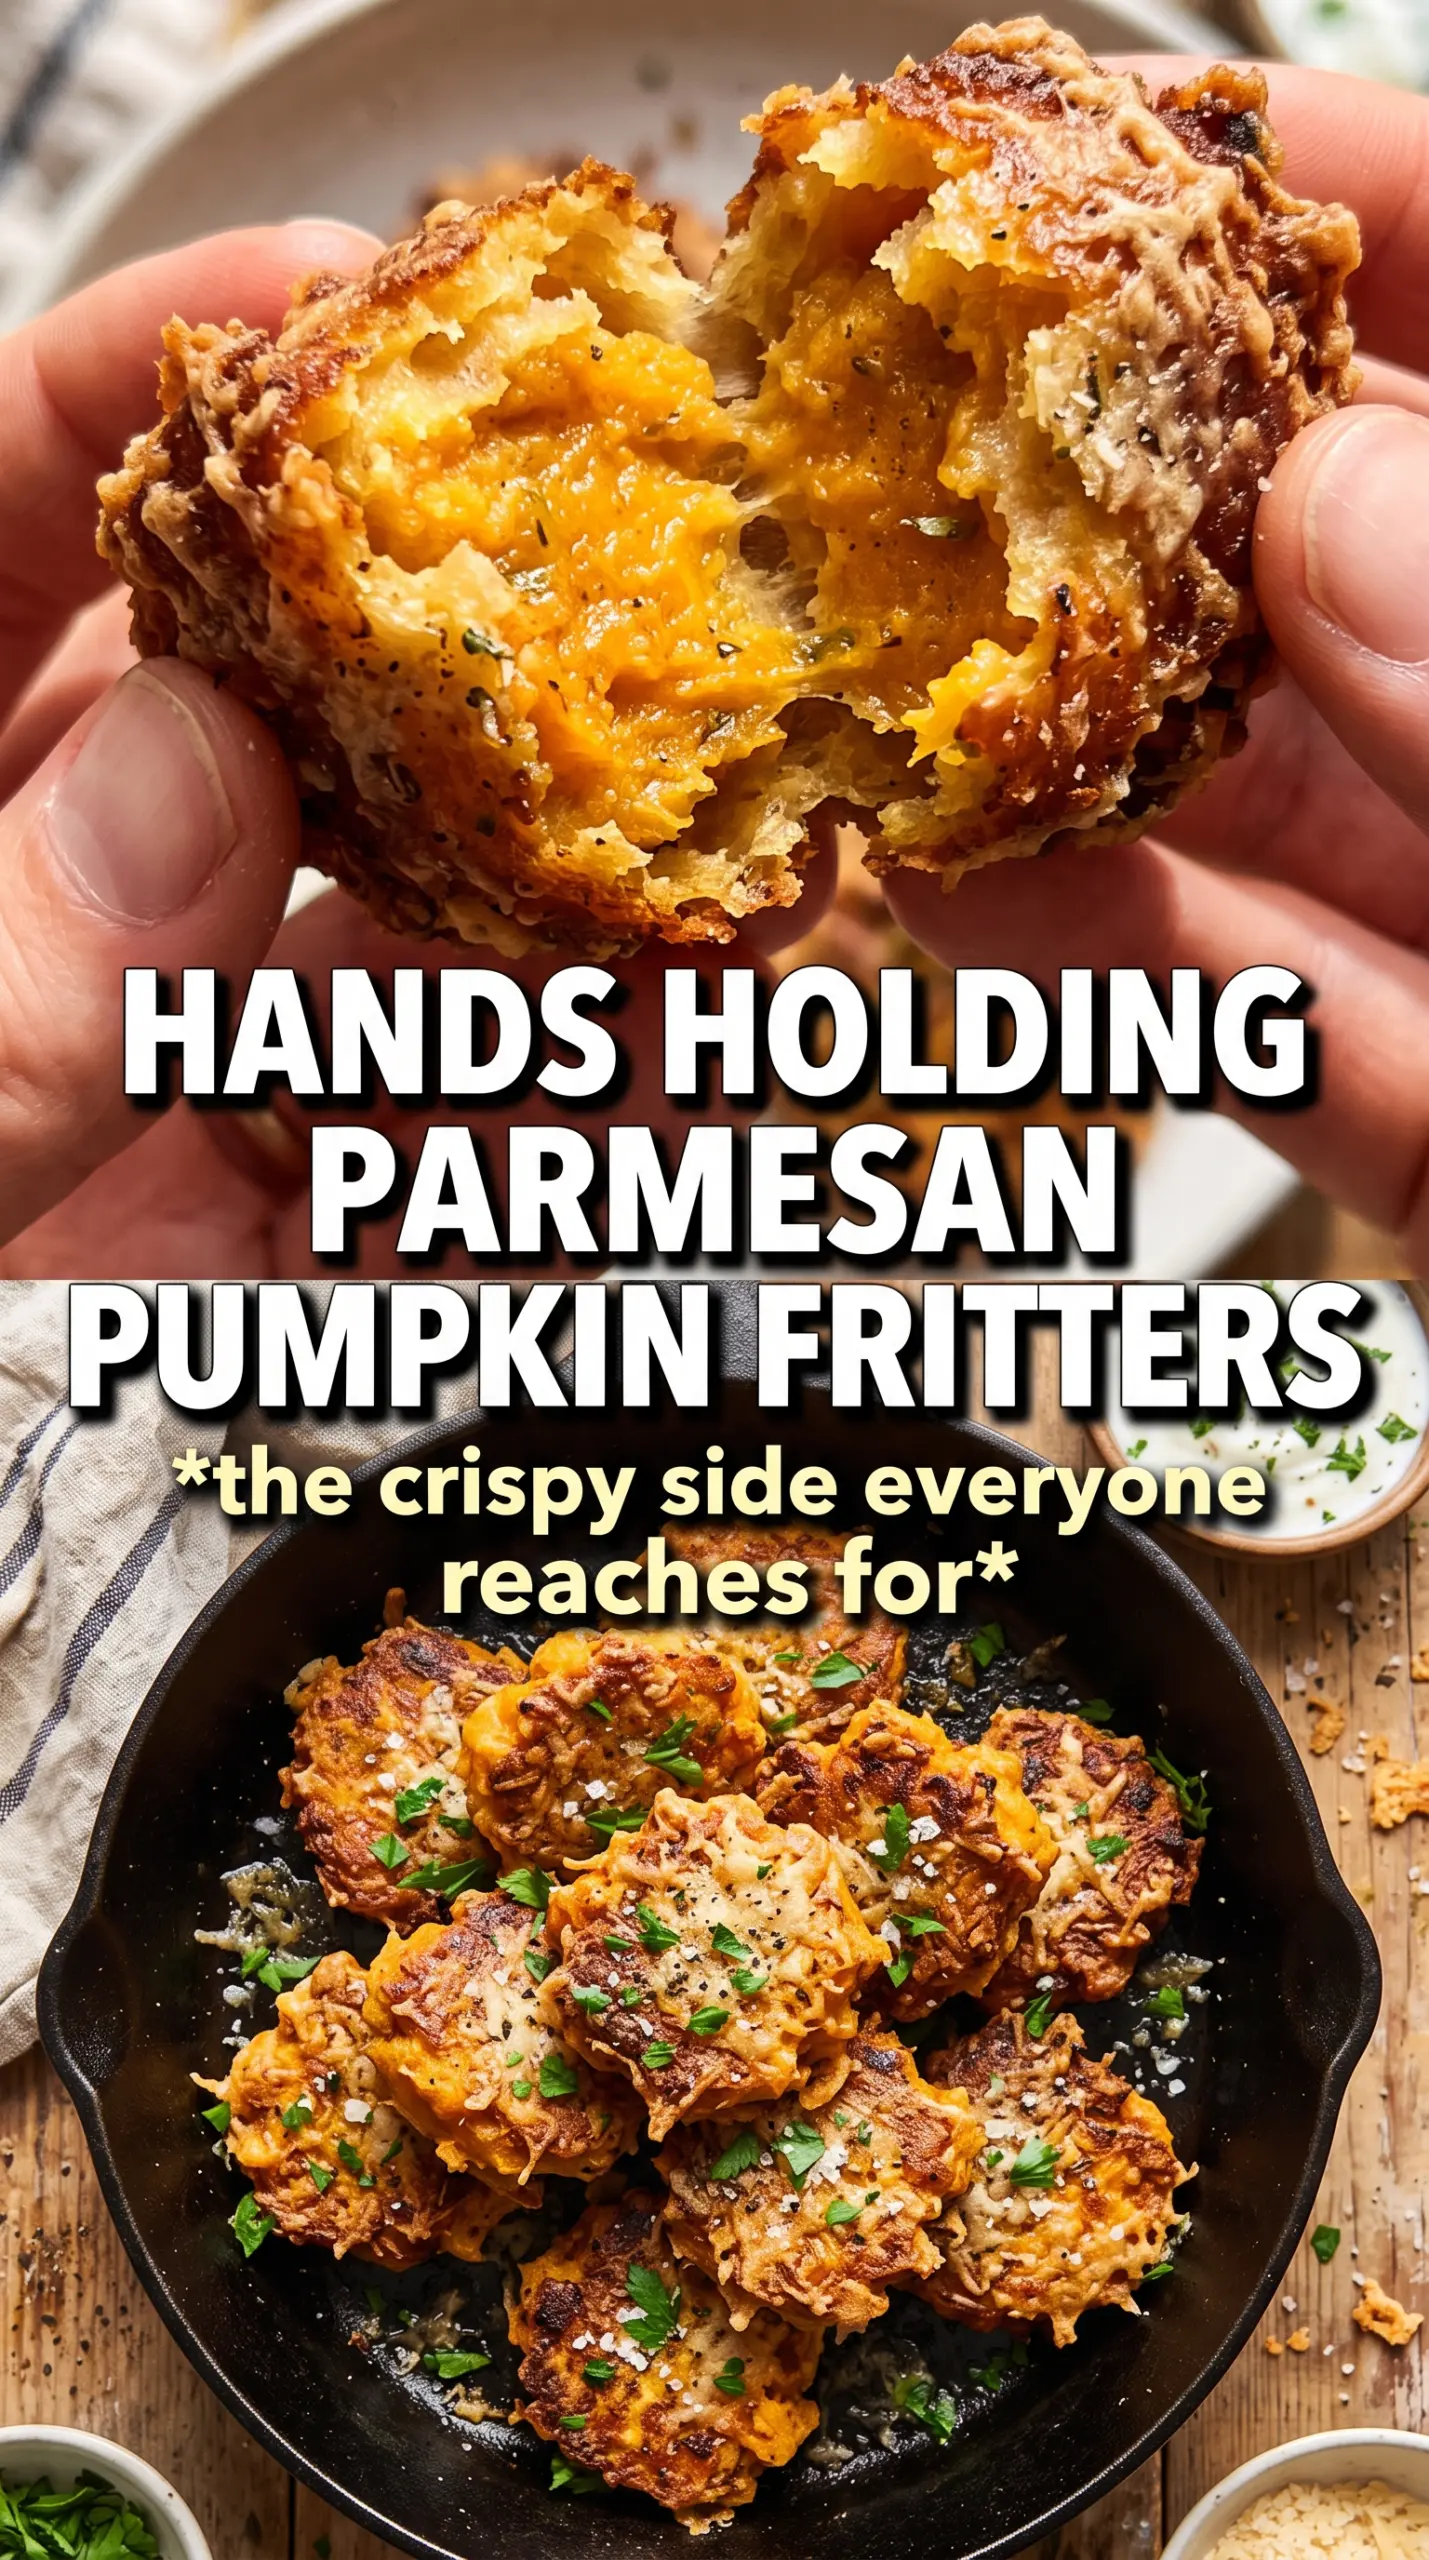
Golden, crisp-edged Parmesan Pumpkin Fritters hit that sweet spot between cozy and savory. The outside turns deeply browned and lacy in the skillet while the center stays tender and almost custardy, with pumpkin, parmesan, and herbs pulling in the same direction instead of competing. They’re the kind of side dish that disappears faster than the main plate.
The difference here is moisture control. Pumpkin puree carries a lot of water, and if it goes into the batter straight from the can, the fritters slump in the pan and steam before they ever crisp. Blotting the puree dry first gives you a mixture that holds together, browns properly, and tastes richer because the parmesan can actually do its job.
Below, I’ve included the little details that matter most: how dry the pumpkin should feel, what the batter should look like before it hits the skillet, and how to keep the fritters crisp after frying.
I was surprised how well these held together once I blotted the pumpkin. The edges got crisp in the skillet and the parmesan flavor came through without the fritters tasting heavy.
Save these Parmesan Pumpkin Fritters for the nights when you want a crispy, savory side with sour cream and chives.
The Trick to Crisp Fritters Instead of Soft Little Pancakes
These fritters only work when the batter is thick enough to mound on a spoon. Pumpkin puree looks harmless, but it carries enough moisture to loosen the mixture and turn the fritters into something closer to a fritter-shaped pancake. Dry the pumpkin first, then stop mixing as soon as the batter comes together. Overmixing breaks down the structure and makes the flour work harder than it should.
The skillet matters too. Medium heat gives the parmesan time to brown before the egg in the center overcooks. If the oil is smoking, the outside will darken before the middle sets. If the pan is too cool, the fritters absorb oil and taste greasy instead of crisp.
- Dry pumpkin puree — This is the main fix. Spread it on paper towels and press gently until it feels thick and almost spreadable, not wet or spoonable.
- Parmesan — Finely grated parmesan melts into the batter and helps build a salty crust. Pre-grated can work in a pinch, but the finer the shred, the better the texture.
- Flour — Just enough to hold everything together without turning the fritters bready. Add a tablespoon more if the batter still runs loose after the pumpkin is blotted.
What Each Ingredient Is Doing in the Pan
- Pumpkin puree — Gives the fritters their soft, earthy base. Canned pumpkin is fine here, but it has to be blotted dry or the batter won’t hold.
- Eggs — Bind the mixture and help the fritters set in the pan. Two eggs are enough to hold the batter together without making it custardy.
- Parmesan — Brings salt, nuttiness, and the crisp edges people come back for. Grate it finely so it melts into the batter instead of sitting in little clumps.
- Chives or sage — Chives give a fresh onion note; sage leans warmer and more savory. Use whichever matches the meal you’re serving.
- Nutmeg — Just a small amount rounds out the pumpkin without pushing the fritters into dessert territory.
How to Fry Them So the Centers Set Before the Edges Burn
Dry the Pumpkin First
Press the pumpkin puree between layers of paper towels until it loses that loose, wet sheen. This step takes a few extra minutes, but it changes everything in the pan. If you skip it, the fritters spread too much and the middle stays soft long after the outside has browned.
Mix the Batter Just Until Combined
Stir in the eggs, parmesan, flour, herbs, garlic, salt, pepper, and nutmeg until you no longer see dry flour. The batter should look thick, scoopable, and a little rough. If you keep stirring, the mixture loosens and the fritters lose that tender, cakey center.
Cook in Small Batches
Warm a thin layer of olive oil over medium heat. Drop about 3 tablespoons of batter for each fritter, then flatten them slightly with the back of the spoon so they cook through evenly. Give them 3 to 4 minutes per side and wait for a deep golden crust before flipping; if they stick, they aren’t ready yet. Don’t crowd the pan, or the temperature drops and the fritters start soaking up oil instead of crisping.
Drain and Serve Right Away
Set the cooked fritters on paper towels for a minute to catch excess oil, then move them to a plate and serve with sour cream and chives. They’re best while the edges are still crisp and the centers are warm. If they sit too long on a flat plate, trapped steam softens the crust.
Three Useful Ways to Change the Batch
Dairy-Free Version
Skip the sour cream topping or use a plain unsweetened dairy-free yogurt. The fritters themselves are already dairy-free except for the parmesan, so this swap mostly changes the finish; you’ll lose a little sharpness, but the texture stays the same.
Gluten-Free Fritters
Use a cup-for-cup gluten-free flour blend in place of the all-purpose flour. The batter may need a minute to thicken after mixing, since some blends hydrate slowly, but the fritters still fry up with crisp edges and a tender middle.
Use Sage for a More Savory Finish
Swap the chives for finely minced fresh sage if you want a deeper, woodsy flavor that leans more side-dish than brunch. Sage browns beautifully in the skillet, but use it sparingly so it doesn’t overpower the pumpkin.
Make the Fritters Smaller for Appetizers
Drop 1 to 2 tablespoon portions instead of larger mounds and reduce the cooking time a little. Smaller fritters crisp faster and hold their shape well, which makes them easier to pass around with toothpicks and a bowl of sour cream for dipping.
Storage and Reheating
- Refrigerator: Store in an airtight container for up to 3 days. They soften a bit in the fridge, which is normal for fried squash or pumpkin dishes.
- Freezer: Freeze cooked fritters in a single layer, then transfer to a bag for up to 2 months. Reheat from frozen for the best texture; thawing first can make them soggy.
- Reheating: Warm in a 400°F oven or air fryer until the edges crisp again, about 8 to 10 minutes. Skip the microwave if you want the crust back, because it turns the fritters soft and damp.
Answers to the Questions Worth Asking

Parmesan Pumpkin Fritters
Ingredients
Equipment
Method
- Blot the pumpkin puree extremely dry between paper towels until it looks less wet and clings less to the paper.
- Combine blotted pumpkin puree, eggs, finely grated parmesan, all-purpose flour, minced fresh chives or sage, minced garlic, salt, black pepper, and nutmeg until just combined, with no dry pockets.
- Heat a skillet with olive oil over medium heat until it shimmers.
- Drop 3-tablespoon portions of the batter into the skillet and flatten slightly, then cook 3-4 minutes until golden on the bottom.
- Flip the fritters and cook another 3-4 minutes until golden and crispy on the second side.
- Remove fritters in batches and drain on paper towels to keep them crisp.
- Serve the fritters hot with sour cream and extra chives.