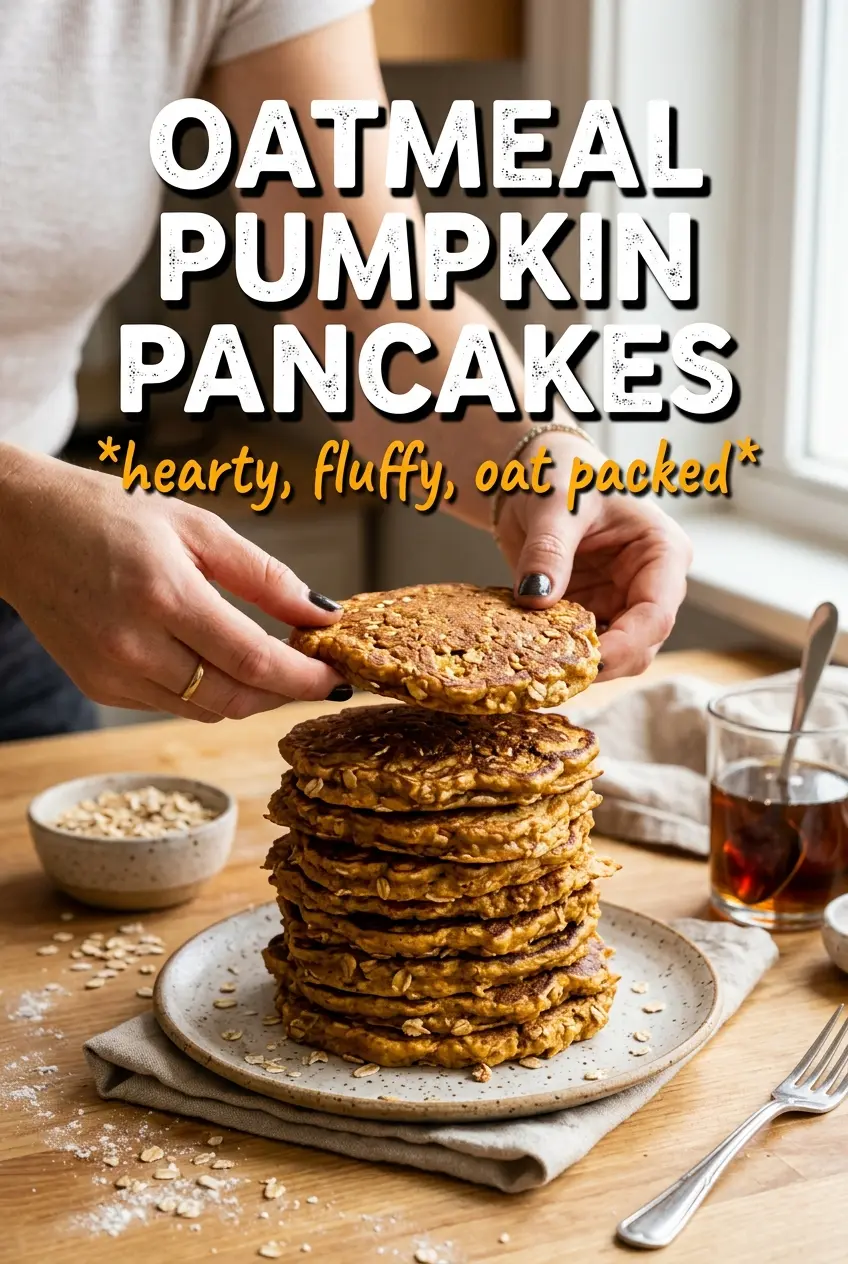
Oatmeal pumpkin pancakes come off the skillet thick, tender, and warmly spiced, with a subtle nuttiness from the oats that keeps them from tasting flat or overly sweet. They hold their shape well, brown up with crisp edges, and stay soft in the center instead of turning dense the way pumpkin pancakes often do.
The trick is in the oat flour and the short rest. Blending the oats gives the batter body without making it heavy, and that three-minute pause lets the oats hydrate so the pancakes cook up evenly. The pumpkin puree adds moisture and color, but the batter still needs enough lift from the baking powder and enough structure from the eggs and flour to stay fluffy.
Below, you’ll find the small details that make these pancakes work on a real breakfast griddle, plus a few swaps that keep them flexible if you’re working with what’s already in the pantry.
The batter rested just long enough to thicken, and the pancakes cooked up fluffy with that pumpkin spice flavor coming through without tasting heavy.
Like these oatmeal pumpkin pancakes? Save them to Pinterest for a thick, fluffy breakfast with cozy spice and a hearty oat finish.
The Reason These Pumpkin Pancakes Stay Fluffy Instead of Heavy
Pumpkin pancakes go wrong fast when the batter gets overmixed or when the pan runs too hot. Pumpkin puree adds moisture but not much lift, so the batter needs just enough structure from flour and eggs without being stirred into a smooth, elastic mess. The oats add heartiness, but once they’re blended, they behave like flour and help the pancakes set with a tender crumb instead of a gummy middle.
The other piece that matters is heat. Medium heat gives the centers time to cook before the outside darkens. If the first pancake comes out too dark before the top starts to dry, the skillet is too hot. You want bubbles at the surface, edges that look set, and a pancake that releases cleanly before you flip it.
What Each Ingredient Is Doing in These Oatmeal Pumpkin Pancakes
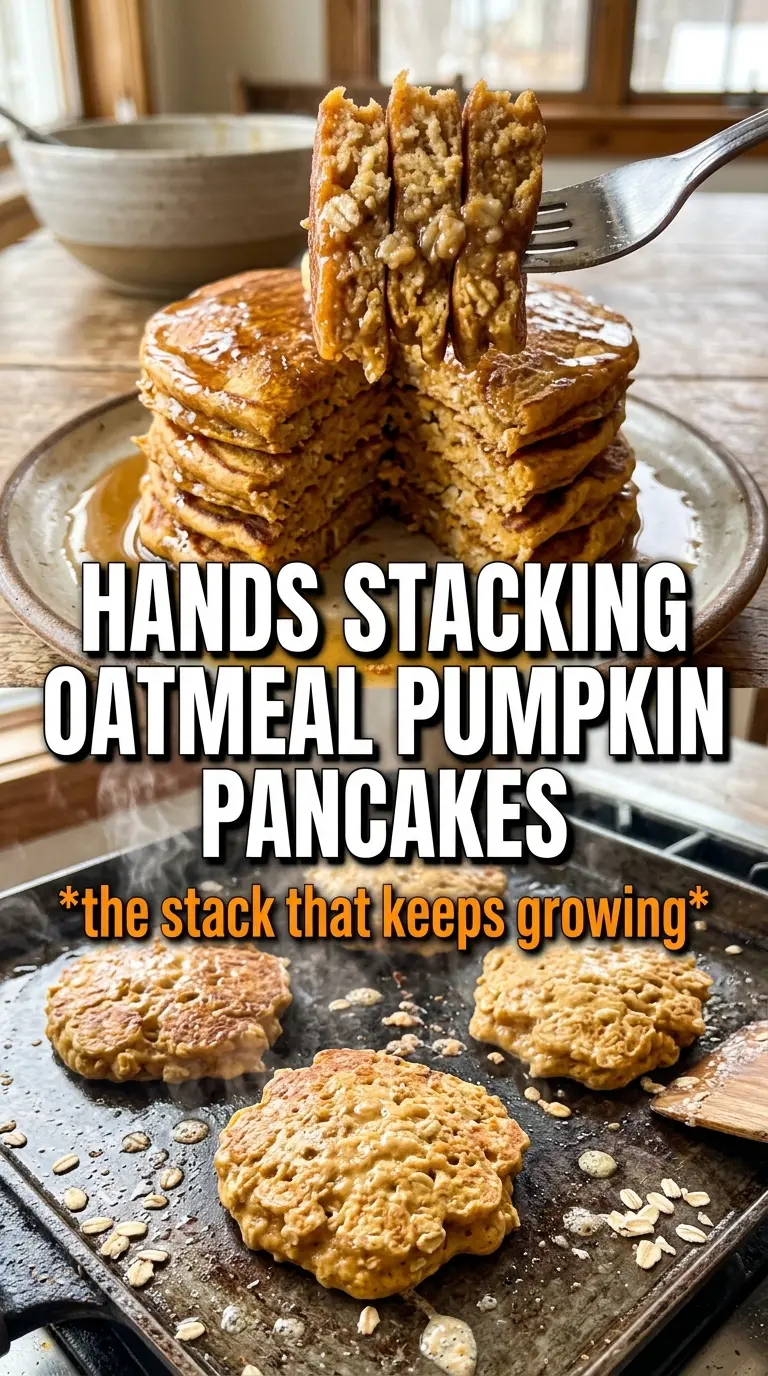
- Old-fashioned rolled oats — Blending them into oat flour gives the pancakes a hearty, slightly nutty texture without making them dense. If you only have quick oats, they’ll work in a pinch, but the texture is a little finer and less rustic.
- All-purpose flour — This keeps the pancakes light enough to rise properly. Replacing all of it with oat flour makes the batter heavier and more fragile, so keeping some wheat flour in the mix matters.
- Pumpkin puree — Use plain pumpkin puree, not pumpkin pie filling. The puree brings moisture, color, and that deep pumpkin flavor, but it needs the eggs and flour around it to keep the pancakes from turning custardy.
- Milk or buttermilk — Buttermilk gives a little extra tang and tenderness, while regular milk keeps things straightforward. Either one works, but if you use buttermilk, don’t add more than needed or the batter can get too loose.
- Butter or coconut oil — Melted butter gives a richer flavor; coconut oil keeps the pancakes dairy-free. Either fat helps with browning and tenderness, so don’t skip it.
How to Mix, Rest, and Cook Them Without Ending Up with Gummy Centers
Build the Dry Base First
Mix the oat flour, all-purpose flour, baking powder, spices, salt, and brown sugar together before any wet ingredients go in. That keeps the leavening and spice evenly distributed, which matters because pumpkin batter can hide pockets of unmixed dry ingredients. The brown sugar should disappear into the flour mixture so it doesn’t sink and scorch in the pan.
Whisk the Wet Ingredients Until Smooth
Combine the pumpkin puree, milk, eggs, melted butter, and vanilla in a separate bowl until the mixture looks uniform and loose. If the butter is too hot, it can seize up into little bits when it hits the cold pumpkin, so let it cool for a minute first. A smooth wet mixture blends into the dry ingredients more evenly and keeps you from overworking the batter trying to fix streaks later.
Fold, Then Stop Early
Pour the wet ingredients into the dry and stir only until the flour disappears. A few small lumps are fine. If you keep mixing until the batter looks silky, the pancakes turn tougher and flatter because the flour starts developing gluten. Let the batter rest for 3 minutes after mixing; that short pause lets the oats absorb liquid and thickens everything just enough for taller pancakes.
Cook Over Steady Medium Heat
Grease the skillet lightly and drop the batter by 1/4-cup portions. Cook until the edges look set and the tops are dotted with bubbles, then flip once and finish until both sides are golden. If the pancakes brown too fast, lower the heat and wait a minute before the next batch. Pumpkin batter can look done on the outside before the center has set, so give it that extra minute if the pancakes feel soft in the middle when you press them lightly.
How to Change These Pancakes for What’s in Your Kitchen
Make Them Dairy-Free
Use milk instead of buttermilk and swap in melted coconut oil for the butter. You’ll lose a little of the tang that buttermilk brings, but the pancakes still stay tender and brown nicely.
Make Them Gluten-Free
Use a 1:1 gluten-free flour blend in place of the all-purpose flour, and keep the oat flour as written. The pancakes will still be soft and flavorful, though they may spread a touch more, so keep the batter thick and don’t thin it out.
Add More Pumpkin Spice Character
If you want the spice to stand out more, add another 1/4 teaspoon of cinnamon or a pinch of ground ginger. Keep the extra spice modest, because too much will crowd out the pumpkin and make the pancakes taste sharp instead of warm.
Storage and Reheating
- Refrigerator: Store cooked pancakes in an airtight container for up to 4 days. They soften a little as they sit, which is normal for pumpkin batter.
- Freezer: These freeze well. Lay them in a single layer until firm, then stack with parchment between each pancake and freeze for up to 2 months.
- Reheating: Warm them in a toaster oven, skillet, or microwave until heated through. Don’t blast them too long in the microwave or they can turn rubbery at the center while the outside dries out.