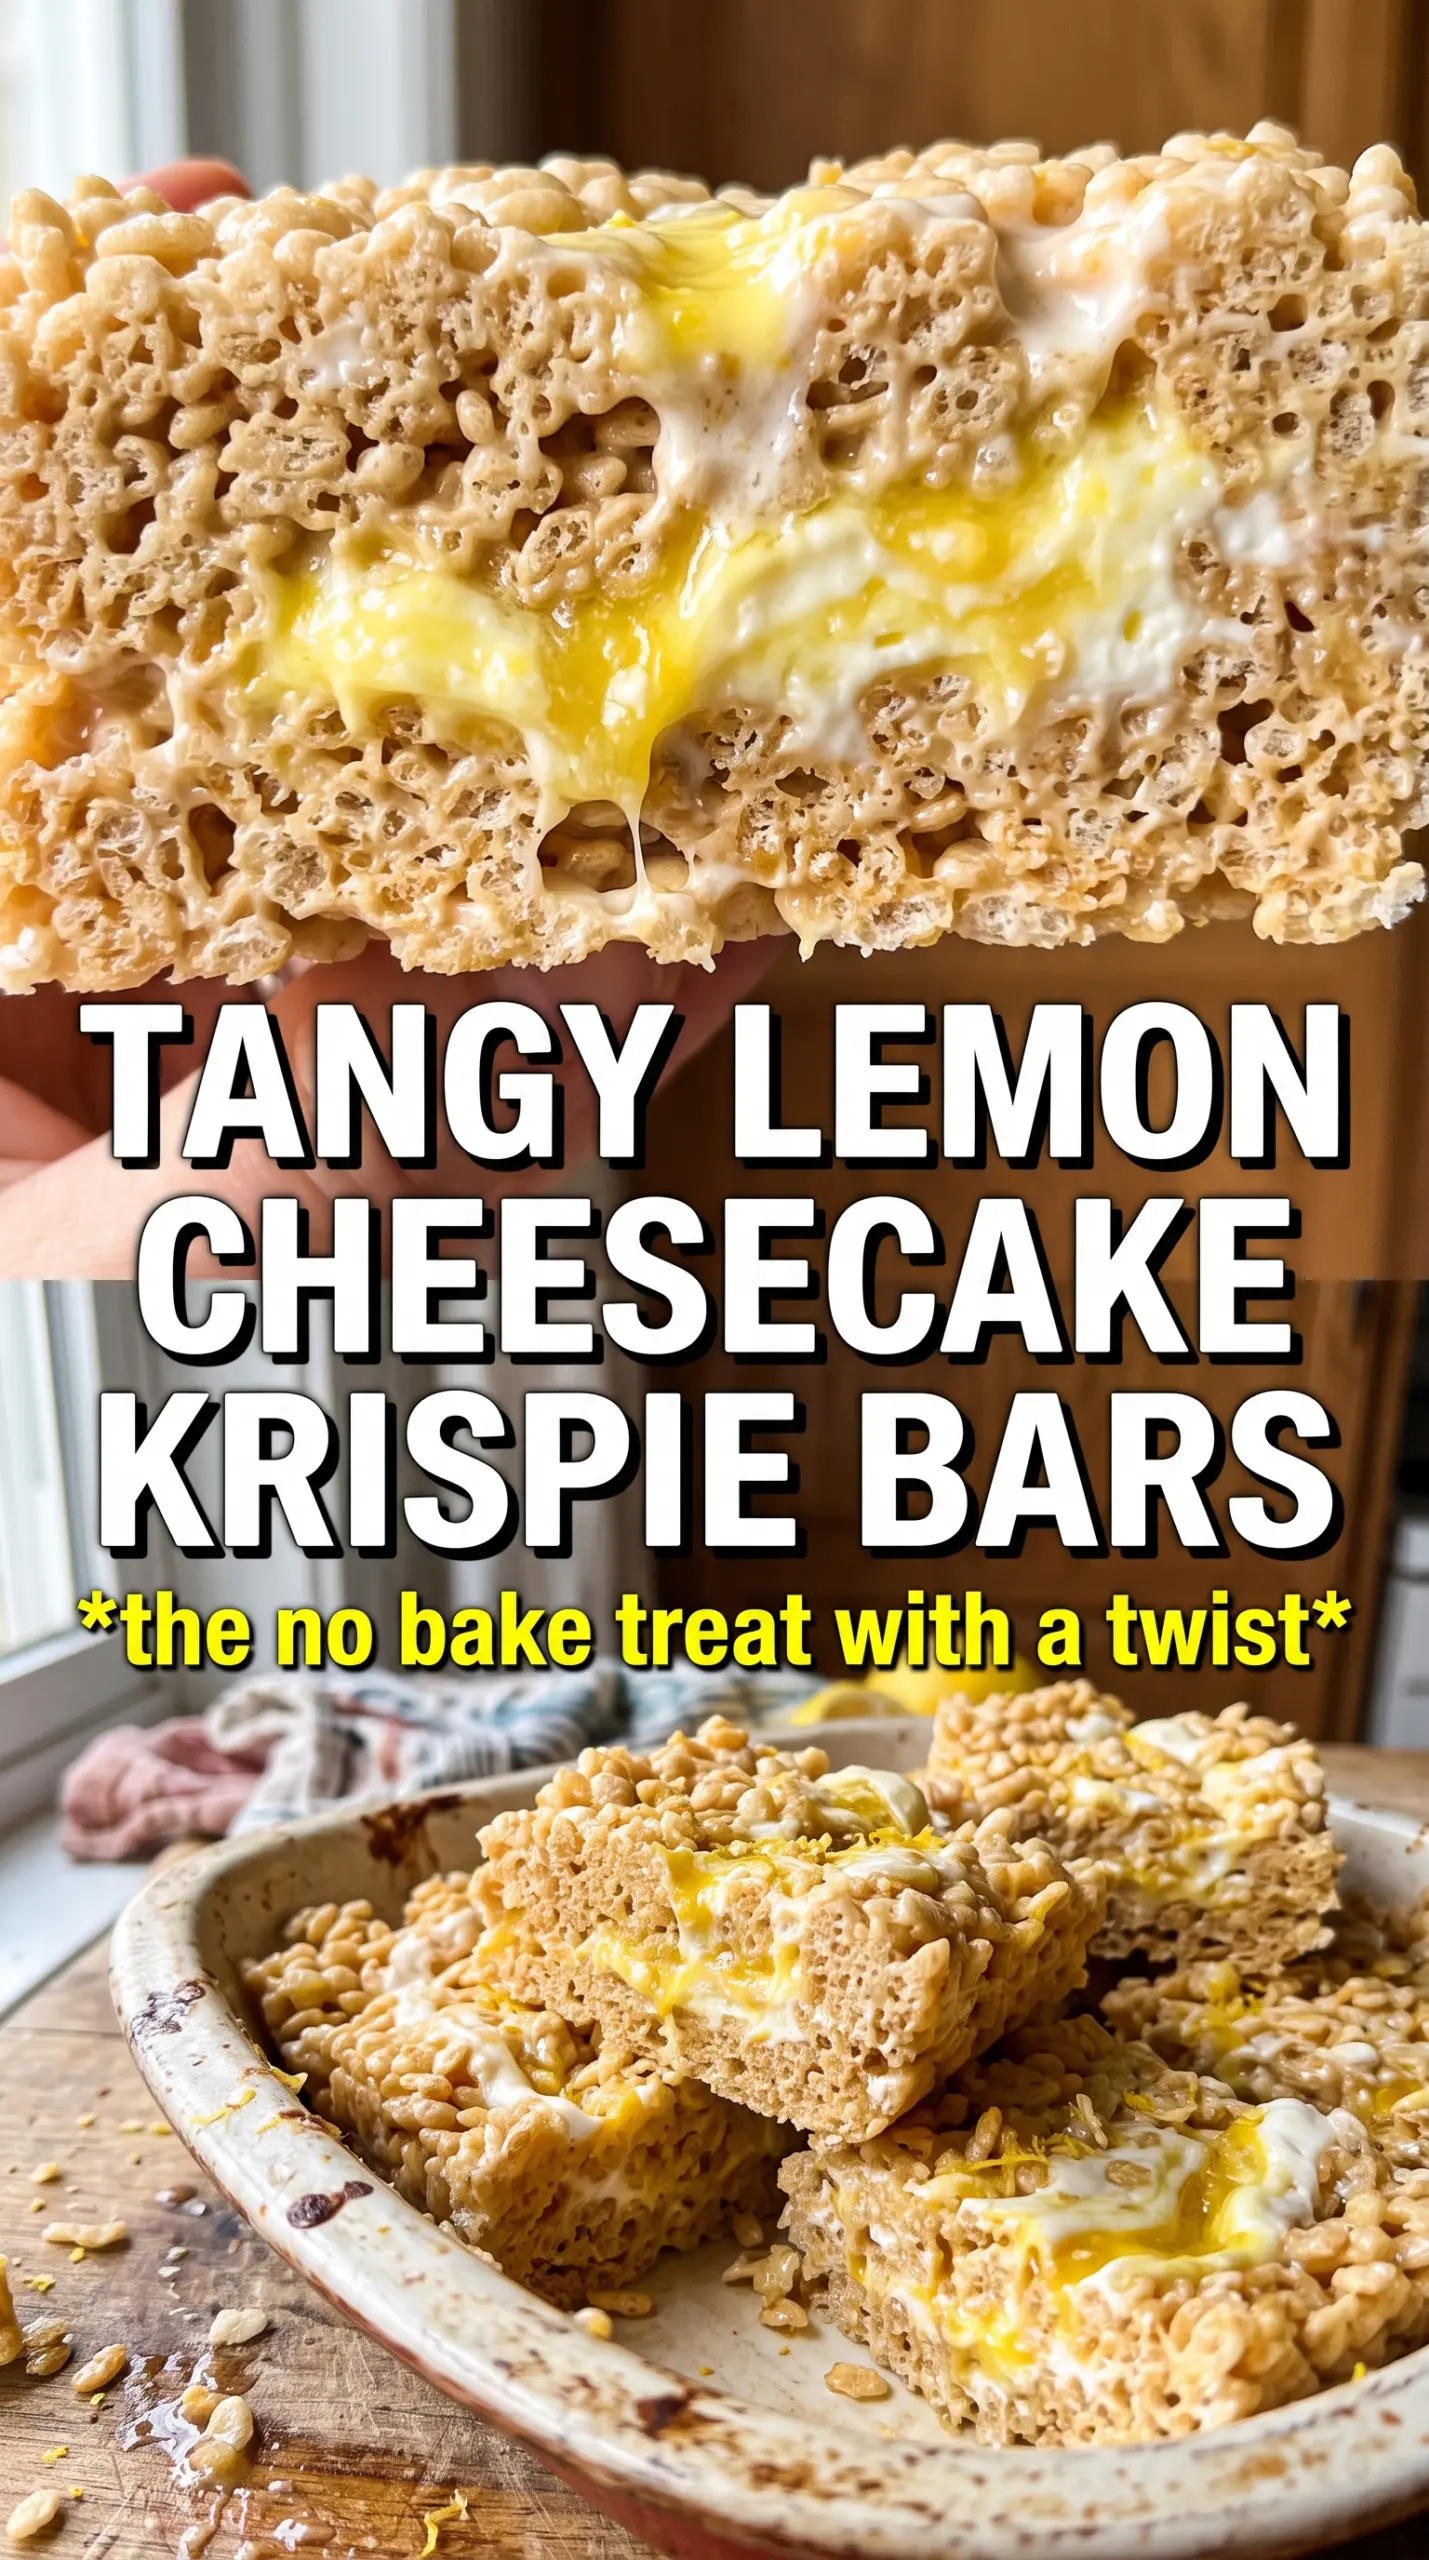
Thick, chewy Rice Krispie bars with bright lemon running through the marshmallow base and a cool cheesecake layer on top hit that sweet spot between nostalgic and a little bit fancy. The texture does the heavy lifting here: crisp cereal, sticky marshmallow, and a creamy topping that sets enough to slice cleanly without losing that soft, lush bite.
The lemon flavor works because it’s built in layers instead of dumped into one place. Zest goes into the warm marshmallow mixture where it can perfume the base, then more zest and fresh juice go into the cheesecake layer for a sharper, cleaner lemon finish. The white chocolate drizzle isn’t just decoration either; it adds a sweet, creamy snap that plays nicely against the tang.
Below you’ll find the small details that keep the base from getting hard and the topping from turning loose, plus a few smart swaps if you need to make these bars a little different.
The lemon zest in the marshmallow layer made these taste fresh instead of just sweet, and the cheesecake topping set up beautifully after an hour in the fridge. I cut them into neat squares without the filling smearing everywhere.
Save these lemon cheesecake Rice Krispie treats for when you want a chilled dessert bar with a bright citrus layer and a creamy white chocolate finish.
The Part That Keeps the Bars Chewy Instead of Hard
The biggest mistake with Rice Krispie treats is cooking the marshmallow mixture too long. Once the marshmallows are melted, the pot comes off the heat fast. If you keep them over the burner, the sugar tightens up and the bars set dense and dry instead of soft and chewy.
Pressing the mixture into the pan is another place people overdo it. A firm press is fine, but packing it down like a brick squeezes out the air that gives the bars that light snap. Use parchment and a lightly oiled hand or spatula, then stop once the surface looks even.
The cheesecake layer depends on the base being fully cool. If the base is still warm, the topping softens and slides around instead of setting into a clean second layer.
What Each Ingredient Is Actually Doing in These Bars
- Mini marshmallows — These melt faster and more evenly than large marshmallows, which matters because you want the butter and lemon zest blended in before the cereal goes in. Fresh marshmallows give the softest texture; older ones can make the bars set up firmer.
- Lemon zest — This is where the real lemon flavor lives. Juice adds tang, but zest gives you the fragrant oils that make the bars taste bright instead of just acidic. Don’t skip the zest in the base or the topping.
- Cream cheese — Full-fat cream cheese gives the cheesecake layer body and that slight tang that keeps the sweetness in check. Reduced-fat versions can work, but they often make the topping looser.
- Whipped topping — This lightens the cream cheese mixture so it spreads easily and chills into a softer, mousse-like layer. Homemade whipped cream can be used, but it won’t hold quite as neatly unless you stabilize it.
- White chocolate chips — These add sweetness and a clean finish on top. If the drizzle is too thick, thin it with a tiny bit of neutral oil and let it cool slightly before drizzling so it stays in neat lines.
Building the Two Layers Without Letting Them Fight Each Other
Melting the Marshmallows Gently
Melt the butter over medium-low heat, then stir in the marshmallows until they’re just smooth and glossy. The pot should never be hot enough to brown the mixture. As soon as the last lumps disappear, remove it from the heat and stir in the lemon zest so the flavor stays fresh.
Mixing in the Cereal Fast
Add the Rice Krispies and fold quickly until every piece is coated. Work before the marshmallow starts cooling and dragging, or you’ll end up with dry patches that fall apart when sliced. Transfer the mixture to the pan and press it into an even layer, getting the corners first because that’s where gaps usually hide.
Making the Cheesecake Layer Smooth
Beat the cream cheese, powdered sugar, lemon juice, lemon zest, and vanilla until there are no lumps left. Fold in the whipped topping with a spatula instead of the mixer so you keep the filling airy. If you whip too aggressively at this point, the topping can loosen instead of thickening.
Finishing and Chilling
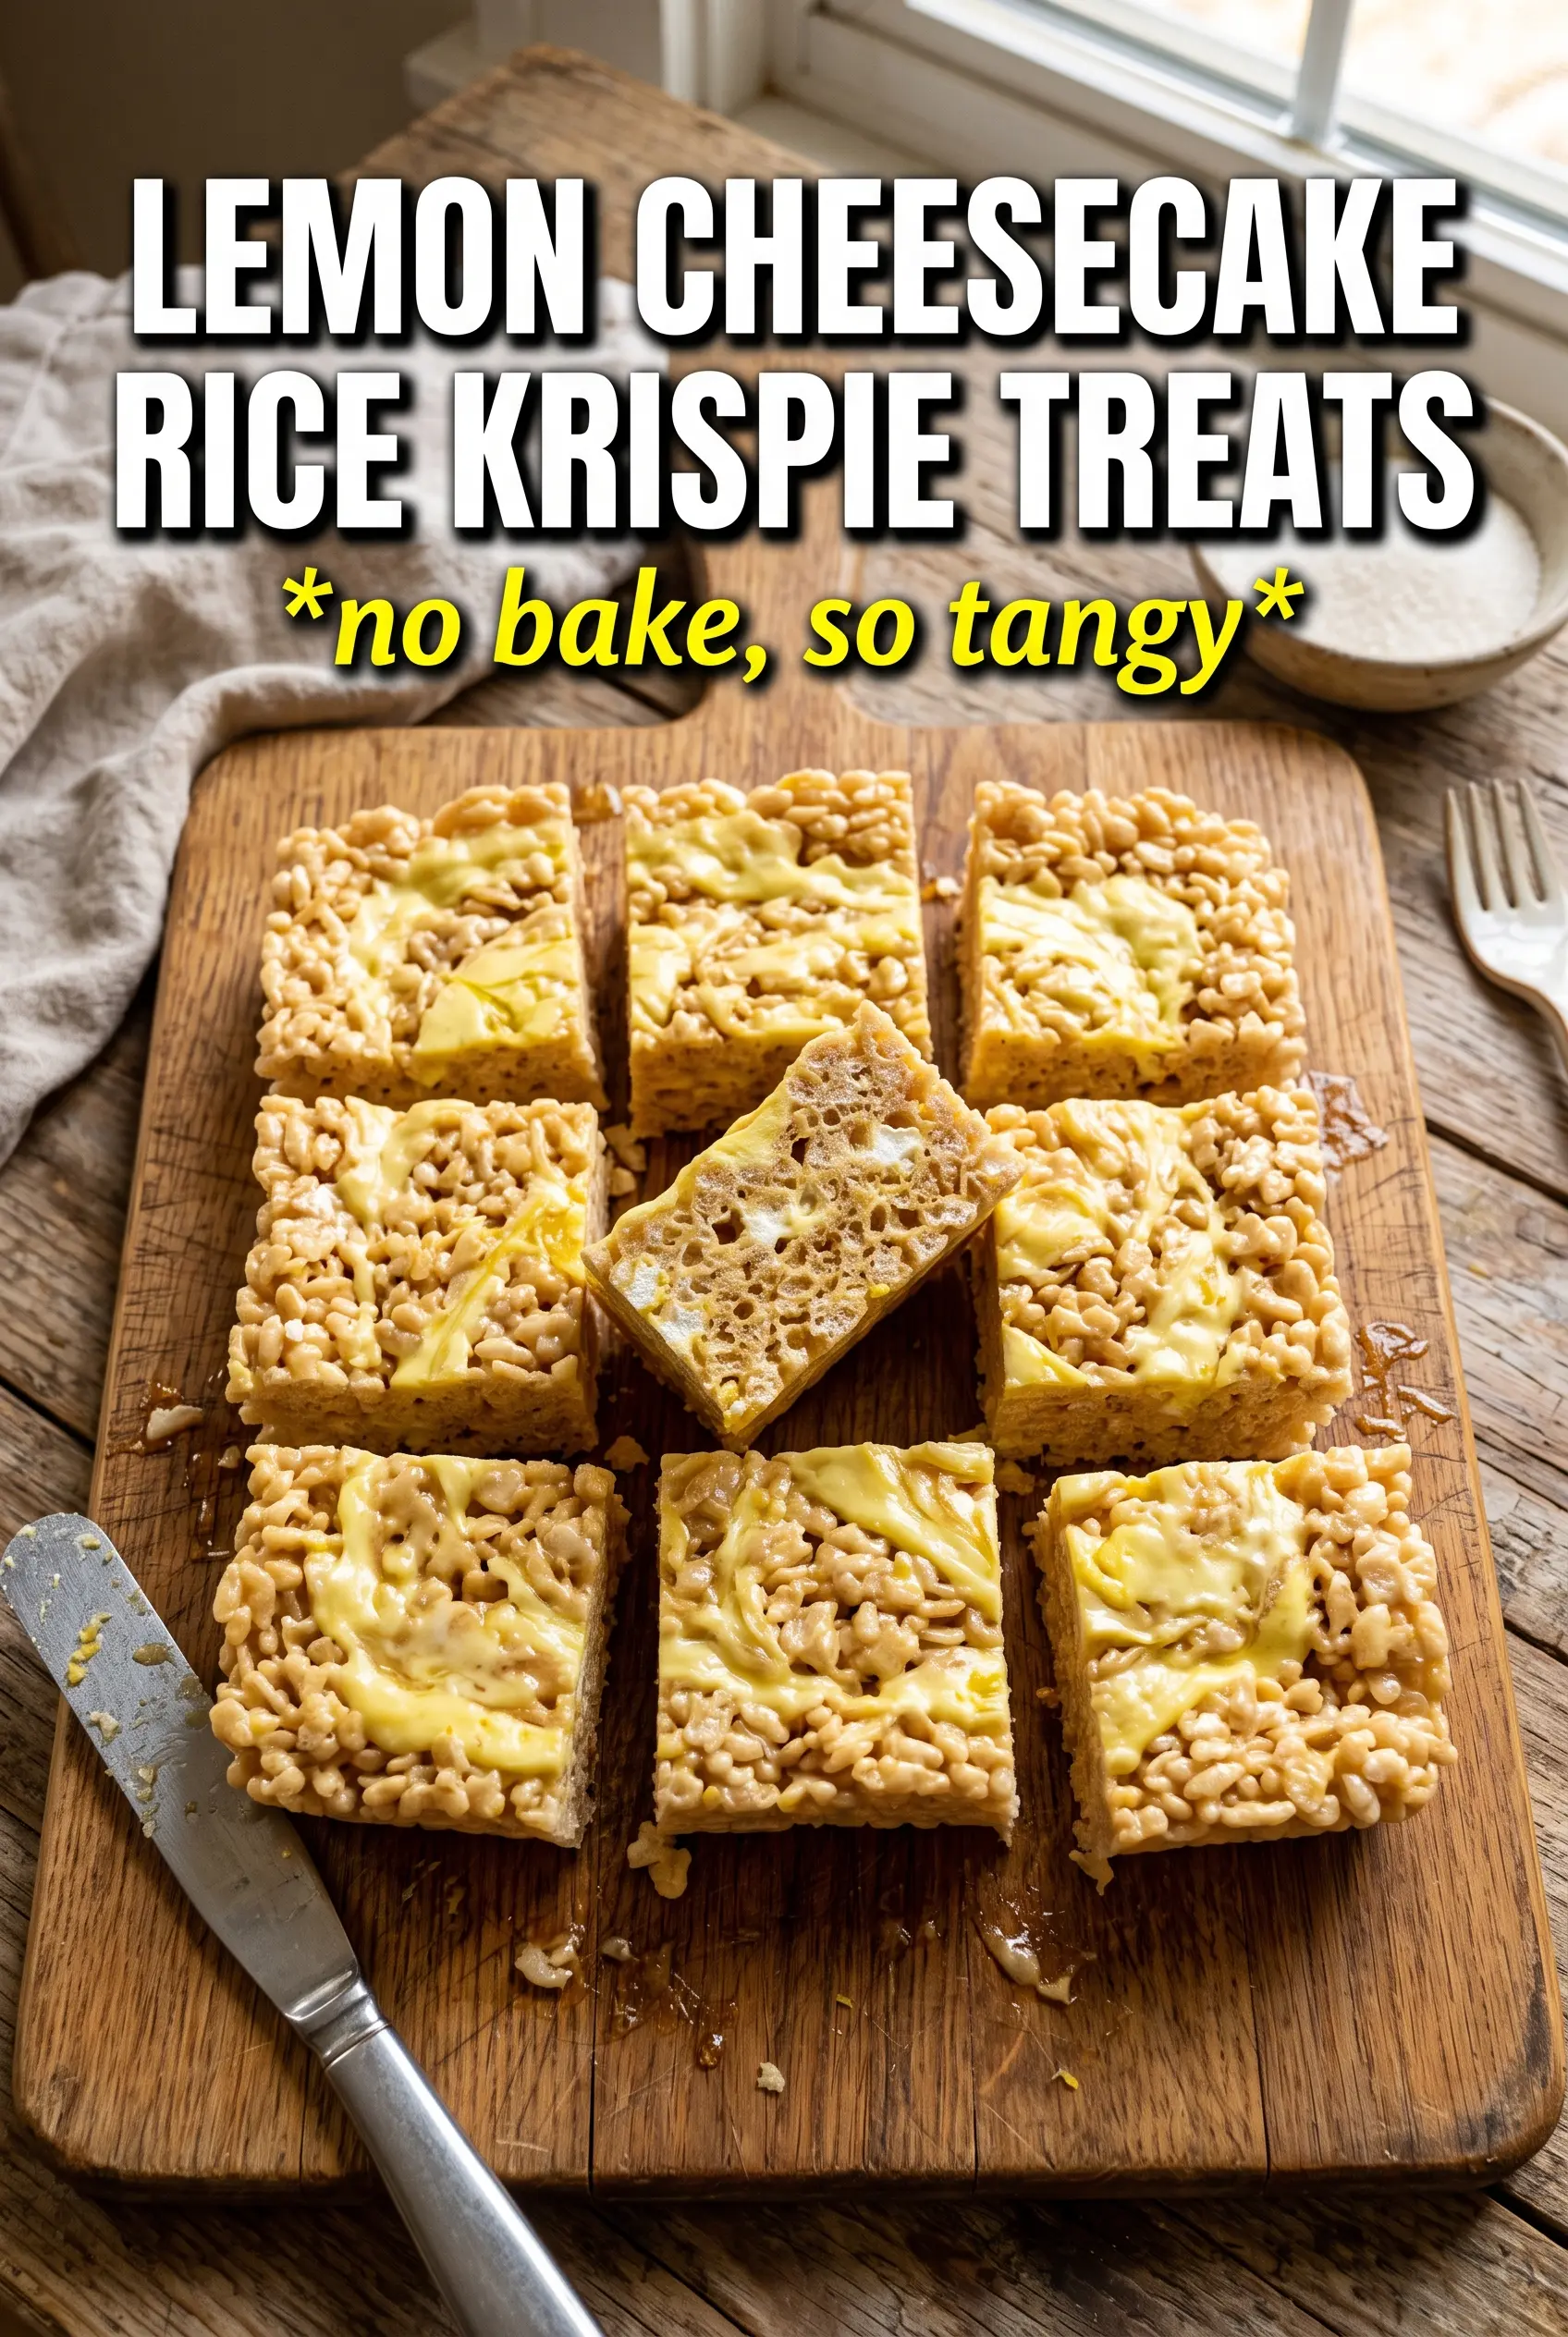
Spread the cheesecake layer over the cooled base in an even sweep, then drizzle with melted white chocolate. A fork or spoon makes a better zigzag than piping if you want a casual look. Chill the pan for a full hour before cutting, and use a sharp knife wiped clean between cuts for the neatest squares.
How to Adapt These Lemon Cheesecake Bars for Different Needs
Dairy-Free Version
Use plant-based butter, dairy-free cream cheese, and a whipped topping that actually holds its shape after folding. The bars will still be creamy and tangy, but the cheesecake layer may be a little softer, so give them the full chill time before slicing.
Extra-Lemony Bars
Add another teaspoon of zest to the cheesecake layer if you want the citrus to come forward more strongly. Don’t add much more juice, though, or the filling can turn loose and lose that clean slice.
No Whipped Topping Swap
You can fold in freshly whipped cream that’s been whipped to soft peaks, but the layer will be slightly less stable. Chill the bars longer, and cut them only when they’re fully cold so the topping doesn’t slump.
Gluten-Free Version
Use a certified gluten-free crisp rice cereal, since the rest of the recipe is naturally gluten-free. The texture stays the same, and nobody will miss a thing if the cereal is fresh and crunchy.
Storage and Reheating
- Refrigerator: Store covered for up to 4 days. The base stays chewy, and the cheesecake layer firms up a bit more as it sits.
- Freezer: These freeze well if you cut them first and separate the layers with parchment. Wrap tightly and thaw in the refrigerator, not on the counter, so the topping doesn’t weep.
- Reheating: No reheating needed. Serve chilled or just slightly softened from the fridge. Warmth will loosen the cheesecake layer and dull the clean slices.
Answers to the Questions Worth Asking
No-Bake Lemon Cheesecake Rice Krispie Treats
Ingredients
Equipment
Method
- Line a 9x13 pan with parchment paper and spray lightly so the treats release cleanly later.
- Melt the butter in a large pot over medium-low heat; add mini marshmallows and stir until fully melted, about 3-5 minutes, then remove from heat and stir in lemon zest.
- Fold in Rice Krispies cereal and press the mixture firmly into the prepared pan; cool until set.
- Beat cream cheese, powdered sugar, fresh lemon juice, lemon zest, and vanilla extract until smooth, then fold in whipped topping until no streaks remain.
- Spread the lemon cheesecake layer evenly over the cooled Krispie base.
- Drizzle melted white chocolate in a zigzag pattern over the top, then scatter extra lemon zest for garnish.
- Refrigerate for 1 hour before cutting into 16 bars to firm up the layers.