Mini pumpkin pies disappear fast because they hit the sweet spot between creamy custard and crisp, buttery crust. Each one bakes up with a smooth, lightly spiced filling that holds its shape when you bite in, and the small size means every pie gets an even ratio of filling to pastry. They’re neat enough for a dessert tray, but still taste like the classic pie people go back for seconds on.
The trick is keeping the filling simple and mixing it only until smooth. Pumpkin puree, eggs, and evaporated milk or cream give the custard its body, while brown sugar brings a deeper sweetness than white sugar alone. The pies bake just until the centers are set with a slight wobble; if you wait until they look completely firm in the oven, they usually overbake as they cool and turn grainy at the edges.
Below, you’ll find the small details that matter most: how to keep the crusts from shrinking, how to tell when the centers are done, and the easiest way to get clean, tidy pies from a muffin tin.
The filling set up perfectly and the crust stayed crisp even after chilling. I served them with whipped cream and cinnamon, and every single one was gone before I could put the rest on the platter.
Save these mini pumpkin pies for the dessert table when you want crisp pastry cups and smooth pumpkin custard in one tidy bite.
The Part That Keeps Mini Pumpkin Pies From Turning Watery
The filling should look smooth and pourable, not thin and glossy like pancake batter. Pumpkin puree varies more than people expect, and if you use a brand that’s especially loose, the pies can bake up soft in the center instead of setting into a clean custard. The eggs do the setting work here, so whisk until the mixture is fully even and stop there; overbeating adds extra air, which can make the tops puff and crack.
The other failure point is overfilling. These cups only need about three-quarters full, because the custard rises a little in the oven before it settles. If you go higher, the filling can spill over the crust edge and make the pastry soggy before the tops finish baking.
What Each Ingredient Is Actually Doing In These Pies
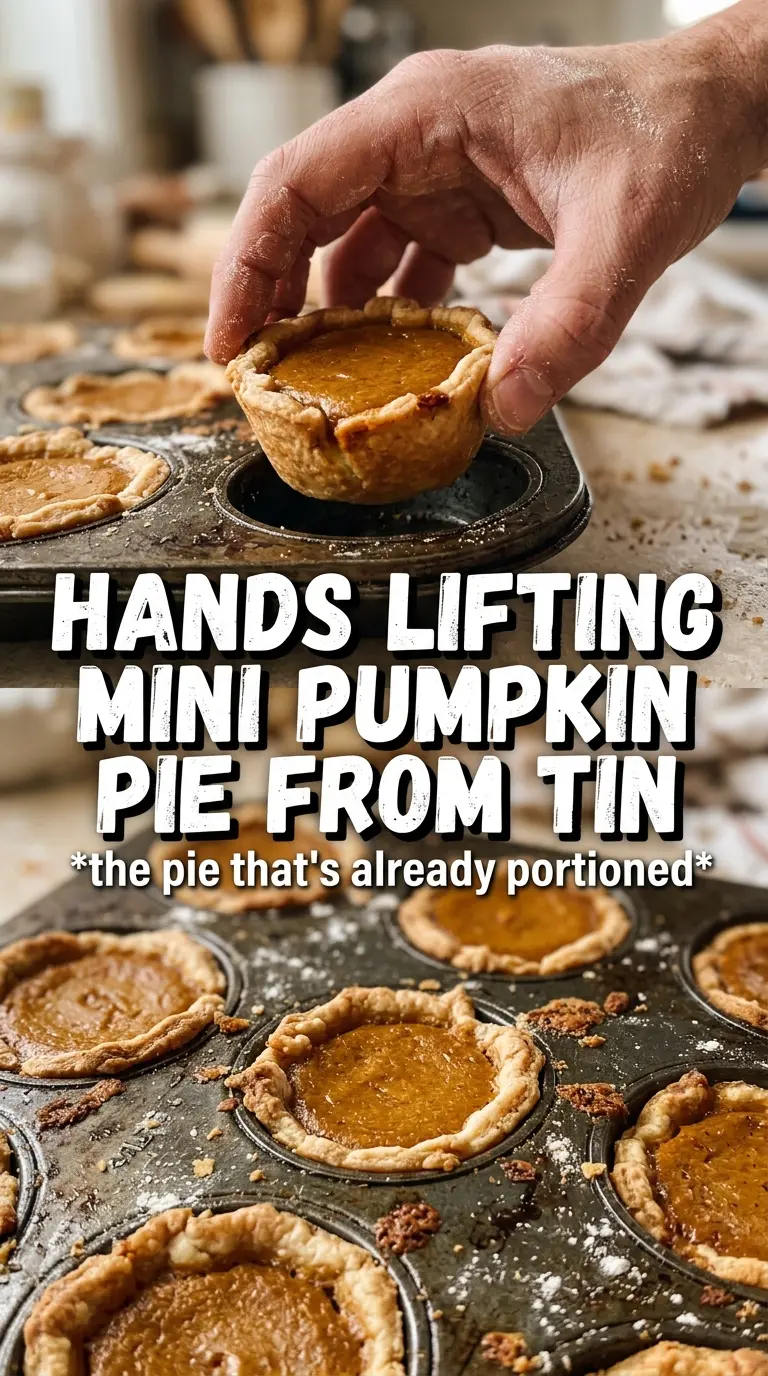
- Refrigerated pie crusts — These give you a flaky, sturdy shell without the extra work of making dough from scratch. If you want the fastest path, this is the ingredient to keep store-bought; just let the crust sit long enough to unroll cleanly so it doesn’t crack when you cut the circles.
- Pumpkin puree — Use plain pumpkin puree, not pumpkin pie filling. Pie filling already has sugar and spice mixed in, which throws off the balance and can make the pies too sweet or too soft.
- Evaporated milk or heavy cream — Evaporated milk gives a classic pumpkin pie texture that sets softly and slices cleanly. Heavy cream makes the filling richer and a little silkier, so use it when you want a more custardy finish.
- Brown sugar — This adds depth and a faint molasses note that plain white sugar doesn’t give. Light or dark brown sugar both work; dark brown sugar will push the flavor a little warmer and richer.
- Eggs — They set the filling. If the center ever stays loose after baking, it’s usually because the pies came out too soon, not because they need more spice.
- Pumpkin pie spice, cinnamon, and ginger — The spice blend carries the familiar pumpkin pie flavor, while the extra cinnamon and ginger sharpen it just enough so the filling doesn’t taste flat.
Pressing, Filling, and Baking So the Crust Stays Crisp
Cutting and Shaping the Pastry Cups
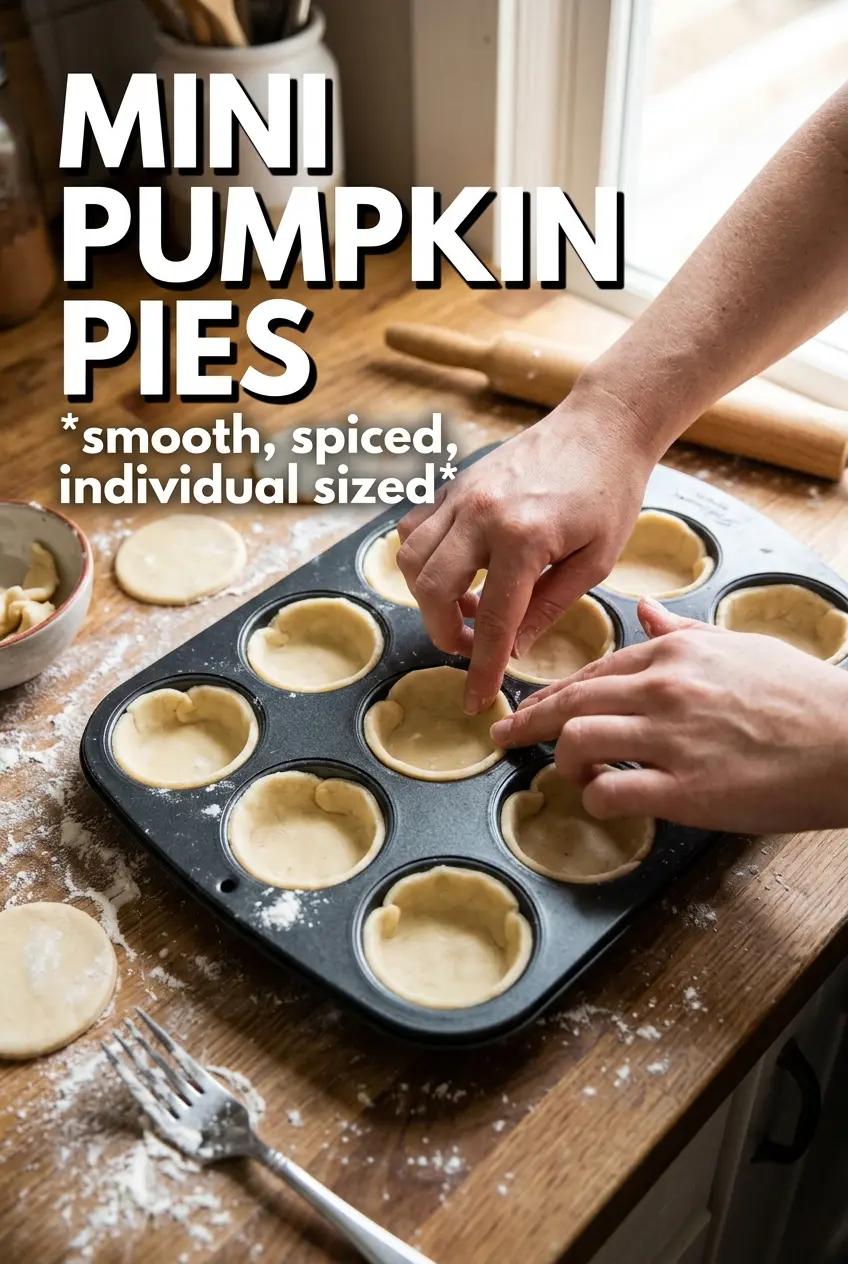
Cut the pie crust into 3.5-inch circles and press each one into a greased mini muffin cup, easing the dough down the sides without stretching it. If you pull the dough tight, it shrinks back in the oven and leaves you with shallow cups. Chill the pan briefly if the dough starts to feel soft; cold dough holds its shape better and bakes with cleaner edges.
Mixing the Custard Base
Whisk the pumpkin, eggs, milk or cream, brown sugar, spices, salt, and vanilla until the mixture looks completely smooth and uniform. A few streaks of egg or spice can show up as uneven patches after baking, so scrape the bowl and whisk all the way to the bottom. The mixture should pour easily but still feel thick and rich.
Baking Until Just Set
Fill each cup about three-quarters full and bake at 375°F until the crust is golden and the centers barely jiggle, 18 to 22 minutes. The tops should look matte, not wet, and the custard should wobble only in the center when you nudge the pan. If the pies puff dramatically or crack, they baked too long or too hot, so pull them as soon as the set starts to look complete.
Cooling for a Clean Finish
Let the pies cool completely before you move them, then chill them for about an hour. That rest time firms the filling so it releases neatly from the muffin tin and tastes more like a proper pie slice than a soft custard cup. Add whipped cream and cinnamon right before serving so the tops stay pretty and the crust doesn’t soften.
How to Change These for Different Diets and Different Pans
Dairy-Free Version
Use full-fat coconut milk in place of evaporated milk or cream. The filling will still set, but it will taste a little rounder and less classic, with a faint coconut note that works well with the spices.
Gluten-Free Crust Swap
Use a gluten-free pie crust that rolls well and chills firmly. Some GF doughs are more fragile, so cut the circles, then lift them with a thin spatula instead of your fingers to avoid tearing the edges.
Mini Tart Pan Alternative
If you don’t have a mini muffin tin, press the dough into mini tart pans instead. The pies come out a little more elegant and easier to unmold, though the bake time may stretch by a few minutes because the crusts are slightly larger.
Make Them Ahead for a Crowd
Bake the pies a day ahead and add whipped cream right before serving. The filling actually improves after chilling, and the crust stays best when it isn’t topped too early.
Storage and Reheating
- Refrigerator: Store covered for up to 4 days. The crust softens a little over time, but the filling stays creamy.
- Freezer: Freeze without whipped cream for up to 2 months. Wrap the cooled pies tightly and thaw in the refrigerator overnight.
- Reheating: These are best served chilled or at cool room temperature, not warm. If you want to take the chill off, leave them out for 15 to 20 minutes; microwaving makes the custard loose and the crust soggy.
Answers to the Questions Worth Asking
Mini Pumpkin Pies
Ingredients
Equipment
Method
- Preheat the oven to 375F, then grease a mini muffin tin and press 3.5-inch pie crust circles into each cup.
- Place the muffin tin on a sheet pan for easier handling, then bake until the pastry is starting to turn golden and fragrant, 5 minutes.
- Whisk pumpkin puree, eggs, evaporated milk or heavy cream, brown sugar, pumpkin pie spice, cinnamon, ginger, salt, and vanilla until completely smooth.
- Fill each crust about 3/4 full with the pumpkin custard, then bake at 375F for 18-22 minutes until the filling is just set and the crust is golden.
- Cool the mini pies completely at room temperature for about 1 hour.
- Refrigerate for 1 hour, then top each mini pie with whipped cream and dust with cinnamon before serving.