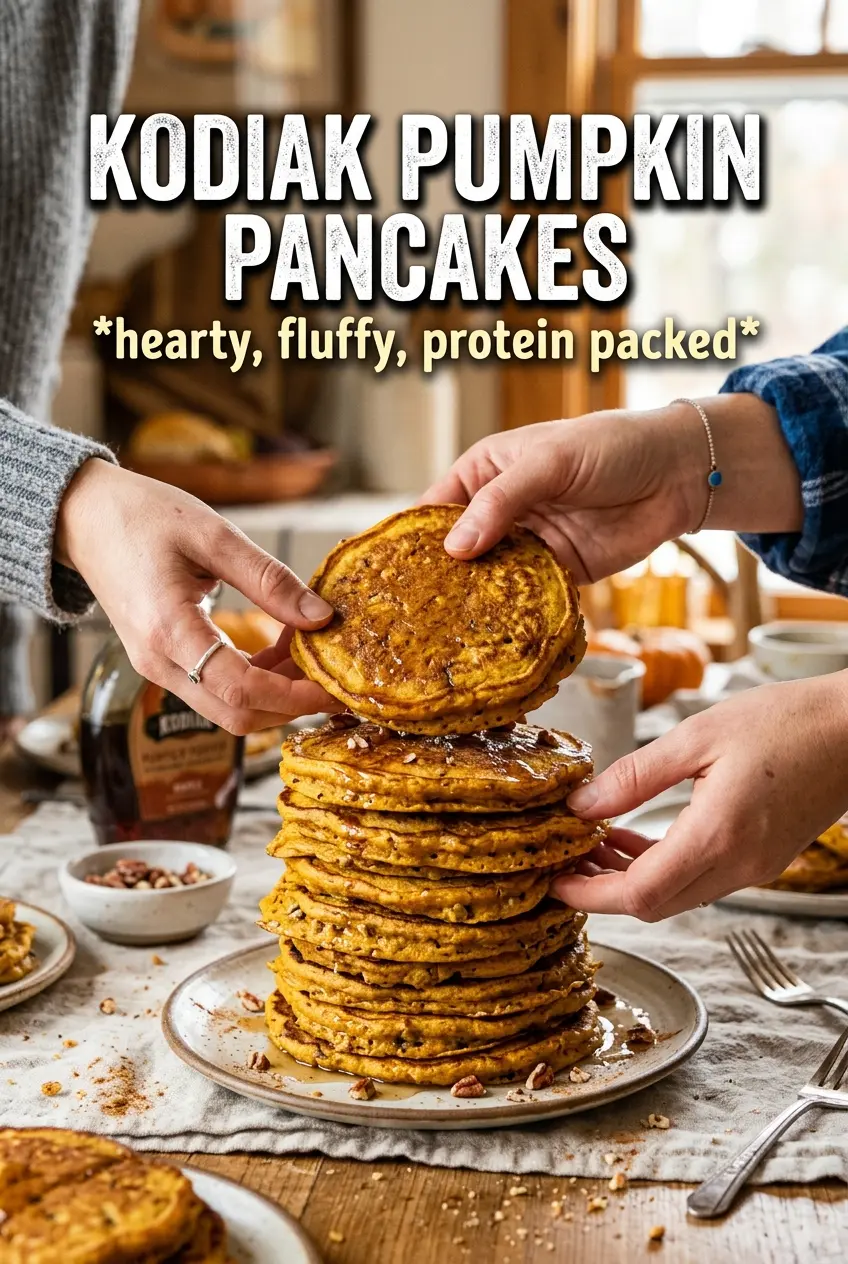
Golden, hearty Kodiak pumpkin pancakes land on the plate with a soft center, crisp edges, and that warm pumpkin spice aroma that makes a plain stack feel worth sitting down for. The Kodiak mix gives them more body than standard pancakes, so they eat like breakfast instead of a sugar rush, and the pumpkin keeps the crumb tender without turning the batter heavy.
The trick is treating the batter like pancake batter, not quick bread. Pumpkin puree adds moisture fast, so the dry mix only needs to be stirred in until the last streaks disappear. Resting the batter for a couple of minutes gives the whole grain flour time to hydrate and thickens everything just enough to cook up fluffy instead of dense.
Below, I’ll show you how to keep the pancakes from spreading too thin, which sweetener gives the cleanest maple flavor, and what to do if you want a dairy-free stack that still cooks up with good color.
The batter thickened up after that short rest and the pancakes cooked into tall, fluffy rounds with a real pumpkin spice flavor. My kids ate them plain, which never happens here.
Kodiak pumpkin pancakes with maple syrup and pumpkin seeds are the kind of hearty stack worth keeping for busy mornings.
The Reason These Pancakes Stay Fluffy Instead of Heavy
Kodiak mix already has structure, which is great for a tall pancake, but pumpkin puree can tip the batter into gummy territory if you overwork it. The answer is to mix only until the batter looks evenly moistened, then let it sit briefly so the flour hydrates on its own. That short rest thickens the batter without extra stirring, and extra stirring is what makes whole grain pancakes tough.
Heat matters here more than most people think. If the skillet is too hot, the outside browns before the center sets, and pumpkin batter is already a little slower to cook through than plain batter. Medium heat gives you that even rise, with bubbles on top and edges that look matte instead of wet before you flip.
- Kodiak Cakes Flapjack and Waffle Mix — This is the backbone of the recipe. It brings protein, whole grains, and enough structure to support the pumpkin without needing a lot of extra flour or leavening.
- Pumpkin puree — Use pure pumpkin, not pumpkin pie filling. Pie filling is already sweetened and spiced, which throws off the balance and can make the pancakes taste muddy.
- Eggs — They bind the batter and help the pancakes puff. If you skip them, the texture gets softer and a little fragile, so use a flax egg only if you accept a flatter, less airy stack.
- Milk or water — Milk gives a richer batter and a deeper color, while water keeps the pancakes lighter. Either works, but milk gives the better flavor if you have it.
What Each Ingredient Is Actually Doing in This Recipe
- Primary ingredient (the star) — Quality matters most. Choose the best you can find.
- Cooking medium (oil, butter, or broth) — This carries flavors and prevents dryness.
- Seasonings (salt, pepper, spices, herbs) — Layer flavors so nothing overpowers. Build depth gradually.
- Aromatics (garlic, onion, herbs) — Cook with fat to bloom flavors. Become the foundation.
- Supporting ingredients — Complement the main ingredient without overpowering it.
- Sauce or liquid (if applicable) — Brings flavors together. Balance richness with acid.
- Acid (lemon, vinegar, wine, or other) — Brightens and prevents flat-tasting results.
- Final finish (garnish, glaze, or sauce) — Prevents one-dimensional taste and adds visual appeal.
What Happens in the Bowl Before the Griddle Does Its Work
Mix the Dry Ingredients First
Stir the Kodiak mix with the pumpkin pie spice and cinnamon before adding any liquid. That keeps the spices from clumping in one bite and helps the batter taste even from the first pancake to the last. A quick fork stir is enough; you are not trying to aerate anything here.
Whisk the Wet Ingredients Until Smooth
In a separate bowl, whisk the pumpkin puree, water or milk, eggs, oil, sweetener, and vanilla until the pumpkin is fully broken up. If you leave pumpkin lumps in the bowl, they survive into the batter and cook up as dense orange pockets. The mixture should look thick but pourable, almost like loose custard.
Stop Stirring the Moment the Flour Disappears
Pour the wet mixture into the dry ingredients and stir just until combined. A few streaks are fine at this point because they finish blending during the rest. Then let the batter sit for 2 minutes so the mix can absorb the liquid; if it still seems too thick after resting, splash in a tablespoon of milk, not a whole extra pour.
Cook for Set Edges and a Gentle Bubble Pattern
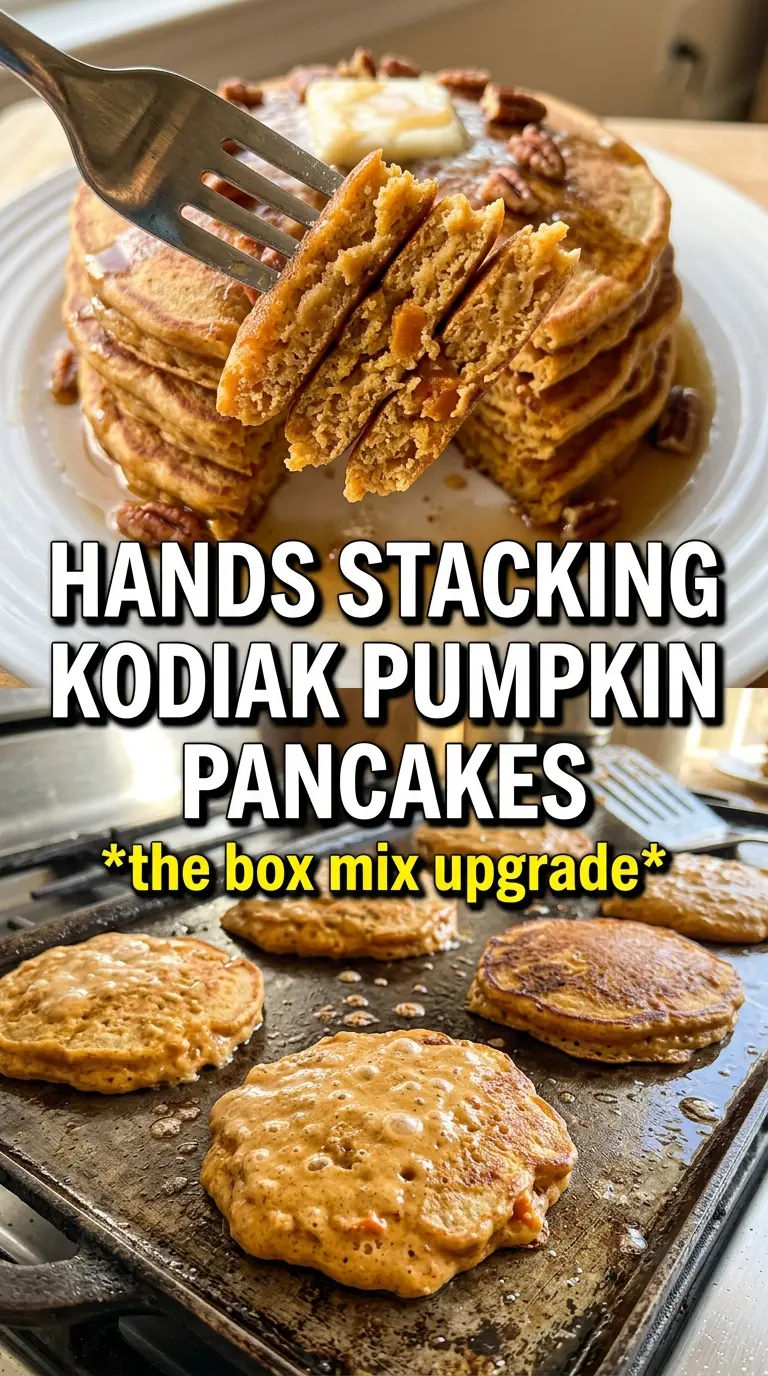
Grease a skillet or griddle and heat it over medium. Drop about 1/4 cup batter for each pancake, then wait for bubbles to form across the surface and for the edges to look set and slightly dry. Flip once and cook until the second side is golden and the center springs back when touched lightly. If you keep flipping early, the middle stays paste-like and the pancakes never get that nice lift.
Dairy-Free Version
Use water instead of milk and choose melted oil instead of butter. The pancakes will still turn out tender, but the flavor is a little lighter, so the vanilla and pumpkin spice matter more. If you want extra richness without dairy, a splash of coconut milk works well, though it adds a faint coconut note.
Maple-Sweetened Batch
Swap the brown sugar for pure maple syrup and use the lower end of the liquid range so the batter doesn’t thin out too much. You’ll get a deeper maple flavor, but the pancakes brown a touch faster, so watch the first batch closely and adjust the heat if needed.
Extra-Hearty Protein Stack
Use milk instead of water and add an extra egg white for a little more protein without making the batter heavy. This version sets up a bit firmer, which is nice if you want pancakes that hold up well under syrup and seeds.
Storage and Reheating
- Refrigerator: Store leftovers in an airtight container for up to 4 days. They soften slightly as they sit, but the flavor stays good.
- Freezer: These freeze well. Lay the cooled pancakes in a single layer on a baking sheet, freeze until firm, then stack with parchment between each one and seal in a freezer bag for up to 2 months.
- Reheating: Warm them in a toaster or a dry skillet over low heat until heated through. The biggest mistake is blasting them in the microwave for too long, which makes the edges rubbery while the center stays cool.