Jellied cranberry sauce sets up into that glossy, sliceable loaf people remember from holiday plates, but the homemade version has a brighter, cleaner cranberry flavor and none of the metallic tin taste that can come with the canned stuff. When it chills properly, it holds neat rounds with a smooth shine and just enough wobble to look polished on the table.
The trick is cooking the cranberries long enough for every berry to burst, then pushing the puree through a fine-mesh strainer until the mixture is silky. That step gives you the classic jellied texture instead of a loose relish. The second boil with lemon juice matters too, because it sharpens the sweetness and helps the sauce set with a firmer finish.
Below you’ll find the small details that make this work on the first try, plus the best way to unmold it cleanly so you get those tidy slices instead of a sticky collapse.
The texture was exactly right after an overnight chill, and it sliced into clean little rounds without sticking to the plate. My aunt asked for the recipe before dessert was even over.
Save this jellied cranberry sauce for the clean, sliceable side that brings bright cranberry flavor to the plate.
The Part That Makes It Slice Instead of Spoon Out
The biggest mistake with jellied cranberry sauce is stopping the cook too early. The berries need to burst completely, and the puree needs a brief second boil after straining so it thickens enough to set in a mold. If the mixture still looks thin in the pot, it will chill into a soft puddle instead of a clean slice.
The other place people lose the texture is in the straining step. You want to press the mixture through the sieve until only dry skins stay behind; that pulp carries the body of the sauce. If you rush this and leave too much liquid behind, the finished sauce turns loose and grainy instead of smooth and glossy.
- Boiling the cranberries long enough — Every berry needs to burst, not just most of them. That’s what releases the pectin that helps the sauce set.
- Straining without wasting the pulp — Scrape and press until the mixture is thick and uniform. A spoon or spatula works better than a ladle for pushing it through.
- The second boil — Those extra 3 to 4 minutes concentrate the sauce and move it from fruit puree to a moldable gel.
What Each Ingredient Is Actually Doing in the Mold
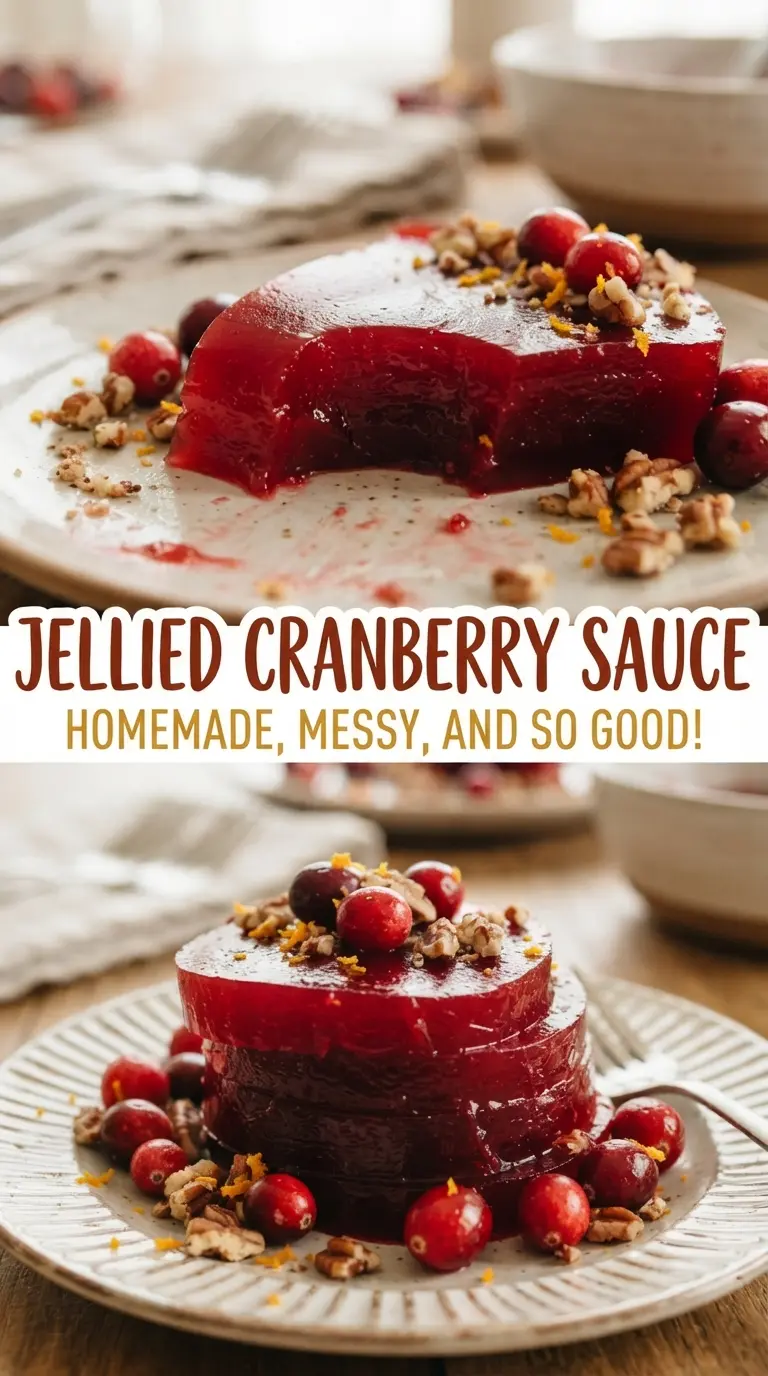
Cranberries do the heavy lifting here. Fresh berries give you the sharpest flavor and the cleanest setting power, and you don’t need frozen ones unless that’s what you have on hand. If you do use frozen cranberries, add them straight from the freezer and expect a minute or two more on the stove.
Sugar isn’t just for sweetness. It balances the tart fruit and helps the sauce firm up once it cools. Cutting it much lower changes the set and leaves you with something closer to cranberry puree than the classic jellied slice.
Lemon juice brightens the flavor and keeps the sauce from tasting flat. A pinch of salt doesn’t make it salty; it sharpens the cranberry flavor so the finished sauce tastes fuller. The water simply gives the berries enough room to cook down without scorching, so use the full amount.
Building the Sauce So It Cools Into a Clean Slice
Breaking Down the Berries
Combine the cranberries, sugar, and water in a saucepan and bring it to a boil over medium-high heat. You’ll hear the berries pop as they burst, and that’s your sign to keep going until nearly every berry has split open. Simmer for about 10 minutes, stirring now and then so the sugar doesn’t catch on the bottom.
Pressing It Smooth
Set a fine-mesh strainer over a bowl and work the mixture through with a spoon or spatula. Don’t just let gravity handle it; the thick pulp is what gives the sauce body, and you need to scrape the underside of the strainer as you go. The goal is a smooth, dense puree with no skins left behind.
Cooking the Set
Return the strained puree to the pot with the lemon juice and salt, then boil for another 3 to 4 minutes while stirring. The sauce should look glossy and slightly thicker, almost like a loose jam. If it still seems watery, give it another minute rather than guessing, because undercooked cranberry sauce won’t hold its shape after chilling.
Chilling and Unmolding
Lightly oil your mold, loaf pan, or clean can before pouring in the hot sauce. Chill it for at least 6 hours, but overnight gives the cleanest release and the firmest slices. To unmold, run a knife around the edge, dip the outside of the pan briefly in warm water if needed, and invert it onto a plate in one steady motion.
Three Ways to Adapt This Cranberry Mold Without Losing the Set
Lower-Sugar Version
You can reduce the sugar a little, but don’t cut it in half if you want the sauce to slice cleanly. Less sugar means a softer set and a sharper cranberry bite. If you want it less sweet, serve smaller portions rather than changing the balance too much.
Using Frozen Cranberries
Frozen cranberries work fine here and don’t need to thaw first. Add them straight to the pot and cook until the berries burst and the mixture thickens as usual. The only difference is that the boil may take a minute longer to get going.
Orange Zest for a Brighter Finish
A little finely grated orange zest adds warmth and a sweeter citrus note that works well with the cranberry. Stir it in with the lemon juice after straining so it doesn’t cook too hard and turn bitter. This keeps the texture smooth while giving the sauce a lighter, more festive edge.
Storage and Reheating
- Refrigerator: Keep covered for up to 1 week. The texture firms up even more after the first day.
- Freezer: It freezes, but the gel can turn a little watery after thawing, so I prefer making it fresh if possible. If you do freeze it, wrap it well and thaw overnight in the fridge.
- Reheating: This sauce is meant to be served chilled or at cool room temperature, not reheated. If you need it to release from the mold, warm the outside of the pan briefly rather than heating the sauce itself.
Answers to the Questions Worth Asking
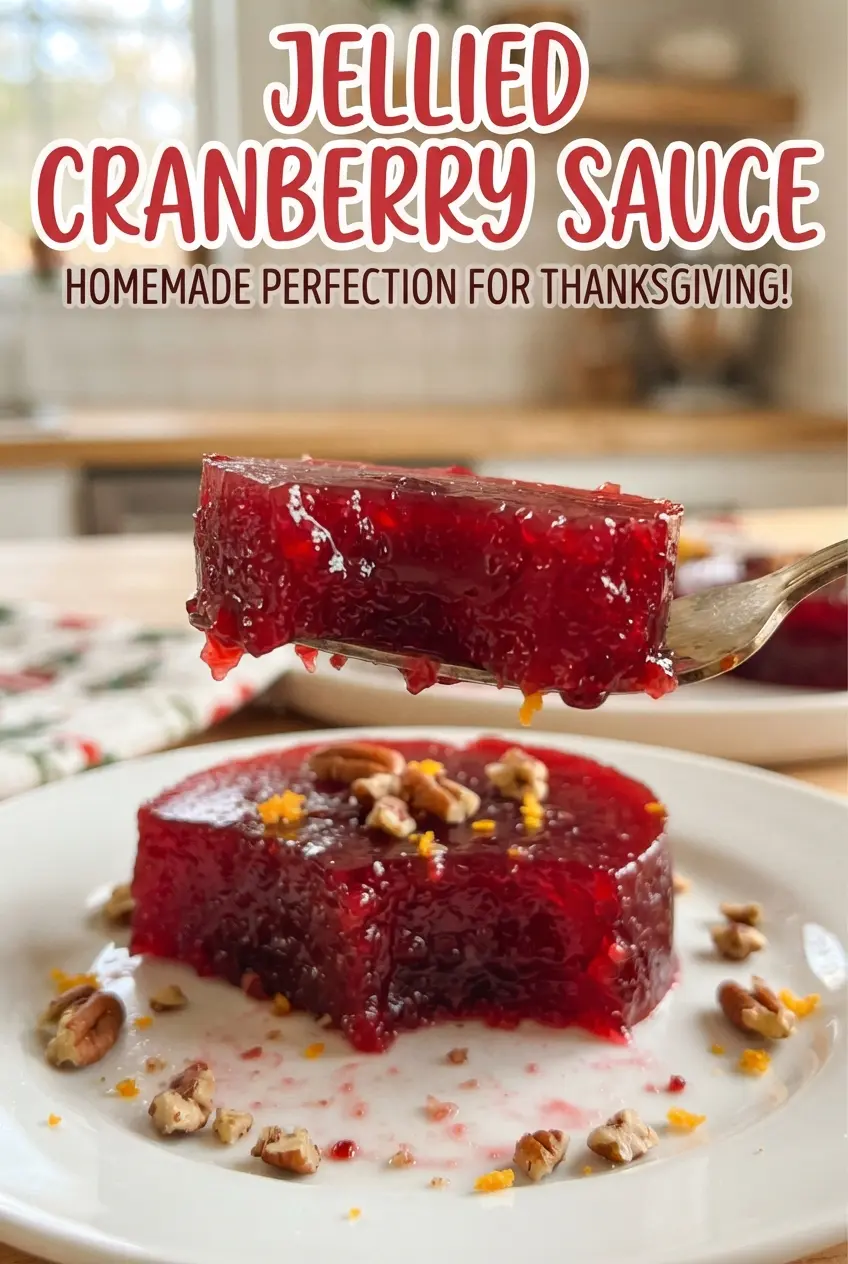
Jellied Cranberry Sauce
Ingredients
Equipment
Method
- Combine fresh cranberries, sugar, and water in a pot, then bring to a boil over medium-high heat. Simmer for 10 minutes, stirring occasionally, until all the berries burst and the mixture looks thick and glossy.
- Press the hot mixture through a fine-mesh strainer into a bowl, scraping to push all the pulp through. Discard the skins, leaving a smooth puree.
- Return the strained puree to the pot and stir in lemon juice and salt, then bring back to a boil. Boil for 3-4 minutes while stirring so it thickens slightly and stays pourable.
- Pour the hot cranberry mixture into a lightly oiled mold, loaf pan, or clean can. Spread it into an even layer so it sets uniformly.
- Chill the molded cranberry sauce for at least 6 hours or overnight until firm. When ready, run a knife around the edge, invert onto a plate, and slice into rounds.