Individual apple crumbles bake up with bubbling fruit at the bottom and a crisp oat topping that stays nubbly instead of turning into a sandy lid. The ramekin size matters here. Each serving gets its own generous layer of fruit and crumble, so you get more browned edges, more contrast, and a better spoonful every time.
The filling starts on the stove, which is the move that keeps the apples from baking into a bland, watery pile. A quick cook with cornstarch thickens the juices before they ever hit the oven, and that means the crumble stays crisp on top instead of sinking into syrup. Cold butter in the topping is just as important. Those little butter pockets melt in the oven and create the rough, craggy texture that makes a crumble worth eating.
Below, I’ve included the details that matter most: how to know when the filling is thick enough, how to keep the topping chunky, and which apple swaps still give you a good result.
The apples thickened up in the skillet just like you said, and the topping stayed crisp even after we added ice cream. My husband went back for a second ramekin before dinner was over.
Like these individual apple crumbles? Save them to Pinterest for a dessert that bakes crisp, bubbly, and perfectly portioned every time.
The Trick to Crisp Topping and Thick Apple Filling in Every Ramekin
Apple crumbles go wrong when the fruit gives off too much liquid in the oven. By the time the topping browns, the filling has turned thin and the bottom of the crumble goes soggy. Cooking the apples first solves that problem. The juices thicken in the skillet, the cornstarch gets a head start, and the fruit settles into the ramekins already glossy and lightly coated instead of swimming.
The other place people lose texture is the topping. If the butter softens before it goes into the flour and oats, the mixture turns pasty instead of clumpy. Keep the butter cold and stop mixing as soon as you have pea-sized pieces and shaggy crumbs. Those uneven bits are what bake into crisp little ridges.
- Cook the apples until the juices look syrupy — that’s the point where the filling is ready for the oven.
- Use finely diced apples — smaller pieces soften at the same rate and mound neatly into the ramekins.
- Keep the butter cold for the crumble — warm butter makes a dense topping instead of a crisp one.
- Bake on a sheet pan — if a ramekin bubbles over, the pan catches it and keeps the oven clean.
What Each Ingredient Is Actually Doing in These Apple Crumbles
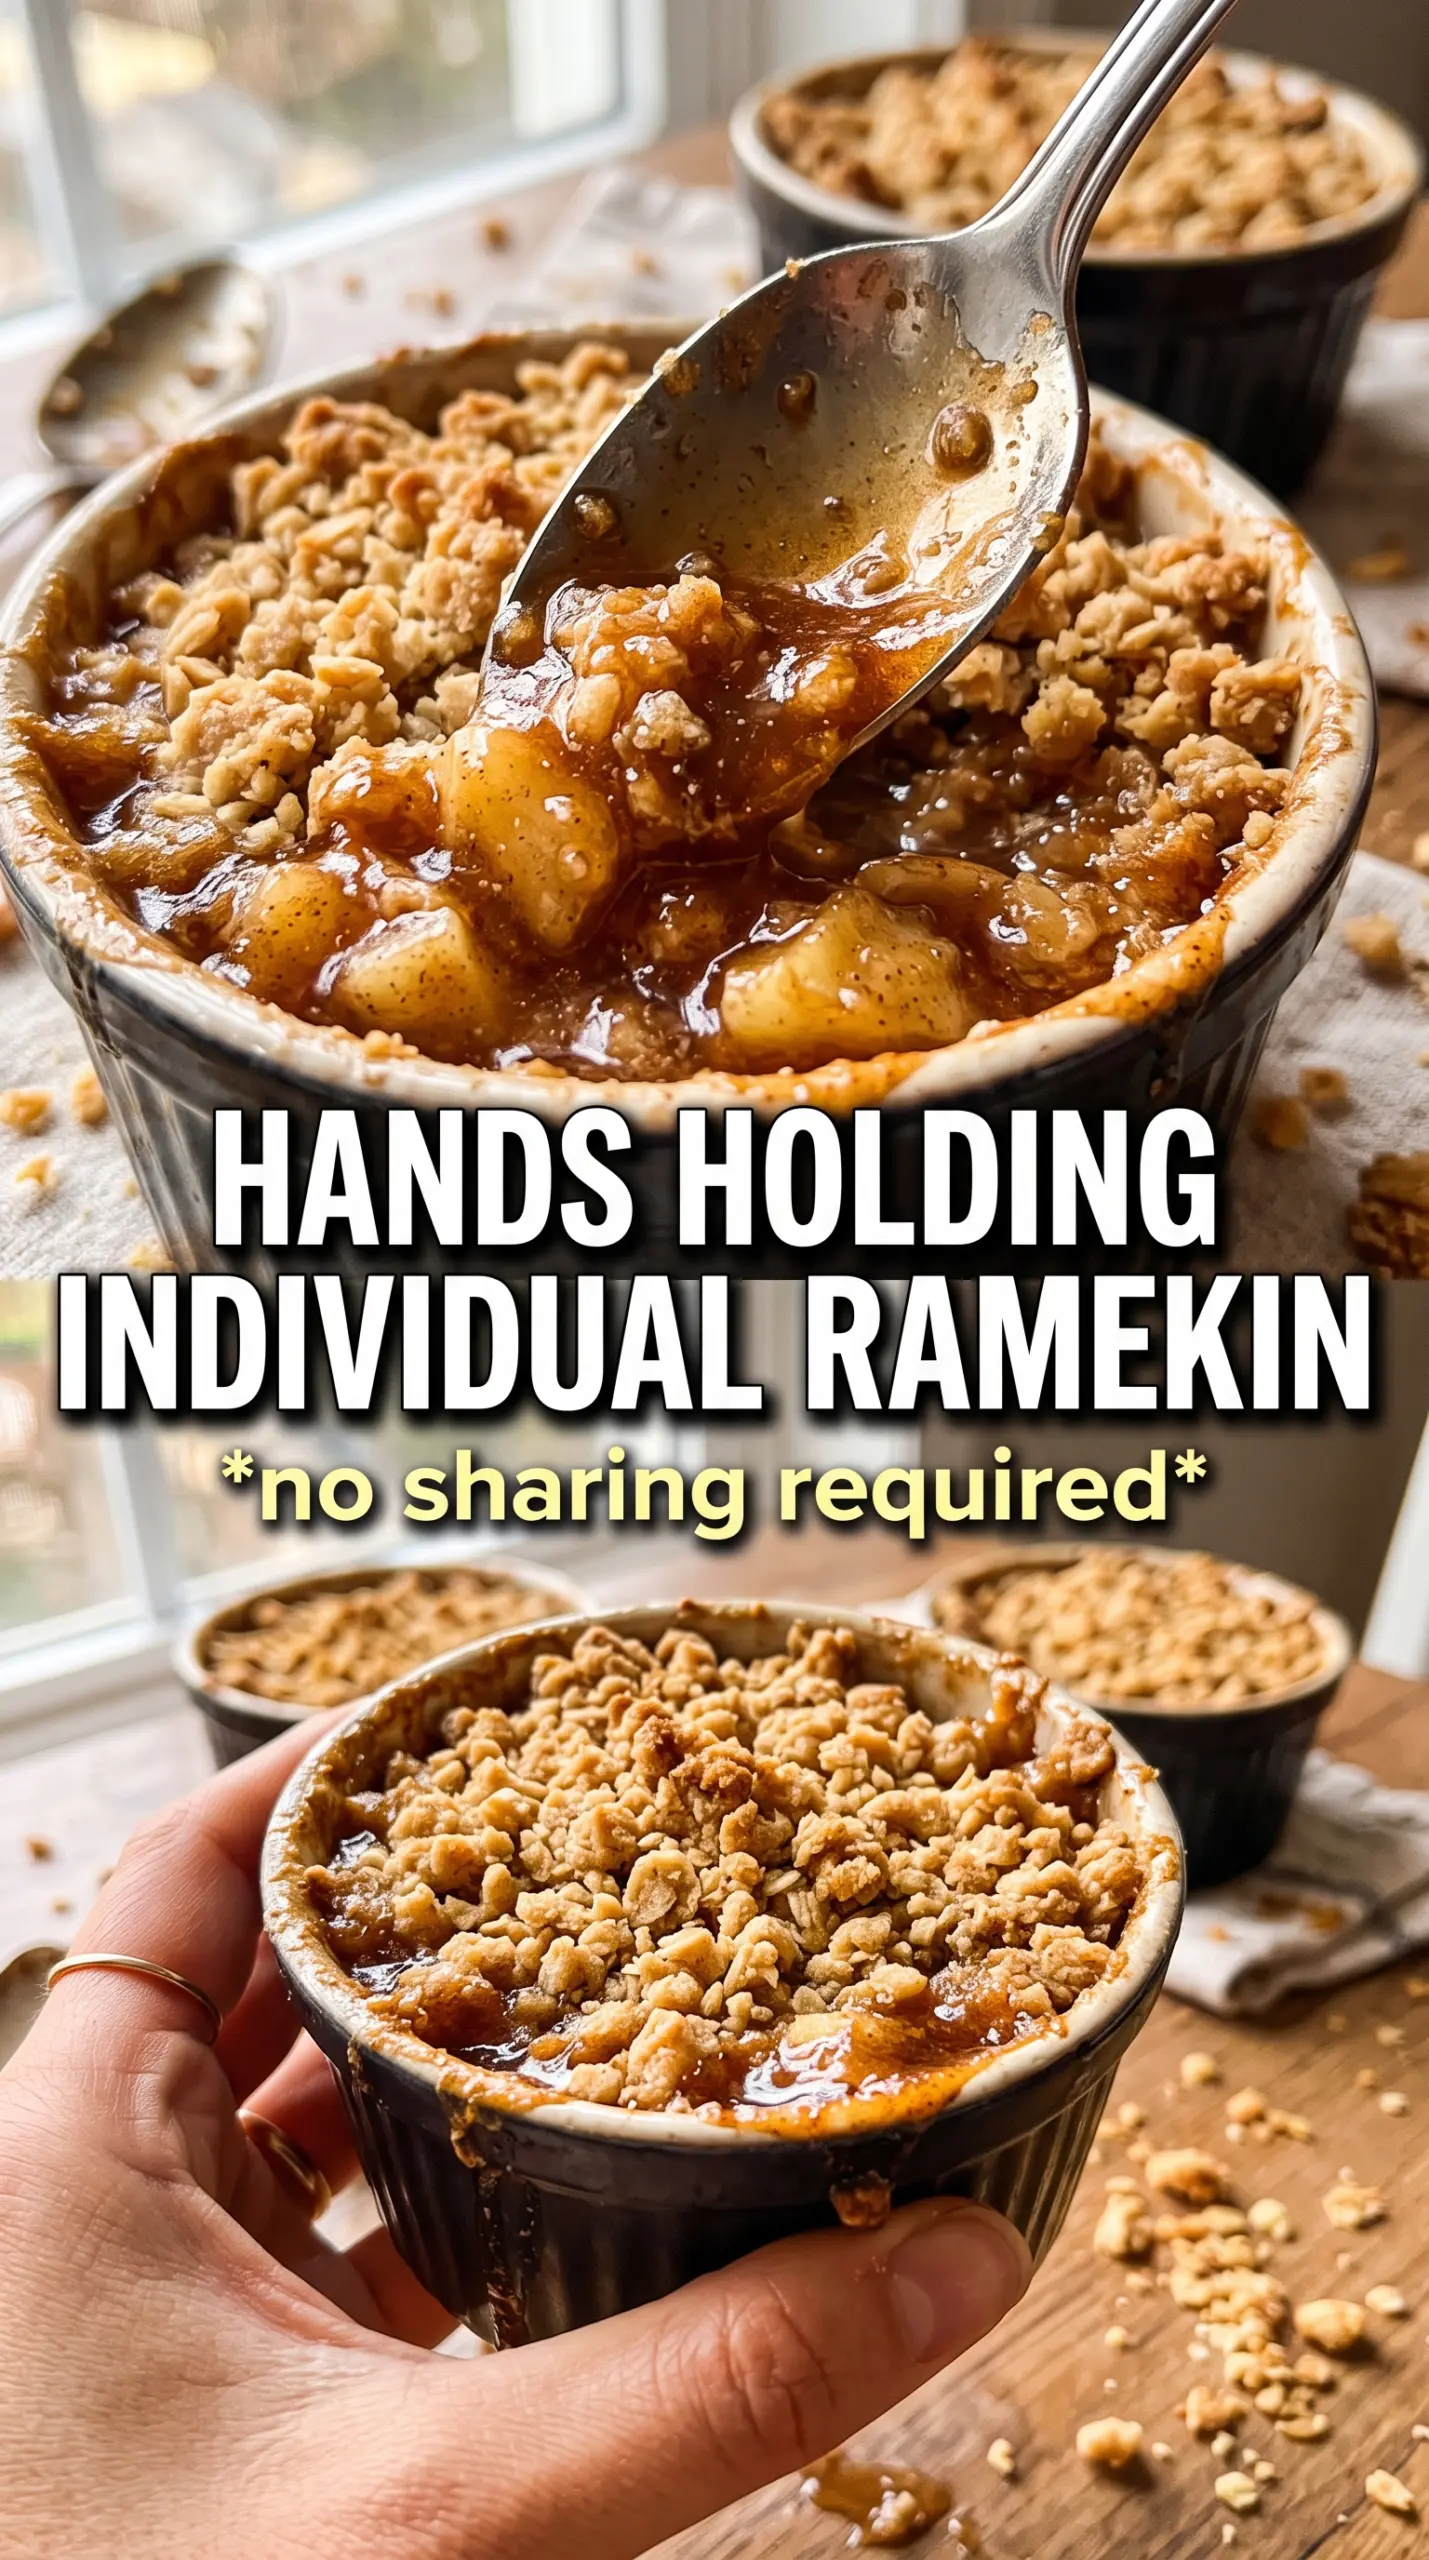
- Apples — Firm baking apples hold their shape best here. If yours are softer and sweeter, the filling will turn more sauce-like, which still tastes good but loses some of the tidy layers. A mix of tart and sweet apples gives the best balance.
- Cornstarch — This is what turns the pan juices into a thick filling instead of a puddle. Flour won’t thicken as cleanly in this short stovetop cook, so cornstarch is the better choice.
- Lemon juice — It keeps the apples tasting bright and keeps the sweetness from flattening out. You only need a little; more than that makes the filling taste sharp.
- Rolled oats — They give the topping its craggy, rustic texture. Quick oats can work in a pinch, but they bake up finer and less chewy.
- Brown sugar and butter — Brown sugar brings the caramel note, and cold butter creates the crumb. If the butter is too soft, the topping spreads into a paste and won’t brown in rough, crunchy clusters.
Building the Ramekins So the Topping Stays Crisp
Cooking the Apples First
Start the filling in a skillet over medium heat and keep it moving until the apples soften just enough to lose their raw edge. The mixture should look thick and glossy, with steam rising but no free liquid pooling in the pan. If it still looks loose, give it another minute or two; that extra reduction is what keeps the crumble from going watery later. Divide it into the ramekins while it’s still warm so it settles evenly and doesn’t cool into a lump.
Mixing the Oat Crumble
Combine the dry ingredients first, then cut in the butter until the mixture holds together in chunky clumps when you pinch it. Don’t chase an even texture. A few bigger pieces bake into the best crispy bits, while the smaller crumbs fill in the gaps. If the mixture starts looking sandy and dry, the butter is too finely worked in; add a few more cold cubes and stop as soon as it comes together.
Baking Until the Edges Bubble
Set the filled ramekins on a baking sheet and bake until the tops are deep golden and the filling is visibly bubbling at the edges. That bubbling matters more than the timer. It tells you the cornstarch has fully thickened the fruit juices. If the topping browns before the filling bubbles, loosely lay a piece of foil over the ramekins for the last few minutes.
Make It Ahead for a Dinner Party
Cook the filling and mix the crumble earlier in the day, then keep them separate until you’re ready to bake. If you assemble the ramekins too far ahead, the topping starts pulling moisture from the fruit and loses its crunch. Baking from that fully fresh assembly gives you the best contrast.
Gluten-Free Individual Apple Crumbles
Swap the all-purpose flour for a good 1:1 gluten-free baking blend. The topping will still crisp up, though it may be a touch more delicate when you spoon through it. Keep the oats certified gluten-free if that matters for your kitchen.
Dairy-Free Version That Still Browns Well
Use a plant-based butter that’s meant for baking and stays solid when cold. Soft margarine won’t give you the same crumbly texture, and the topping can bake up greasy. The flavor stays close to the original if you keep the same spice blend.
Turning One Recipe Into a Crowd Dessert
Double everything and bake it in a 9×13-inch dish if you don’t need individual portions. The bake time may run a few minutes longer, and the center should still bubble before you pull it from the oven. You’ll lose some of the caramelized edge-to-edge topping, but it’s a good trade when you’re feeding more people.
Storage and Reheating
- Refrigerator: Store covered for up to 4 days. The topping softens a bit, but the flavor holds well.
- Freezer: Freeze baked crumbles in the ramekins once fully cooled, wrapped tightly. They keep for about 2 months, though the topping won’t stay as crisp after thawing.
- Reheating: Warm in a 350F oven until the filling is hot and the top crisps back up, usually 10-15 minutes for individual ramekins. The microwave will heat the fruit faster, but it turns the topping soft.
Answers to the Questions Worth Asking
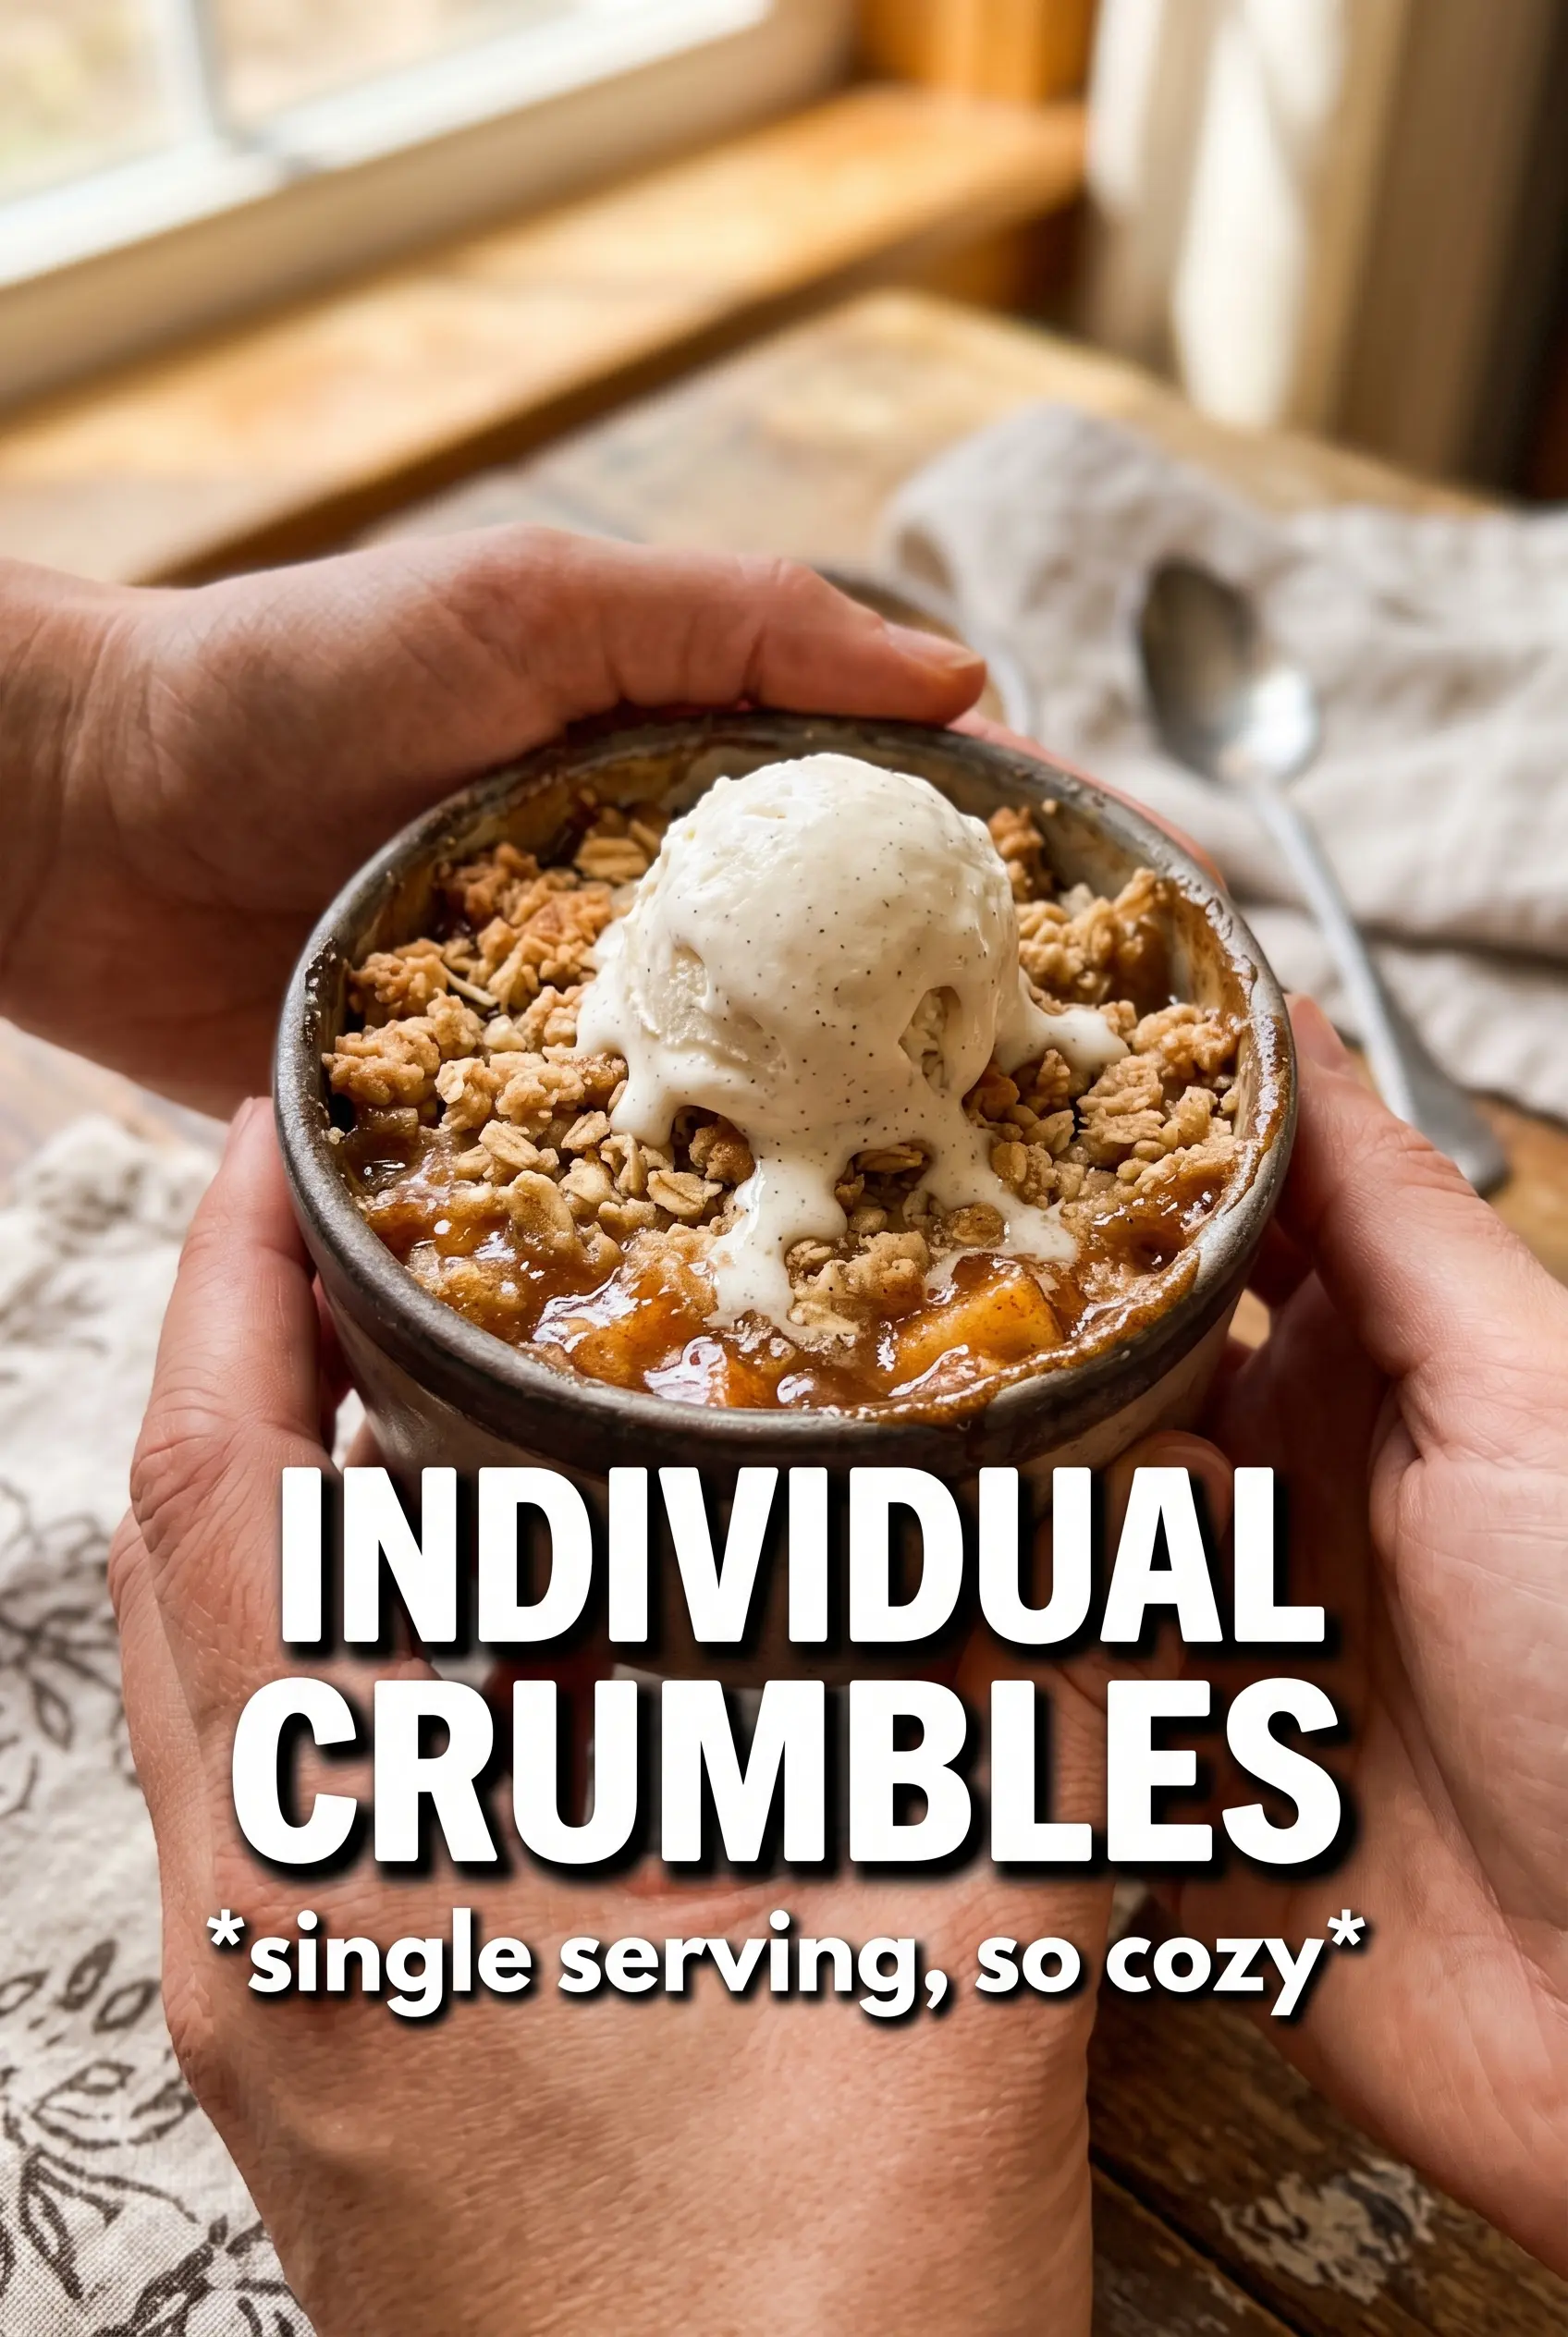
Individual Apple Crumbles
Ingredients
Equipment
Method
- Preheat the oven to 375F and grease 6 individual ramekins (6–8 oz each). Visually coat the inside so the crumble releases cleanly.
- In a skillet over medium heat, cook the diced apples with unsalted butter, granulated sugar, cinnamon, nutmeg, cornstarch, and lemon juice for 5–7 minutes until thickened. The mixture should look glossy and cling to the apples.
- Divide the thickened apple filling among the 6 greased ramekins. Fill to near the top so the filling bubbles up during baking.
- In a bowl, combine rolled oats, all-purpose flour, brown sugar, cinnamon, and salt, then cut in the cold cubed butter until chunky clumps form. The mixture should look like coarse wet sand with visible butter bits.
- Top each ramekin generously with the oat crumble. Lightly press so it covers the apples and forms an even layer.
- Place the ramekins on a baking sheet and bake for 25–30 minutes at 375F until the topping is golden and the filling bubbles. Look for bubbling around the edges and a crisp, browned crumble surface.
- Serve the apple crumbles warm with vanilla ice cream. Add the ice cream right before eating so it starts melting on top.