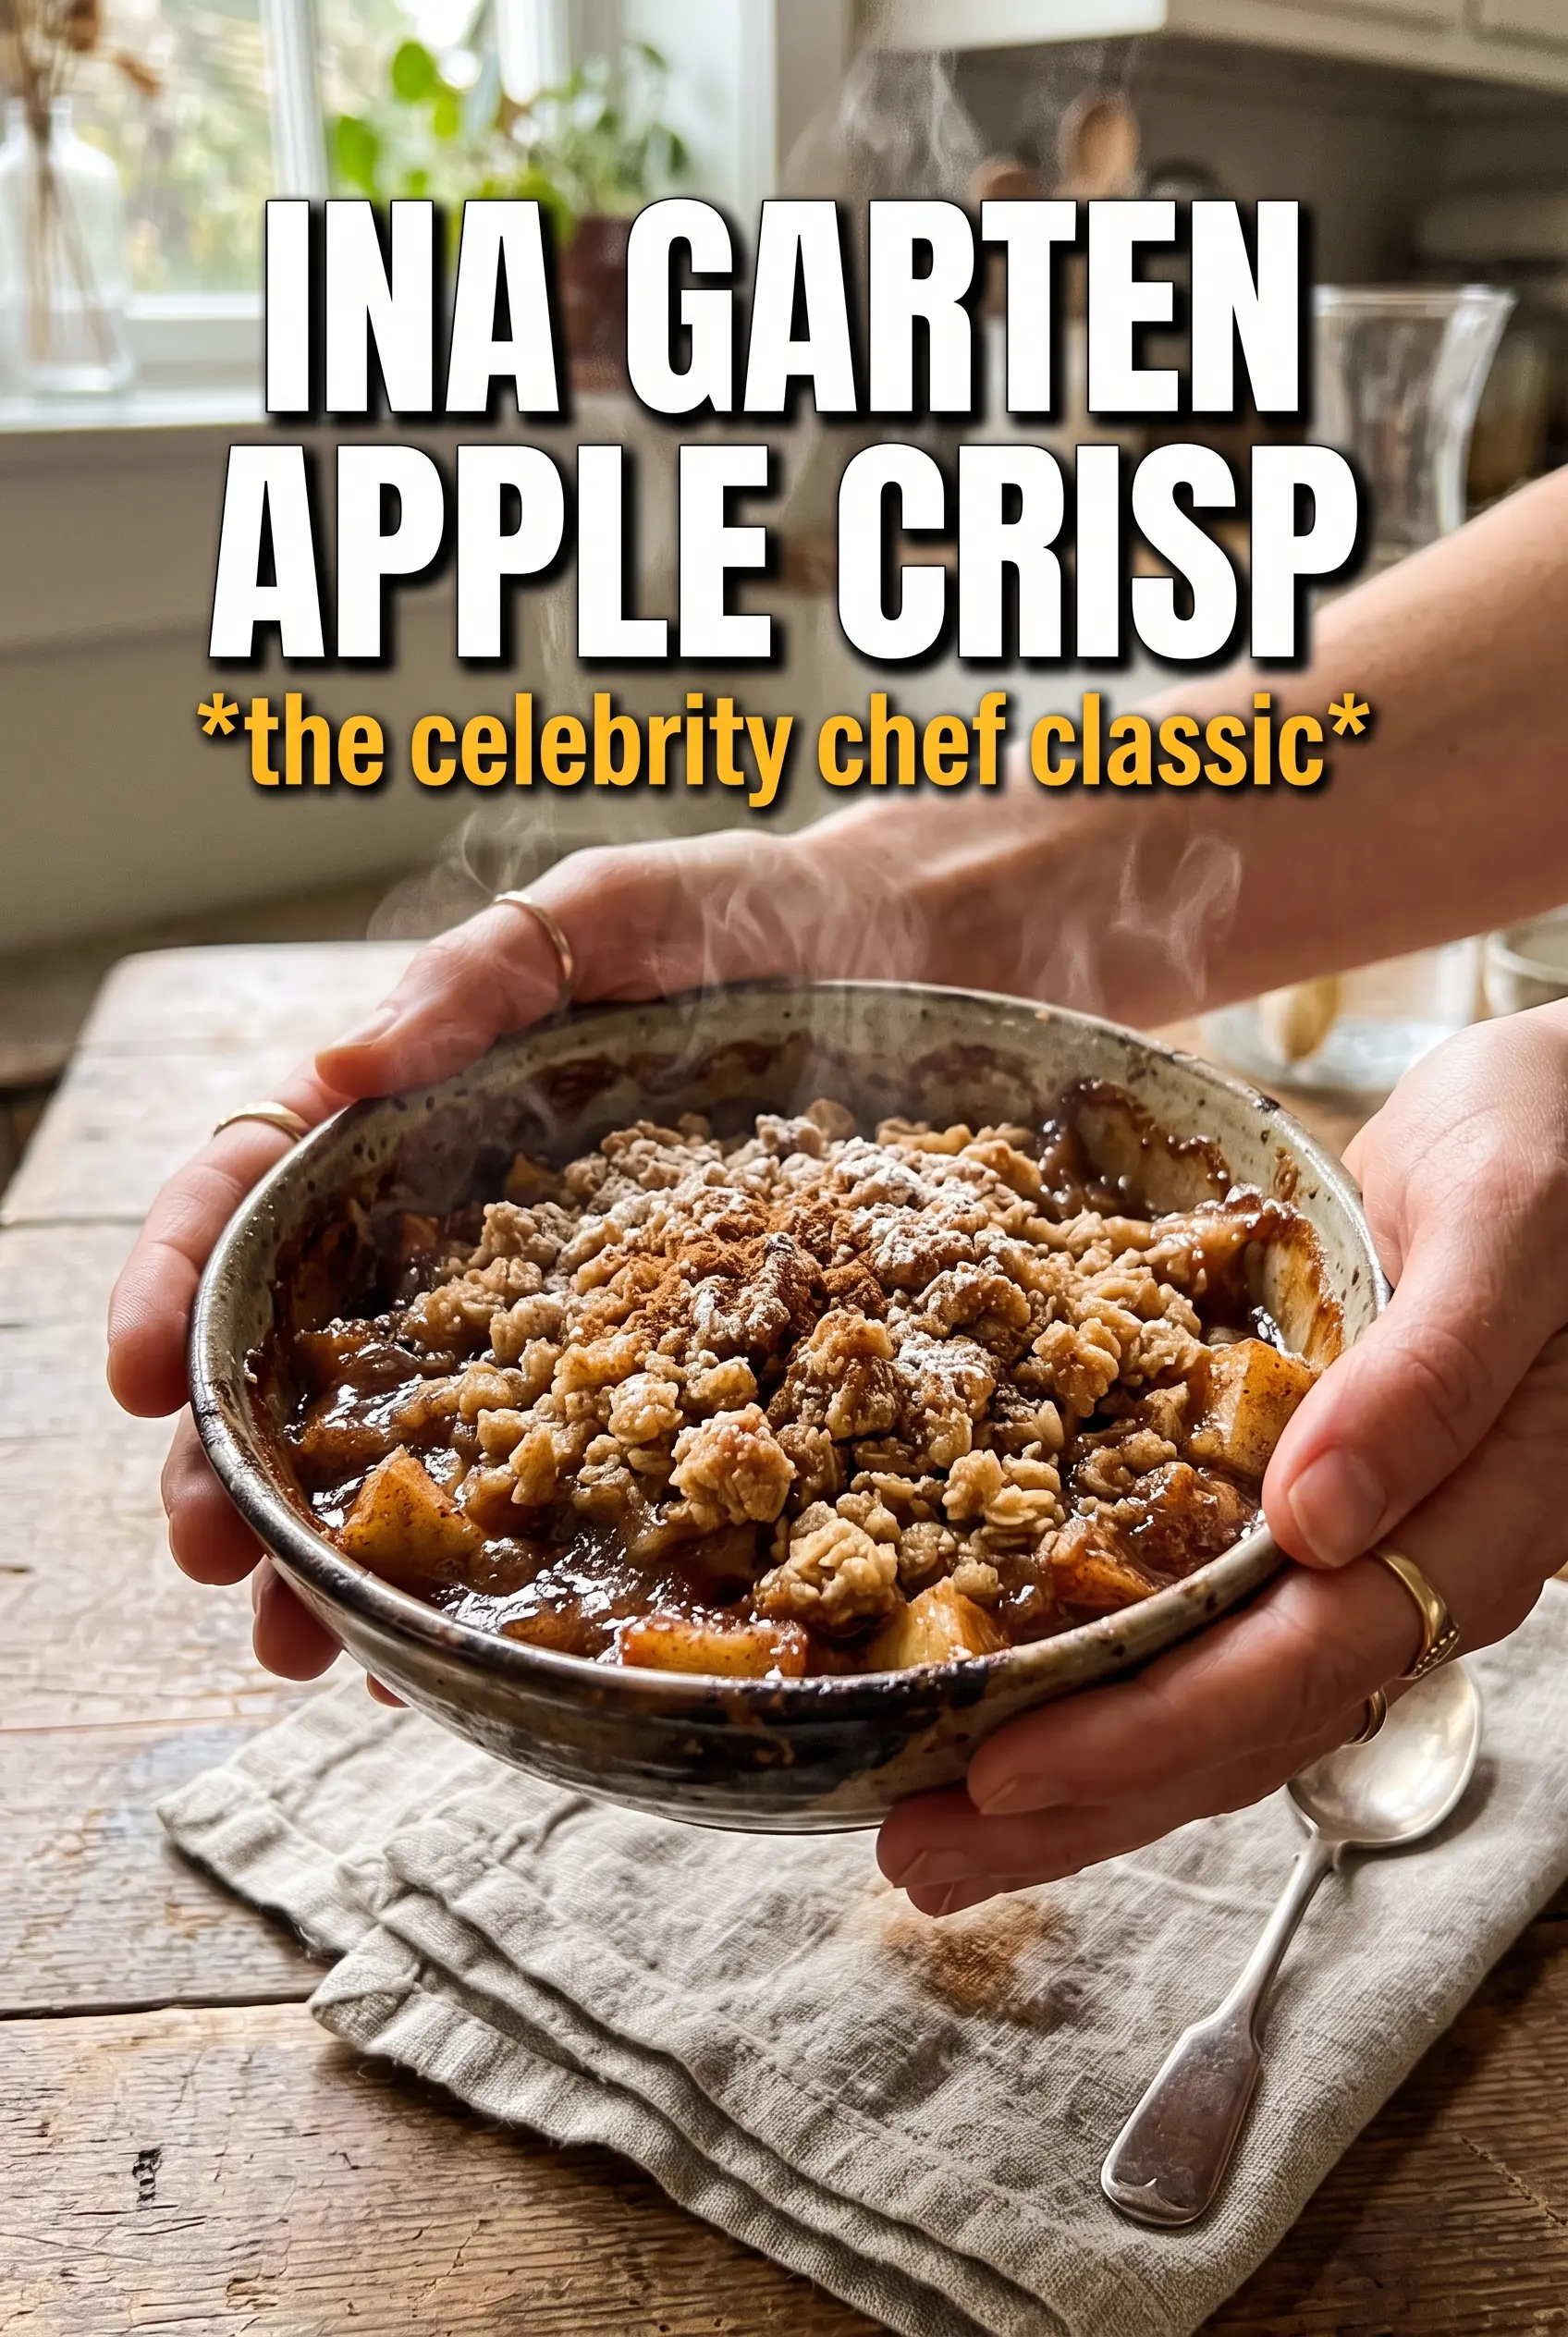
Soft, bubbling apples tucked under a thick oat-and-brown-sugar crumble make this apple crisp the kind of dessert people keep spooning back into their bowls. The topping bakes into a deep golden layer with crisp edges and just enough chew in the center, while the fruit underneath turns jammy without collapsing into applesauce. Served warm, it has that same comforting balance Ina recipes are known for: straightforward, generous, and built to taste like you put in more effort than you did.
What makes this version stand out is the citrus. Orange zest and lemon zest brighten the apples before they even hit the oven, and the juices help start a light syrup in the baking dish so the filling stays glossy instead of dry. The cold butter in the topping matters too. When you rub it in with your fingers, you get those uneven clumps that bake into the best crunchy bits instead of a uniform sandy layer.
Below, I’ve included the small details that keep the topping crisp and the filling tender, plus a few useful swaps if you need to work with what’s already in your kitchen.
The topping baked up crisp all the way through, and the orange zest made the apples taste brighter without taking over. I served it with vanilla ice cream and the pan was scraped clean.
Ina Garten apple crisp is the one to pin when you want a golden oat crumble, tender spiced apples, and a dessert that serves a crowd without fuss.
The Apple Filling Needs Enough Acid to Stay Bright
The biggest mistake with apple crisp is treating the fruit like it only needs sugar and spice. Apples give off a lot of juice as they bake, and without enough acid the filling can taste flat and heavy under all that crumble. The lemon and orange juices keep the sweetness in check, and the zests add aroma that you notice in the finished dessert even more than in the raw fruit.
Macintosh apples break down faster and give you a softer, spoonable filling. Braeburns hold their shape a little better and give more texture. If you mix varieties, you get the best of both: some slices collapse into sauce, others stay intact, and the whole pan tastes layered instead of one-note.
- Macintosh apples — They turn tender quickly and help create that classic juicy crisp filling. If you only have firmer apples, bake a few extra minutes so the center softens.
- Orange and lemon zest — The zest matters more than the juice here. It perfumes the apples without thinning the filling, and there isn’t a substitute that gives the same lift.
- Brown sugar in the topping — It gives the crumble a deeper caramel note and helps it brown more evenly than white sugar alone.
Getting the Crumble to Clump Instead of Turn to Sand
Cold butter is the difference between a crisp topping and a dusty one. The flour, oats, and sugars need enough butter to hold together in pebbly clumps, but not so much that the mixture turns greasy before it goes into the oven. If the butter warms up too much while you mix, the topping melts flat instead of baking into crisp ridges.
Use your fingers and stop as soon as you see pea-sized bits. Those uneven pieces are what create the nooks and crannies on top. The oats add chew, the brown sugar adds color, and the salt keeps the sweetness from becoming too blunt.
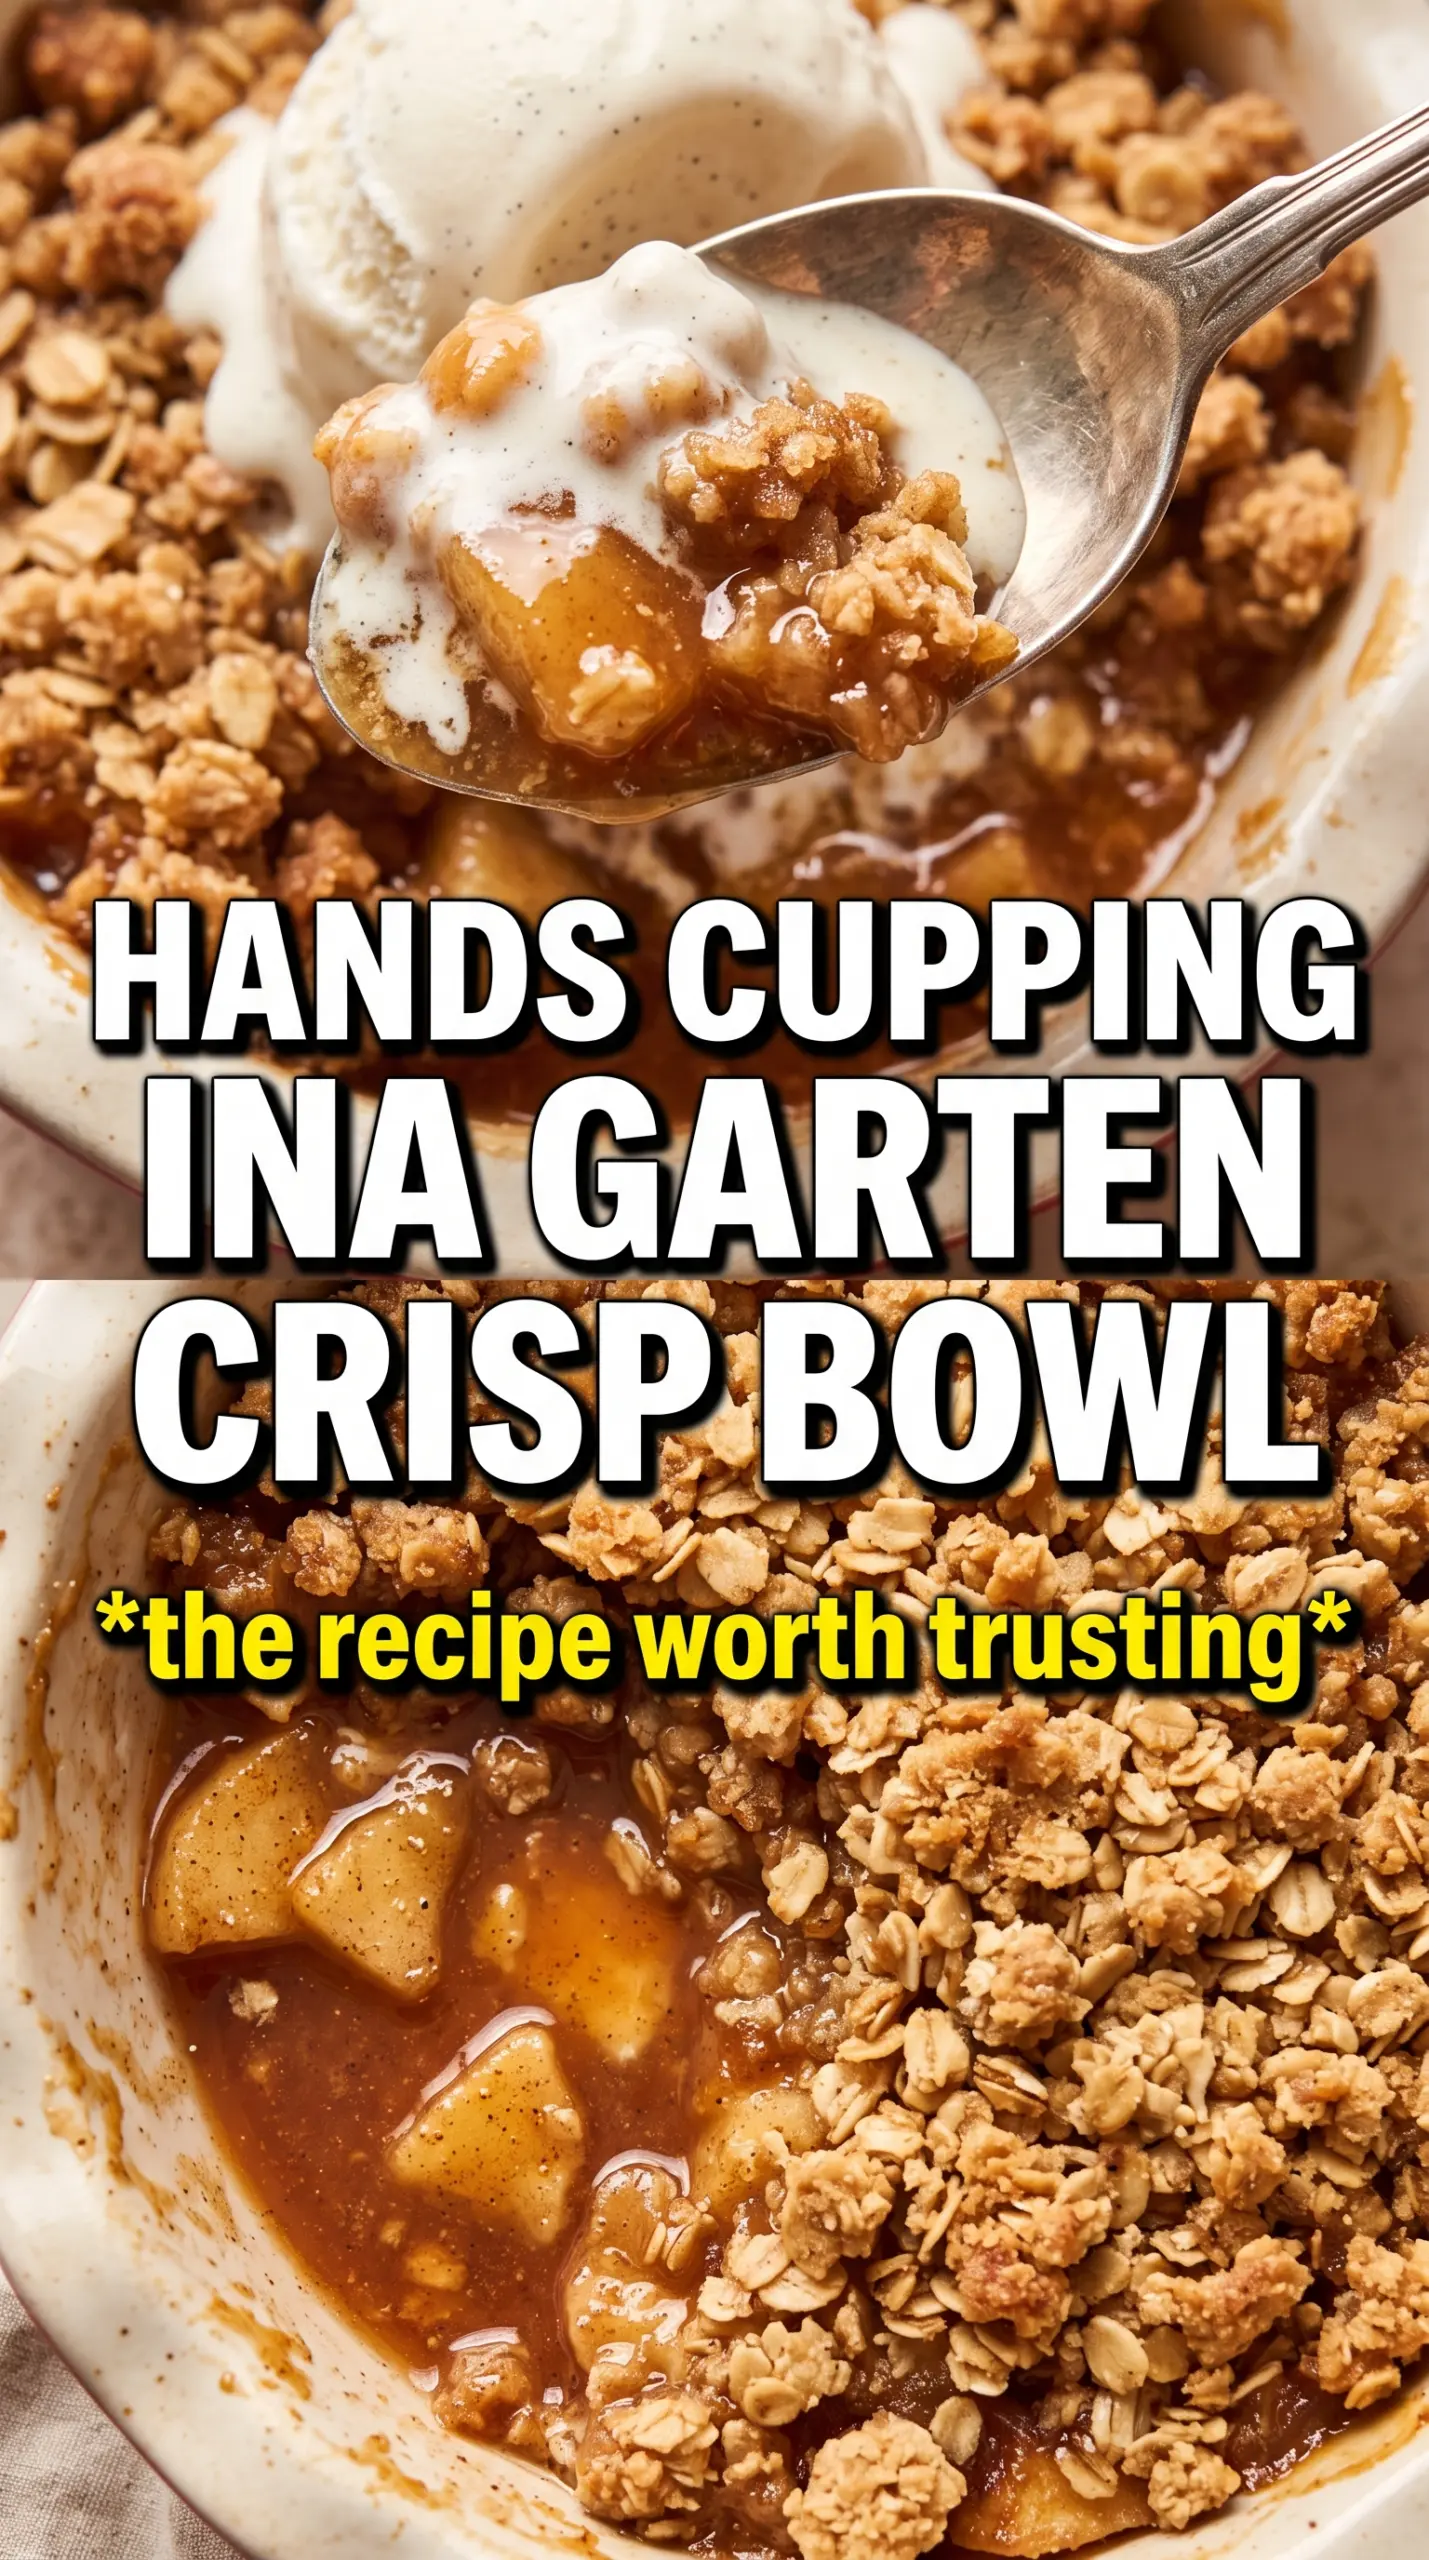
- Cold unsalted butter — Use it straight from the fridge and dice it first so it distributes quickly. If you use softened butter, the topping bakes up dense instead of crisp.
- Old-fashioned oats — They hold their shape and give the topping texture. Quick oats work in a pinch, but the crumble will be finer and less rustic.
- Kosher salt — Just enough salt keeps the topping balanced. Table salt can work, but use a lighter hand because it tastes sharper.
Building the Crisp So the Top Browns Before the Fruit Collapses
Tossing the Apples Thoroughly
Combine the sliced apples with the zests, juices, sugar, cinnamon, and nutmeg until every piece is coated. The sugar starts pulling out moisture right away, which is what you want, but don’t let the apples sit too long before baking or the pan will turn watery. Spread them in an even layer so the fruit cooks at the same rate.
Making the Topping by Hand
Mix the dry ingredients first, then work in the butter with your fingertips until the mixture looks like a mix of sand and pea-sized nuggets. Those clumps are what give you crunch. If the topping looks powdery, keep rubbing in a little more butter; if it starts to smear together like cookie dough, it’s too warm and needs a few minutes in the fridge.
Baking Until the Edges Bubble
Scatter the topping all the way to the edges of the dish and bake until the top is deep golden and the filling is actively bubbling around the sides. Bubbling matters more than the clock because it tells you the apples have softened and the juices have thickened. If the top browns too fast before the fruit is tender, lay a loose sheet of foil over it for the last stretch of baking.
Make It Gluten-Free
Swap the all-purpose flour for a 1:1 gluten-free baking blend that contains xanthan gum. The topping will still brown and crisp, though it may feel a little more delicate when you scoop it. Keep the oats certified gluten-free if you need the whole dessert to be safe for celiac readers.
Make It Dairy-Free
Use a solid plant-based butter block instead of dairy butter. Choose one that bakes and measures like butter, not a soft spread in a tub, or the topping can turn greasy and sandy instead of crisp and clumpy.
Use Pears Alongside the Apples
Replace up to half the apples with firm pears for a softer, more floral filling. Pears break down faster than apples, so the dessert will be a little looser, but the citrus and spice keep it from tasting heavy.
Storage and Reheating
- Refrigerator: Store covered for up to 4 days. The topping softens a little in the fridge, but the flavor stays excellent.
- Freezer: Freeze baked crisp in an airtight container for up to 2 months. Thaw overnight in the refrigerator before reheating so the filling warms evenly.
- Reheating: Warm uncovered in a 325°F oven until the topping crisps back up and the center is hot. The common mistake is microwaving it straight through, which turns the crumble soft and can make the apples mushy.