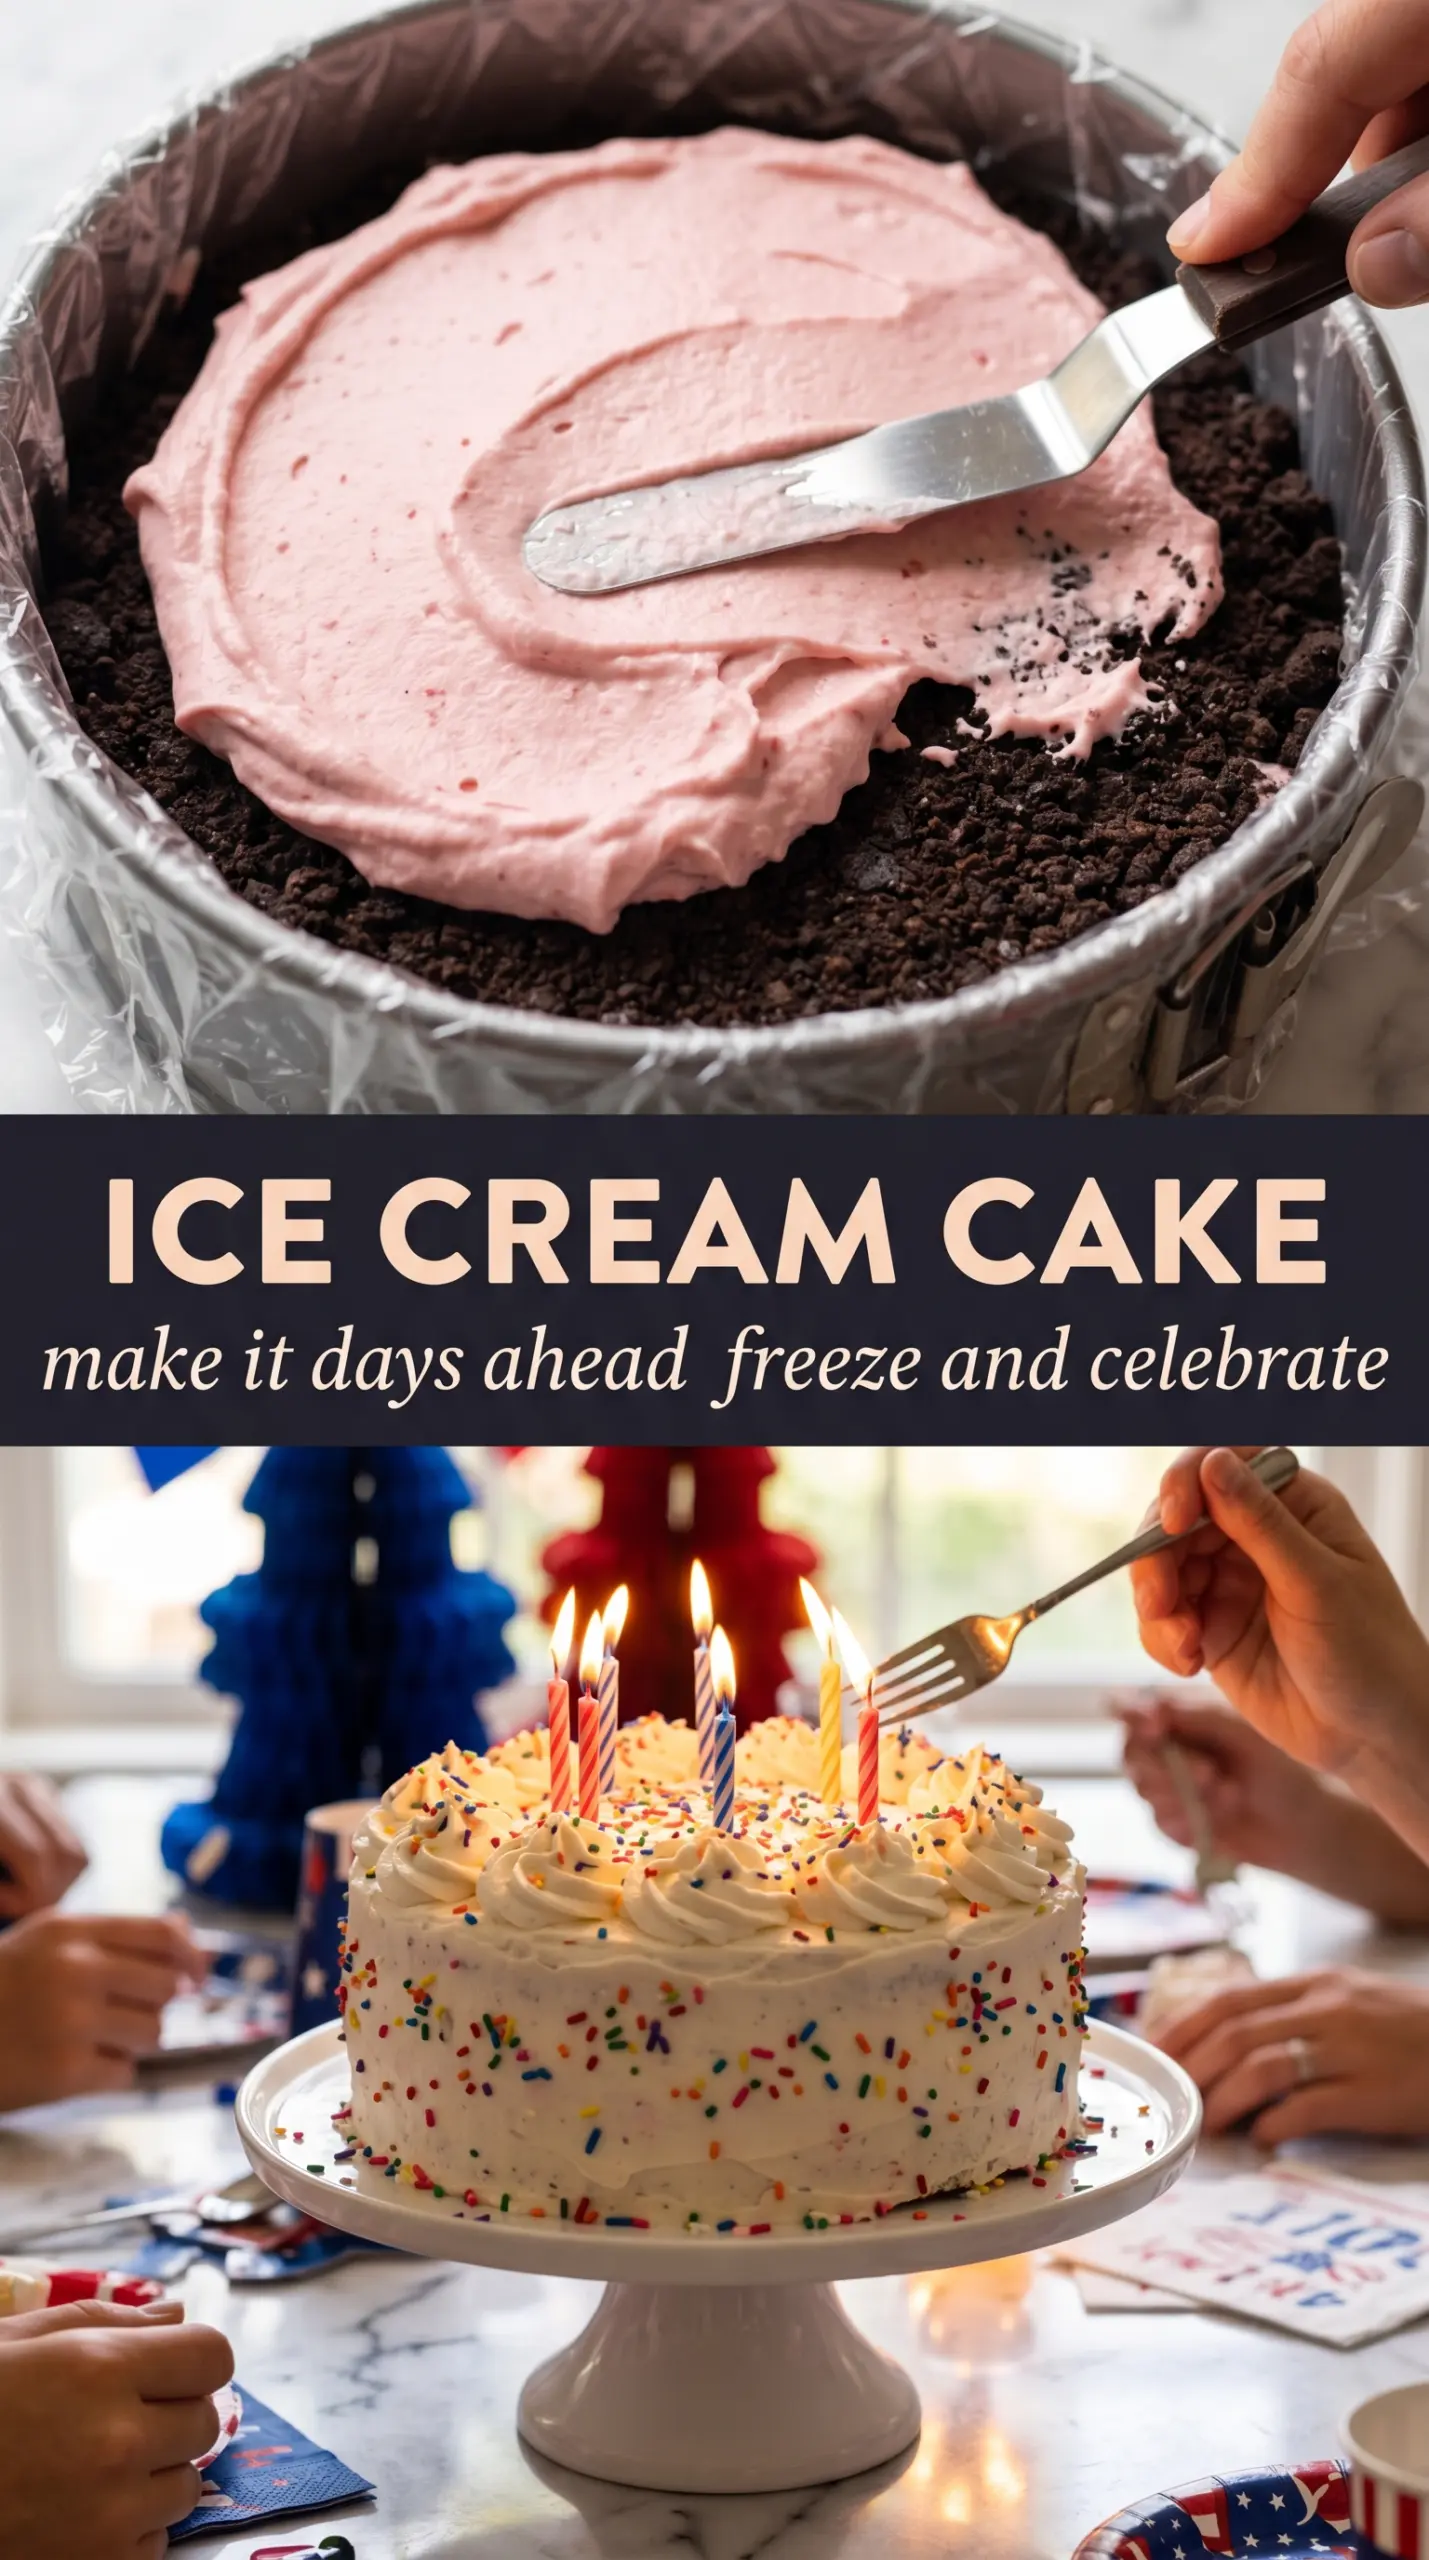
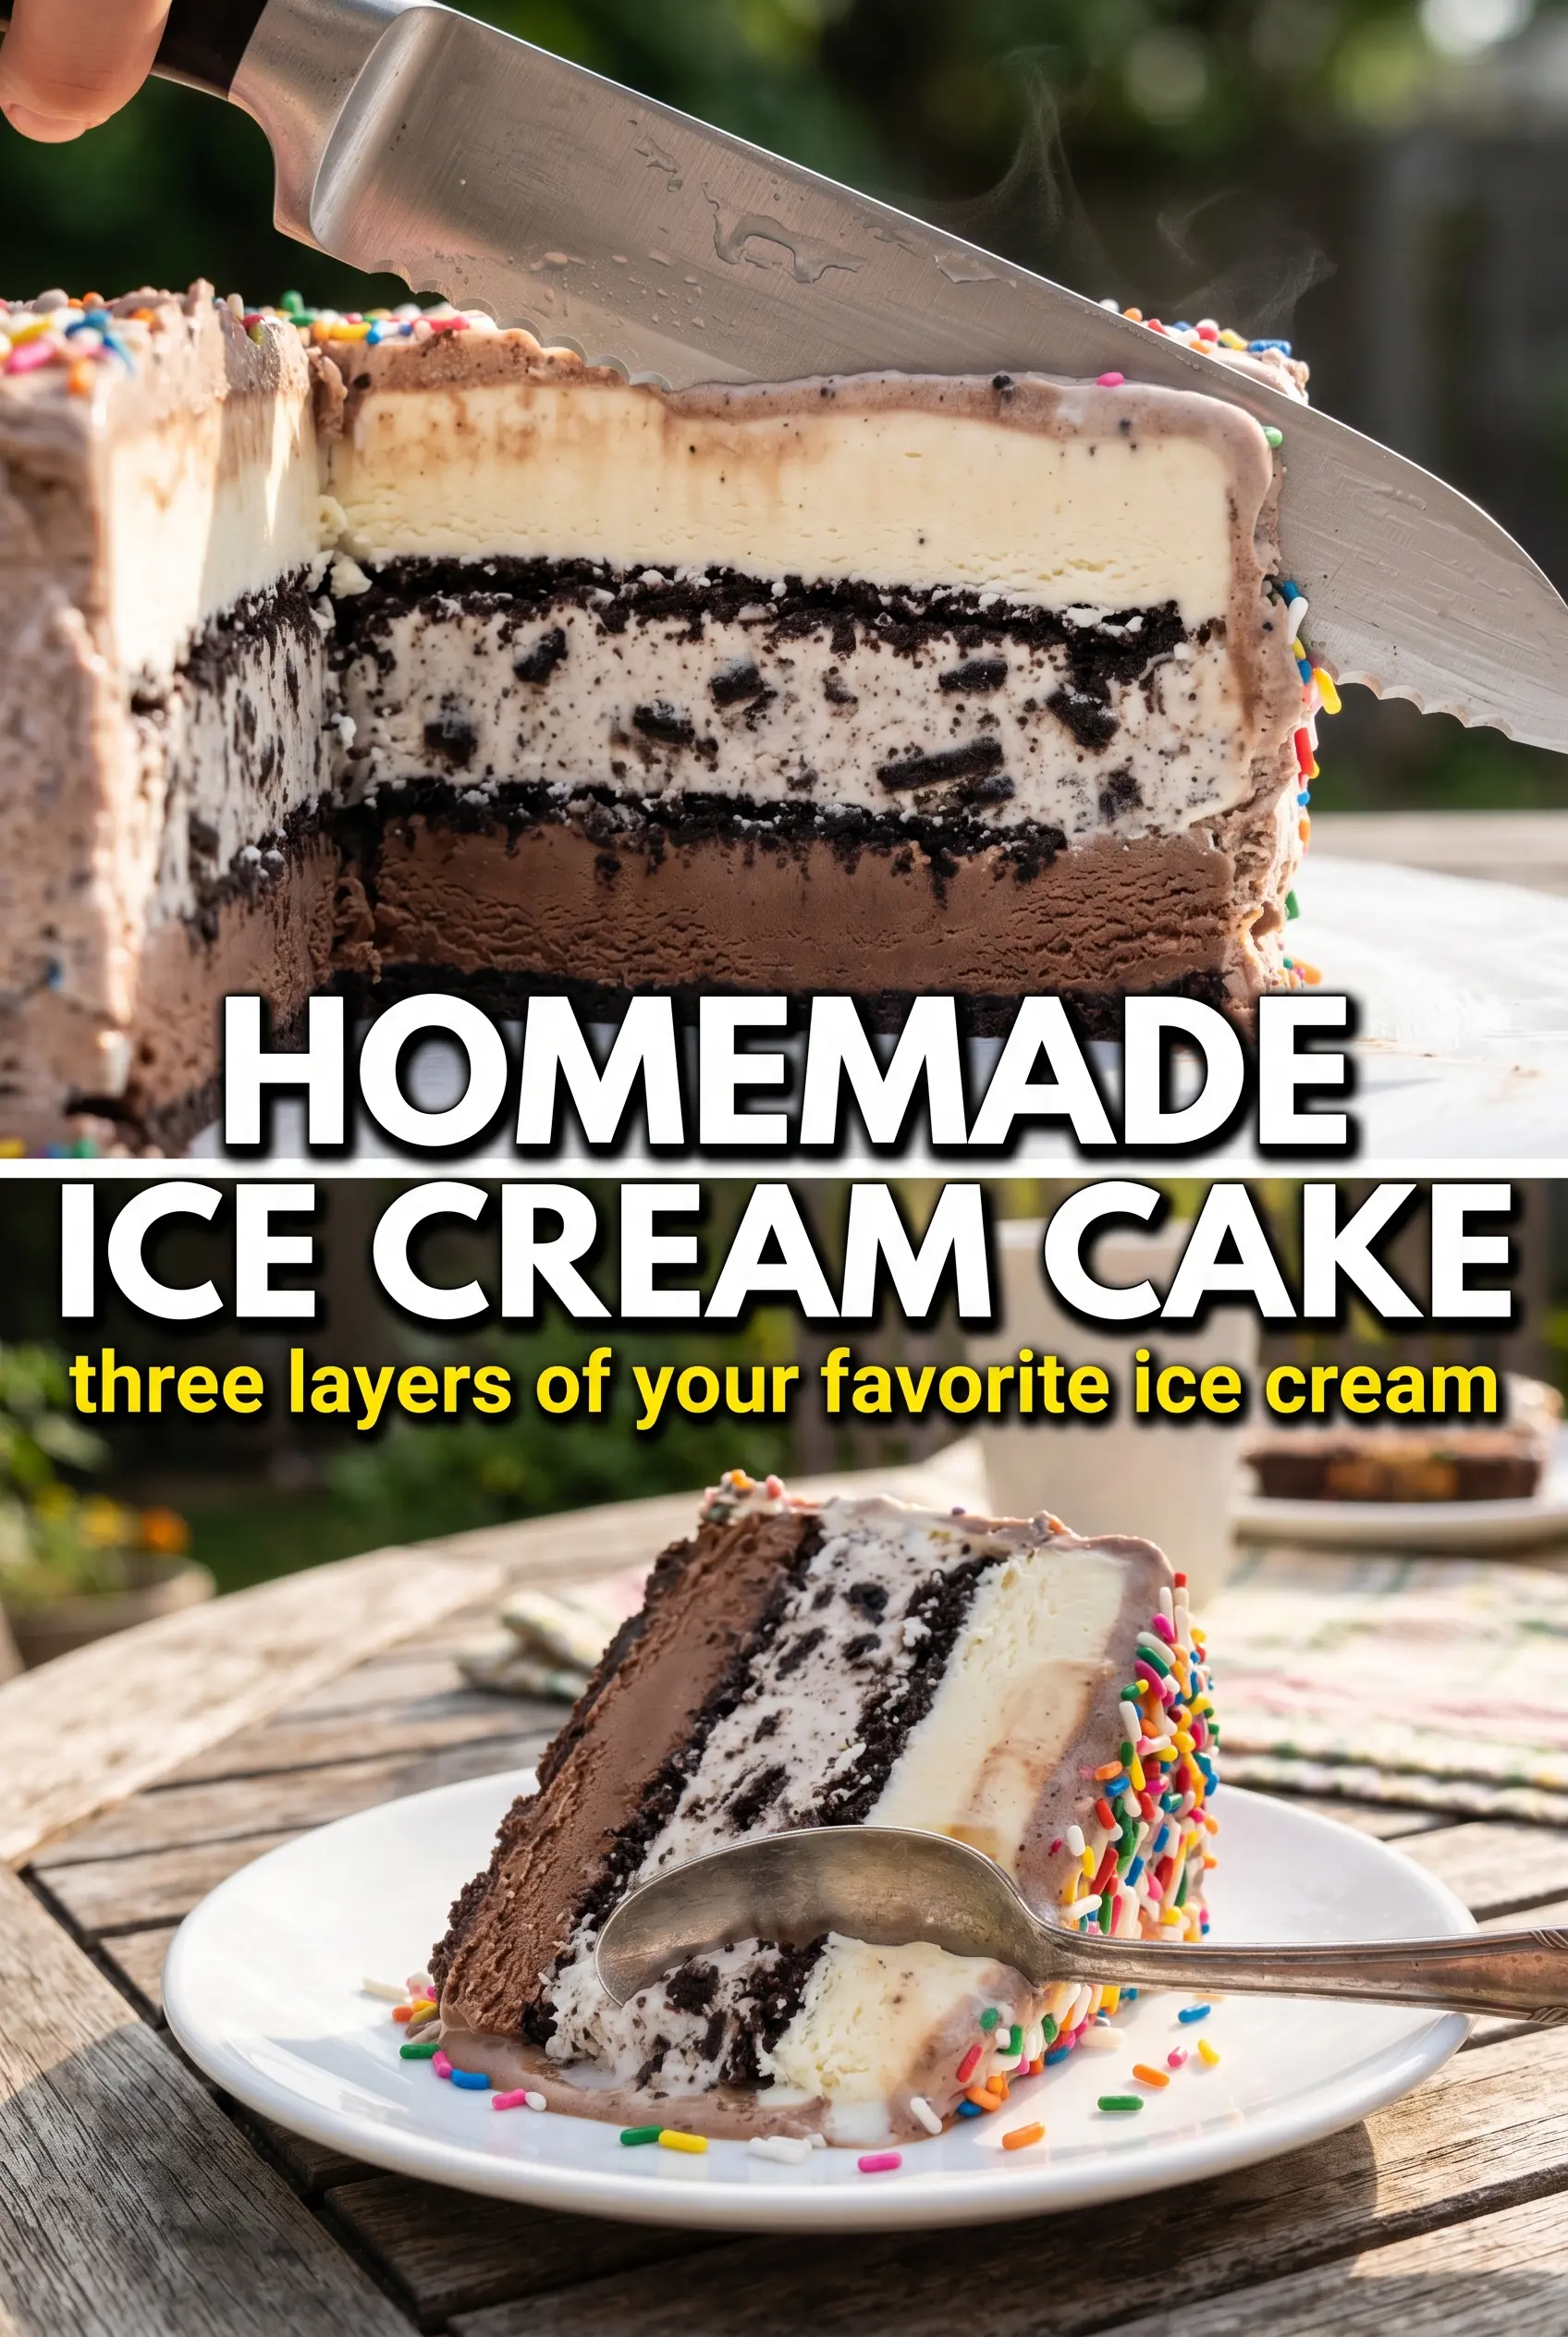
Ice cream cake lands on the table with the kind of cold, creamy contrast that makes people pause for a second before taking the first bite. The crust gives it structure, the fudge brings in a soft, chocolatey seam, and the two ice cream layers stay distinct enough that every slice looks striped and intentional. It’s the dessert I reach for when I want something festive without turning on the oven.
The key here is working in short, controlled freezes. If the ice cream gets too soft, the layers smear together and the cake loses its clean lines; if it’s too firm, it tears the crust and drags the fudge around. Slightly softened ice cream spreads smoothly, then firms up enough in the freezer to hold the next layer without melting into it. A springform pan makes the release painless, and a warm knife is what gives you those sharp slices instead of a shattered mess.
Below, I’ve included the small details that make a homemade ice cream cake look bakery-neat, plus the swaps I use when I want to change the flavor without changing the whole method.
The layers came out clean and the fudge stayed in the middle instead of oozing everywhere. I followed the freezing times exactly and the whole cake sliced like it came from a bakery.
Like this layered ice cream cake? Save it to Pinterest for birthdays, cookouts, and any night that needs a clean slice of Oreo, vanilla, strawberry, and fudge.
The Freeze Times That Keep the Layers Separate
The biggest mistake with ice cream cake is rushing the layering. Each layer needs time to firm up before the next one goes on, or the cake turns muddy instead of striped. The crust should feel set to the touch before you add vanilla ice cream, and the vanilla layer should be firm enough that the fudge sits on top instead of sinking through it.
That short freeze after the fudge matters more than it looks. It gives the sauce enough time to thicken into a ribbon instead of disappearing into the next layer of ice cream. The final freeze is the one that matters most for slicing; give it the full time, because a half-set cake cuts raggedly and collapses at the edges.
What Each Ingredient Is Doing in the Pan
- Oreo cookies — These make the crust without any extra baking. The cream filling helps the crumbs bind once the butter goes in, so don’t swap in plain chocolate cookies unless you’re ready to add a little more butter for the same hold.
- Melted butter — This is what turns dry crumbs into a sliceable base. Use the full amount and press the crust firmly into the pan; a loose crust crumbles the moment you lift the first slice.
- Vanilla ice cream — This layer gives the cake its clean, classic center and balances the richer fudge. Slightly softened ice cream spreads without melting, which is the difference between smooth layers and a lumpy middle.
- Strawberry ice cream — The berry layer adds color and a little tang, which keeps the whole cake from tasting flat. If you swap in another flavor, pick one with enough body to freeze firmly, not a sherbet that turns icy.
- Hot fudge sauce — Use a thick fudge sauce, not a thin chocolate syrup. It needs to stay in a soft ribbon between the ice creams, and cooling it slightly before drizzling helps it stay put.
- Whipped topping or stabilized whipped cream — This finishes the cake and keeps the top from looking bare. Stabilized whipped cream holds the best if the cake sits out for a few minutes before serving, while whipped topping is the easier shortcut.
- Sprinkles — Add these at the end so the color stays bright and the crunch stays intact. They’re mostly for the look, but they also give each bite a little texture on top.
Building the Cake So the Slices Come Out Clean
Pressing the Crust
Mix the crushed Oreos with the melted butter until every crumb looks damp, then press the mixture into the bottom of the springform pan in an even layer. Use the bottom of a measuring cup or glass to pack it down firmly, especially around the edges, because a loose crust breaks apart under a knife. Fifteen minutes in the freezer is enough to set it before the ice cream goes in.
Layering the Vanilla and Fudge
Spread the vanilla ice cream into the pan while it’s still soft enough to move easily, then smooth the top with an offset spatula. Freeze it until firm before adding the fudge, or the sauce will sink and blur the line between layers. Drizzle the fudge in a thin, even layer; if it’s too hot, it melts a tunnel through the ice cream instead of sitting on top.
Finishing the Strawberry Layer
Spread the strawberry ice cream over the chilled fudge layer and work quickly from the center outward. If the top starts to soften while you smooth it, stop and freeze the pan for a few minutes before continuing. Cover the cake with plastic wrap once the top is level, then freeze it until solid enough to release cleanly from the pan.
Decorating and Slicing
Run a warm knife around the edge of the cake before releasing the springform collar, then move the cake to a serving plate. Pipe the whipped cream swirls around the edge while the cake is still frozen hard, because a soft cake loses its shape fast. Use a knife dipped in hot water and wiped dry between slices for the cleanest cuts.
Ways to Change the Flavor Without Changing the Method
Gluten-Free Oreo Ice Cream Cake
Use gluten-free chocolate sandwich cookies in place of regular Oreos. The crust behaves almost the same because you’re still working with a cream-filled cookie that binds well with butter, and the texture stays sandy and firm after freezing.
Dairy-Free Version
Use dairy-free vanilla and strawberry frozen desserts, plus a plant-based whipped topping and dairy-free fudge sauce. The texture will be a little softer once sliced, so give it the full freeze time and serve it straight from the freezer.
Birthday Party Color Swap
Swap the strawberry layer for cookies-and-cream, mint chip, or cherry ice cream and use sprinkles that match the event. This keeps the same structure but changes the look and flavor profile enough that the cake feels brand new without extra effort.
Storage and Reheating
- Refrigerator: Don’t store this in the fridge; it melts into a puddle and loses its shape fast.
- Freezer: Wrap the cake well and freeze it for up to 1 week for the best texture. After that, the crust starts to pick up freezer flavor and the ice cream gets icier.
- Reheating: There’s no reheating here. For serving, let the cake sit at room temperature for 5 to 10 minutes so the knife cuts through cleanly without cracking the crust.
The Things That Trip People Up With This Cake
Ice Cream Cake
Ingredients
Equipment
Method
- Mix the crushed Oreo cookies with the melted butter until the crumbs look evenly coated, then press firmly into the bottom of a 9-inch springform pan. Freeze for 15 minutes to set the crust.
- Spread the slightly softened vanilla ice cream in an even layer over the Oreo crust, smoothing the top as you go. Freeze for 1 hour until firm.
- Drizzle the slightly cooled hot fudge sauce over the vanilla layer in an even ribbon. Freeze for 15 minutes to firm up the fudge.
- Spread the slightly softened strawberry ice cream over the fudge layer and smooth the top. Cover with plastic wrap and freeze for at least 4 hours or overnight.
- Run a warm knife around the edge, release the springform, and transfer the ice cream cake to a serving plate. Work quickly so the edges stay clean as you move it.
- Pipe whipped cream swirls around the top edge and scatter the rainbow or patriotic sprinkles across the center. Slice with a hot knife and serve immediately for the neatest layers.