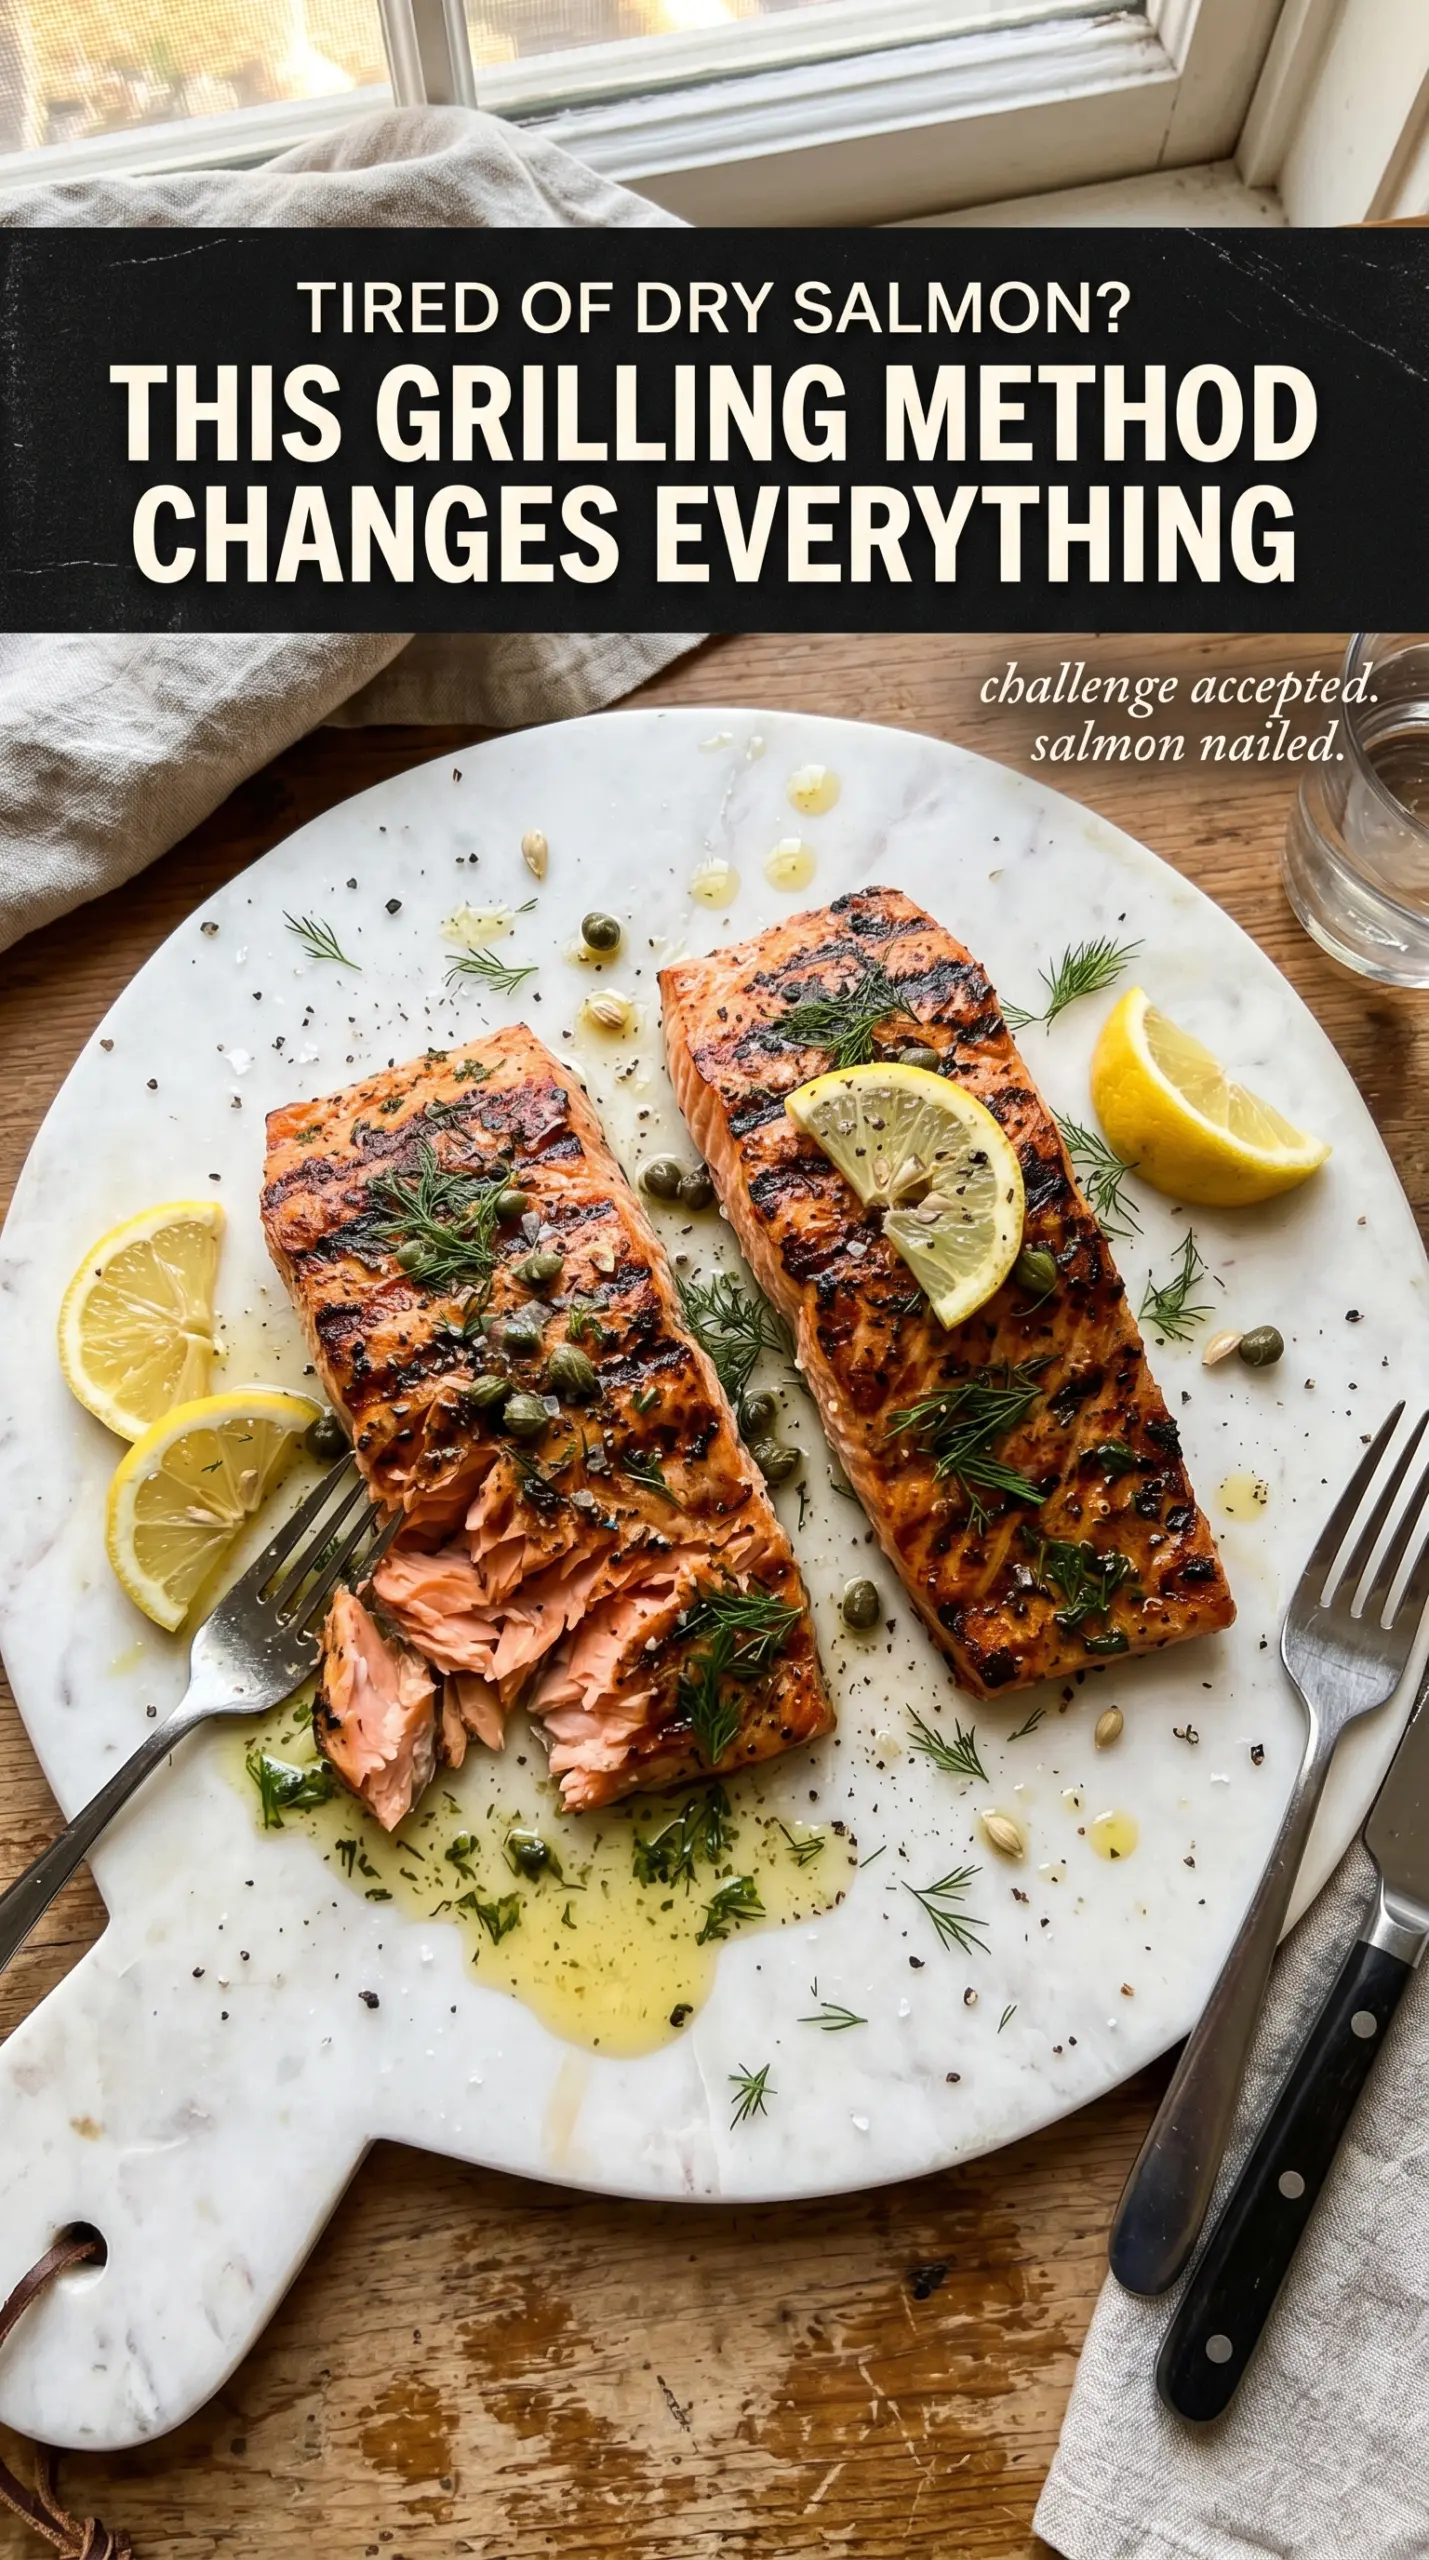
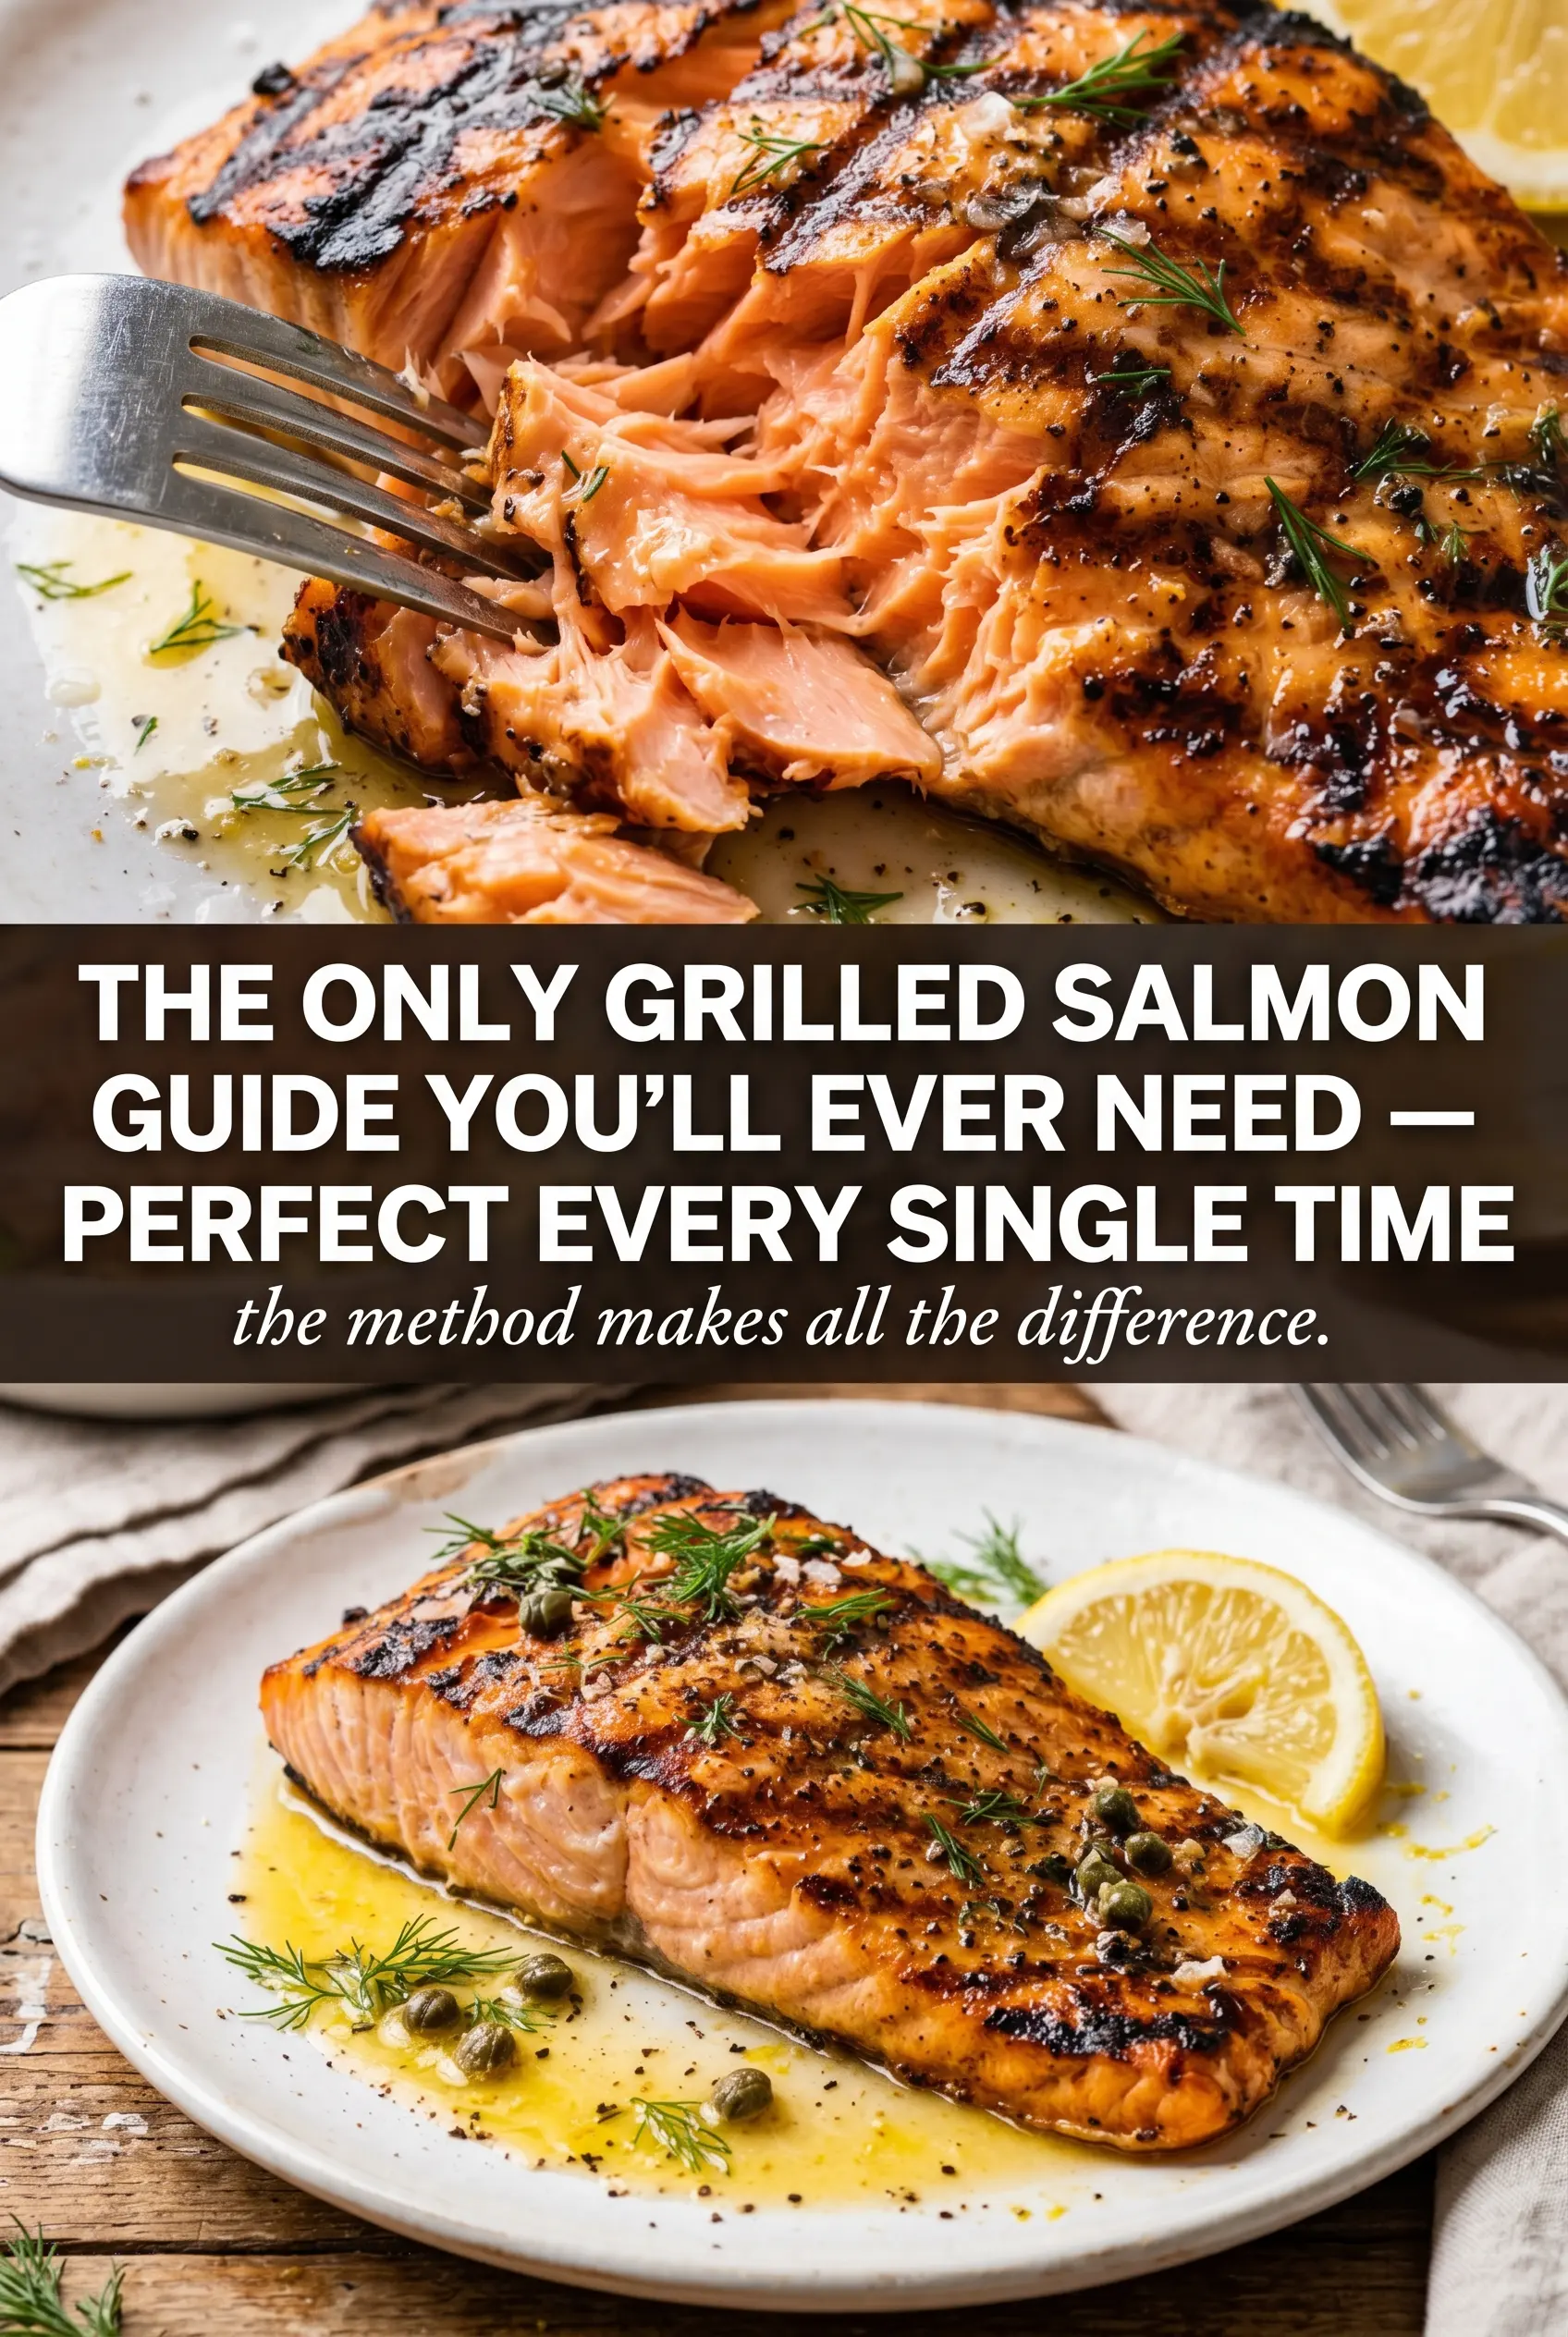
Grilled salmon earns its place in the regular dinner rotation when the skin turns crisp, the flesh stays moist, and the center flakes without falling apart on the grates. The best versions don’t need much more than salt, pepper, lemon, and a hot grill, but the timing has to be right or the fish goes from silky to dry fast. That’s why this method keeps the seasoning simple and puts most of the focus on heat control and when to flip.
Patting the fillets dry matters more than people think. Moisture on the surface keeps the skin from crisping and can make the salmon stick, even if the grates are oiled. A short 15-minute rest with olive oil, lemon juice, and garlic gives the fish a little flavor without curing it or softening the texture. The salmon goes on skin-side down first and stays there long enough to build a clean release, which is the difference between a neat grill mark and a torn fillet.
Below, I’m walking through the exact cues I use for salmon that’s cooked through but still tender, plus a few ways to adjust the method if your fillets are thicker, thinner, or a little more delicate than usual.
The salmon lifted off the grill cleanly and the skin stayed crisp instead of sticking. I used the lemon and dill at the end like you suggested, and the fish was cooked through but still juicy.
Save this grilled salmon guide for nights when you want crisp skin, tender fillets, and a foolproof way to cook fish on the grill.
The Part That Keeps Salmon From Sticking to the Grill
The biggest mistake with grilled salmon is trying to move it before the skin has had time to set. When salmon first hits the grates, the proteins on the skin need a little uninterrupted heat to firm up and release on their own. If you tug too early, the skin tears and the fillet can break apart before the center has a chance to cook evenly.
Medium-high heat gives you enough intensity to get a good sear without blasting the outside before the middle catches up. Oil the grates well, then put the salmon skin-side down and leave it alone for the first 6 to 8 minutes. You’re looking for opaque edges creeping upward from the bottom and a fillet that slides with a little resistance instead of sticking hard.
- Skin-on salmon fillets — The skin acts like a built-in barrier between the flesh and the hot grates. It helps hold the fish together and gives you that crisp, savory bottom layer. Skinless fillets can work, but they’re much less forgiving.
- Olive oil — This helps the seasoning cling and keeps the fish from drying out on the surface. Use a decent olive oil, but you don’t need anything fancy here.
- Lemon juice — A small amount brightens the fish, but don’t let it sit too long. Too much acid for too long can start to change the texture before it ever hits the grill.
- Garlic — Fresh garlic adds a nice punch, but minced garlic can scorch if it’s sitting directly on the hottest part of the grill. Keep it in the oil mixture rather than sprinkling it on the grates.
What Each Ingredient Is Actually Doing to Prevent Sticking
- Salmon skin-side down (if grilling skin-on) — The skin helps the salmon stay intact and not stick to the grates. It also crisps and tastes delicious.
- Oil on the grates (not on the salmon) — Oil the grates themselves thoroughly. Oiling the salmon makes it slip and prevents proper contact.
- Very hot grates (preheated well) — Hot grates create an immediate crust that prevents sticking. Cool grates let the salmon cling and tear.
- Dry salmon surface (pat with paper towels) — Moisture makes the salmon stick. Dry it thoroughly before placing on the grill.
- Don’t move it around (let it sit) — The salmon needs time to develop a crust on the skin side. Moving it prevents proper contact and breaks the skin.
- Flip only once (when the skin releases naturally) — The salmon will release from the grates when it’s ready. Forcing it breaks the skin; patience wins.
- Final minute (or less) skin-side up — Once flipped, the flesh side needs minimal cooking. Just until the flesh is opaque.
- Optional: lemon or herbs on top while cooking — These add flavor and help prevent the flesh side from drying. They should go on the side facing up.
What Happens on the Grill From the First Sear to the Last Flip
Drying and Seasoning the Fillets
Pat the salmon dry on all sides before you add the oil mixture. That dry surface is what helps the skin crisp instead of steaming. Brush on the olive oil, lemon juice, and garlic, then season generously with salt and pepper and let it sit for 15 minutes. If the fish sits much longer in the lemon, the outside can start to cure and turn a little firm before grilling.
Setting Up the Grates
Preheat the grill to medium-high and scrape the grates clean, then oil them well with a paper towel or brush. Clean, hot grates are what give you the best release. If the grill isn’t hot enough, the salmon can cling and smear; if it’s too hot, the outside chars before the center reaches the right temperature.
Cooking Skin-Side Down
Place the fillets skin-side down and don’t move them for 6 to 8 minutes. You’ll see the salmon change color from the bottom up, and the flesh will start turning opaque around the edges. That’s your cue that the structure has firmed up enough to handle a flip. If the skin still sticks, give it another minute; forcing it is how fillets fall apart.
The Quick Finish
Flip the salmon carefully and grill for 2 to 3 minutes more, just until the thickest part reaches about 145°F for medium. The center should still look moist, not chalky, when you cut in. Pull it off the grill as soon as it’s done, because salmon keeps cooking for a minute or two from carryover heat.
How to Adjust This Grilled Salmon Without Losing the Texture
Dill and Lemon for a Bright Finish
Keep the dill and lemon wedges for serving, even if you change nothing else. Fresh herbs and citrus at the end give the salmon lift without interfering with the sear, and that last hit of acidity makes the fish taste cleaner and less heavy.
Garlic-Free Grilled Salmon
Skip the garlic if you want a cleaner, more straightforward salmon flavor or need to avoid it. The fish still grills beautifully with just oil, salt, pepper, and lemon, and you’ll get a more delicate finish that lets the salmon itself stay front and center.
Cedar Plank Style
If you want a softer, woodsy flavor, grill the salmon on a soaked cedar plank instead of directly on the grates. You’ll lose a little of the crisp skin, but you gain a gentler cook and a nice smoky aroma that works especially well with dill and lemon.
Scaling for Thicker or Thinner Fillets
Thicker fillets need a little more time skin-side down before the flip, while thinner fillets may only need a few minutes total after they go on. Watch the color change and use the thickest part to judge doneness instead of relying only on the clock, because salmon thickness varies more than most people expect.
Storage and Reheating
- Refrigerator: Store leftover grilled salmon in an airtight container for up to 3 days. The skin softens in the fridge, but the fish stays good for salads, grain bowls, or quick dinners.
- Freezer: It freezes well for up to 2 months if wrapped tightly and sealed in a freezer-safe container. Thaw it overnight in the refrigerator for the best texture.
- Reheating: Warm it gently in a 300°F oven, loosely covered, just until heated through. High heat dries salmon out fast, so skip the microwave if you want to keep the flesh tender.
Answers to the Questions Worth Asking
How to Make the Best Grilled Salmon
Ingredients
Equipment
Method
- Pat the salmon fillets dry, then brush all over with olive oil, lemon juice, and minced garlic.
- Season generously with salt and pepper, then let the salmon sit for 15 minutes to marinate.
- Preheat the grill to medium-high, then oil the grates well to prevent sticking.
- Place the salmon skin-side down on the grill and cook for 6-8 minutes without moving.
- Carefully flip the salmon and grill for 2-3 minutes more, until the center reaches 145°F for medium.
- Serve immediately with fresh dill and lemon wedges.