Hot honey baked chicken breasts come out with sticky, caramelized edges and juicy centers that stay tender instead of drying out in the oven. The glaze clings in a thin shiny layer that turns deep amber as it bakes, with enough heat to wake up the sweetness without overpowering the chicken. It’s the kind of dinner that looks like you fussed, even though the oven does most of the work.
What makes this version work is the balance in the glaze. Honey alone can taste flat once it heats, but hot sauce, vinegar, and a little butter keep it bright, glossy, and layered. Brushing on part of the glaze before baking and saving some for the halfway baste gives you that lacquered finish without burning the sugars too early.
Below, I’ll walk through the one place people usually go wrong with baked chicken breasts and how to keep them juicy. I’ve also included a few smart swaps, including a way to keep the sweet heat without losing the sticky finish.
The glaze thickened into that sticky amber coating I was hoping for, and the chicken stayed juicy even after the second night reheated for lunch.
Save these hot honey baked chicken breasts for a sticky-sweet weeknight dinner with caramelized edges and just enough heat.
The Mistake That Makes Honey Chicken Burn Before the Chicken Is Done
The biggest risk with hot honey chicken is treating the glaze like a sauce that can sit in a hot oven for the full bake. Honey darkens fast, and if the chicken goes in swimming under a thick layer from the start, the sugars can scorch before the breasts are cooked through. Brushing on a generous coat and then basting once halfway through gives you color and stickiness without crossing into bitter.
Chicken breasts also need a little protection from overcooking. If they’re unevenly thick, the thin ends dry out before the center is safe, so a quick pound to even thickness helps the whole piece finish at the same time. That small step matters more here than in many baked chicken recipes because the glaze is best when the meat is pulled right as it hits 165°F.
- Even thickness keeps the chicken juicy from edge to center, which matters more than extra marinade here.
- High heat builds caramelization fast, but it also means you need to watch the last few minutes closely.
- Resting time lets the juices settle so the glaze stays on the chicken instead of running across the cutting board.
What Each Ingredient Is Doing in the Glaze and Why It Matters
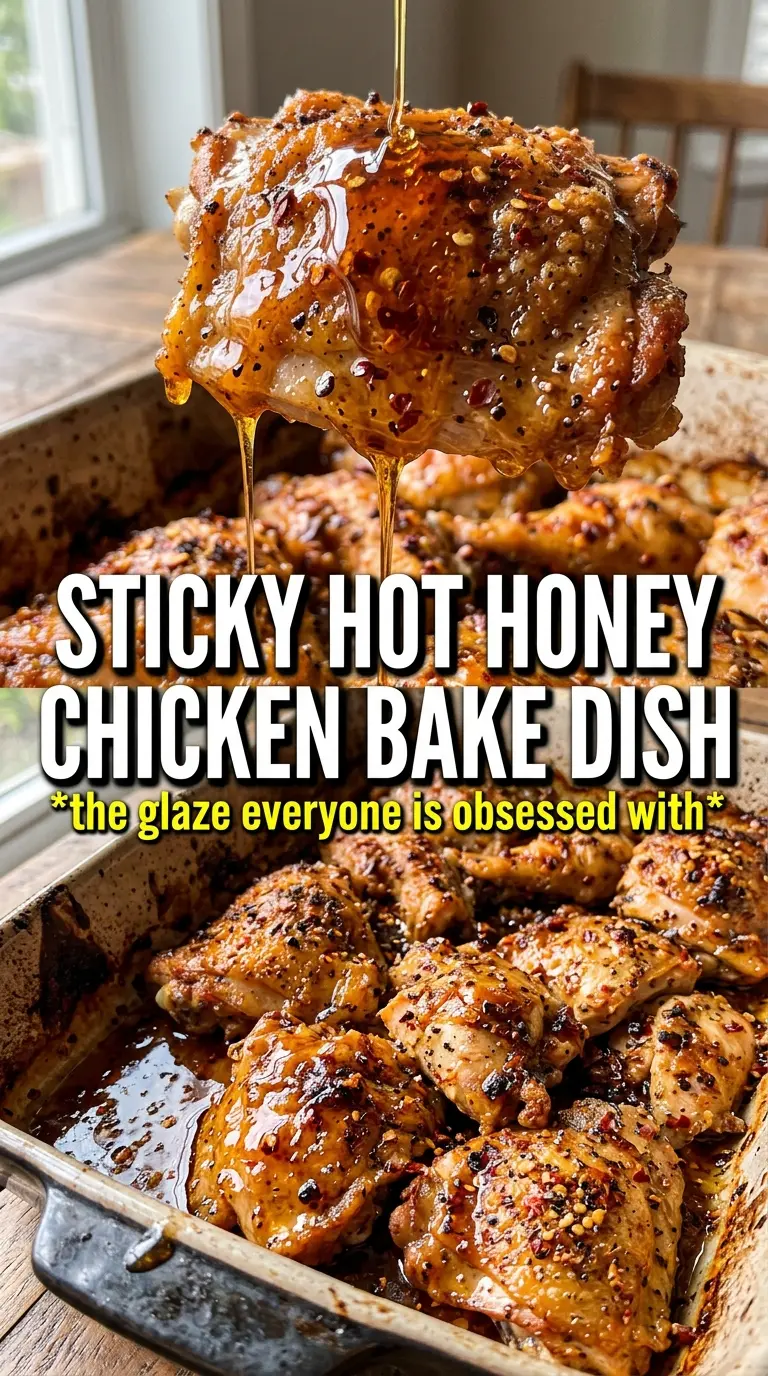
- Honey is the backbone of the glaze. It brings the sticky finish and the caramelization, and there isn’t a real substitute that gives the same glossy coating. If you only have runny honey, that’s perfect; the thicker stuff isn’t necessary.
- Hot sauce adds tang and heat at the same time. Frank’s keeps the flavor bright and familiar, but any vinegar-forward hot sauce works. A thicker, smokier sauce will change the flavor and make the glaze less sharp.
- Butter softens the edges of the heat and helps the glaze cling. Melt it before whisking so it blends smoothly; if you add it cold, the glaze can look split and uneven.
- Apple cider vinegar keeps the honey from tasting one-note. It doesn’t make the dish sour, but it keeps the glaze lively after baking.
- Red pepper flakes give visible heat and a little crunch on the surface. If you want a milder glaze, cut them back, but don’t skip the hot sauce or the whole dish loses its point.
- Smoked paprika and garlic powder season the chicken itself so the flavor isn’t all on top. That layer underneath makes every bite taste complete.
How to Get the Glaze Sticky, Dark, and Not Burnt
Season the Chicken First
Lay the chicken in a lightly oiled baking dish or cast iron skillet and season both sides well before the glaze goes on. The seasoning under the glaze is what keeps the chicken from tasting flat once it’s cooked. If the breasts are very thick in the center, pound them lightly so the thickest part isn’t much taller than the rest. That helps the glaze caramelize evenly instead of burning at the thin edges while the center catches up.
Whisk the Glaze Until It Looks Unified
Combine the honey, hot sauce, melted butter, vinegar, red pepper flakes, and garlic powder until the mixture looks smooth and glossy. You want it pourable enough to brush, not so thick that it sits in clumps on the chicken. If the butter starts to separate, whisk a little longer; the emulsion doesn’t need to be perfect, but it should look cohesive before it hits the heat.
Brush, Bake, and Baste at the Right Moment
Coat the chicken generously, then hold some glaze back for the halfway baste. Bake at 425°F until the surface starts to darken and the edges look sticky, then brush on the reserved glaze around the halfway point. That second layer gives the final lacquer, but if you wait until the end, it won’t have enough time to caramelize. Pull the chicken when the center reaches 165°F, not when the glaze looks darkest.
Let the Juices Set Before You Serve
After the chicken comes out, let it rest for 5 minutes. The glaze will settle and thicken as the surface cools slightly, and the juices will stay in the meat instead of flooding out when you cut in. Finish with flaky salt, fresh thyme, and a last drizzle of hot honey only if you want more shine and heat. That final drizzle makes sense here because the chicken has already finished cooking, so you get fresh sweetness without risking the glaze.
Three Ways to Make This Hot Honey Chicken Fit Your Night
Dairy-Free Version
Skip the butter and use the same amount of olive oil or a neutral oil instead. You’ll lose a little of the rounded richness butter adds, but the glaze still turns glossy and sticky. This is the cleanest swap if you need the dish fully dairy-free.
Milder Sweet Heat
Use 1 tablespoon hot sauce instead of 2 and cut the red pepper flakes in half. The glaze will still taste warm and balanced, but the heat will sit in the background instead of leading every bite. This works well if you’re serving people who like sweet-savory food but not much spice.
Gluten-Free Dinner Plate
The chicken and glaze are naturally gluten-free as written, but double-check your hot sauce label if you’re cooking for someone sensitive. Serve it with rice, roasted potatoes, or vegetables and you’ve got an easy gluten-free main that doesn’t need any special handling.
Using Chicken Thighs Instead
Boneless skinless thighs work well if you want a juicier, richer result. Add a few extra minutes in the oven and cook until they reach 165°F in the thickest part. They’ll give you a little more forgiveness than breasts, though the glaze won’t look quite as sleek because thighs release more juices.
Storage and Reheating
- Refrigerator: Store leftovers in an airtight container for up to 4 days. The glaze will firm up a bit as it chills.
- Freezer: You can freeze it, but the texture is best fresh. Wrap individual portions tightly and freeze for up to 2 months, then thaw in the fridge before reheating.
- Reheating: Warm covered in a 300°F oven with a spoonful of water or extra glaze for 10 to 15 minutes, just until heated through. The common mistake is blasting it in the microwave until the chicken tightens up and the glaze turns sticky in the wrong way.
Answers to the Questions Worth Asking
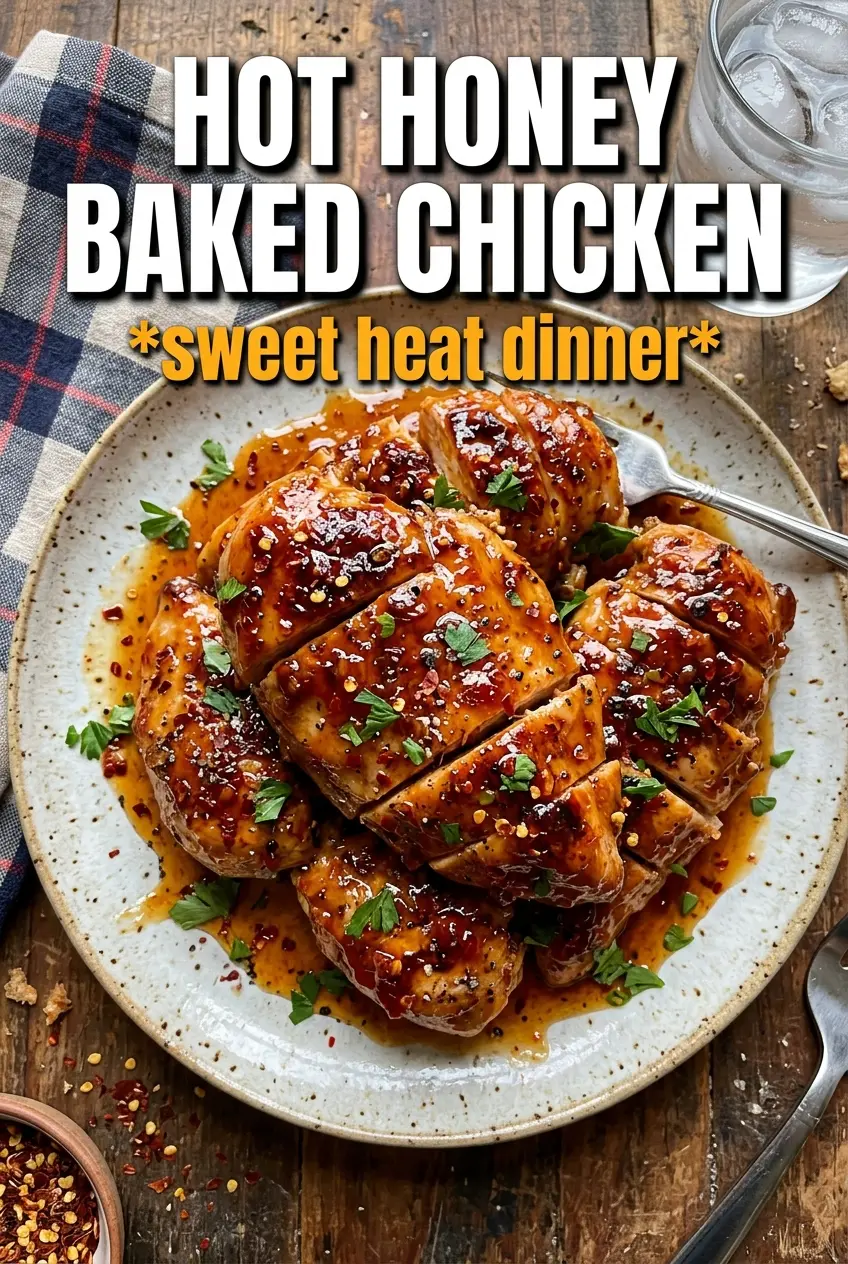
Hot Honey Baked Chicken Breasts
Ingredients
Equipment
Method
- Preheat the oven to 425°F and lightly oil a baking dish or cast iron skillet so the chicken won’t stick.
- Season the chicken breasts on both sides with salt, pepper, garlic powder, and smoked paprika so every piece has an even coating.
- Whisk together the honey, hot sauce, melted butter, apple cider vinegar, red pepper flakes, and garlic powder until smooth and glossy.
- Place the chicken in the prepared dish and brush generously with the hot honey glaze, reserving some for basting.
- Bake for 20 to 22 minutes at 425°F, brushing with the remaining glaze once at the halfway point for a glistening surface.
- Continue baking until the internal temperature reaches 165°F and the glaze turns dark amber and caramelized, with red pepper flakes visible.
- Rest the chicken for 5 minutes so the juices settle while the glaze clings thicker to the surface.
- Finish with flaky sea salt, fresh thyme, and an extra drizzle of hot honey for a sticky-sweet, fiery top.