Green bean bundles hit that sweet spot between side dish and centerpiece. The beans stay bright and snappy, the bacon turns crisp at the edges, and the brown sugar garlic glaze sinks into every groove in the pan until it clings to the bundles instead of pooling underneath them. That contrast is what keeps this dish on repeat: salty, sweet, smoky, and just sturdy enough to hold its shape on the plate.
The part that matters most is the blanching step. A quick boil sets the beans so they finish tender without turning limp in the oven, and the ice bath stops the cooking before they lose their color. Wrapping the bundles seam-side down also helps the bacon stay put while it bakes, which sounds small until you’ve tried to turn out a pan where half the bundles have slipped apart.
Below, I’ve included the timing that keeps the bacon crisp, the best way to portion the beans so the bundles bake evenly, and a few smart swaps if you need to adjust for what’s in your fridge.
The beans stayed crisp-tender and the bacon actually crisped up instead of going chewy. That brown sugar garlic glaze bubbled up around the bundles and tasted like something from a holiday restaurant side.
Love the sweet-savory crunch of these green bean bundles with bacon and brown sugar glaze? Save this one for the next dinner that needs a side dish people notice.
The Step That Keeps the Beans Bright Instead of Mushy
The mistake that ruins green bean bundles is skipping the blanch-and-shock treatment. Raw beans need too long in the oven to get tender, and by the time the bacon is done, the beans can go wrinkled and dull. A three-minute boil gives them a head start, and the ice bath locks in that fresh green color and crisp bite.
There’s another small but important detail here: drying the beans after the ice bath. If they go into the bacon still wet, the glaze slides off and the bundles steam instead of roasting. You want the beans cool, drained, and dry enough that the bacon grips them as it bakes.
What Each Ingredient Is Actually Doing in the Pan
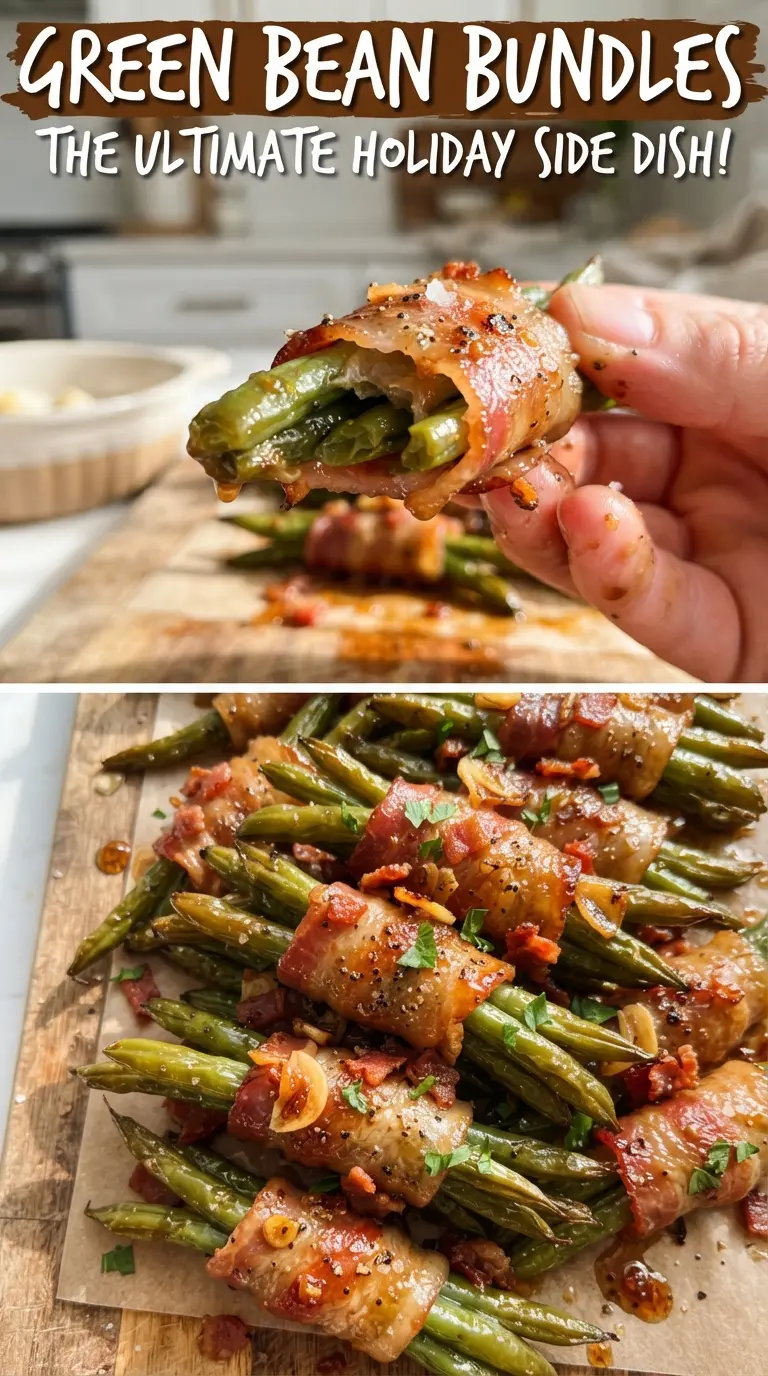
- Fresh green beans — These need to be fresh and firm, not limp. The recipe depends on a bean that can hold up to boiling, wrapping, and baking without collapsing. Haricots verts work too, but they’re thinner, so shorten the blanching by about a minute.
- Bacon — Regular sliced bacon is the right choice here because it renders enough fat to flavor the beans and still crisps in the oven. Thick-cut bacon can leave you with undercooked bundles unless you pre-cook it slightly, and turkey bacon won’t give the same drape or finish.
- Brown sugar — This is what turns the pan juices into a sticky glaze instead of a thin sauce. Dark brown sugar gives a deeper molasses note; light brown sugar is milder and a little cleaner tasting.
- Butter and garlic — Butter carries the glaze across the pan, and garlic keeps the sweetness from tasting flat. Use fresh garlic here. Jarred garlic can taste muddy once baked.
- Soy sauce — Just a little gives the glaze salt and depth without making it taste overtly Asian. If you need a substitute, tamari works one-for-one, and coconut aminos will be sweeter and less sharp.
How to Wrap, Glaze, and Bake Them Without Losing the Bacon
Building the Bundles
Gather the beans into bundles of 8 to 10, depending on thickness. You want them snug enough to hold together but not packed so tightly that the center stays undercooked. Wrap each bundle with a halved strip of bacon and set it seam-side down in the baking dish so the bacon has something to anchor against while it softens and renders.
Mixing the Glaze
Whisk the melted butter, brown sugar, garlic, soy sauce, and pepper until the sugar starts to dissolve and the mixture looks glossy. If the butter is too hot, the garlic can taste harsh; warm and melted is enough. Pour the glaze evenly over the bundles so it runs into the dish and helps baste the bacon from the bottom as it bakes.
Watching for the Finish
Bake at 400F until the bacon is crisp at the edges and the glaze is bubbling in the pan, usually 25 to 30 minutes. If the bacon looks done but the glaze hasn’t thickened, give it a few more minutes rather than pulling it early. Spoon the pan glaze over the bundles before serving so every bite gets that sticky sweet-salty finish.
How to Adapt These Green Bean Bundles for Different Tables
Use maple instead of brown sugar
Swap the brown sugar for pure maple syrup if you want a softer, less caramel-heavy glaze. It won’t thicken quite as much in the pan, so expect a looser finish with a deeper woodsy sweetness.
Gluten-free version
Use tamari instead of soy sauce and the recipe stays gluten-free without changing the texture or the glaze. Keep everything else the same.
Make it ahead for a busy dinner
Blanch the beans, cool them completely, and wrap the bundles a few hours ahead. Hold the glaze separately until baking time so the bacon doesn’t soften before it goes in the oven.
Storage and Reheating
- Refrigerator: Store leftovers in an airtight container for up to 3 days. The bacon softens a bit, but the flavor holds up well.
- Freezer: Not my first choice. The beans lose too much texture after thawing, and the bacon gets chewy instead of crisp.
- Reheating: Warm in a 350F oven until heated through, about 10 to 12 minutes. The oven keeps the bacon closer to crisp; the microwave makes the glaze soggy and the bundles rubbery.
Answers to the Questions Worth Asking
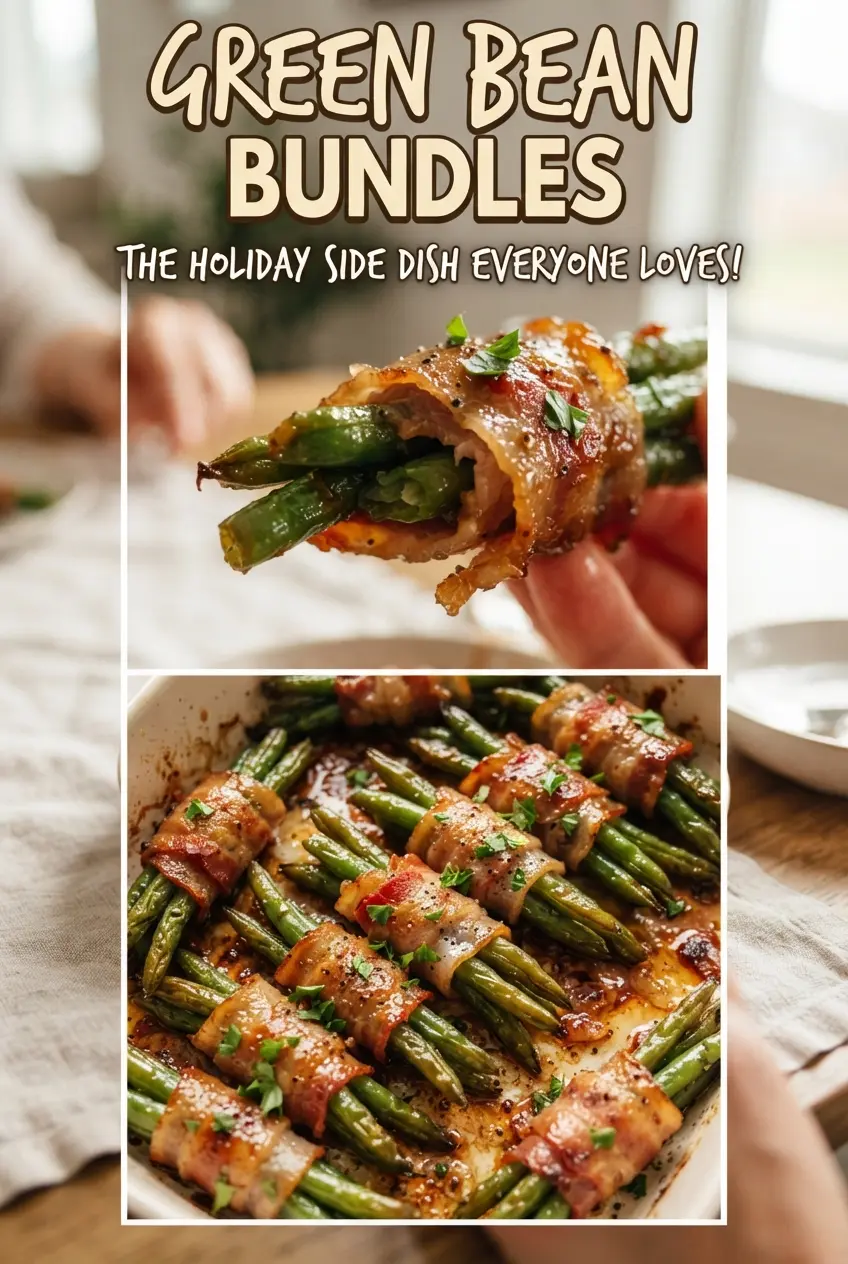
Green Bean Bundles
Ingredients
Equipment
Method
- Preheat the oven to 400F. Blanch the trimmed green beans in boiling water for 3 minutes.
- Plunge the green beans into ice water and drain. This helps keep them bright green and crisp-tender.
- Gather 8-10 green beans into a bundle. Wrap each bundle with a half slice of bacon and place seam-side down in a baking dish.
- Whisk the melted butter, brown sugar, garlic, soy sauce, and black pepper. Mix until the sugar dissolves and the glaze looks smooth.
- Pour the glaze evenly over the bacon-wrapped bundles. Make sure most bundles get coated to encourage bubbling.
- Bake at 400F for 25-30 minutes until the bacon is crisp and the glaze is bubbly. Watch the edges of the bacon for crisping.
- Spoon the pan glaze over the bundles and serve warm. Keep spooning so every bite gets a glossy coating.