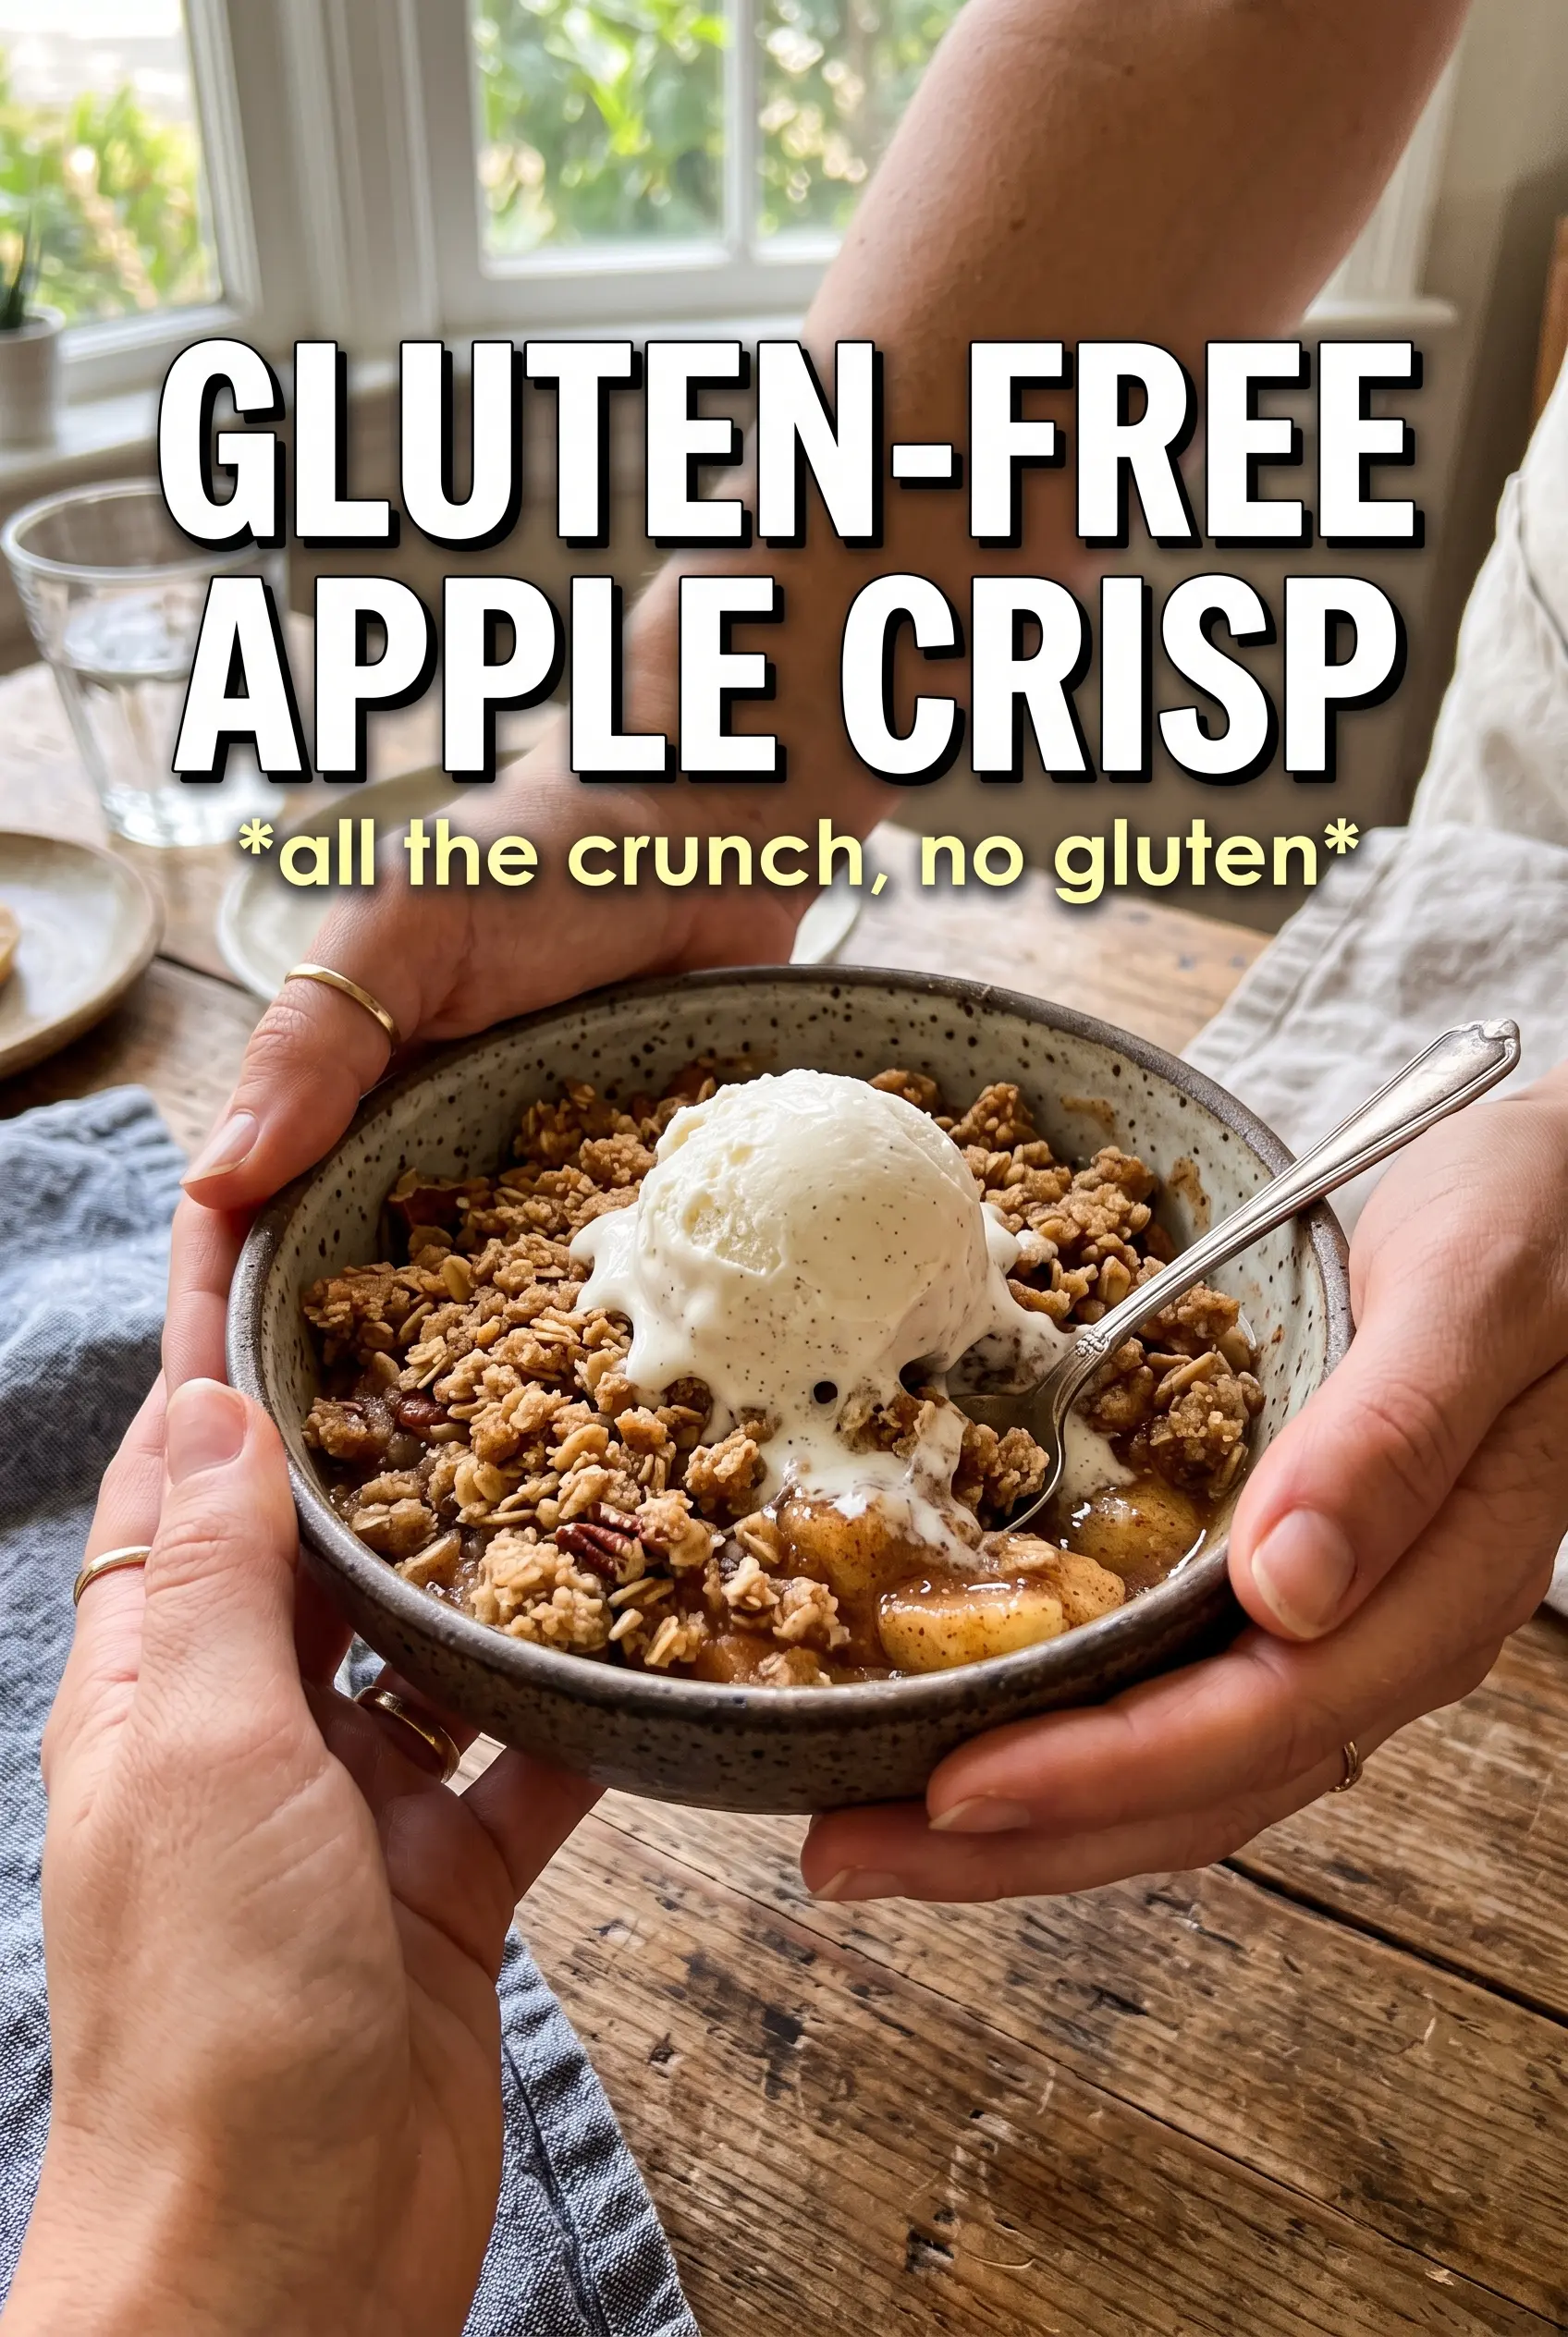
Bubbling apple filling under a golden, nubby oat crumble is the kind of dessert that disappears fast and doesn’t need any decoration to win people over. The apples soften into a spoonable layer with just enough structure left to keep each bite interesting, while the topping turns crisp at the edges and stays crumbly in the middle. Served warm, it hits that sweet spot between rustic and polished, especially with a scoop of vanilla ice cream melting into the pan juices.
What makes this version work is the balance between the filling and the topping. The apples are coated with cornstarch before baking, which keeps the juices from flooding the dish, and a splash of lemon juice keeps the flavor bright instead of flat. On top, certified gluten-free oats, almond flour, and a gluten-free flour blend give the crumble enough body to brown well without turning dusty or heavy. Cold butter matters here. It creates those chunky pockets that bake into crisp, caramelized crags instead of a sandy layer.
Below, I walk through the parts that matter most: how to keep the filling from getting watery, why the crumble needs to be coarse, and a few useful swaps if you’re working with what you already have in the pantry.
The topping baked up crisp instead of sandy, and the apples stayed juicy without turning soupy. I used Granny Smith and Honeycrisp, and the filling thickened perfectly after that 10-minute rest.
Love the crisp almond-oat topping and bubbling apple filling? Save this gluten-free apple crisp for the next time you want an easy dessert that bakes up with real texture.
The Secret to Keeping the Filling Thick, Not Watery
Apple crisp fails when the fruit gives off more juice than the topping can handle. Cornstarch is the buffer here, but it only works if the apples are fully coated before they go into the dish. If you dump the sugar and spice over the fruit without tossing well, the starch clumps and the filling bakes unevenly, leaving some bites loose and others gummy.
The other mistake is slicing the apples too thin. Paper-thin slices collapse before the topping is ready, which can make the filling eat more like applesauce. Aim for slices that still hold their shape after 45 minutes in the oven. The ten-minute rest at the end matters too, because the juices thicken as the crisp cools instead of spilling out the moment you scoop it.
What Each Part of the Crumble Is Actually Doing
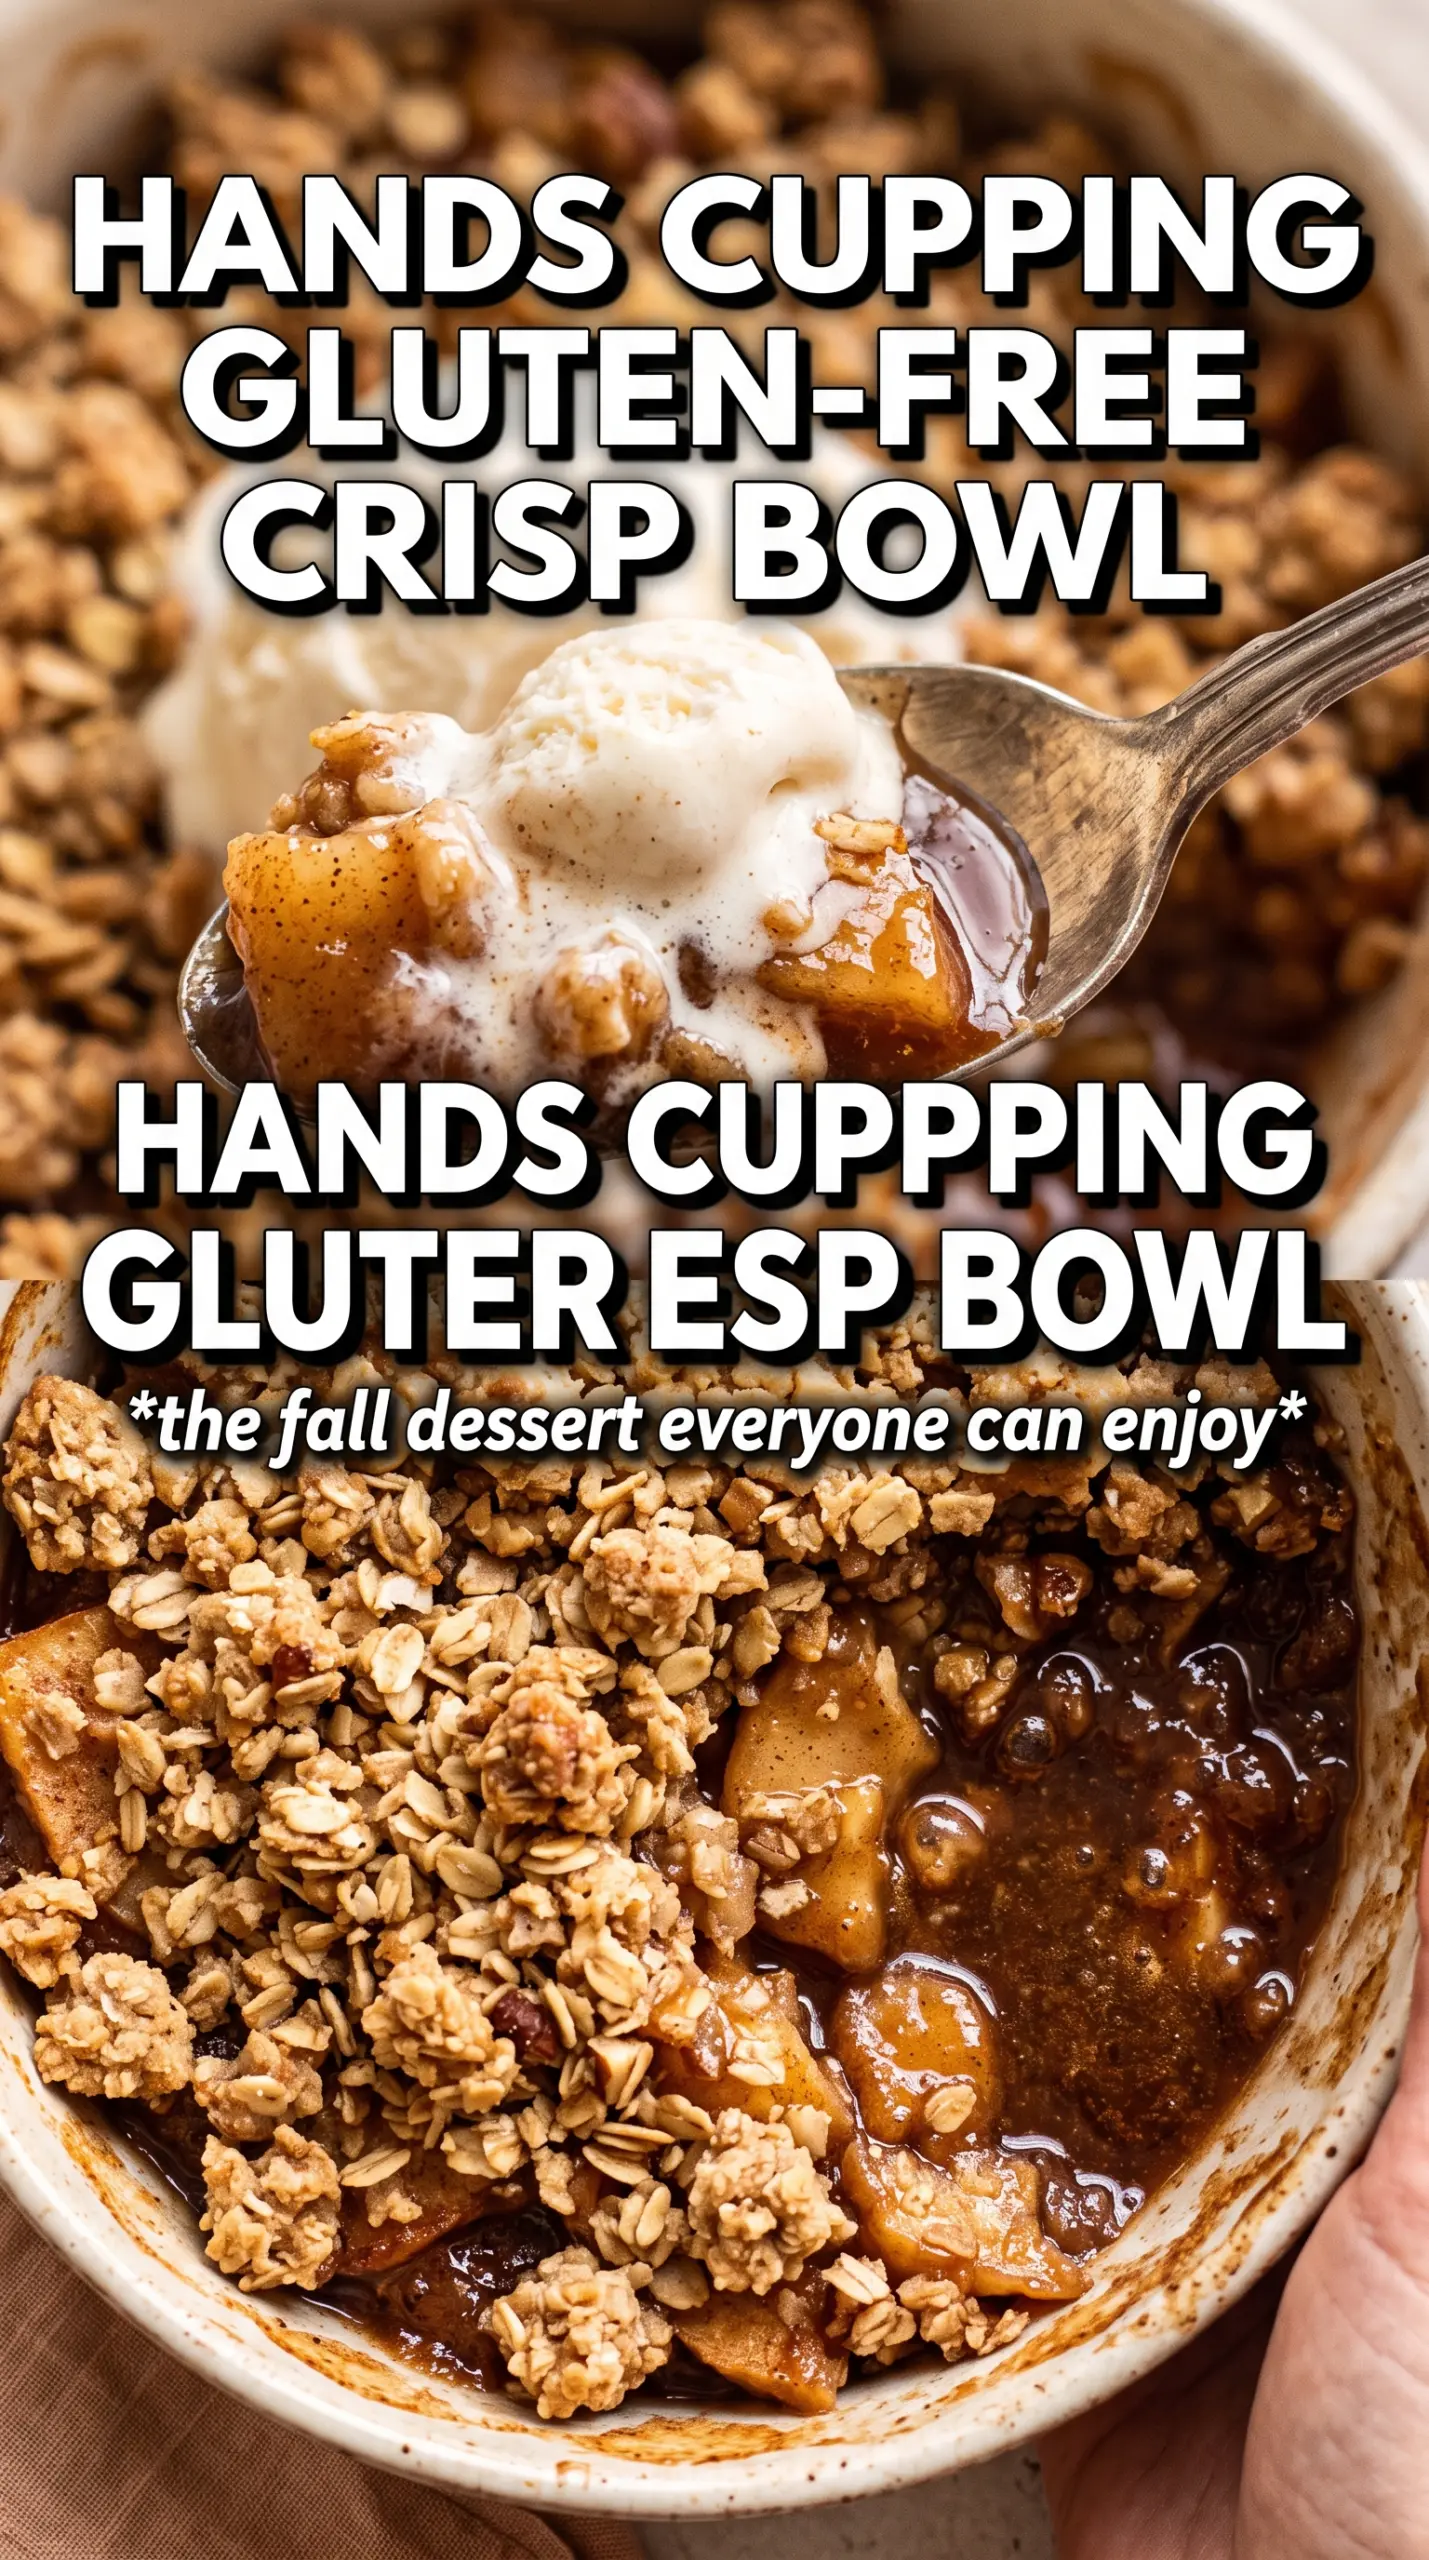
- Certified gluten-free rolled oats — These give the topping its most familiar crisp texture. Regular oats are a risk if you need this fully gluten-free, so buy oats labeled certified gluten-free if that matters in your kitchen.
- Almond flour — This adds richness and helps the crumble brown without tasting dry. There isn’t a perfect substitute if you want the same tender, nutty finish, but finely ground hazelnut flour can work in a pinch with a slightly deeper flavor.
- Gluten-free all-purpose flour blend — This helps the topping hold together instead of falling apart into dry crumbs. Use a blend that already contains xanthan gum or another binder if possible; that little bit of structure keeps the topping from turning sandy.
- Cold butter — This is what creates the chunky pieces that bake into crisp pockets. If the butter softens too much before baking, the topping melts into the apples instead of staying craggy and crunchy.
- Brown sugar — This brings moisture and caramel notes that help the topping brown. Light or dark brown sugar both work; dark brown sugar will push it a little deeper and more molasses-heavy.
Building the Crumble So It Bakes Up Crisp
Coating the Apples First
Start by tossing the sliced apples with sugar, cinnamon, nutmeg, cornstarch, and lemon juice until every piece looks evenly coated. The mixture should look glossy, not wet and soupy. Spread it in an even layer in the baking dish so the fruit cooks at the same rate. If the apples are piled in the center, the middle stays underdone while the edges overbake.
Cutting in the Butter
Work the cold butter into the oat mixture until you have chunky clumps ranging from pea-sized to about the size of a walnut. Those larger bits are what give you crunch. If the mixture turns fine and sandy, the butter was too warm or got worked too long. You want visible pieces of butter still tucked into the topping when it goes into the oven.
Baking Until the Edges Go Deep Gold
Scatter the crumble over the apples without packing it down, then bake until the topping is golden and the filling is bubbling around the sides and through the middle. Bubbling is the real cue here, not just color. If the top browns before the filling bubbles, cover it loosely with foil for the last stretch so the topping doesn’t burn before the fruit thickens.
Letting It Rest Before Serving
Pull the crisp from the oven and let it sit for 10 minutes before serving. That short rest lets the juices settle and thicken, which keeps the first spoonful from running all over the plate. The crisp is best warm, when the topping is still crunchy and the apples are soft without being mushy.
How to Adapt This Apple Crisp for Different Kitchens
Make It Dairy-Free
Swap the butter for a firm dairy-free baking stick with a high fat content. The texture stays close to the original if you keep the butter substitute cold and cut it in the same way; softer spreads can make the topping greasy instead of crisp.
Use a Different Apple Mix
A mix of tart and sweet apples gives the best flavor, but any firm baking apple will work. Granny Smith adds structure and brightness, while Honeycrisp or Fuji bring sweetness and a softer bite. Skip very soft apples, or the filling can collapse before the topping finishes.
Make It Nut-Free
Replace the almond flour with an equal amount of additional gluten-free all-purpose flour blend. The topping will be a little less rich and slightly less tender, but it still bakes into a sturdy crumble. If your flour blend is very starchy, use a touch less so the topping doesn’t get pasty.
Storage and Reheating
- Refrigerator: Store covered for up to 4 days. The topping softens a little as it sits, but the flavor holds well.
- Freezer: Freeze baked and cooled portions tightly wrapped for up to 2 months. Thaw in the fridge before reheating so the filling doesn’t turn watery.
- Reheating: Warm in a 325F oven until heated through and the top crisps back up, about 15 to 20 minutes. The microwave will heat the apples, but it softens the crumble, which is the part you want to keep intact.