Garlic knots disappear fast for a reason: the outside turns golden and slightly crisp while the inside stays soft and pull-apart tender, and that last brush of garlic butter hits the warm dough in exactly the right way. They’re the kind of side that can steal attention from the main dish, especially when the Parmesan starts melting into the butter and the edges catch just enough color in the oven.
What makes this version work is timing. The knots bake first with a light coat of butter, which helps them color without getting soggy, then the garlicky finishing butter goes on while they’re still hot enough to soak it up. Fresh garlic gives you that sharp, savory bite, while parsley keeps the flavor from feeling heavy. A little salt in the butter makes the whole thing taste more complete, and marinara on the side gives you that classic pizza-shop finish.
Below, I’ll walk through the one detail that keeps the knots soft instead of dense, plus a few smart swaps if you only have different dough or want to change the finish.
The knots baked up golden and fluffy, and brushing the garlic butter on after baking kept the garlic from tasting bitter. The parmesan stuck to every twist, and we ended up eating half the tray before dinner.
Like these golden garlic knots? Save this recipe for the nights when you want a warm, buttery side with a crisp edge and plenty of marinara for dipping.
The Part That Keeps Garlic Knots Soft Instead of Dense
The biggest mistake with garlic knots is overworking the dough while trying to make every rope perfectly even. Refrigerated pizza dough already has structure; if you keep tugging and stretching it, the knots bake up tighter and less tender. Roll each piece just enough to get a 7-inch rope, then tie it loosely so the dough still has room to rise and expand in the oven.
The other detail that matters is where the garlic goes. Raw garlic mixed into butter too early can taste harsh, and if it bakes on top of the knots it can scorch. Brushing the knots with plain melted butter before baking gives you color and a little richness, then the garlic-parsley butter goes on afterward, when the heat from the bread softens the garlic without burning it.
What Each Ingredient Is Doing in These Garlic Knots
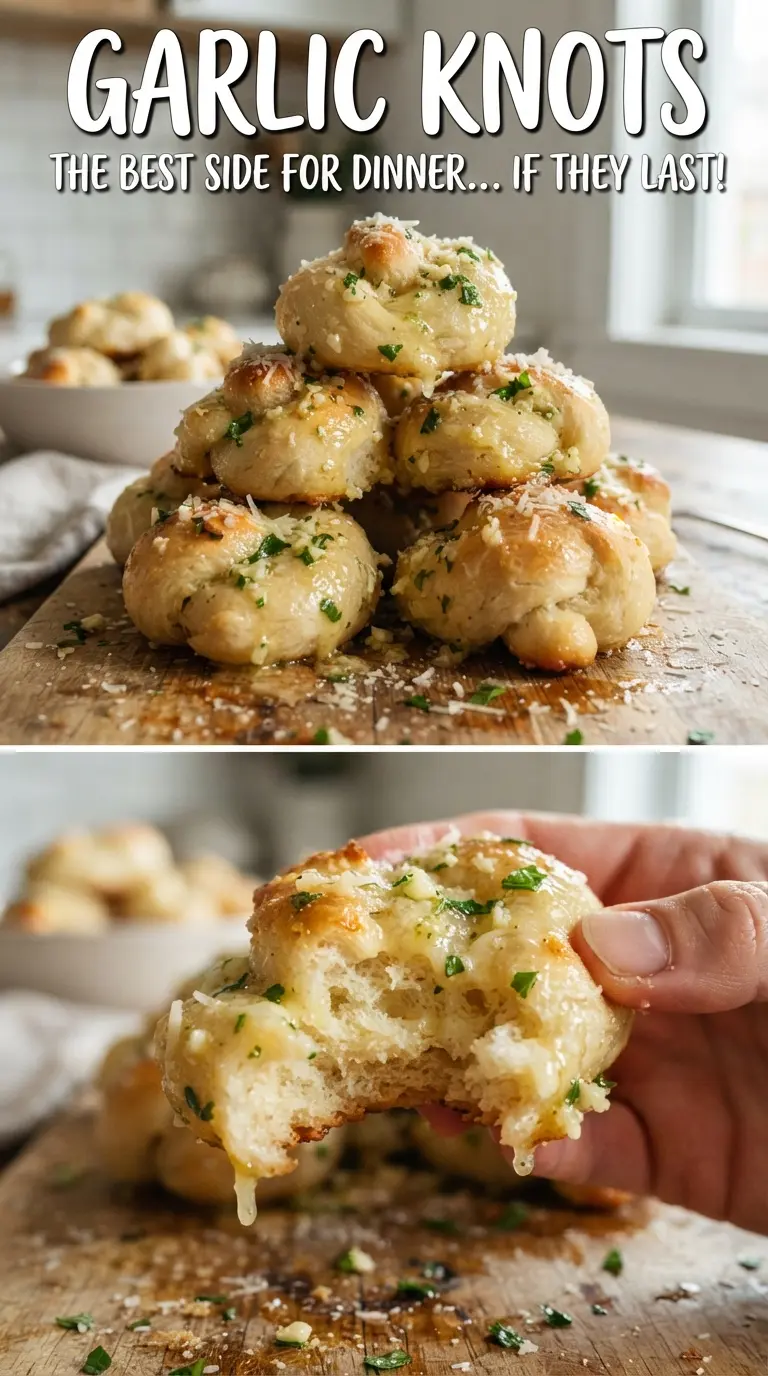
- Refrigerated pizza dough — This is the shortcut that makes the recipe fast and reliable. Room-temperature dough stretches without snapping back as hard, which makes knotting much easier and keeps the finished texture lighter. If it feels too firm, give it 15 to 20 extra minutes on the counter.
- Butter — Melted butter is doing double duty: it helps the knots brown and gives the garlic something to cling to. Use the real stuff here; margarine won’t give you the same flavor or finish. If you only have salted butter, cut back slightly on the added salt.
- Garlic — Fresh minced garlic is the whole point. Jarred garlic works in a pinch, but it tastes flatter and can turn a little muddy when mixed with butter. Mince it fine so it spreads evenly over the hot knots.
- Parsley — Fresh parsley brightens the butter and keeps the whole thing from tasting one-note. Dried parsley won’t give you the same fresh finish, but it can stand in if that’s what you have. Use less, since dried herbs read more strongly.
- Parmesan — The salty, nutty finish lands best when it’s finely grated, not shredded. It melts lightly onto the buttered tops instead of sliding off. Pre-grated Parmesan works, but the flavor is sharper and less creamy.
- Marinara sauce — This is the dip that turns the knots into a true Italian-American side. Use a thick sauce so it clings instead of running off the bread.
How to Shape, Bake, and Finish the Knots Without Losing the Soft Center
Rolling the Dough Evenly
Cut the dough into 16 equal pieces so the knots bake at the same speed. Roll each piece into a rope about 7 inches long, then tie a loose knot with the ends tucked underneath. If the rope tears, stop stretching and let the dough rest for a minute; rested dough relaxes and becomes easier to shape.
The First Butter Brush
Brush the knots lightly with the melted butter before they go into the oven. This helps the surfaces brown and gives the bread a little extra richness, but too much butter at this stage can pool underneath and make the bottoms greasy. A thin coat is enough.
Baking Until Just Golden
Bake at 400°F for 13 to 15 minutes, watching for a deep golden color on top and lightly browned undersides. If they bake too long, the centers dry out before the outside looks done. Pull them when they look set and golden rather than waiting for dark color.
Finishing While They’re Hot
Stir the garlic, parsley, and salt into the remaining butter, then brush it over the knots as soon as they come out of the oven. Hot bread absorbs the butter best, which is what gives you that garlicky coating instead of a greasy topping sitting on the surface. Finish with Parmesan right away so it melts slightly into the butter.
How to Adapt These Garlic Knots for Different Kitchens and Diets
Dairy-Free Garlic Knots
Swap the butter for a good plant-based butter that melts cleanly, then skip the Parmesan or use a dairy-free hard cheese style topping. The knots will still bake up golden, but the finish will be a little less rich and a little more straightforwardly garlicky.
Extra-Cheesy Finish
Add a little more finely grated Parmesan right after brushing on the garlic butter, while the knots are still steaming. The extra cheese gives you a saltier, more savory crust, but don’t overdo it or the tops can turn heavy instead of light.
Using Homemade Pizza Dough
Homemade dough works well as long as it’s relaxed before shaping. If it springs back while you’re rolling the ropes, let it rest under a towel for 10 minutes and try again. The flavor will be a little deeper and the texture often a touch chewier.
Storage and Reheating
- Refrigerator: Store leftover garlic knots in an airtight container for up to 3 days. They’ll soften a little as they sit, especially after the butter coating.
- Freezer: Freeze baked knots without the final Parmesan for up to 2 months. Wrap them well, then thaw before reheating so the centers don’t stay cold while the outside overbrowns.
- Reheating: Warm them in a 350°F oven for 6 to 8 minutes, or until heated through. The common mistake is microwaving them, which makes the bread rubbery and the butter greasy instead of fresh and soft.
Answers to the Questions Worth Asking
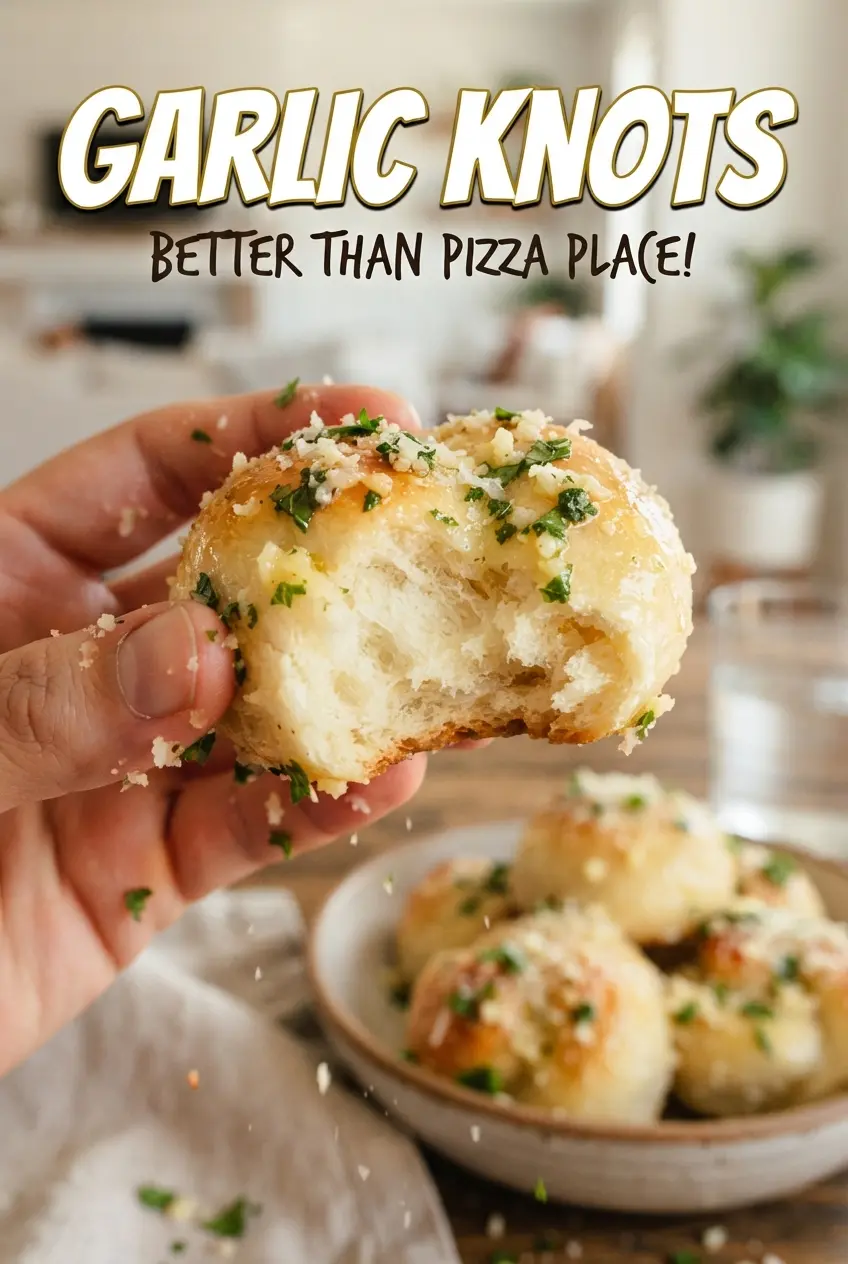
Garlic Knots
Ingredients
Equipment
Method
- Preheat oven to 400F and line a baking sheet with parchment. Keep the sheet ready so the knots can go in right after shaping.
- Cut the room-temperature refrigerated pizza dough into 16 pieces. Roll each piece into a 7-inch rope and tie into a knot.
- Place knots on the baking sheet and brush lightly with melted butter. Arrange them with some space so they bake up golden.
- Bake at 400F for 13-15 minutes until golden brown. Look for a firm, lightly crisp surface.
- Stir the minced garlic, chopped fresh parsley, and salt into the remaining butter. Mix until evenly combined, then let it sit briefly to meld flavors.
- Brush the hot knots with the garlic-parsley butter. The butter should soak in and turn glossy immediately.
- Sprinkle the knots with grated Parmesan. Serve warm with marinara sauce for dipping.