Dark chocolate shells with a creamy pumpkin spice center make these butter cups the kind of dessert that disappears fast from the fridge. The chocolate stays snappy, the filling turns smooth and fudgy instead of wet, and the finish of flaky sea salt keeps every bite from leaning too sweet.
The small details matter here. Blotting the pumpkin puree keeps the filling thick enough to set inside the chocolate without making the centers gummy, and the coconut oil helps the chocolate melt into a glossy coating that spreads cleanly in the liners. The filling also uses just enough maple syrup to taste rounded without turning loose.
Below, I’ve included the one thing that keeps these from leaking, plus the best way to swap the nut butter if you need a different option. The process is straightforward, but a couple of timing notes make the difference between neat layered cups and a mess that never firms up.
I blotted the pumpkin like you said and the filling set up perfectly. The chocolate stayed crisp, and the sea salt on top made them taste like a fancy candy store version of pumpkin pie.
Save these dairy free chocolate pumpkin butter cups for the days when you want a chilled dessert with crisp chocolate and a silky pumpkin center.
The Trick to Keeping the Pumpkin Filling Thick Enough to Set
The filling fails when the pumpkin is too wet. Pumpkin puree carries a lot of extra moisture, and if you skip the blotting step, the centers can stay soft and push against the chocolate shells instead of sitting neatly inside them. Press the puree between paper towels until it looks denser and a little matte; that small step changes the whole texture.
The other thing that matters is balance. Cashew butter gives the filling a smooth, almost truffle-like body, while almond butter brings a slightly firmer, toastier finish. Either one works, but natural nut butter with a runny oil layer can make the mixture loose, so stir it well before measuring.
What Each Ingredient Is Actually Doing Here
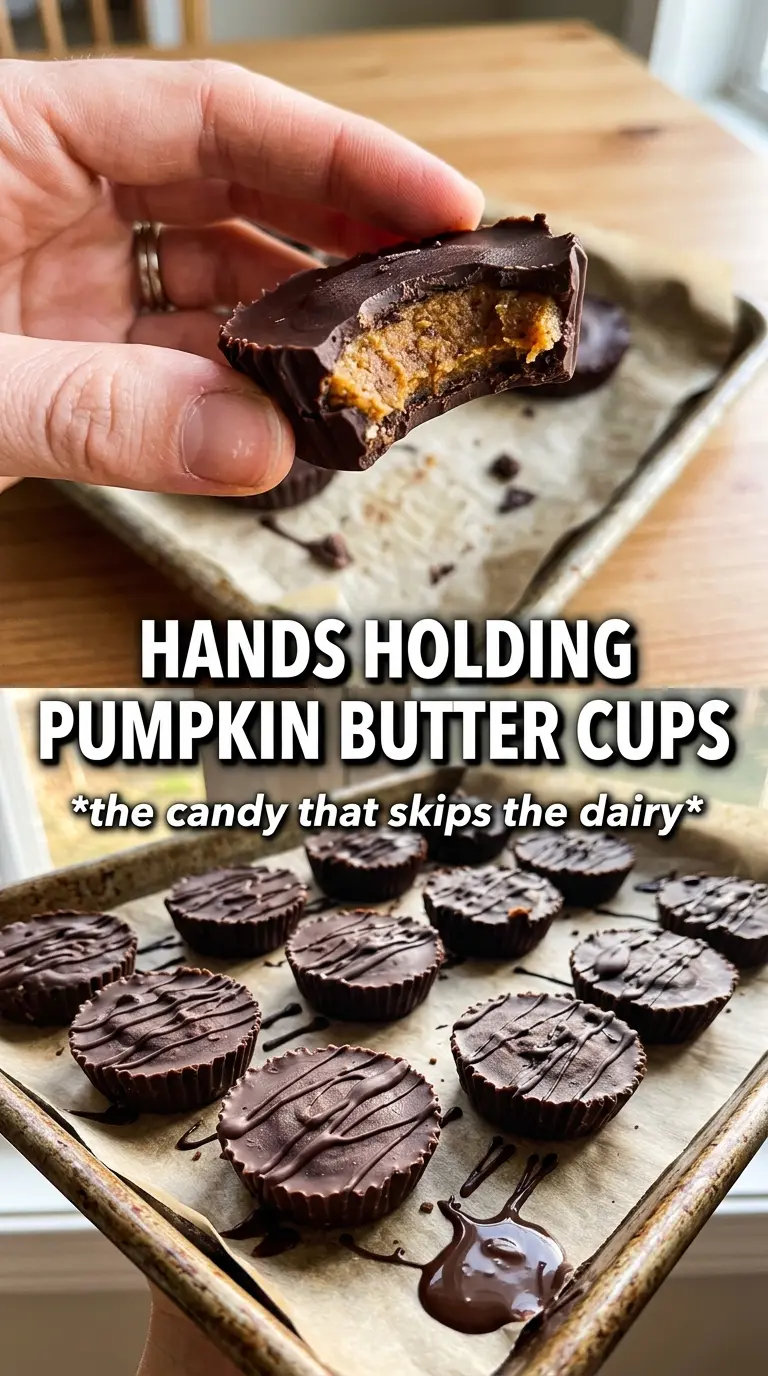
- Dairy-free dark chocolate chips — These form the shell and bring the most structure, so use a brand that melts smoothly and sets hard. Bars chopped finely also work if you want a cleaner snap, but chips are easier and hold up well here.
- Coconut oil — Just a little helps the chocolate flow into the liners and makes the first layer easier to spread. Don’t add much more than the recipe calls for, or the finished cups can soften at room temperature.
- Pumpkin puree — This is the flavor base, but only if it’s dried out first. Canned puree is fine; just blot it well so the filling stays thick and doesn’t leak moisture into the chocolate.
- Cashew butter or almond butter — Cashew butter gives the most mellow, creamy texture. Almond butter is a little more assertive and slightly firmer, which can be a plus if your pumpkin puree was on the soft side.
- Maple syrup — This sweetens the filling without making it taste candy-sweet. Honey will change the flavor and can make the filling a touch stickier, so maple is the best swap if you want the same result.
- Pumpkin pie spice, cinnamon, and vanilla — These layer in warmth and make the filling read like pumpkin dessert instead of just sweet nut butter. The vanilla rounds out the spice and keeps the flavor from tasting flat.
- Flaky sea salt — A small pinch on top is worth it. It sharpens the chocolate and keeps each bite from tasting heavy.
Layering the Cups So They Set Cleanly
Start with a Thin Chocolate Base
Spoon about a teaspoon of melted chocolate into each mini liner and tilt or tap the pan so it coats the bottom. That first layer doesn’t need to climb all the way up the sides yet; it just needs to create a stable base so the filling doesn’t soak into the liner. Chill it for 10 minutes until it loses its shine and firms up enough to hold the center.
Mix the Filling Until It’s Smooth, Not Loose
Stir the blotted pumpkin, nut butter, maple syrup, spice, cinnamon, and vanilla until the mixture looks thick and uniform. If it seems glossy and soft like a spread, that’s fine; if it looks wet or drippy, the pumpkin still has too much moisture and needs another blot. The filling should mound on a spoon instead of running off it.
Seal With Chocolate and Finish Cold
Drop a teaspoon of filling into each cup, then cover it with the remaining chocolate. Tap the pan gently on the counter so the top smooths out and any air pockets rise out before the chocolate sets. Finish with flaky sea salt, then refrigerate until the cups are completely firm; if you try to unmold them early, the centers can slump and the shells can crack.
How to Adapt These Without Losing the Texture
Make Them Nut-Free
Swap the cashew or almond butter for sunflower seed butter. The texture stays close, though the filling can take on a slightly earthy taste and may darken a bit from the reaction between sunflower butter and baking spices. If that flavor is noticeable to you, add an extra teaspoon of maple syrup to round it out.
Use a Milk-Style Dairy-Free Chocolate
A dairy-free milk chocolate will make these sweeter and softer in flavor. It works, but the pumpkin center becomes more of a contrast than the star, so keep the flaky salt on top. If the chocolate is especially soft, chill the cups a few extra minutes before unmolding.
Make Them Ahead for the Week
These hold up well in the fridge, so they’re an easy make-ahead dessert. Keep them in a single layer in an airtight container, and if you stack them, separate layers with parchment so the tops don’t scuff. The chocolate stays snappy for days.
Storage and Reheating
- Refrigerator: Store for up to 1 week in an airtight container. The centers stay creamy and the chocolate keeps its best texture when chilled.
- Freezer: Freeze for up to 2 months. Wrap the cups tightly or store them in a freezer-safe container with parchment between layers, then thaw in the fridge so the chocolate doesn’t sweat.
- Reheating: These aren’t meant to be reheated. Serve them cold or let them sit at room temperature for 5 to 10 minutes for a softer bite.
Questions I Get Asked About This Recipe
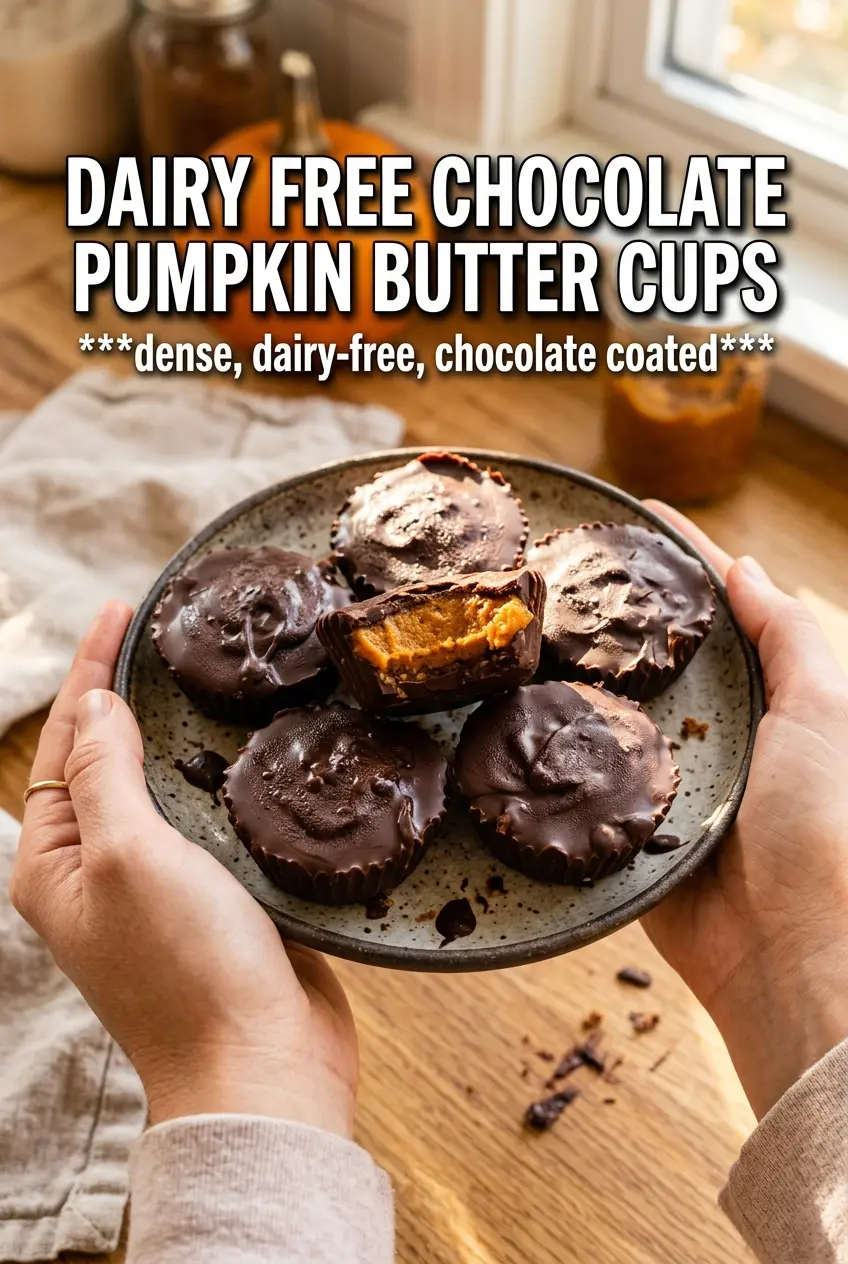
Dairy Free Chocolate Pumpkin Butter Cups
Ingredients
Equipment
Method
- Melt the dairy-free dark chocolate chips with the coconut oil until smooth and fully combined, stirring as needed for an even texture. Stop as soon as it’s glossy so it doesn’t seize.
- Spoon 1 teaspoon of melted chocolate into the bottom of each mini muffin liner, spreading to lightly coat the base. Refrigerate for 10 minutes until the first layer is firm.
- Mix the pumpkin puree, cashew butter or almond butter, maple syrup, pumpkin pie spice, cinnamon, and vanilla until smooth. Scrape the sides until no streaks remain.
- Spoon 1 teaspoon of the pumpkin filling into each chocolate-lined cup. Keep the filling centered so it won’t touch the sides too much.
- Cover each cup with the remaining melted chocolate, then tap the tin gently to help the top settle flat. This helps the filling stay hidden under a smooth chocolate cap.
- Sprinkle flaky sea salt over each cup, then refrigerate for 30–45 minutes until completely set. Chill until the chocolate feels firm and lifts cleanly from the liners.