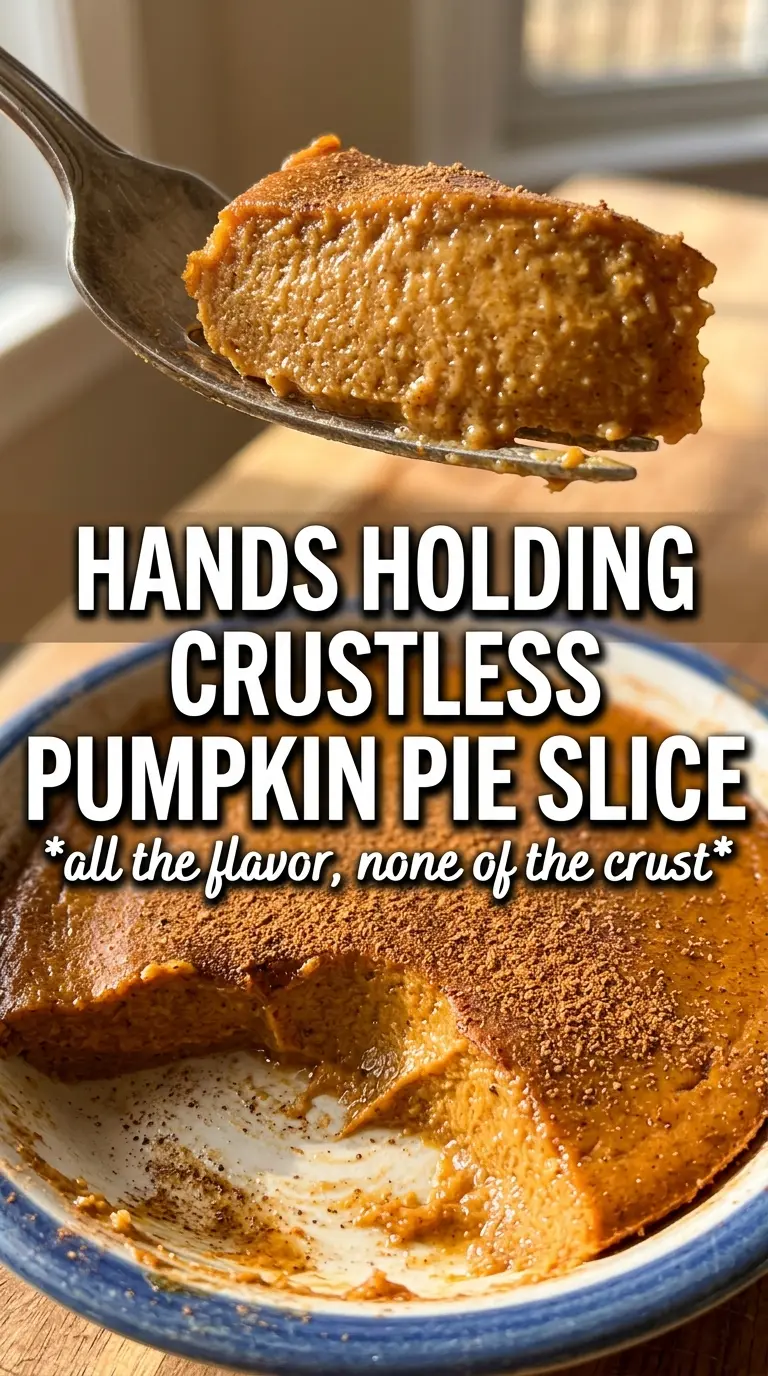
Crustless pumpkin pie lands somewhere between a classic pumpkin pie and a silky baked custard, and that’s exactly why it earns a permanent spot on the dessert table. The filling sets up smooth and spoonable, with warm spice in every bite and none of the fuss of rolling out dough or worrying about a soggy bottom. What you get instead is a clean, creamy slice that holds its shape after chilling and tastes even better the next day.
The trick is using enough structure in the filling itself so the pie bakes up tender instead of loose. Eggs do the setting, while a little flour or cornstarch gives the custard just enough backbone to slice cleanly after it cools. The high-start oven temperature helps the top set fast, then the lower heat finishes the center gently so it stays soft instead of cracking or puffing.
Below, I’ll walk through the one baking detail that keeps this pie silky, plus a few smart swaps if you need to adjust the dairy or make it ahead for a crowd.
The filling baked up smooth and set perfectly after chilling. I loved that the spices tasted balanced instead of overpowering, and the whipped cream on top made it feel like a real pie even without the crust.
Crustless pumpkin pie slices beautifully after chilling, with that silky custard texture and a smooth spiced top that holds up under whipped cream.
Save this silky crustless pumpkin pie for an easy holiday dessert
The Trick to a Smooth Custard Without a Crust
The biggest mistake with crustless pumpkin pie is treating it like a dump-and-bake casserole. This filling needs to be whisked until completely smooth, because little pockets of spice or flour show up fast once the custard bakes. If the mixture looks even slightly lumpy before it goes into the oven, those lumps tend to stay there.
The second thing that matters is the bake itself. The 425F start helps the edges set before the center overcooks, then dropping to 350F gives the custard time to finish without curdling. Pull it when the center still has a small wobble, not when it looks fully firm. It keeps setting as it cools, and that carryover is what gives you a slice that holds together without turning dry.
- Pumpkin puree — Use pure pumpkin, not pumpkin pie filling. Pie filling already has sugar and spices added, which throws off the balance and makes the custard taste flat or overly sweet.
- Evaporated milk — This brings the creamy texture and richer flavor that regular milk can’t quite match. Whole milk works in a pinch, but the pie will be a little less velvety.
- Flour or cornstarch — Either one helps the filling set without a crust. Cornstarch gives a slightly cleaner, softer finish, while flour makes a more old-fashioned custard texture.
- Eggs — They are the structure here, so don’t cut them down. Too few eggs and the pie stays loose; too many and it starts to taste more like baked pumpkin pudding than pie.
What Each Ingredient Is Actually Doing in This Recipe
- Primary ingredient (the star) — Quality matters most. Choose the best you can find.
- Cooking medium (oil, butter, or broth) — This carries flavors and prevents dryness.
- Seasonings (salt, pepper, spices, herbs) — Layer flavors so nothing overpowers. Build depth gradually.
- Aromatics (garlic, onion, herbs) — Cook with fat to bloom flavors. Become the foundation.
- Supporting ingredients — Complement the main ingredient without overpowering it.
- Sauce or liquid (if applicable) — Brings flavors together. Balance richness with acid.
- Acid (lemon, vinegar, wine, or other) — Brightens and prevents flat-tasting results.
- Final finish (garnish, glaze, or sauce) — Prevents one-dimensional taste and adds visual appeal.
What Each Ingredient Is Actually Doing in This Pie
The spice blend matters more here than it does in a traditional pumpkin pie because there’s no crust to bring in another flavor or texture. Cinnamon leads the way, while ginger, cloves, nutmeg, and pumpkin pie spice fill in the warm edges. If you only have pumpkin pie spice, you can use it alone and still get a balanced pie, but the separate spices let you push the cinnamon a little brighter if that’s how you like it.
Vanilla doesn’t make the pie taste like vanilla. It rounds out the squash and spice so the filling tastes fuller after baking. The sugar is doing more than sweetening, too — it helps the custard set with a smooth, tender bite instead of a rubbery one.
Getting the Bake Time Right So It Sets Cleanly
Mix the filling until it’s completely smooth
Whisk the pumpkin, eggs, milk, sugar, spices, salt, vanilla, and flour or cornstarch until the batter looks uniform and glossy. You should not see streaks of egg or dry patches of spice clinging to the bottom of the bowl. If you rush this part, the pie can bake with tiny flour specks or uneven pockets of spice. A hand whisk works fine, but scrape the bowl well so nothing hides at the edges.
Start hot, then finish gently
Pour the filling into the buttered pie dish and bake at 425F for 15 minutes. That first blast of heat helps the custard set around the outside so it doesn’t slump, then the lower temperature protects the center from overbaking. After you reduce the oven to 350F, keep an eye on the surface; it should look set at the edges with a slight jiggle in the middle. If the top starts to darken too fast, your oven is running hot, and a loose sheet of foil over the top will slow that down.
Cool it all the way before slicing
This pie needs time to finish setting outside the oven. When it comes out, the center should still move a little, but not look sloshy. Let it cool completely on the counter, then chill it for at least 2 hours so the custard firms up enough to slice cleanly. If you cut it warm, it will look underbaked even when it isn’t, and the slices will slump on the plate.
Dairy-Free Version
Use canned coconut milk in place of the evaporated milk for a richer, slightly more coconut-forward pie. The texture will still set, but the flavor turns softer and a little sweeter, so keep the spice blend as written to balance it out.
Gluten-Free Swap
Use cornstarch instead of flour and whisk it in thoroughly before baking. Cornstarch gives the cleanest set, so the slice stays smooth and custardy without adding any wheat flavor or heaviness.
Extra-Spiced Pumpkin Pie
If you like a stronger spice finish, add an extra 1/2 teaspoon cinnamon and a pinch more ginger. Don’t increase the cloves too much; that’s the spice most likely to overpower the pumpkin and make the pie taste harsh.
Storage and Reheating
- Refrigerator: Store covered for up to 4 days. The texture stays best on day 1 and 2, then softens a little but still slices cleanly.
- Freezer: It freezes well if you wrap individual slices tightly and freeze them flat. Thaw in the refrigerator overnight for the cleanest texture; freezing the whole pie is possible, but the custard can weep slightly after thawing.
- Reheating: Serve it cold or let a slice sit at room temperature for 20 to 30 minutes. If you warm it, use a low oven just until barely heated through. High heat makes the custard grainy and can cause the surface to split.
Questions I Get Asked About This Recipe
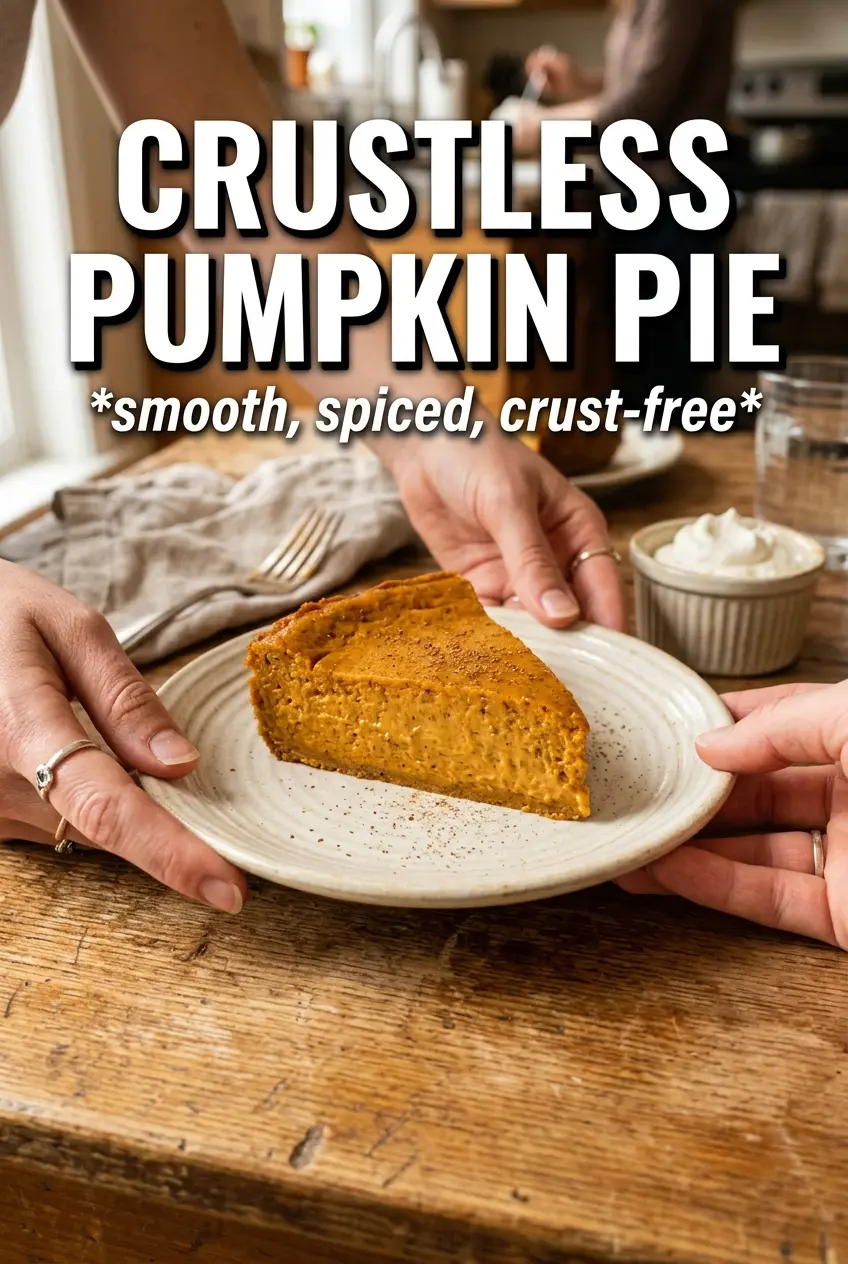
Crustless Pumpkin Pie
Ingredients
Equipment
Method
- Preheat the oven to 425F and butter a 9-inch pie dish so the custard releases cleanly after baking.
- Whisk pumpkin puree, eggs, evaporated milk, granulated sugar, pumpkin pie spice, cinnamon, ginger, cloves, nutmeg, salt, vanilla extract, and all-purpose flour or cornstarch until completely smooth.
- Pour the smooth mixture into the buttered pie dish.
- Bake at 425F for 15 minutes to set the edges and begin thickening.
- Reduce the oven to 350F and bake 35-40 more minutes until the center is just barely jiggly, with a mostly set surface.
- Cool the pie completely at room temperature until it stops steaming and the surface looks fully set.
- Refrigerate for 2 hours so the custard firms up for clean slices.
- Serve with whipped cream, piping around the edge if desired, and dusting lightly with cinnamon if you like.