Chocolate Peanut Butter Pumpkins disappear fast because they hit that sweet spot between candy and cookie bite: creamy peanut butter filling, a soft pumpkin-spiced center, and a thin chocolate shell that snaps just enough when you bite in. The pretzel stem gives them a little crunch and a playful finish, and the orange coating makes them look like you spent a lot more time on them than you did.
The key is drying the pumpkin puree until it stops adding moisture to the filling. That one step keeps the centers from turning loose or sticky, which is the main reason no-bake pumpkin candies can miss the mark. I also chill the filling before shaping and freeze the pumpkins briefly before dipping, because cold centers hold their shape better and coat more cleanly.
Below, I’ve included the little technique details that matter most, plus a few swaps that help if you’re working around candy melts, peanut allergies, or just want to make them ahead for a party tray.
The pumpkin shape held perfectly after freezing, and the peanut butter filling stayed firm instead of oozing out when I dipped them. The pretzel stem was such a cute touch, and the orange coating set up smooth.
Save these Chocolate Peanut Butter Pumpkins for a no-bake treat with a smooth center, crisp chocolate shell, and cute pretzel stems.
The Trick to Keeping the Filling Firm Enough to Shape
The filling needs to be thick enough to roll into little pumpkins without sagging, and that comes down to the pumpkin puree. If it’s not blotted dry, the mixture turns loose and sticky, and no amount of powdered sugar fixes that cleanly. A few paper towels and a little patience at the start save you from a messy coating stage later.
Chilling the filling before shaping matters more than people expect. Peanut butter softens fast at room temperature, and the mixture will blur around the edges if you go straight from bowl to hands. Once it’s cold, you can press in those ridge lines with a toothpick or your fingertips and get a shape that stays put long enough to dip.
- Pumpkin puree — This adds the pumpkin look and a subtle earthy note, but only if it’s dried first. Spoon it onto paper towels and blot until it feels pasty, not wet.
- Powdered sugar — This is what gives the filling structure. If your mixture still feels soft after mixing, add a little more, one tablespoon at a time.
- Pumpkin pie spice and cinnamon — These keep the filling from tasting flat. Cinnamon alone works in a pinch, but the spice blend gives the centers that pumpkin-candy flavor people expect.
What the Coating and Stem Are Really Doing Here
The coating is more than decoration. It seals the peanut butter filling, gives the pumpkins their shape, and makes them sturdy enough to stack on a platter without sticking together. Candy melts are the easiest route because they set quickly and stay smooth, but orange-tinted milk chocolate works if you want a richer bite.
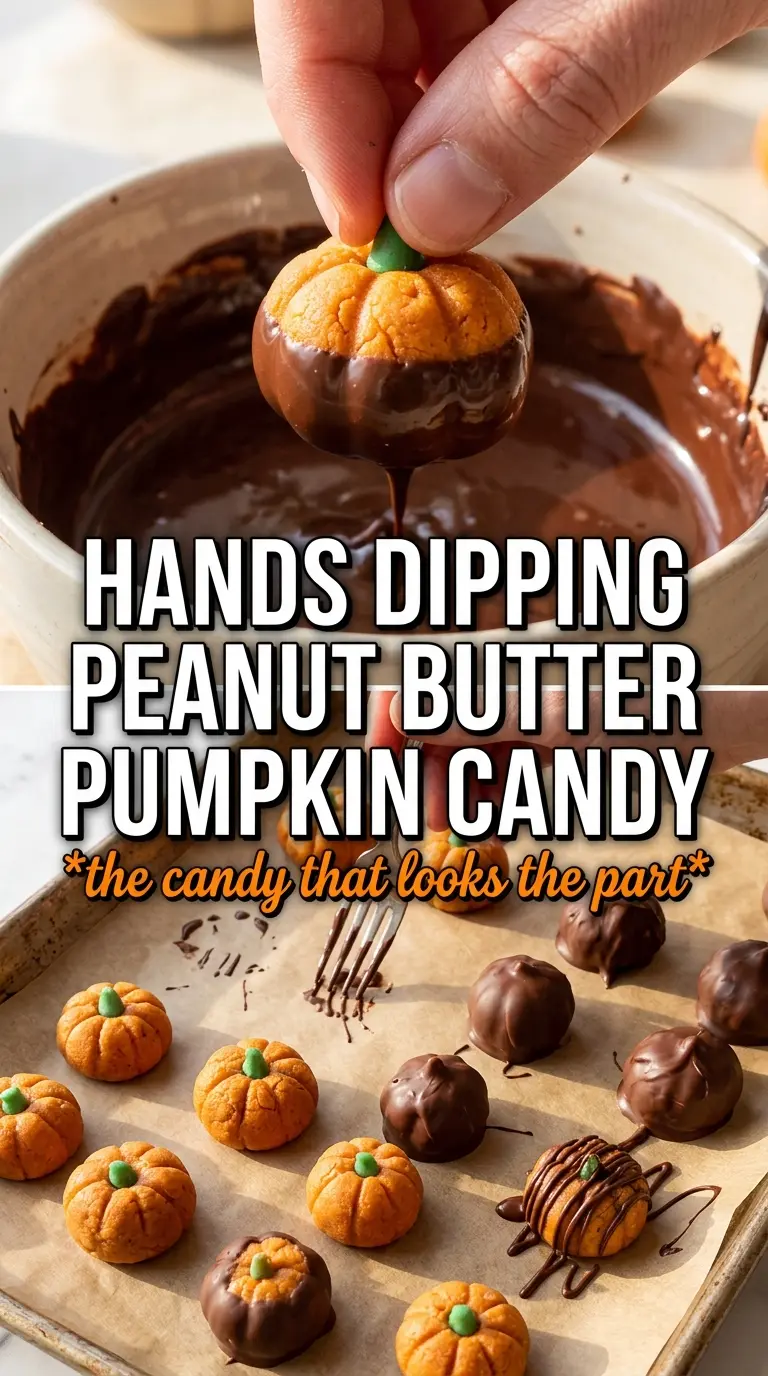
- Orange candy melts — These give you the cleanest pumpkin color and the least fuss. If you use milk chocolate instead, add oil-based orange coloring made for chocolate; water-based food coloring can make the coating seize.
- Pretzel sticks — Press them in before the coating sets so they lock in like real stems. Thin pretzel sticks work best because thick ones can crack the top shell.
- Green candy leaves — These are optional, but they add a finished look. Add them while the coating is still tacky so they stick without sliding off.
Shaping, Dipping, and Finishing Without Losing the Pumpkin Shape
Mixing the Filling Until It Holds Together
Beat the peanut butter, dried pumpkin puree, powdered sugar, pumpkin pie spice, and cinnamon until the mixture is smooth and thick. It should look like soft dough, not frosting. If it’s glossy and loose, keep mixing in powdered sugar a spoonful at a time until it firms up. The biggest mistake here is stopping too soon and hoping the fridge will fix a wet mixture later.
Chilling Before You Shape
Refrigerate the mixture for 30 minutes, then scoop tablespoon-sized portions and roll them into balls. Flatten them slightly and use your fingers or a toothpick to press in ridges around the sides. If the mixture sticks to your hands, dust your palms lightly with powdered sugar instead of adding more into the bowl, which can make the centers grainy.
Freezing for a Clean Dip
Freeze the shaped pumpkins for about 20 minutes. They should feel firm on the outside but not frozen solid. That short freeze keeps them from melting into the coating when they hit the warm candy melts. If they sit too long and get rock hard, condensation can form later and make the coating spotty.
Dipping and Decorating Fast
Melt the orange candy coating until it’s smooth and fluid, then dip each pumpkin and tap off the excess. Work one at a time, because the coating starts setting quickly once the cold centers hit it. Press a pretzel stick into the top immediately, then add the green leaf before the shell firms up. If the coating gets too thick, warm it in short bursts and stir between rounds instead of overheating it.
Chocolate-Dipped Pumpkin Centers
Use milk chocolate instead of candy melts for a richer shell. Add orange oil-based food coloring made for chocolate, or skip the color and call them chocolate peanut butter pumpkins with pretzel stems. The texture is a little softer at room temperature, so keep them chilled until serving.
Peanut-Free Version
Swap the peanut butter for sunflower seed butter and check that your candy coating and pretzels are safe for your needs. The flavor shifts a little earthier, and the filling can be softer, so start with the same amount of powdered sugar and add more only if needed.
Dairy-Free and Gluten-Free Notes
Choose dairy-free candy melts and gluten-free pretzel sticks if you need both modifications. The filling is naturally dairy-free, so the main thing to watch is the coating and the stem. You’ll still get the same shape and snap, just with different brands.
Make-Ahead Tray for Parties
Shape and freeze the pumpkins a day ahead, then dip and decorate them the day you plan to serve. Once coated, they hold best when chilled on a parchment-lined tray. If you stack them while the shell is still soft, the stems and leaves can smear.
Storage and Reheating
- Refrigerator: Store in an airtight container for up to 1 week. The coating may pick up a little condensation if they sit out after chilling.
- Freezer: Freeze in a single layer, then transfer to a container with parchment between layers for up to 2 months. Thaw in the fridge so the coating stays smooth.
- Reheating: No reheating needed. Serve chilled or slightly cool; warming these will soften the filling and can make the chocolate shell dull or sticky.
Questions I Get Asked About This Recipe
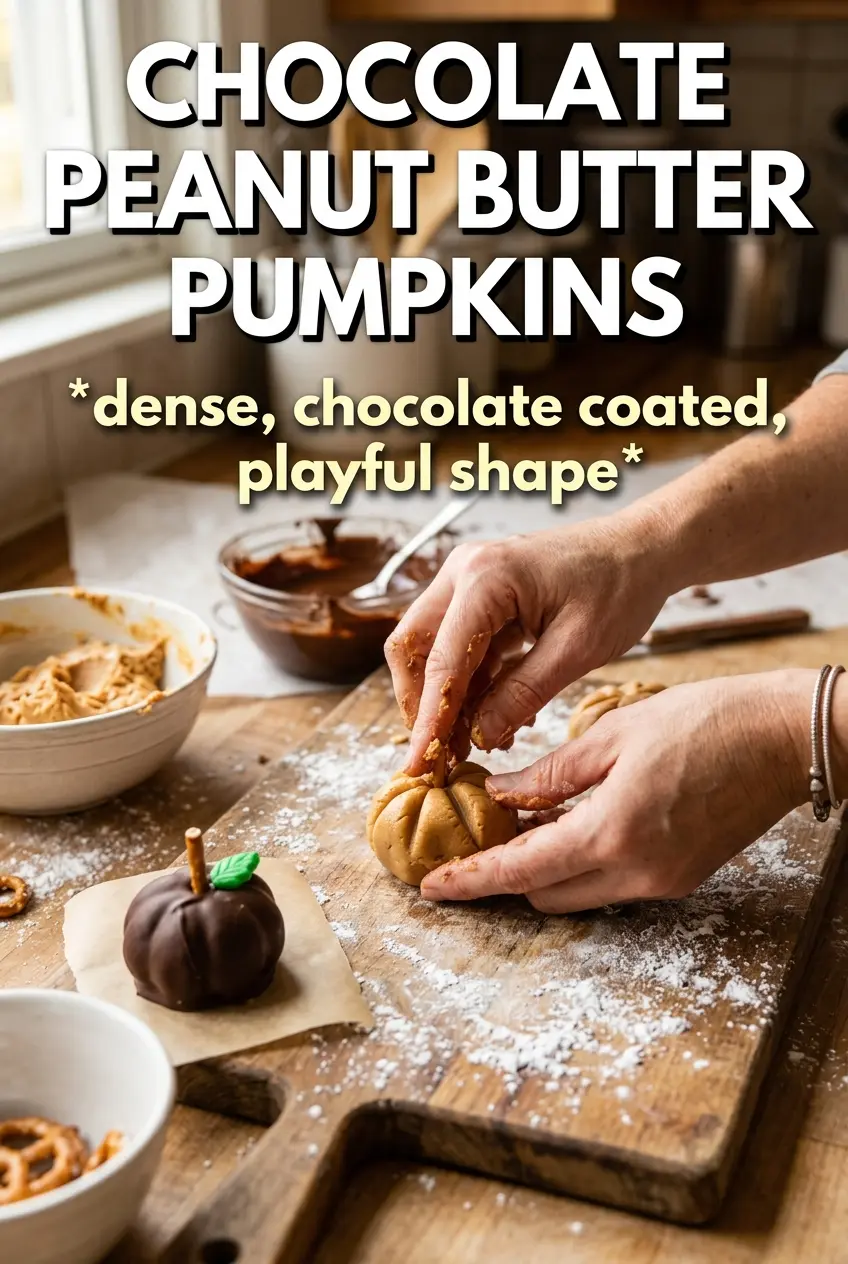
Chocolate Peanut Butter Pumpkins
Ingredients
Equipment
Method
- Blot pumpkin puree very dry, then beat peanut butter, blotted pumpkin puree, powdered sugar, pumpkin pie spice, and cinnamon until smooth and thick.
- Refrigerate the filling for 30 minutes to firm it slightly.
- Scoop tablespoon-sized portions and shape into pumpkin forms, creating ridges with a toothpick or your fingers.
- Freeze the shaped pumpkins for 20 minutes so they hold their shape during dipping.
- Melt orange candy melts or milk chocolate and stir in orange food coloring if needed, until fully smooth.
- Dip each pumpkin in the melted coating, tapping to remove excess coating and letting it cling.
- Press a pretzel stick into the top as a stem before the coating sets.
- Add a small green candy leaf on each pumpkin, then refrigerate until the coating is set.