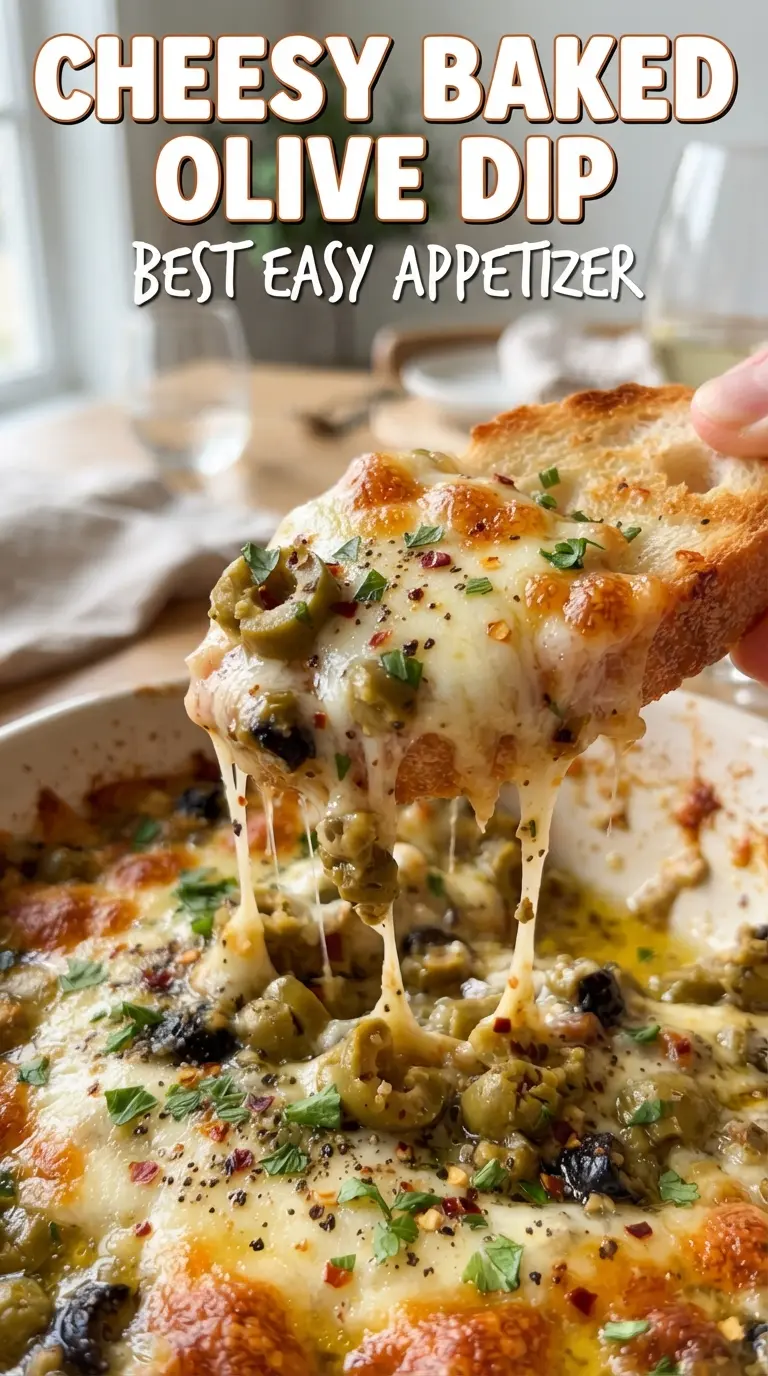
Bubbly, salty, and loaded with melty cheese, cheesy baked olive dip disappears fast once it hits the table. The top turns golden and a little blistered while the center stays creamy enough to scoop with bread, crackers, or anything sturdy enough to hold up to that rich, briny filling. It’s the kind of appetizer that gets passed around twice because the first round never seems to be enough.
The key is balance. Cream cheese gives the dip structure, sour cream keeps it tangy, and mayonnaise adds the soft richness that makes the whole thing feel indulgent without turning heavy. The olives do more than add salt; the green olives bring that sharp, pimento-bright bite while the black olives round everything out. A mix of mozzarella and Parmesan gives you both stretch and savory depth, and baking it long enough for the edges to bubble is what makes it taste finished instead of just warm.
Below, I’ll walk through the one detail that keeps this dip creamy instead of greasy, plus a few smart swaps if you need to work with what’s already in your fridge.
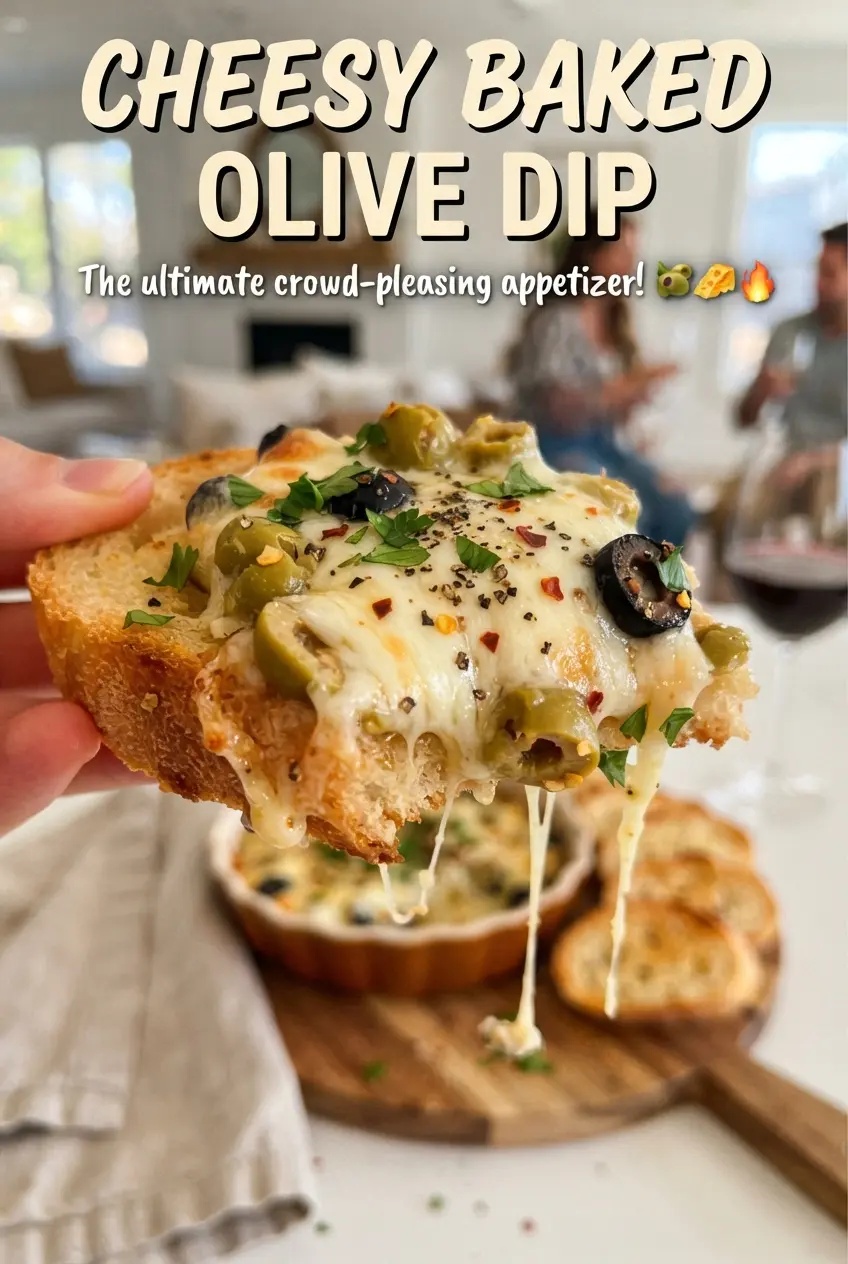
The dip baked up with the perfect creamy center and the top got beautifully golden. I loved the mix of green and black olives because every bite had a little extra bite and saltiness.
Save this cheesy baked olive dip for the next time you need a bubbly, briny appetizer with a golden cheesy top.
The Creamy Base Needs More Restraint Than You’d Think
This dip looks like it should be mixed aggressively, but that’s how it turns loose and greasy once it bakes. Cream cheese, mayonnaise, and sour cream all carry fat, and they need to be blended until just smooth before the olives go in. If you overwork it, the mixture gets aerated and the texture loosens instead of tightening in the oven. That’s the difference between a scoopable appetizer and something that slumps on the plate.
The other mistake is baking it too hot or too long. You want the edges bubbling and the top just turning gold, not deep brown all over. The center should stay creamy so the olives and cheese taste rich, not dried out.
What Each Ingredient Is Actually Doing in This Dip
- Cream cheese — This is the structure of the dip. Soften it fully or you’ll end up with little lumps that never disappear. If you only have block-style lower-fat cream cheese, it’ll work, but the final dip won’t be as thick or rich.
- Mayonnaise — Mayo keeps the texture silky and helps the top brown. It’s not there for flavor alone; it keeps the dip from feeling stiff once baked. In a pinch, you can use plain Greek yogurt for part of it, but the dip will be tangier and a little less lush.
- Sour cream — This sharpens the richness so the dip doesn’t taste flat. Full-fat sour cream gives the smoothest finish. Reduced-fat versions can work, but they’re more likely to loosen up in the oven.
- Mozzarella — One portion melts into the base, and the rest creates that stretchy, browned top. Shred it yourself if you can; pre-shredded cheese doesn’t melt quite as smoothly because of the anti-caking coating.
- Parmesan — This is where the savory depth comes from. It adds the salty, nutty edge that keeps the dip from tasting one-note. Finely grated Parmesan blends in better than chunky shreds.
- Green and black olives — The whole point of the dip. Green olives bring the bright, briny punch, while black olives soften the saltiness and round it out. Drain them well and pat them dry so the dip doesn’t turn watery.
- Garlic and green onions — Garlic gives the base a little bite, and the green onions keep the dip from feeling heavy. If your garlic is very sharp, mince it finely so it melts into the mixture instead of staying harsh.
Getting the Bake Right Without Losing the Creamy Center
Mix the base until it’s smooth, not fluffy
Start with softened cream cheese so the mixture blends without streaks. Stir in the mayonnaise, sour cream, mozzarella, Parmesan, and garlic until the base looks even and glossy. If there are still pockets of cream cheese, they’ll show up in the finished dip as dense little spots. The mixture should hold its shape on a spoon but still spread easily.
Fold in the olives after the base is finished
Once the base is smooth, add the sliced olives and green onions. Folding them in at the end keeps the olives intact and prevents the mixture from turning gray. If the olives are wet, blot them first; extra moisture is the fastest way to make this dip watery. A small baking dish helps the layers stay thick enough to scoop.
Bake until the top is bubbling and lightly bronzed
Spoon the mixture into a greased baking dish and spread it evenly, then top with the remaining mozzarella. Bake at 375°F until the edges are actively bubbling and the top has golden spots, about 22 to 25 minutes. If the top browns before the center is hot, the dish was probably too shallow or the oven ran hot. Let it sit for a few minutes before serving so it thickens slightly and doesn’t run when you scoop it.
How to Adapt This Dip When You’re Working With What You Have
Make it gluten-free with a better serving base
The dip itself is naturally gluten-free, so the only change is what you serve it with. Use sturdy gluten-free crackers, toasted gluten-free baguette slices, or crisp vegetables like celery and bell pepper. The dip is rich enough that you want something with structure, not a delicate cracker that folds the second it hits the surface.
Swap in all green olives for a sharper bite
If you only have green olives, use them all and expect a brighter, saltier dip with more punch. The flavor gets sharper and a little more assertive, which works well if you like briny appetizers. Just keep the olives well drained so the extra liquid doesn’t thin the mixture.
Use Greek yogurt in place of some of the sour cream
You can replace up to half the sour cream with plain Greek yogurt if that’s what you have on hand. The dip will taste a little tangier and bake up slightly less rich, but it still works well. Don’t replace all of it unless you want a firmer, more tart dip.
Storage and Reheating
- Refrigerator: Store leftovers in an airtight container for up to 4 days. The texture firms up as it chills, but the flavor stays good.
- Freezer: I don’t recommend freezing it. The dairy base can separate when thawed, and the olives can turn soft and watery.
- Reheating: Warm it in a 325°F oven until hot through, or microwave short bursts if you’re reheating a small portion. Stirring between bursts helps the cheese re-emulsify; blasting it on high heat is what makes it greasy.
Answers to the Questions Worth Asking
Cheesy Baked Olive Dip
Ingredients
Equipment
Method
- Preheat the oven to 375°F and grease a small baking dish, so it’s ready when the dip is mixed.
- Mix cream cheese, mayonnaise, sour cream, 1 cup mozzarella, Parmesan, and garlic until smooth, scraping the sides for a uniform base.
- Fold in green olives, black olives, and green onions, distributing them evenly through the creamy mixture.
- Spread the dip into the dish and top with the remaining mozzarella for a melty, browned finish.
- Bake for 22-25 minutes at 375°F until bubbly and golden on top, then pull the dish when the surface looks set and melted.
- Serve hot with toasted baguette slices or crackers for dipping right away.