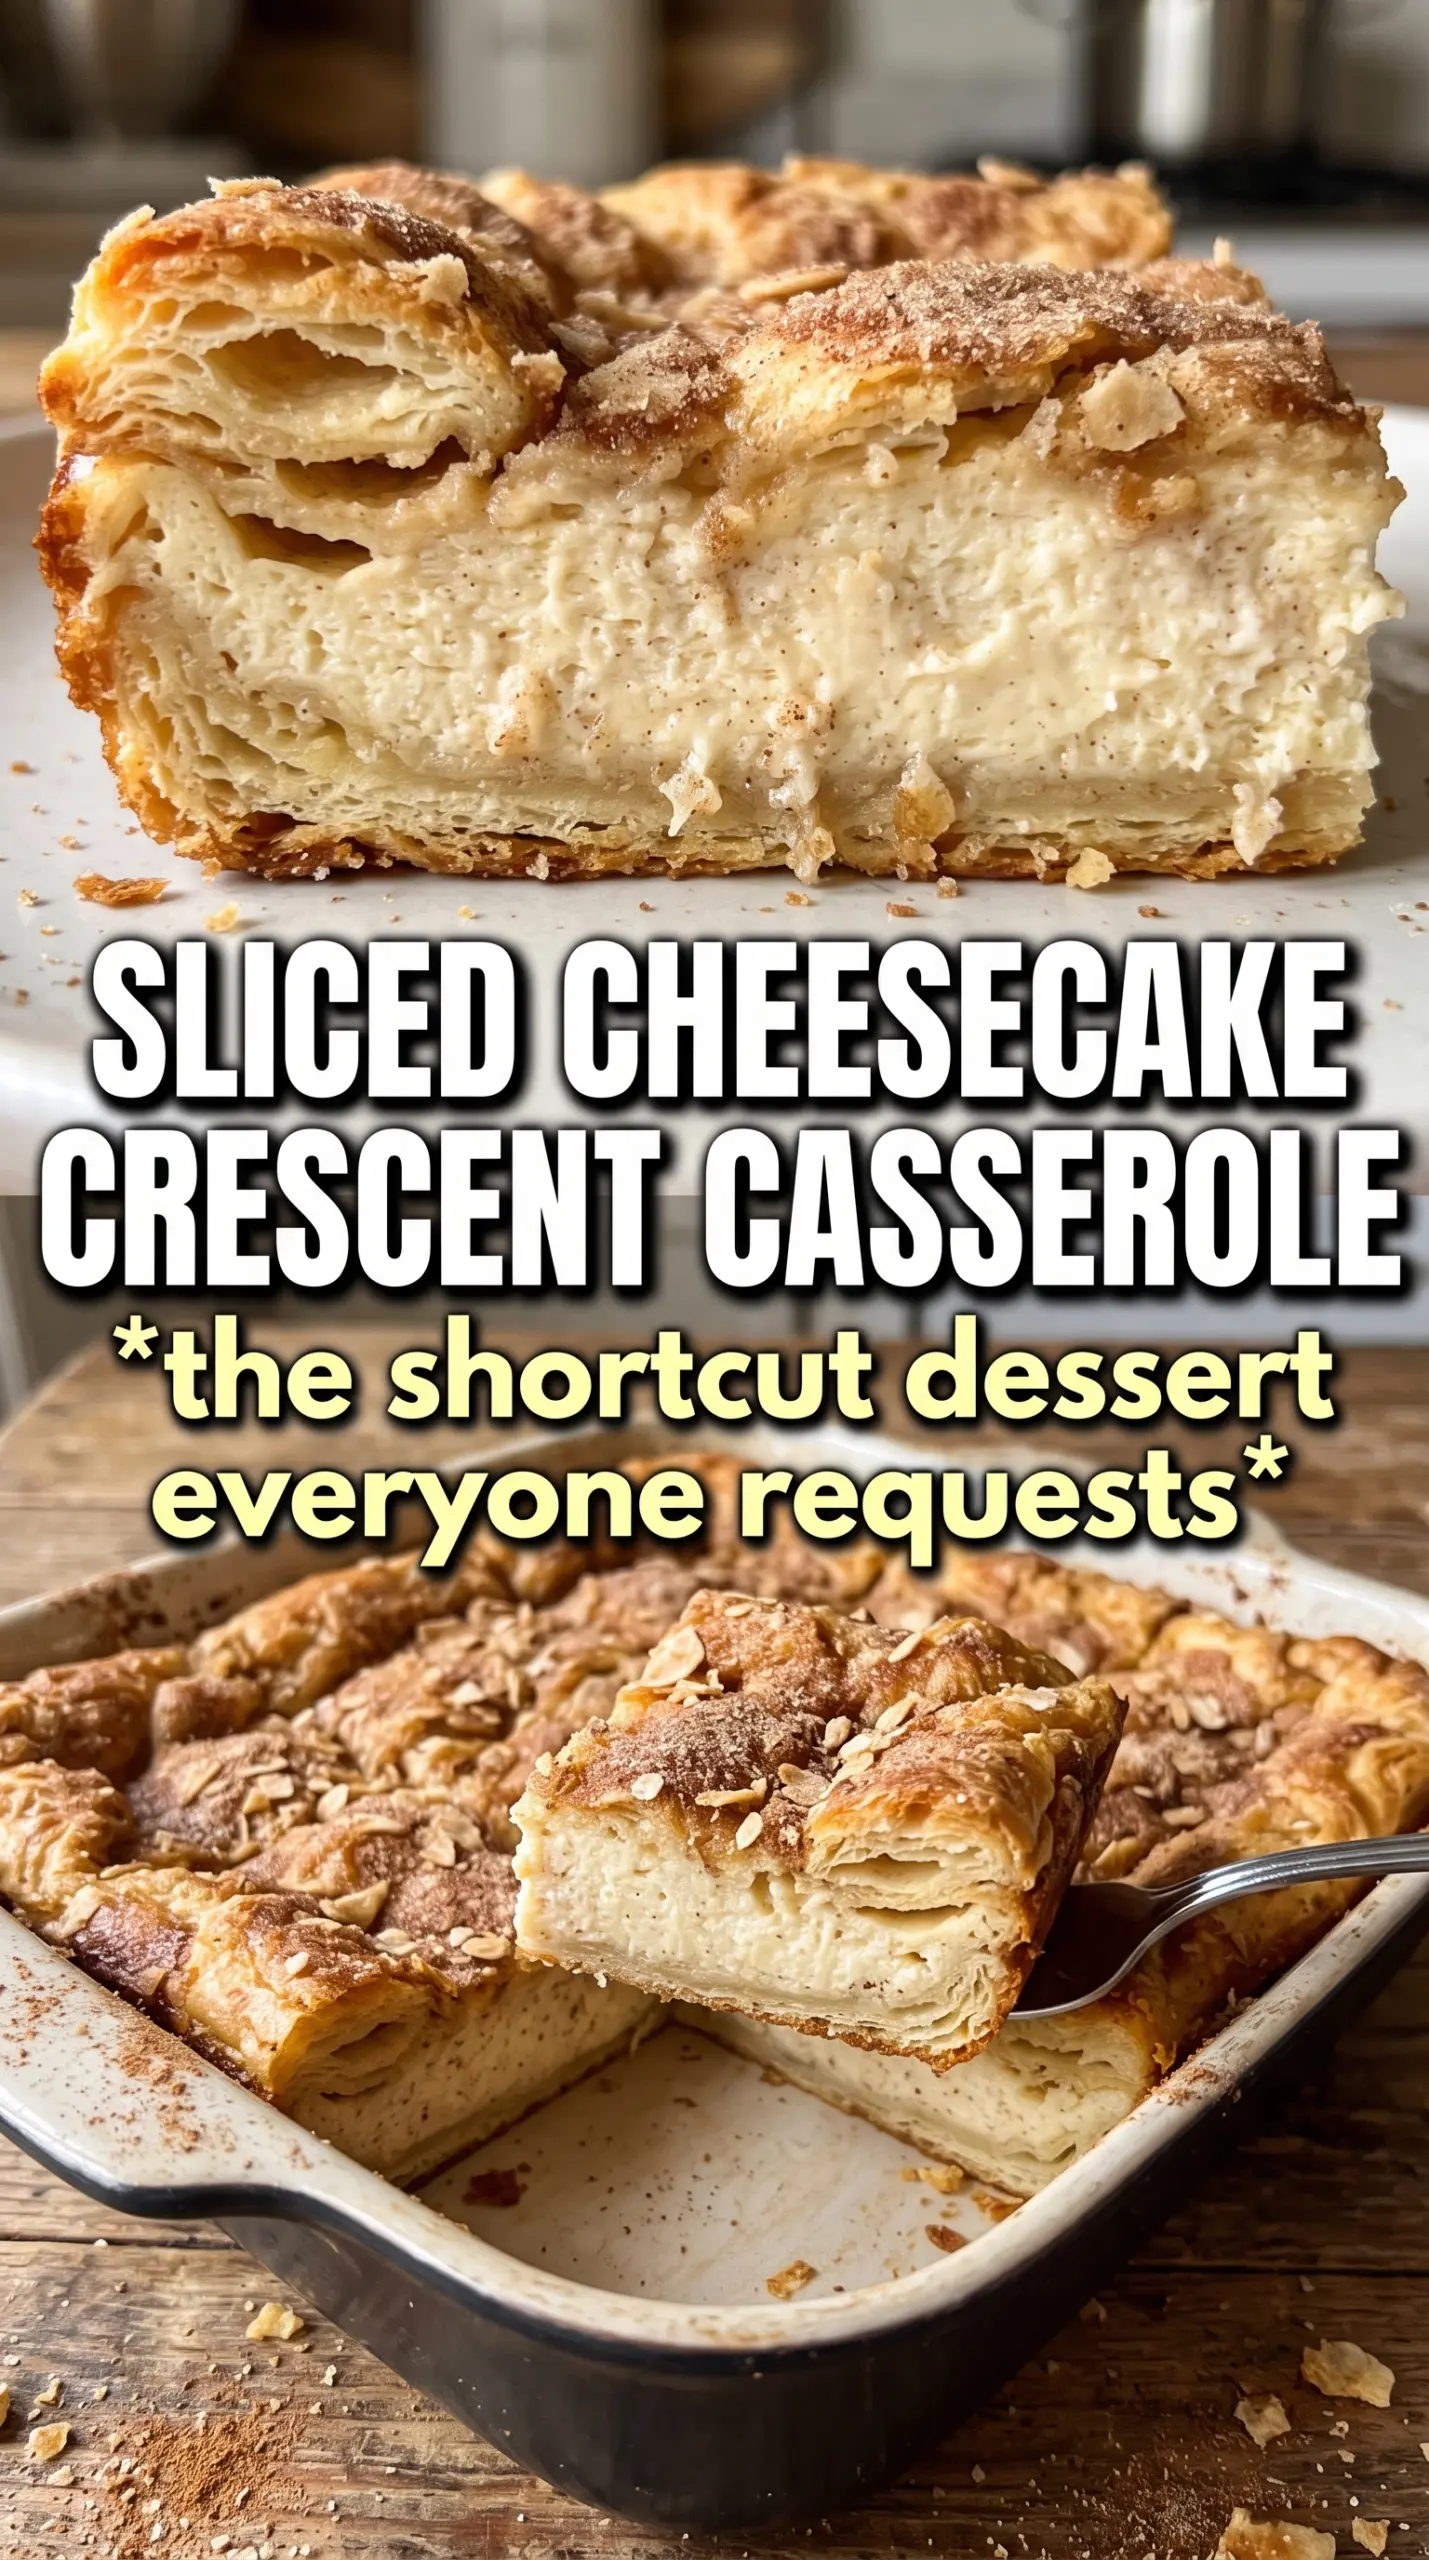
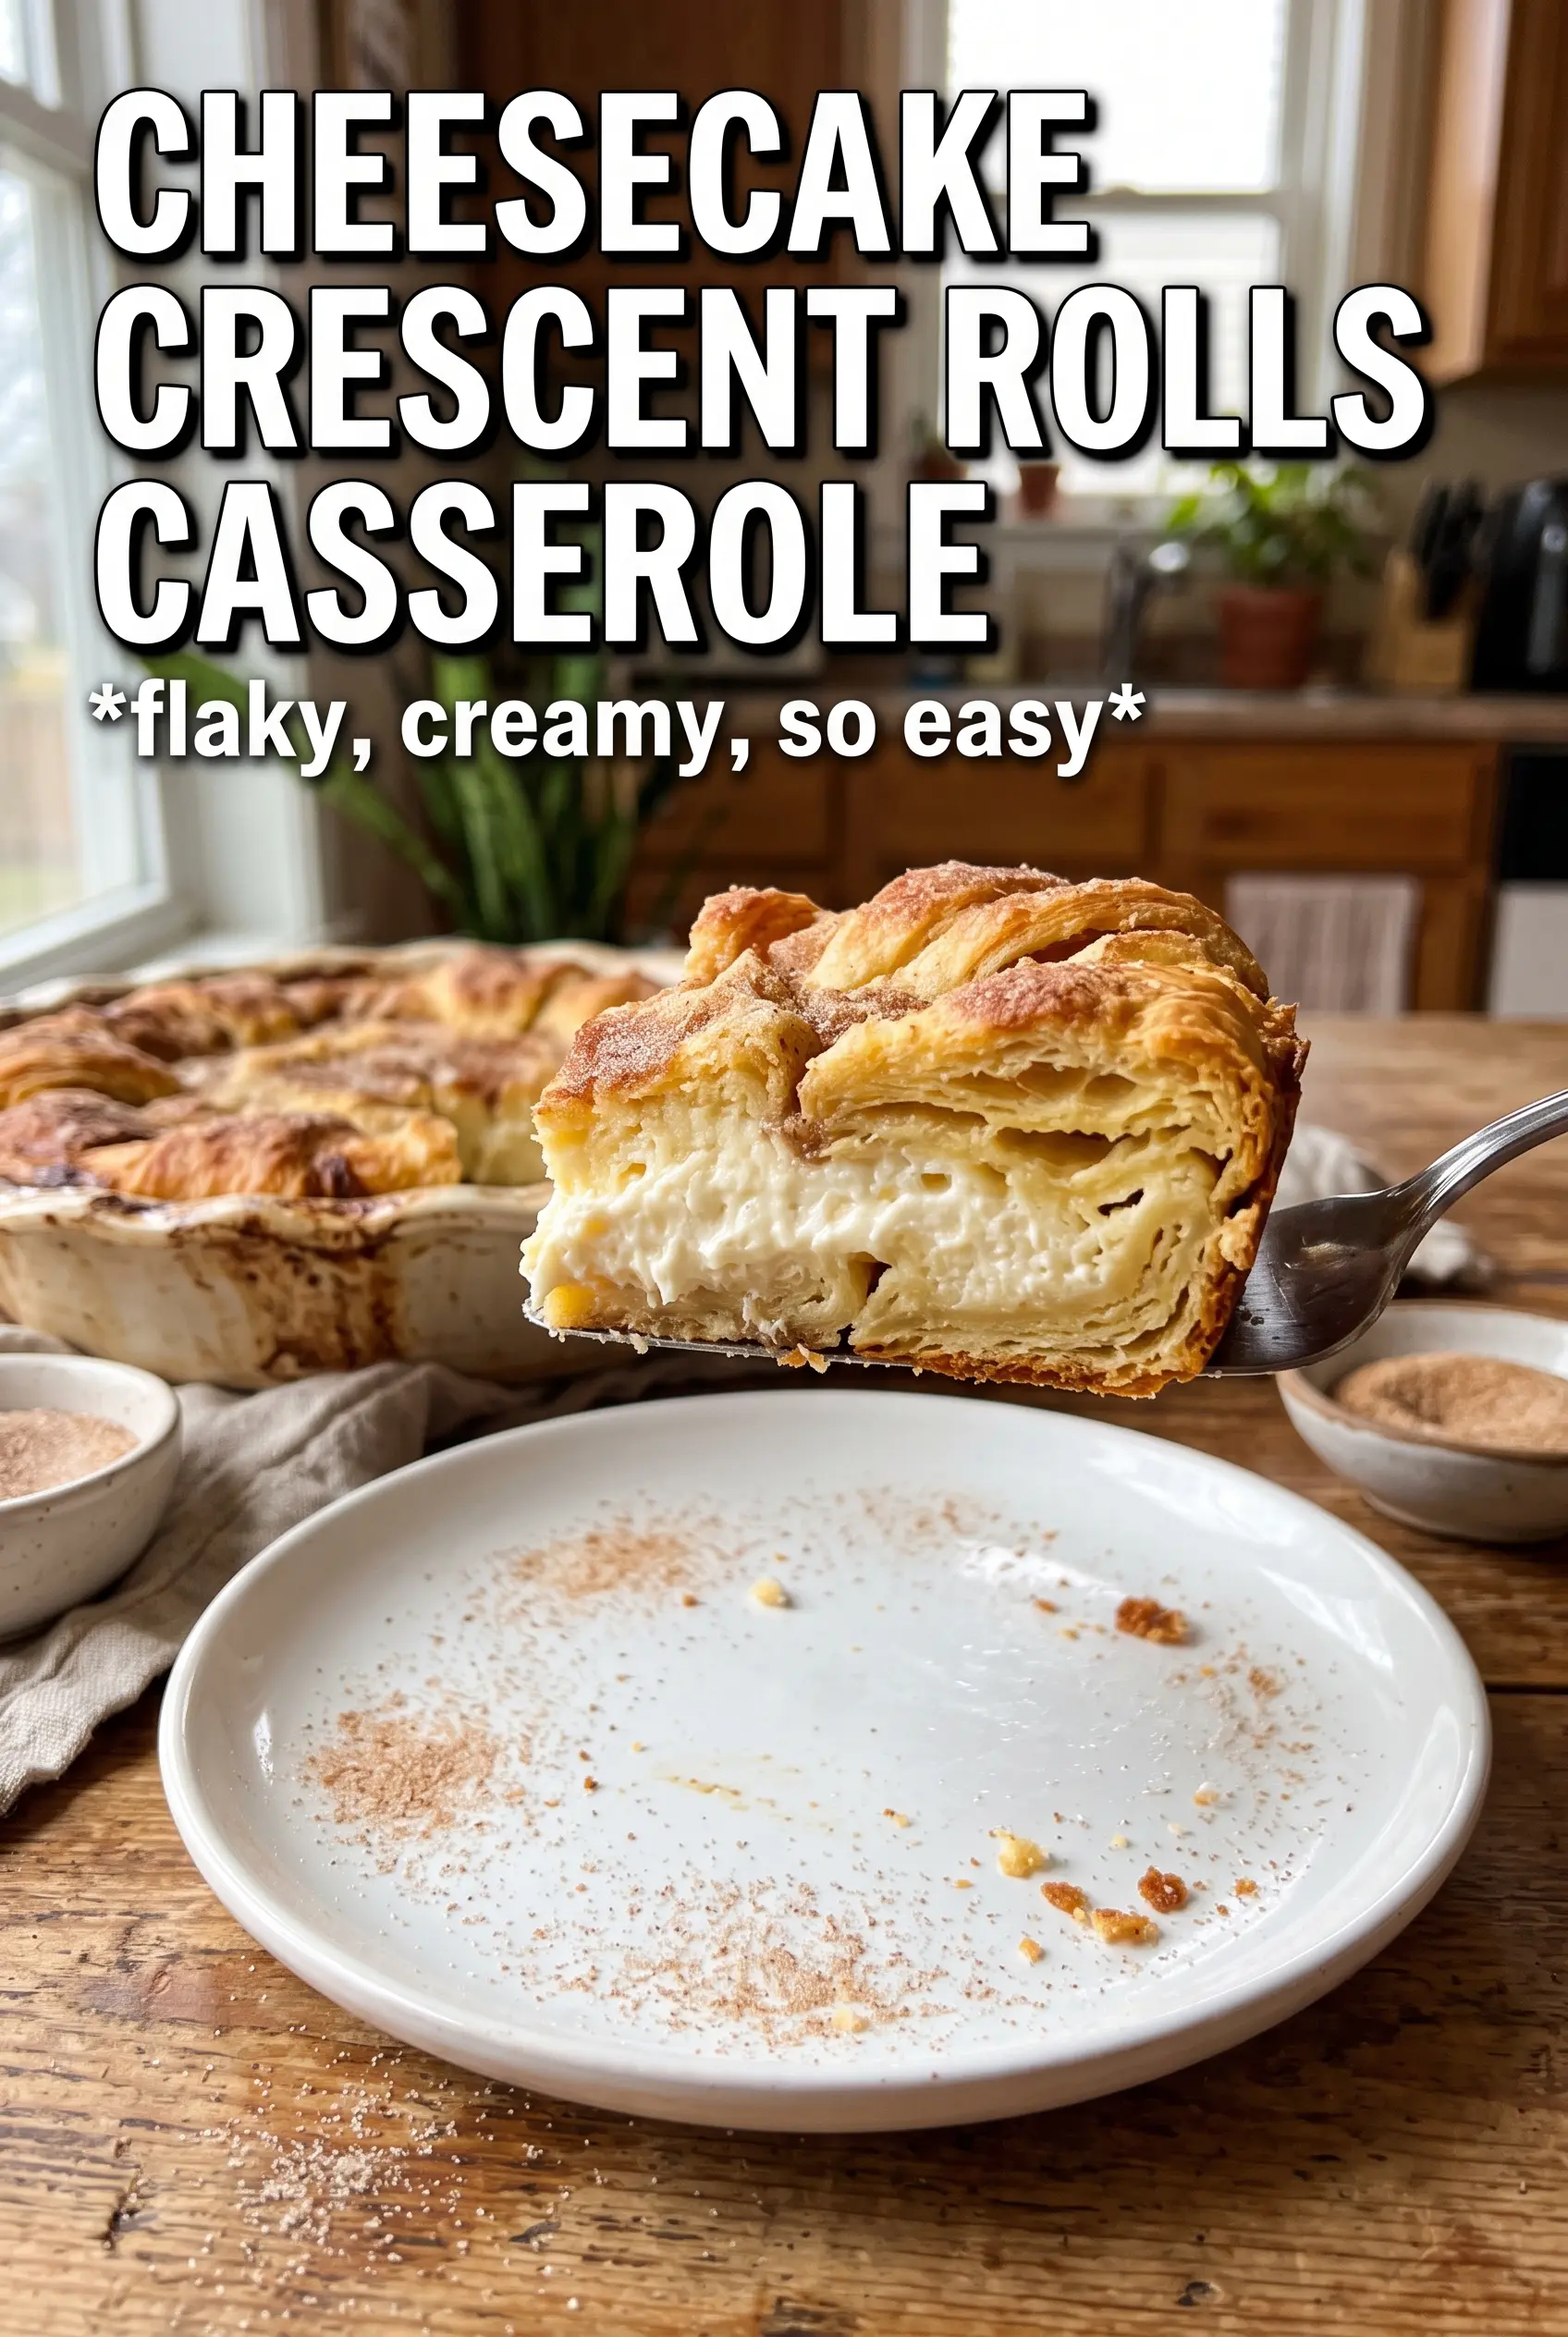
Golden, flaky crescent dough and a thick layer of vanilla cream cheese bake into something that lands squarely between breakfast casserole and dessert bar. The top turns crisp and cinnamon-sugary, while the center stays creamy and tangy enough to keep each bite from feeling heavy. Cut it warm and the layers hold their shape just long enough to give you that soft middle and buttery edge in the same square.
This version works because the cream cheese filling is beaten until completely smooth before it goes anywhere near the pan. That extra minute matters. If the filling starts with lumps, they don’t melt out in the oven; they stay as little cold pockets inside the bars. Pressing the crescent seams together also keeps the dough from splitting apart and leaking the filling as it bakes.
Below, I’ve included the one thing that keeps the top from getting soggy, plus a few swaps for making this casserole a little richer, a little lighter, or easy to prep ahead.
The cream cheese layer baked up smooth and the bottom crust stayed firm instead of soggy. I let it cool for 20 minutes and the squares cut cleanly with those buttery cinnamon edges everyone kept picking at.
Save this cheesecake crescent rolls casserole for the mornings when you want a buttery cinnamon top and a smooth cream cheese center with almost no fuss.
The Part That Keeps the Bottom Crust from Turning Soggy
The biggest mistake with crescent roll cheesecake casseroles is rushing the layering. If the bottom dough isn’t pressed into a solid sheet, the filling sinks into the gaps and the base bakes up soft instead of tender. A sealed bottom layer gives you that clean slice and keeps the center creamy instead of wet.
The other thing that matters is cooling time. The casserole needs a short rest after baking so the cream cheese layer can set up enough to cut neatly. If you slice it straight from the oven, the filling will run and the top can tear, even if the flavor is perfect.
- Sealed crescent dough — Press the seams together on both layers. Those little perforations are the difference between a proper bar and a casserole that leaks filling into the pan.
- Softened cream cheese — Cold cream cheese never beats fully smooth. Let it soften until it dents easily under a finger, or you’ll end up with lumps that stay visible after baking.
- Butter on top — The melted butter helps the cinnamon sugar turn into a crackly, caramelized crust. It also carries the topping into every bite, so don’t skimp by drizzling it unevenly.
- Cooling window — Fifteen minutes is the minimum. That short pause lets the filling tighten just enough for squares that hold their shape.
What the Cream Cheese, Crescent Dough, and Cinnamon Sugar Each Bring to the Pan
- Cream cheese — This is the whole point of the casserole. Full-fat cream cheese gives the filling the right body and tang, and reduced-fat versions can bake up looser and less rich. If you need a swap, mascarpone works for a softer, sweeter filling, but it won’t taste quite as sharp.
- Refrigerated crescent dough — The convenience here is worth keeping. It bakes into buttery, flaky layers that puff around the filling without needing yeast or rising time. Puff pastry is flakier but less soft at the center, so it changes the whole texture.
- Granulated sugar — Part of the sugar goes into the filling for sweetness and structure, and the rest on top with cinnamon creates that sandy, caramelized crust. Don’t swap all of it for brown sugar unless you want a deeper molasses note and a softer topping.
- Cinnamon — A small amount is enough. It should warm the topping, not turn it into a cinnamon roll clone.
- Vanilla extract — Vanilla rounds out the cream cheese and keeps the filling from tasting flat. Pure vanilla gives the best result, but imitation vanilla will still work here because it’s baked into a fairly sweet filling.
Building the Layers So They Bake Like Bars, Not a Mess
Getting the Pan Ready
Grease the 9×13 dish well so the sugary edges release cleanly after baking. Preheat the oven fully before the casserole goes in, because crescent dough needs that immediate heat to puff instead of soaking up butter. If the oven is still climbing, the top tends to bake pale and the filling can overwarm before the pastry is set.
Smoothing the Filling
Beat the cream cheese, sugar, and vanilla until the mixture looks glossy and feels completely smooth on the spatula. Stop and scrape the bowl a couple of times so there aren’t any hidden lumps at the bottom. The filling should spread like soft frosting; if it looks grainy, the cream cheese was too cold.
Layering and Topping
Lay the second dough sheet over the filling and press the seams together again so the top browns as one surface. Pour the melted butter all over, all the way to the edges, then scatter the cinnamon sugar evenly across the top. Bare spots bake up dry, while puddles of butter can make the top greasy instead of crisp.
Knowing When It’s Done
Bake until the top is deep golden and the center is set with only the slightest wobble. The edges should look caramelized and the pastry should smell buttery and toasted, not just warm. If the top browns before the center sets, lay a loose piece of foil over it for the last few minutes.
How to Adapt This Casserole Without Losing the Good Part
Gluten-Free Crescent Dough Swap
Use a gluten-free crescent-style dough if you can find one with a similar texture. The bake time may run a few minutes longer, and the crust usually won’t get quite as flaky, but the creamy center and cinnamon sugar top still work beautifully.
Lighter Filling
You can use Neufchâtel instead of full-fat cream cheese for a slightly lighter casserole. It still beats smooth and bakes well, though the filling will be a little softer and less rich.
Extra Cinnamon, More Breakfast-Style
Add another 1/2 teaspoon cinnamon to the filling if you want the whole dish to lean more toward breakfast pastry than dessert bar. The flavor gets warmer and more assertive, but too much can crowd out the vanilla and cream cheese.
Storage and Reheating
- Refrigerator: Store covered for up to 4 days. The pastry softens a bit, but the flavor holds well.
- Freezer: Freeze individual squares tightly wrapped for up to 2 months. Thaw in the refrigerator so the filling doesn’t turn watery.
- Reheating: Warm slices in a 300°F oven for 8 to 10 minutes. The microwave works in a pinch, but it softens the pastry fast and can make the filling too loose.
Answers to the Questions Worth Asking
Cheesecake Crescent Rolls Casserole
Ingredients
Equipment
Method
- Preheat the oven to 350°F and grease a 9x13 baking dish so the layers release cleanly after baking.
- Unroll one can of crescent roll dough and press it into the bottom of the prepared dish, pressing seams together to seal for even baking.
- Beat cream cheese, 1 cup sugar, and vanilla extract until completely smooth, then spread evenly over the dough layer so the filling bakes flat.
- Unroll the second can of crescent roll dough and lay it over the cream cheese filling, pressing seams together to seal and fully encase the filling.
- Pour the melted butter evenly over the top so it soaks into every surface before the crust caramelizes.
- Mix 1/2 cup sugar and cinnamon together and sprinkle generously over the butter for a golden cinnamon-sugar crust.
- Bake at 350°F for 28-32 minutes until the top is deep golden and the filling is set, indicated by the center holding its shape when nudged.
- Cool for 15 minutes before cutting into squares so the filling firms up for clean slices.