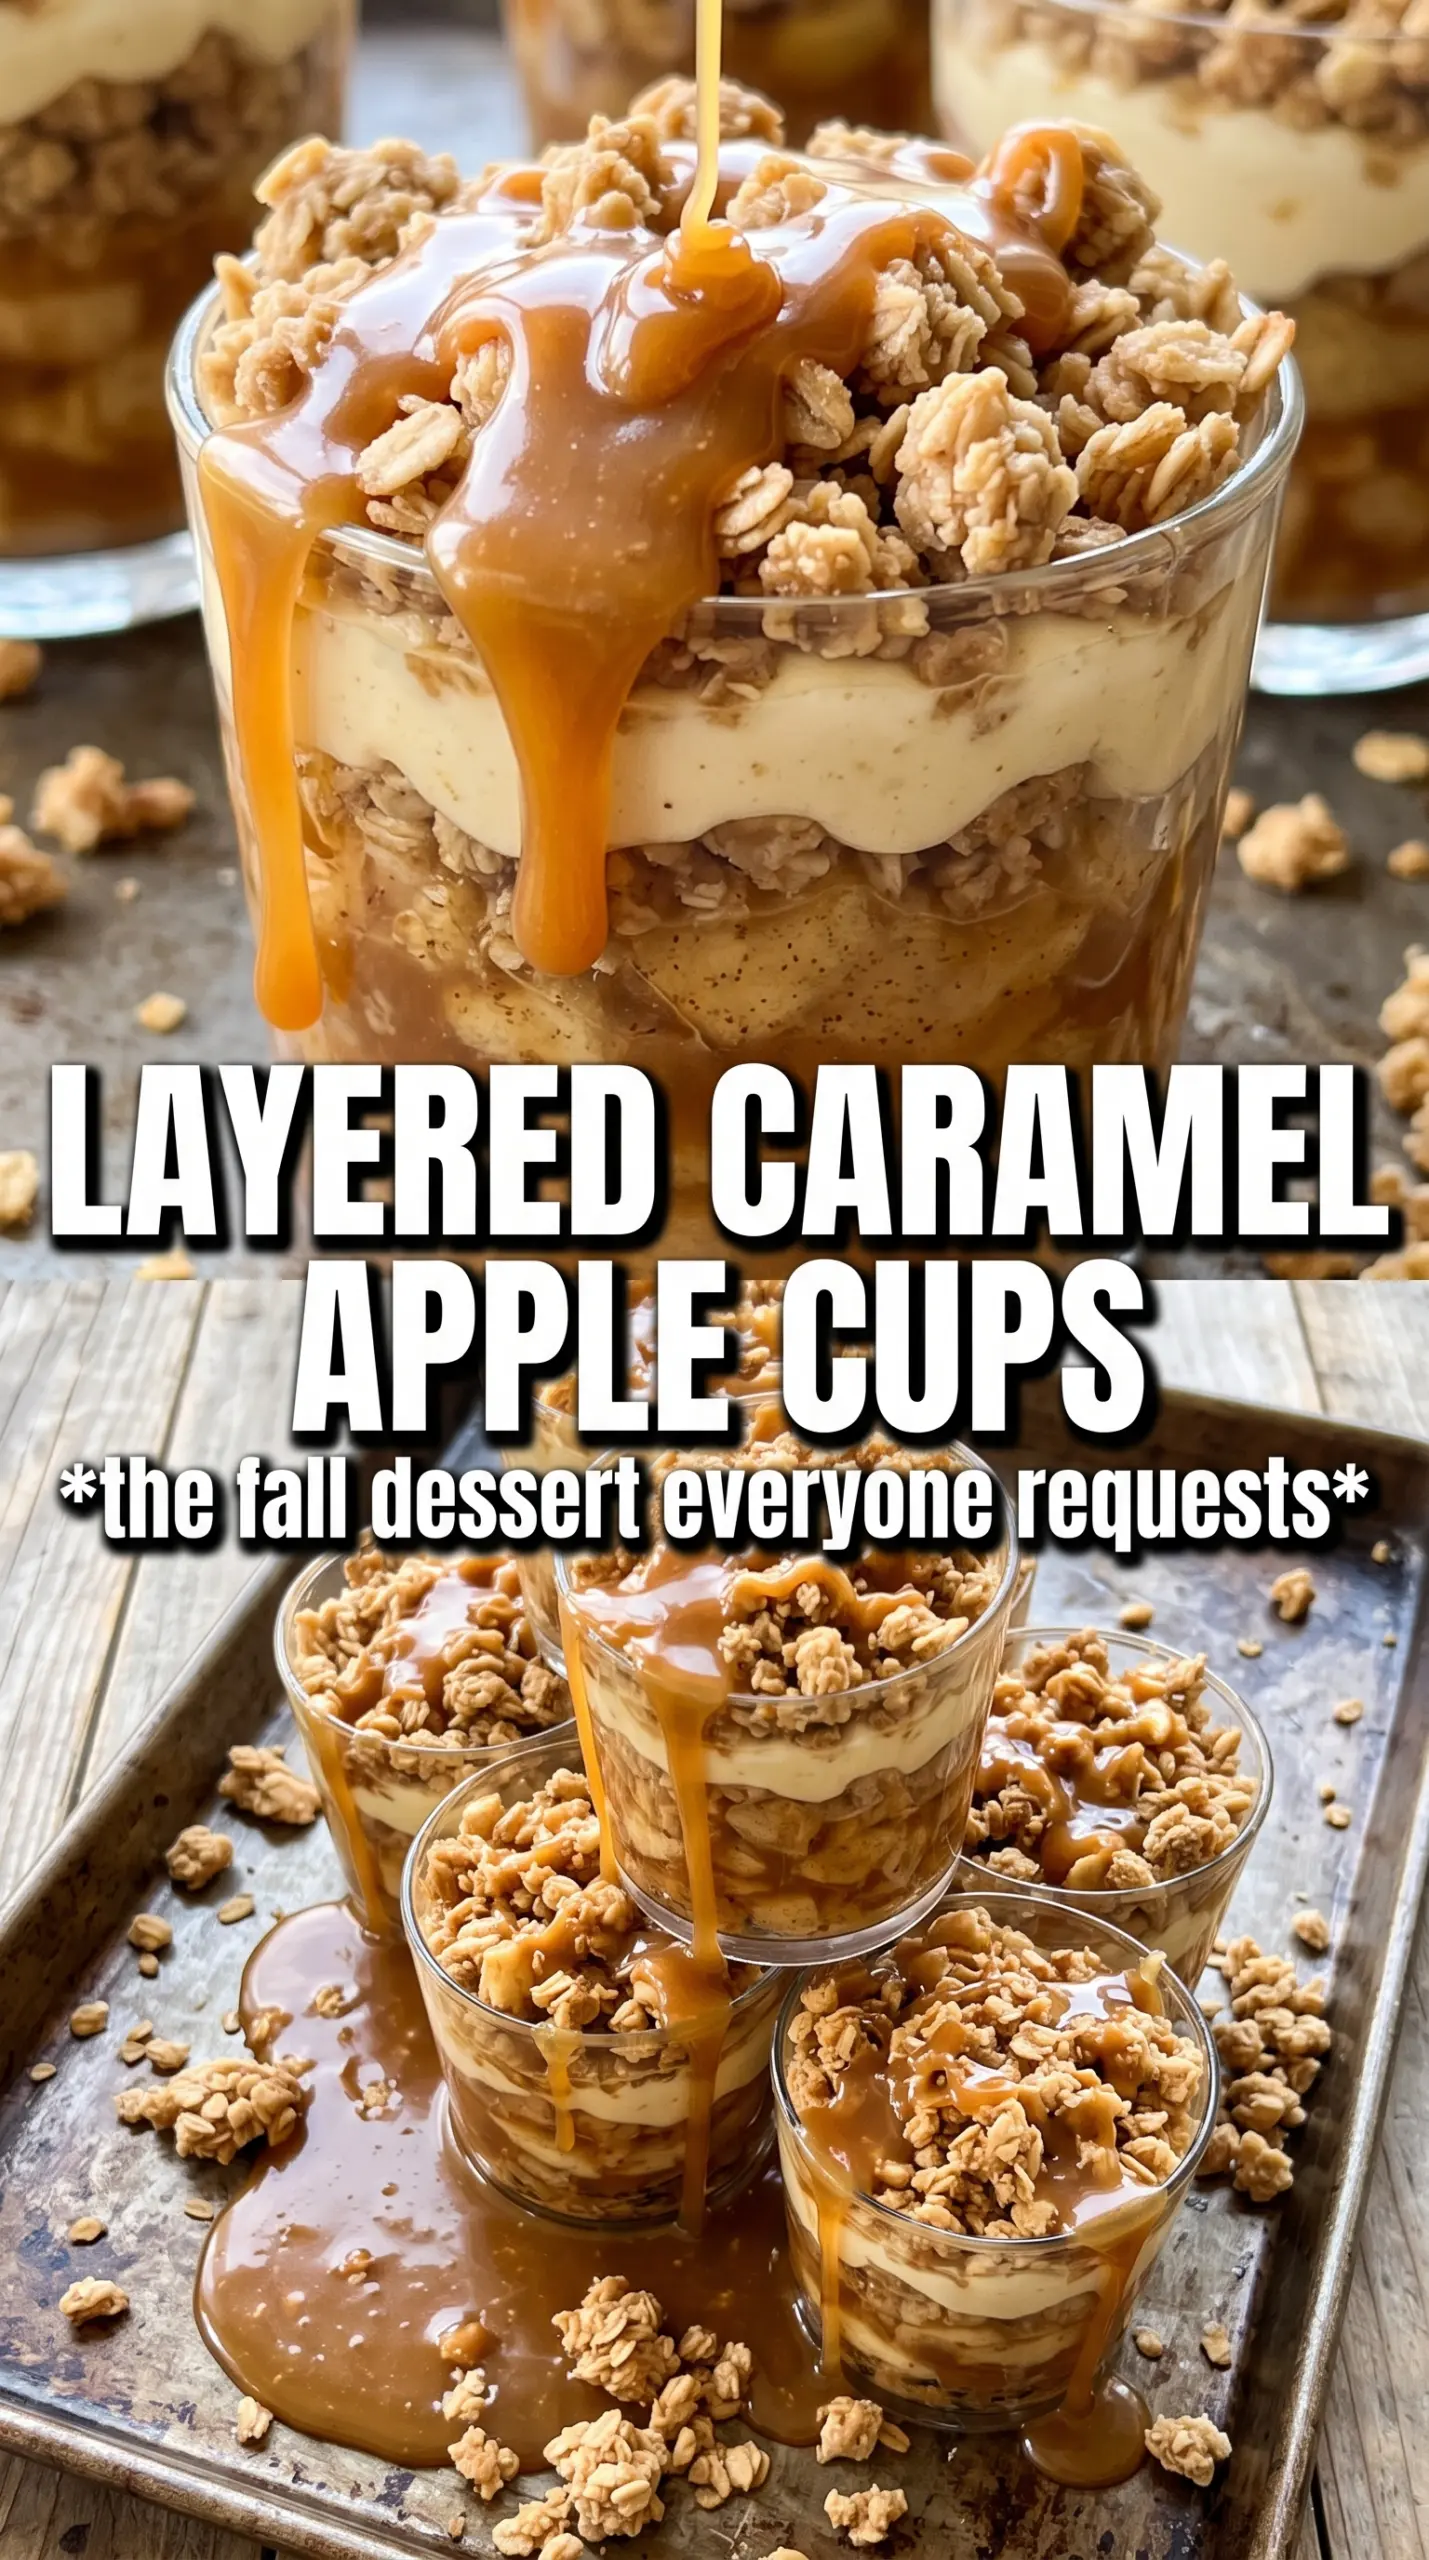
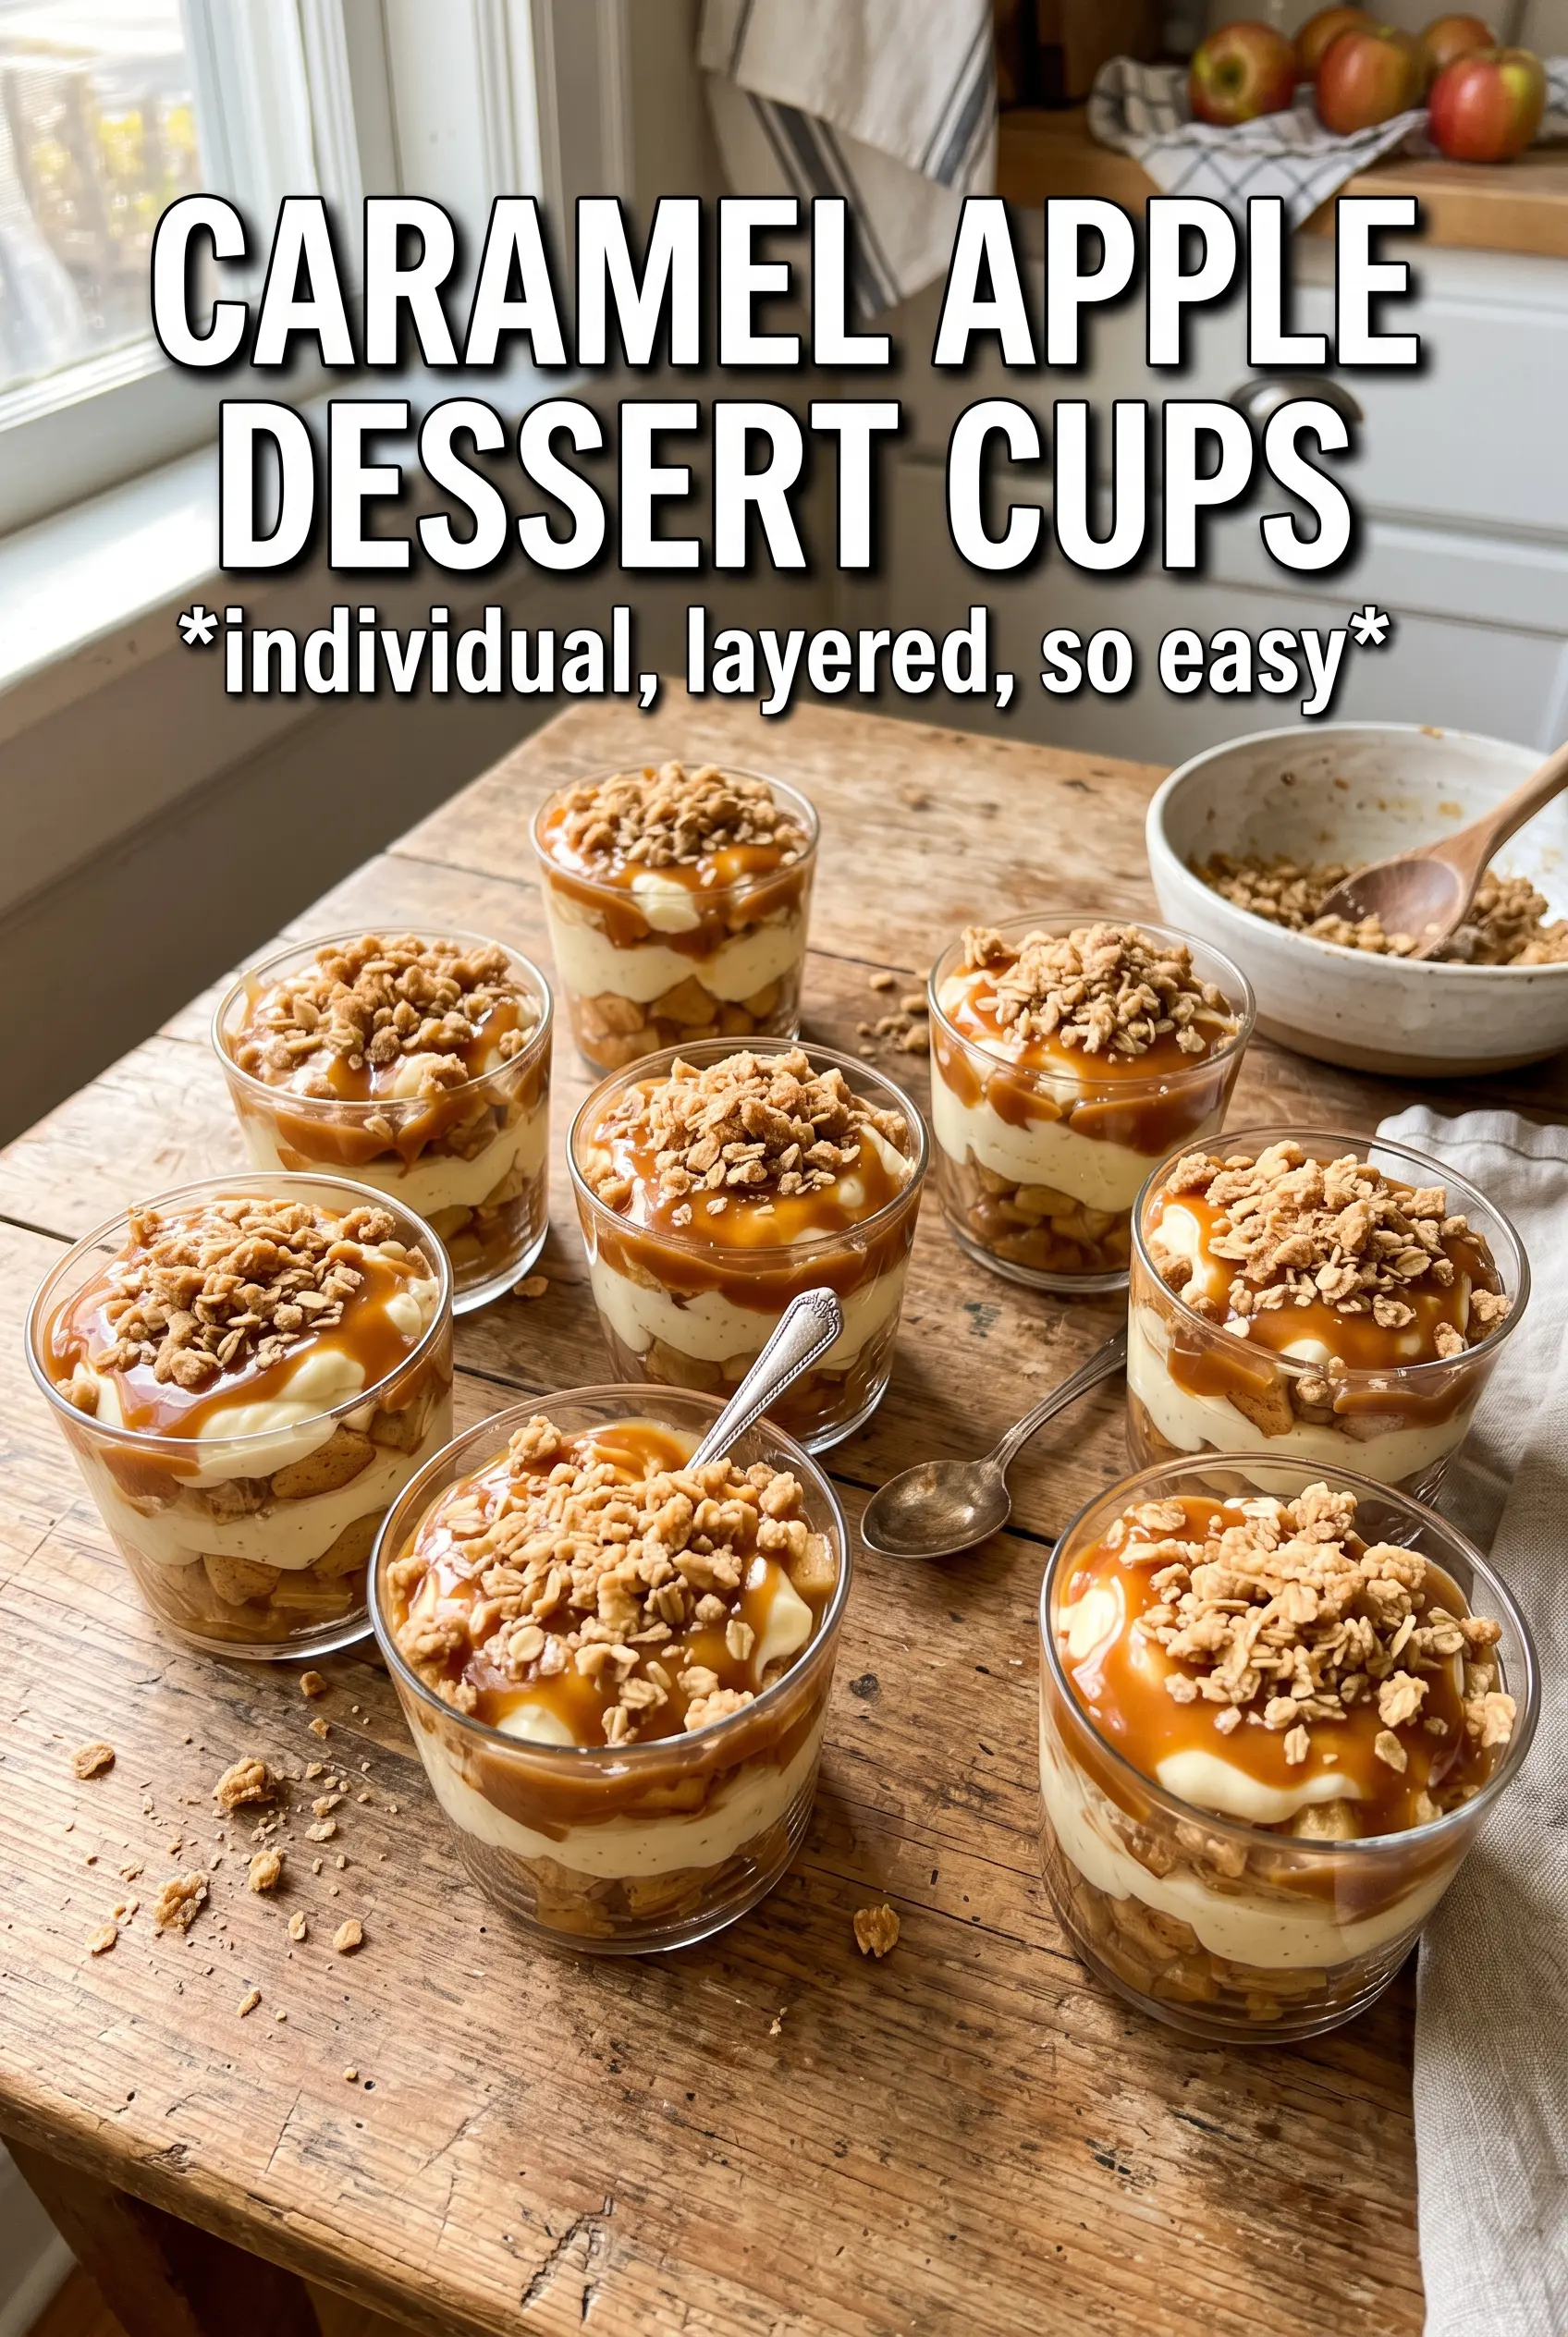
These caramel apple dessert cups hit that sweet spot between cozy and polished: a buttery graham cracker base, a cinnamon-kissed cream cheese layer, and warm caramel apples piled high enough to look like you spent way more time on them than you did. The layers stay distinct, the filling tastes light instead of heavy, and every spoonful gives you crunch, cream, and soft apples in one bite.
The trick is keeping each layer balanced. The crust needs enough melted butter to hold together without turning greasy, and the cream cheese filling works best when the powdered sugar goes in before the whipped topping so it stays smooth. The apples cook just long enough to soften and pick up the brown sugar and cinnamon, but not so long that they collapse into applesauce.
Below, I’ve included the small details that matter most here: how to keep the cups neat, what to do if your apples release extra juice, and the best way to make them ahead so they’re ready when you need them.
The caramel apple topping thickened up perfectly, and the cinnamon cream cheese stayed fluffy even after an hour in the fridge. I made these in little dessert glasses for a dinner party, and every layer held its shape when people scooped them.
Love the creamy cinnamon filling and caramel apple topping? Save these caramel apple dessert cups for an easy no-bake dessert that still looks special on the table.
The Part That Keeps the Layers from Turning Soggy
Most dessert cups fail in the same place: the crust softens before the first serving. That usually happens when the filling is too loose or the apple layer goes on while it’s still hot. Here, the crust stays sturdy because the butter is just enough to bind the crumbs, and the cream cheese mixture is thick enough to act like a barrier between the base and the fruit.
The other thing that matters is cooling the apples before you layer them in. Warm apples dump steam into the cups, and that steam is what turns a crisp crust into mush. Let the cooked apples come down to room temperature first, and if they’ve given off extra syrup, spoon the fruit out gently so the liquid doesn’t pool at the bottom.
- Graham cracker crumbs — These bring the classic cheesecake-cup base and need butter to hold their shape. If you swap in cookie crumbs, use the same method but expect a sweeter, softer crust.
- Cream cheese — Full-fat cream cheese gives the filling its tang and structure. Reduced-fat cream cheese works in a pinch, but the filling will be looser and a little less rich.
- Whipped topping — This lightens the filling so it pipes or spoons cleanly into the cups. Whipped cream can work, but it won’t hold as long once assembled, so serve sooner if you use it.
- Apples — A firm baking apple holds its shape best after the quick skillet cook. Softer apples break down fast, which changes the texture from chunky topping to compote.
What Each Ingredient Is Actually Doing in This Recipe
- Primary ingredient (the star) — Quality matters most. Choose the best you can find.
- Cooking medium (oil, butter, or broth) — This carries flavors and prevents dryness.
- Seasonings (salt, pepper, spices, herbs) — Layer flavors so nothing overpowers. Build depth gradually.
- Aromatics (garlic, onion, herbs) — Cook with fat to bloom flavors. Become the foundation.
- Supporting ingredients — Complement the main ingredient without overpowering it.
- Sauce or liquid (if applicable) — Brings flavors together. Balance richness with acid.
- Acid (lemon, vinegar, wine, or other) — Brightens and prevents flat-tasting results.
- Final finish (garnish, glaze, or sauce) — Prevents one-dimensional taste and adds visual appeal.
Building the Crunch, Cream, and Caramel in the Right Order
Pressing the Crust
Mix the graham cracker crumbs with the melted butter and sugar until every crumb looks evenly moistened, then press the mixture firmly into the bottom of your cups. A loose press leaves you with a sandy base that falls apart as soon as the spoon goes in. Use the bottom of a measuring cup or small glass to compact it evenly.
Whipping the Cream Layer
Beat the cream cheese first until it’s completely smooth, then add the powdered sugar, vanilla, and cinnamon. If the cream cheese is still cold and lumpy, those lumps will stay in the finished filling, so soften it fully before you start. Fold in the whipped topping at the end with a light hand so the mixture stays airy instead of dense.
Cooking the Apples
Cook the diced apples with butter, brown sugar, and cinnamon over medium heat until the edges look glossy and the pieces are just tender. You want soft apples with a little bite left in the center, not a jammy filling. If the pan looks dry before the apples are tender, add the smallest splash of water only if needed; too much liquid makes the topping slide around in the cups.
Assembling the Cups
Spoon or pipe the cream layer over the crust, then pile the cooled apples on top. Drizzle with caramel just before serving for the cleanest look. If you add the caramel too early, it sinks into the apples and disappears into the filling instead of sitting on top where it belongs.
Three Ways to Make These Dessert Cups Fit the Night
Dairy-Free Version
Use dairy-free butter, dairy-free cream cheese, and a non-dairy whipped topping. The texture will still be creamy, but the flavor will be a little less tangy, so the cinnamon and caramel matter even more here.
Make It More Cheesecake-Like
If you want a firmer, richer filling, reduce the whipped topping slightly and beat the cream cheese mixture a little longer before folding it in. The result is denser and closer to a traditional cheesecake cup, but it won’t feel as light.
Swap the Fruit
Pears work well in place of apples if they’re firm and ripe, and the result is softer and a little more floral. Cook them a minute or two less than apples so they keep some shape in the dessert cups.
Storage and Reheating
- Refrigerator: Store assembled cups for up to 2 days. The crust softens a little over time, but they still hold up well.
- Freezer: I don’t recommend freezing the assembled cups. The cream layer can separate and the apples get watery when thawed.
- Reheating: These are served cold, so don’t reheat the assembled dessert. If you want the apple topping warm, warm only the apples before assembling, then let them cool completely so they don’t melt the filling.
Answers to the Questions Worth Asking
Caramel Apple Dessert Cups
Ingredients
Equipment
Method
- Mix graham cracker crumbs, melted butter, and sugar until evenly combined, then press firmly into the bottoms of 12 individual cups or glasses for a solid crust with no gaps.
- Press the crust down until it looks level and compact, using gentle pressure so it holds its shape when chilled.
- Beat cream cheese, powdered sugar, vanilla extract, and cinnamon until smooth, with no visible lumps.
- Fold the whipped topping into the cream cheese mixture until it is light and fully incorporated, then spoon or pipe over the graham cracker crusts to form an even layer.
- Cook diced apples with butter, brown sugar, and cinnamon in a skillet over medium heat for 5-6 minutes, stirring until caramelized and tender.
- Remove the skillet from the heat and cool the apple mixture until it is no longer hot, so it won’t melt the cream cheese layer.
- Spoon the caramel apple mixture over the cream cheese layer in each cup, piling it slightly high so the topping is visible.
- Drizzle generously with caramel sauce over the top of each cup for a glossy finish.
- Refrigerate for 1 hour before serving so the cups set and the layers hold together.