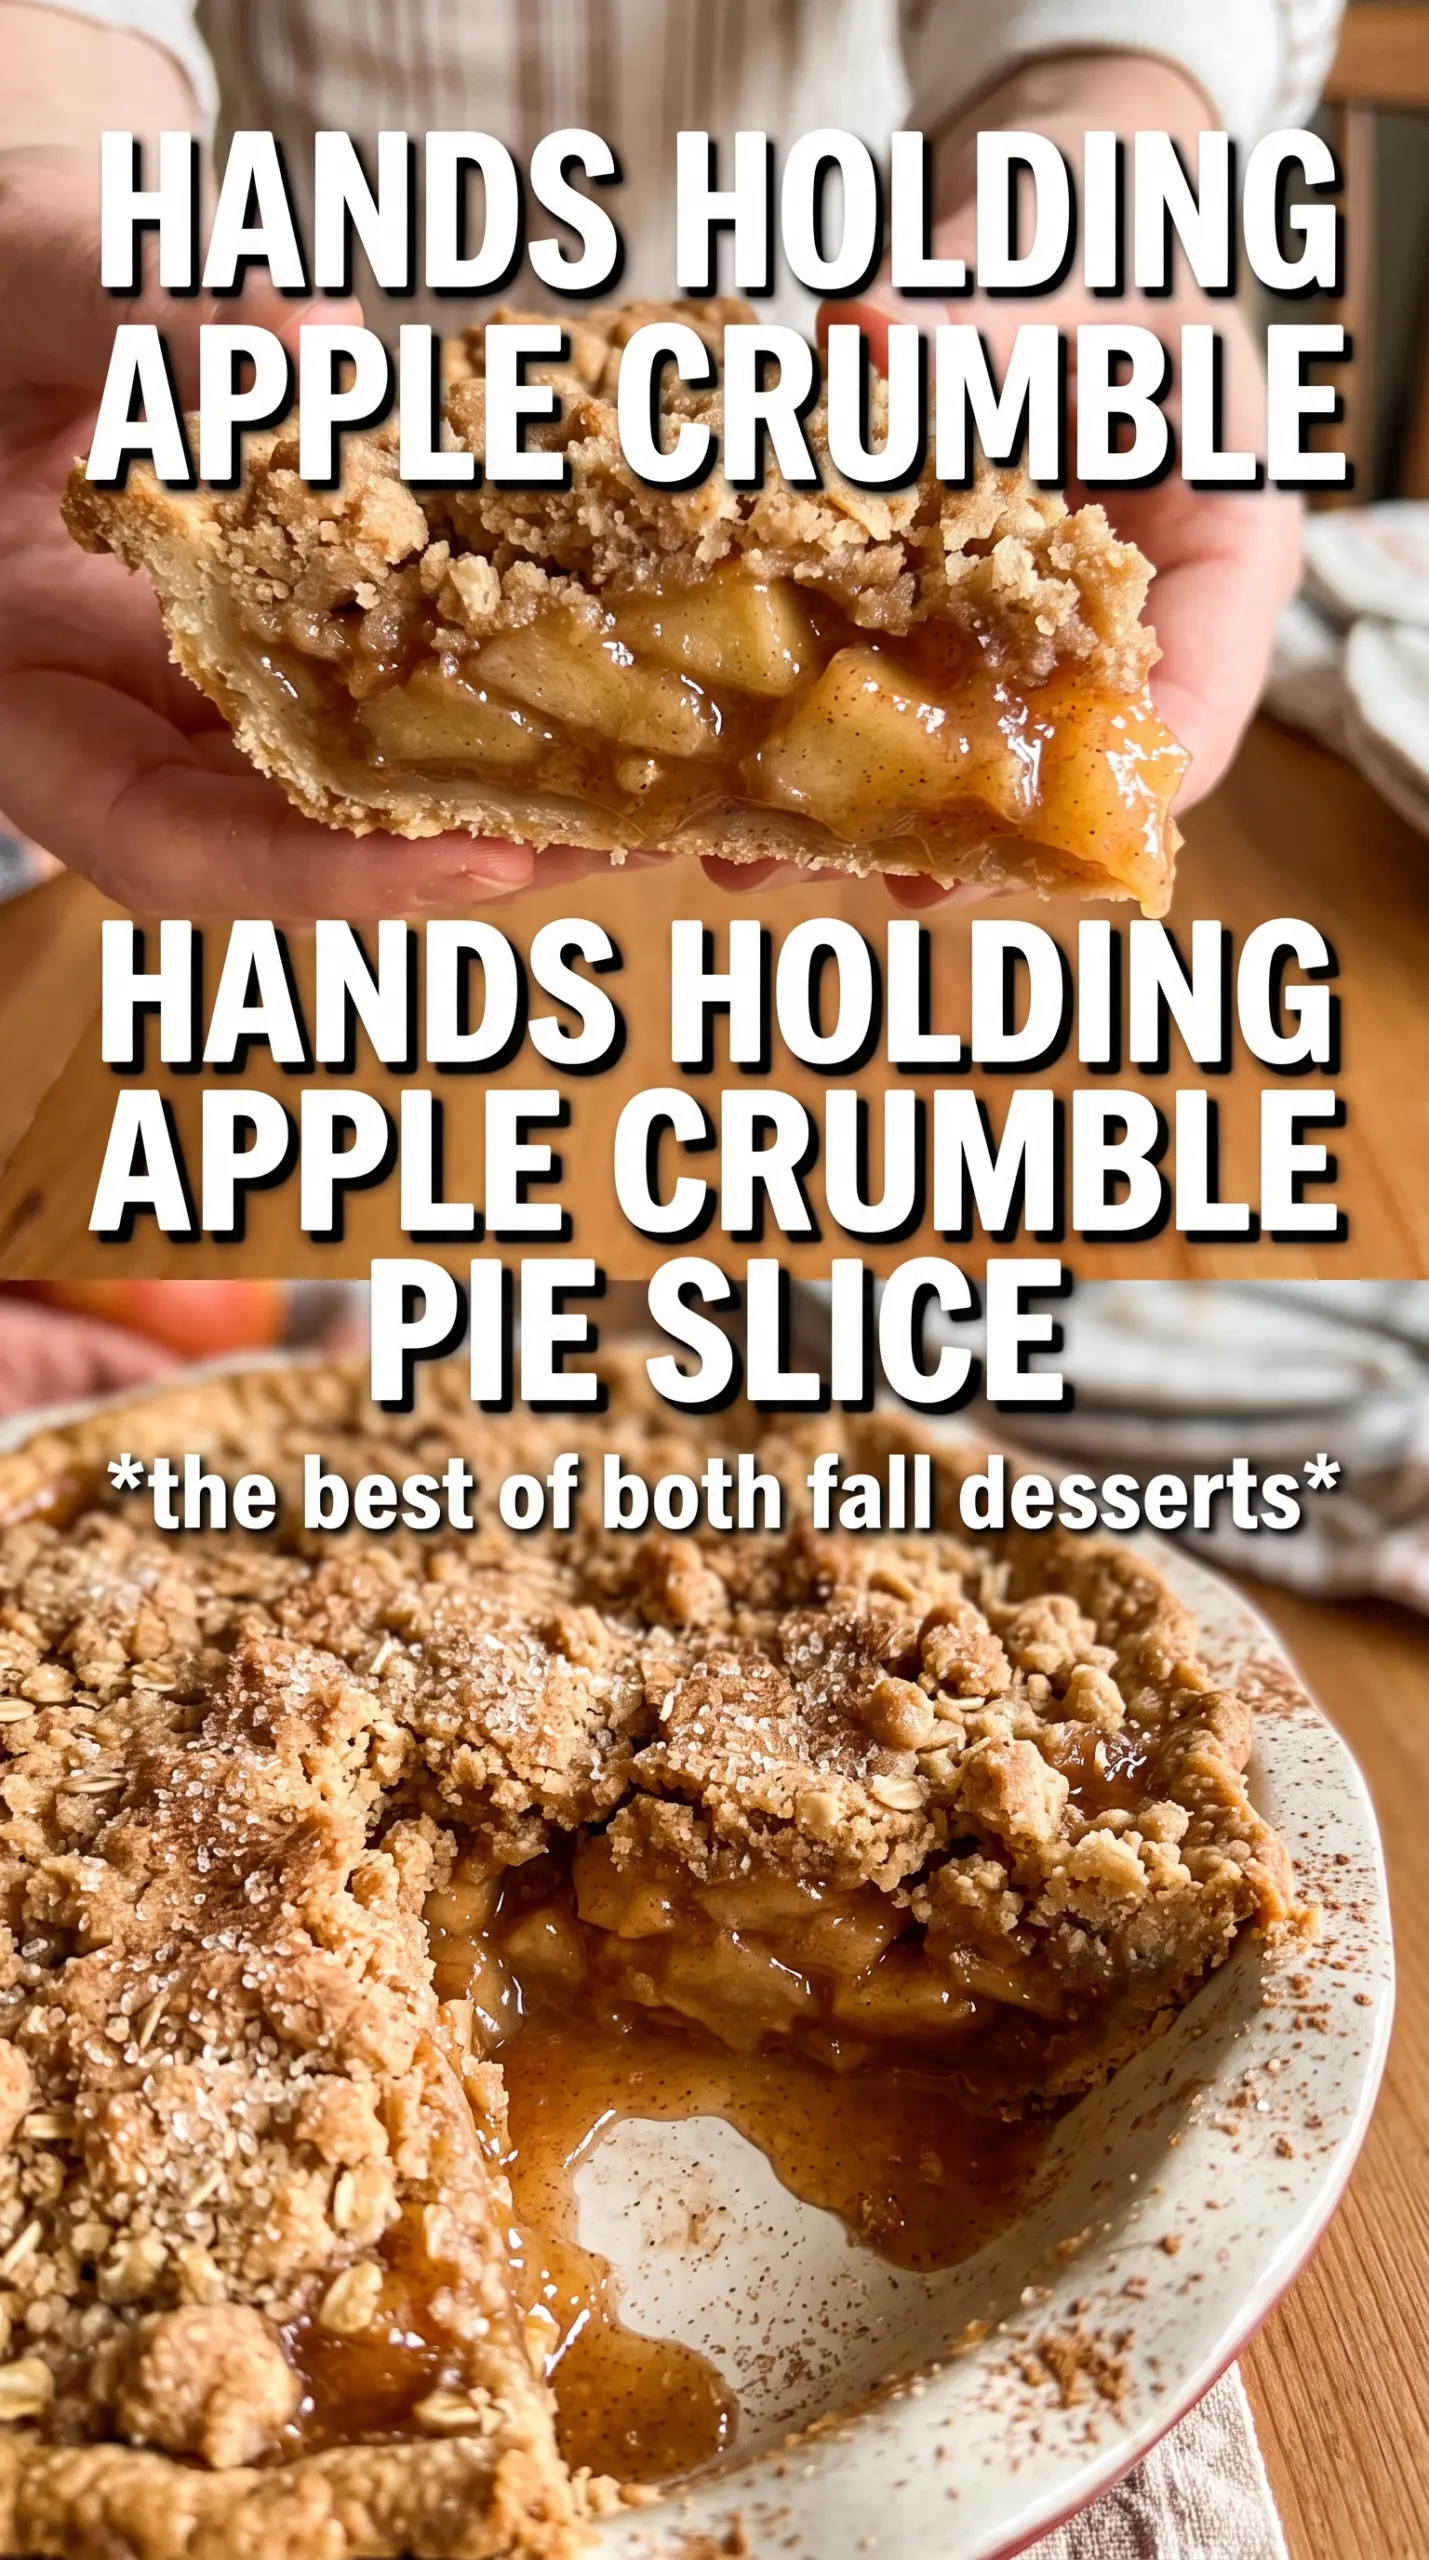
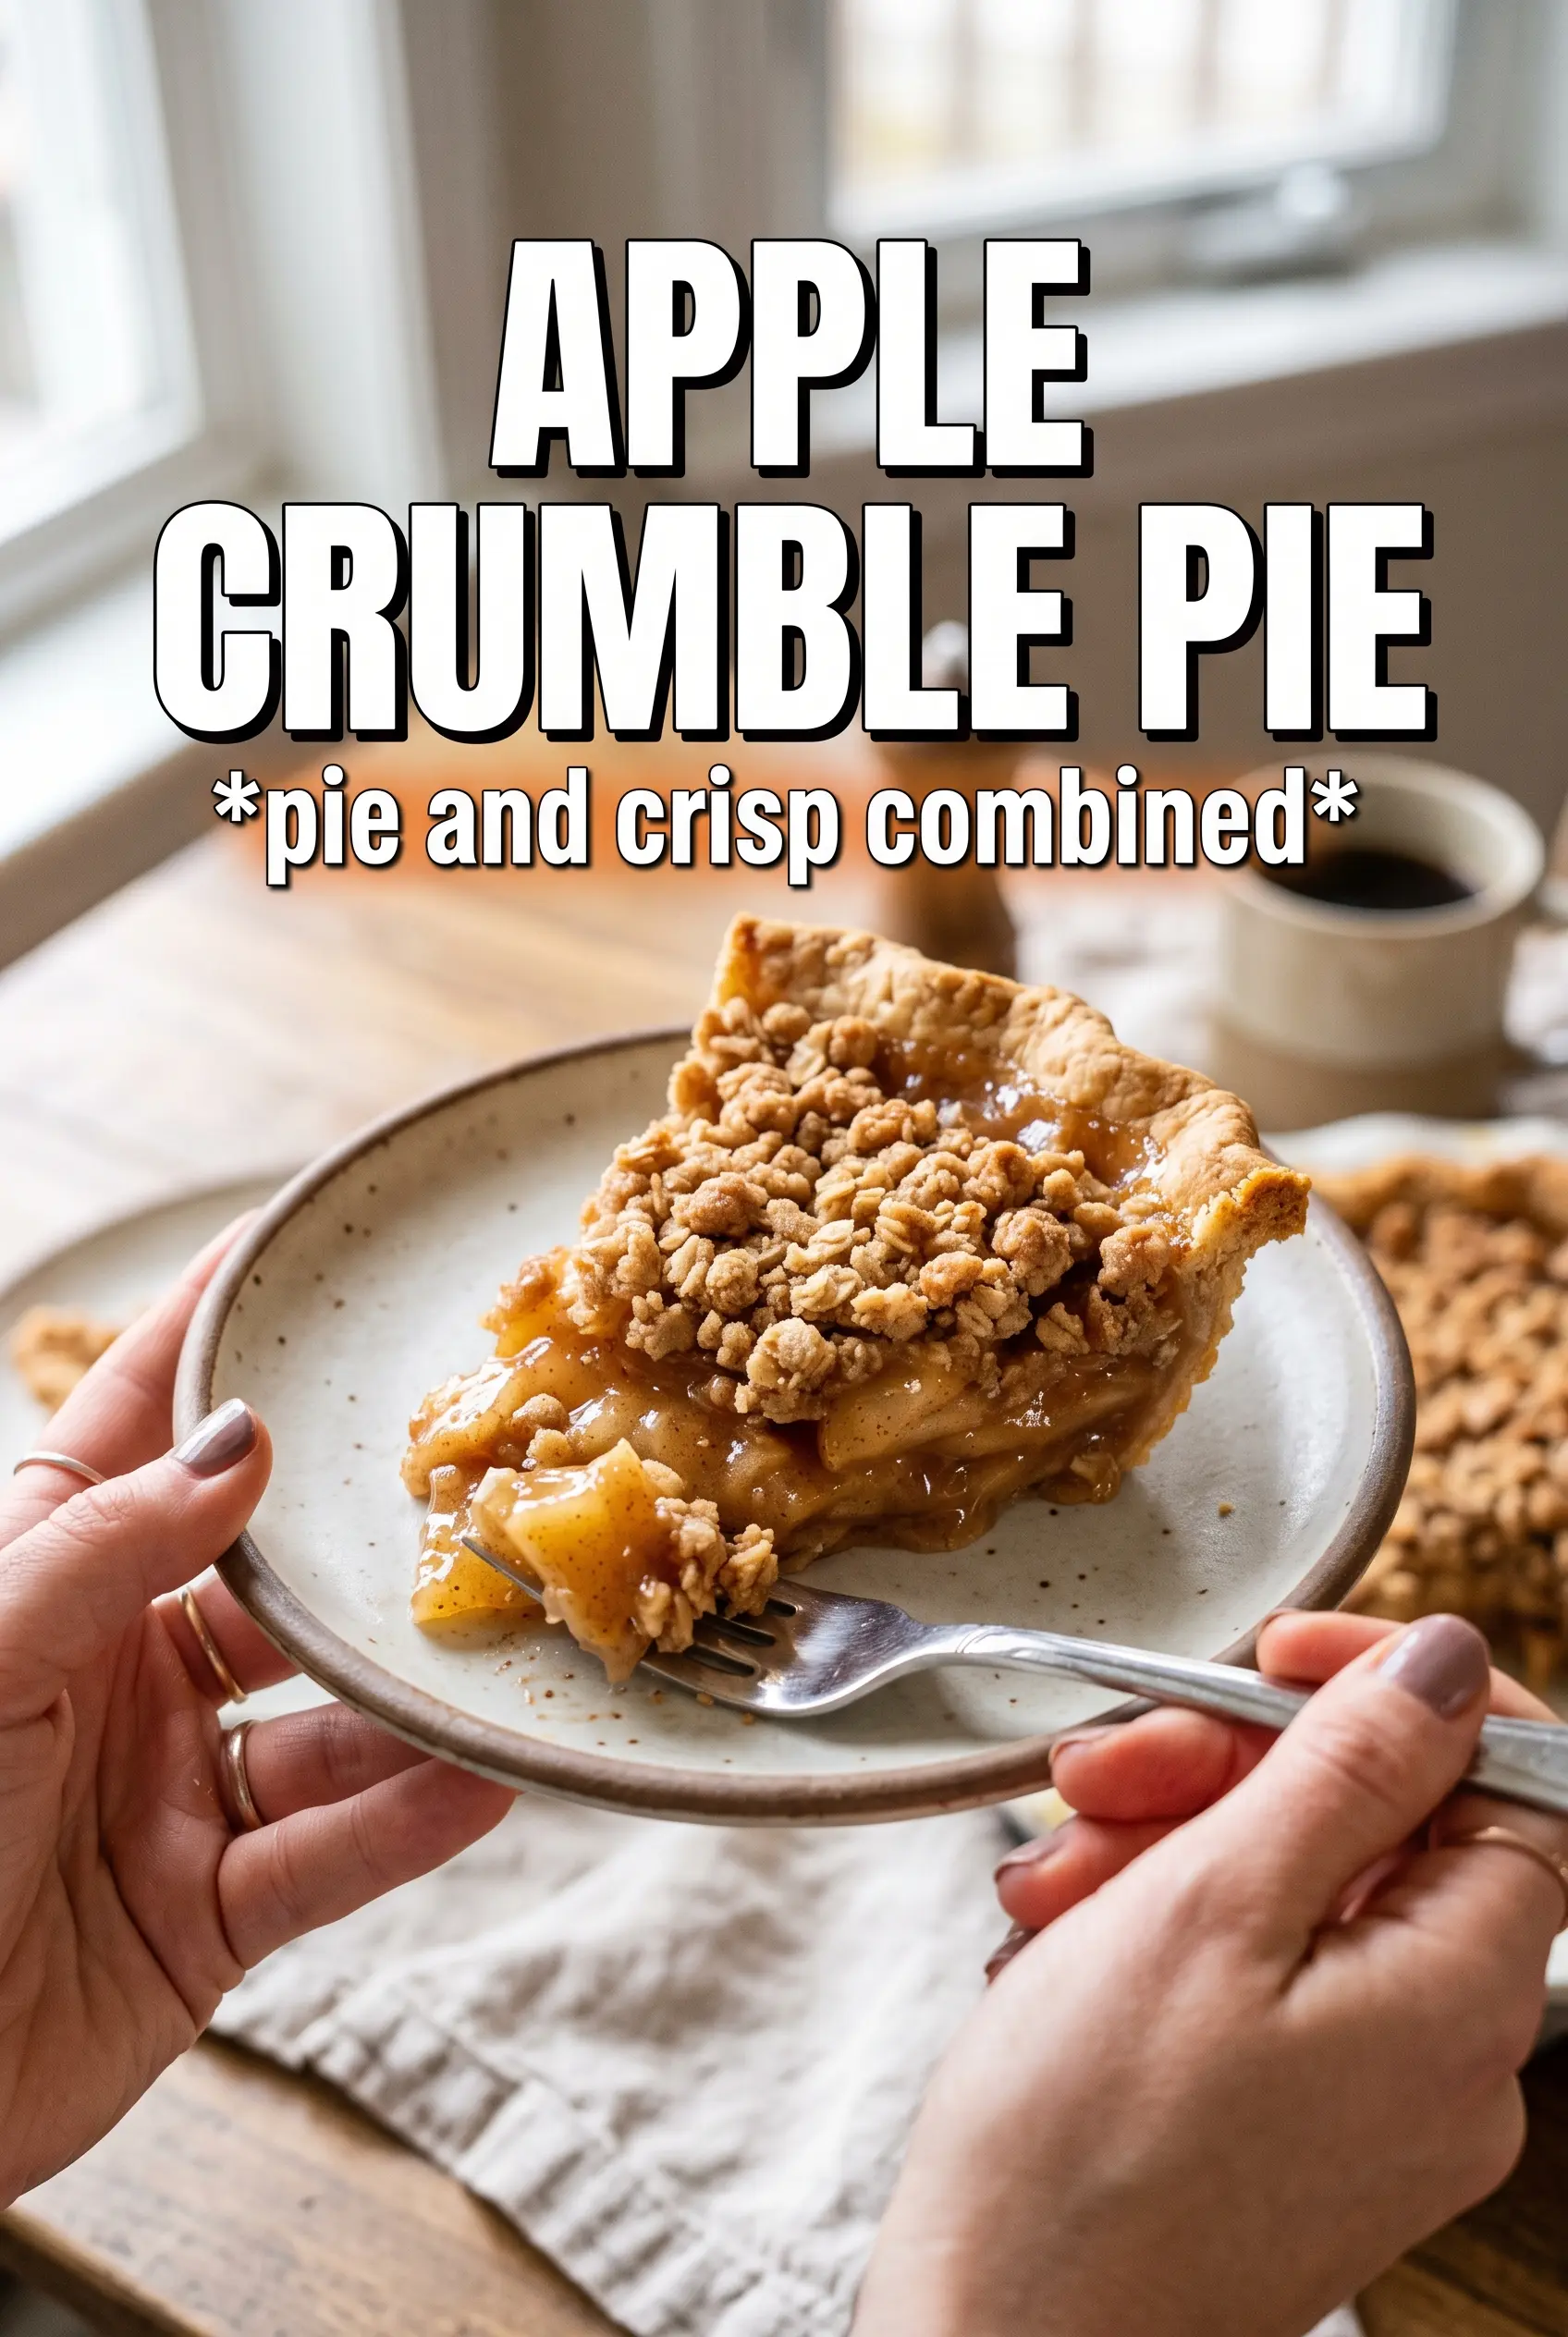
Apple crumble pie lands in that sweet spot between rustic and polished: a tender, spiced apple filling bubbling up under a thick oat topping, all held in a crisp pastry shell that stays structured enough to slice cleanly. The first bite gives you contrast instead of sameness — flaky crust, soft fruit, and buttery crumbs that stay nubby and golden instead of melting into a sandy layer.
What makes this version work is the balance. The apples are tossed with cornstarch so the filling thickens as it bakes instead of running all over the plate, and the lemon juice keeps the fruit bright enough to stand up to the brown sugar and cinnamon. The crumble is built with cold butter, which matters more than people think; if the butter warms up too much before baking, you lose those bigger craggy bits that make the topping taste toasted and rich.
Below you’ll find the timing cue I trust most for this pie, plus a few smart swaps and storage notes so you can plan it without guessing.
The filling set up perfectly and the crumble stayed crisp even the next day. I used tart apples and the pie sliced clean instead of turning soupy.
Love the bubbling apple filling and thick oat crumble? Save this apple crumble pie for the next time you want a clean slice and a crisp, golden topping.
The Secret to Keeping the Bottom Crust Crisp Under a Heavy Apple Topping
Apple crumble pie can turn soggy fast if the filling is too wet or the bake time is too short. The crust needs enough heat and enough time to set before the apples release all their juice, which is why the filling here is thickened with cornstarch and baked until the edges are actively bubbling. That bubbling is the signal that the starch has done its job and the filling has reached the temperature it needs to thicken properly once it cools.
The other mistake is stopping the bake as soon as the crumble looks done. The topping can brown before the apples finish softening, so don’t pull the pie just because the top looks golden. You want the filling to bubble through the crumb layer, and if the top gets ahead of the center, tent it with foil and keep going until the fruit is tender and the juices look glossy rather than thin.
- Apples — Use a mix with enough structure to hold its shape after baking. Tart apples keep the pie from tasting flat, and if yours are very sweet, you’ll notice the filling tastes softer and less sharp.
- Cornstarch — This is what turns the fruit juices into a sliceable filling. Flour won’t thicken the same way here, and using less cornstarch is the fastest route to a runny pie.
- Lemon juice — You don’t taste it as lemon; you taste the fruit more clearly. It keeps the apples from going dull while they bake and balances the sugar.
- Cold butter — The butter must stay cold long enough to create chunky crumbs instead of a paste. If it softens too much before baking, the topping turns dense and sandy instead of crisp and craggy.
Building the Filling and Crumble So They Finish at the Same Time
- Apples — Peel and slice them evenly so the softening happens at the same pace. Thick wedges leave crunchy spots in the finished pie, while very thin slices can collapse into applesauce.
- Rolled oats — These give the topping its toothsome texture. Quick oats will work in a pinch, but the crumble will be tighter and less rustic.
- Brown sugar — This adds moisture and a caramel note that white sugar can’t match. Packed brown sugar helps the crumble clump, which is what gives you those bakery-style chunks.
- All-purpose flour — It binds the topping just enough to hold together. Too much flour makes the crumble dusty, so measure lightly.
- Cold unsalted butter — Unsalted butter gives you control over the salt level, and cold cubes let you cut in distinct crumbs. If you only have salted butter, use it and reduce the added salt a little.
The Bake That Gives You Bubbling Fruit and a Deeply Golden Crumble
Preparing the Shell and Filling
Set the pie shell in the dish and crimp the edges before anything else so it’s ready to catch the filling. Toss the apples with sugar, cinnamon, nutmeg, cornstarch, and lemon juice until every slice looks lightly coated and glossy, then pile them into the shell with a slight mound in the center. That mound settles as it bakes, so don’t press it flat. If the fruit looks dry in the bowl, let it sit a minute; the sugar will draw out juices that help the cornstarch start working.
Making the Crumble
Combine the oats, flour, brown sugar, cinnamon, and salt, then cut in the cold butter until you get uneven clumps and pea-sized crumbs. Stop before it turns into a uniform meal — the variation in size is what gives the topping texture. If the butter softens while you work, pop the bowl in the fridge for a few minutes and keep going. A proper crumble should hold together when squeezed, then break apart easily.
Baking Until the Filling Bubbles
Scatter the crumble over the apples generously, covering the fruit from edge to edge. Bake at 375°F for 55 to 65 minutes, and watch for the filling to bubble through in the center, not just around the edges. If the top browns too fast around the 35-minute mark, lay foil loosely over the pie and finish the bake. The pie isn’t done when it looks pretty; it’s done when the apples are tender and the bubbling tells you the filling has thickened.
Cooling So It Slices Cleanly
Let the pie cool for at least 1 hour before slicing. That rest time matters because the filling keeps thickening as it drops in temperature, and cutting too early sends the juices running. If you want neat wedges, give it closer to 2 hours. Warm pie is fine, but the cleanest slices come from patience.
How to Make Apple Crumble Pie Fit Different Kitchens and Different Eaters
Use a gluten-free topping
Swap the all-purpose flour in the crumble for a 1:1 gluten-free baking blend. The topping will still clump and bake up crisp, though it may brown a little faster, so keep an eye on the color in the last 15 minutes.
Make it dairy-free
Use a plant-based butter that behaves like a baking stick, not a soft tub spread. The crumble will still hold together, but the flavor will be a little less rich and a little more neutral, so don’t skip the brown sugar and cinnamon.
Add sharper apple flavor
Use at least half tart apples if you like a filling that tastes bright instead of candied. A mix of tart and sweet apples gives the best balance, and it helps keep the pie from leaning too heavily on sugar.
Storage and Reheating
- Refrigerator: Store covered for up to 4 days. The crumble softens slightly in the fridge, but the flavor deepens as the pie rests.
- Freezer: Apple crumble pie freezes well after baking and cooling completely. Wrap tightly, freeze for up to 2 months, and thaw in the refrigerator before reheating.
- Reheating: Warm slices in a 325°F oven until heated through. The oven keeps the topping crisp; the microwave will soften the crumble and make the crust lose its edge.
Questions I Get Asked About This Recipe
Apple Crumble Pie
Ingredients
Equipment
Method
- Preheat oven to 375F. Fit the unbaked 9-inch pie shell into a 9-inch pie dish and crimp the edges, leaving the shell ready to be filled.
- Toss the sliced apples with granulated sugar, cinnamon, nutmeg, cornstarch, and lemon juice. Pile the spiced apples into the unbaked shell, mounding slightly so the filling bakes up higher.
- Combine rolled oats, all-purpose flour, brown sugar, cinnamon, and salt. Cut in the cold unsalted butter until chunky clumps form, keeping the topping textured rather than fully smooth.
- Scatter the oat crumble topping over the apple filling. Cover generously so every area of the bubbling apples will be topped with the thick crumble layer.
- Bake for 55-65 minutes at 375F until the crumble is deeply golden and the filling bubbles through. Place the pie on a sheet pan during baking so heat circulates evenly underneath.
- Tent the pie with foil after 35 minutes if the topping browns too quickly. Continue baking until the total bake time falls within 55-65 minutes.
- Cool the pie at least 1 hour before slicing. Let it rest until the filling firms up, which helps the slice hold cleanly.