Golden oat crumble, bubbling apple filling, and a cold scoop of vanilla ice cream on top make this one of those desserts that disappears fast and never needs a lot of explanation. The canned filling keeps the fruit layer soft and jammy, while the topping bakes into crisp, buttery clusters with caramelized edges. It tastes like you spent longer on it than you did.
The trick is to treat the canned filling like a shortcut, not a finished product. A little cinnamon, nutmeg, allspice, and lemon juice wake it up and keep it from tasting flat or one-note. Then the crumble gets built with cold butter, which gives you those sandy patches and bigger clumps that bake up into the best part of the dish.
Below, I’ll show you how to keep the topping crisp, what to swap if you’re missing an ingredient, and how to store the leftovers without turning the crumble soggy.
The topping got perfectly crisp even with the canned filling, and the lemon juice made the apples taste fresh instead of canned. My husband asked for seconds before I’d even put the ice cream away.
Love the warm cinnamon filling and crunchy oat topping? Save this canned apple filling apple crisp for an easy dessert that tastes homemade.
The Reason the Topping Stays Crisp Instead of Turning Pasty
The biggest mistake with apple crisp made from canned filling is thinking the fruit layer needs extra cooking time to catch up. It doesn’t. The filling is already soft, so the real job is keeping the topping from sinking into a wet layer and going mushy. Baking it in a 9×13 dish gives enough surface area for the crumble to brown instead of steam.
Cold butter matters here more than anything else in the topping. When it gets cut into the dry ingredients in chunks, it melts in the oven and leaves behind little pockets of crispness. If the butter softens before it goes in, you get a paste instead of a crumble. The result is dense and sandy, not crunchy.
- Lemon juice brightens the canned apple filling and keeps the flavor from reading as heavy or canned. It doesn’t make the dessert sour; it just sharpens the fruit.
- Brown sugar gives the topping a deeper, caramel note and helps it brown faster than white sugar would.
- Rolled oats hold their shape better than quick oats, which turn too fine and bake into a dusty layer.
What Each Ingredient Is Doing in the Pan
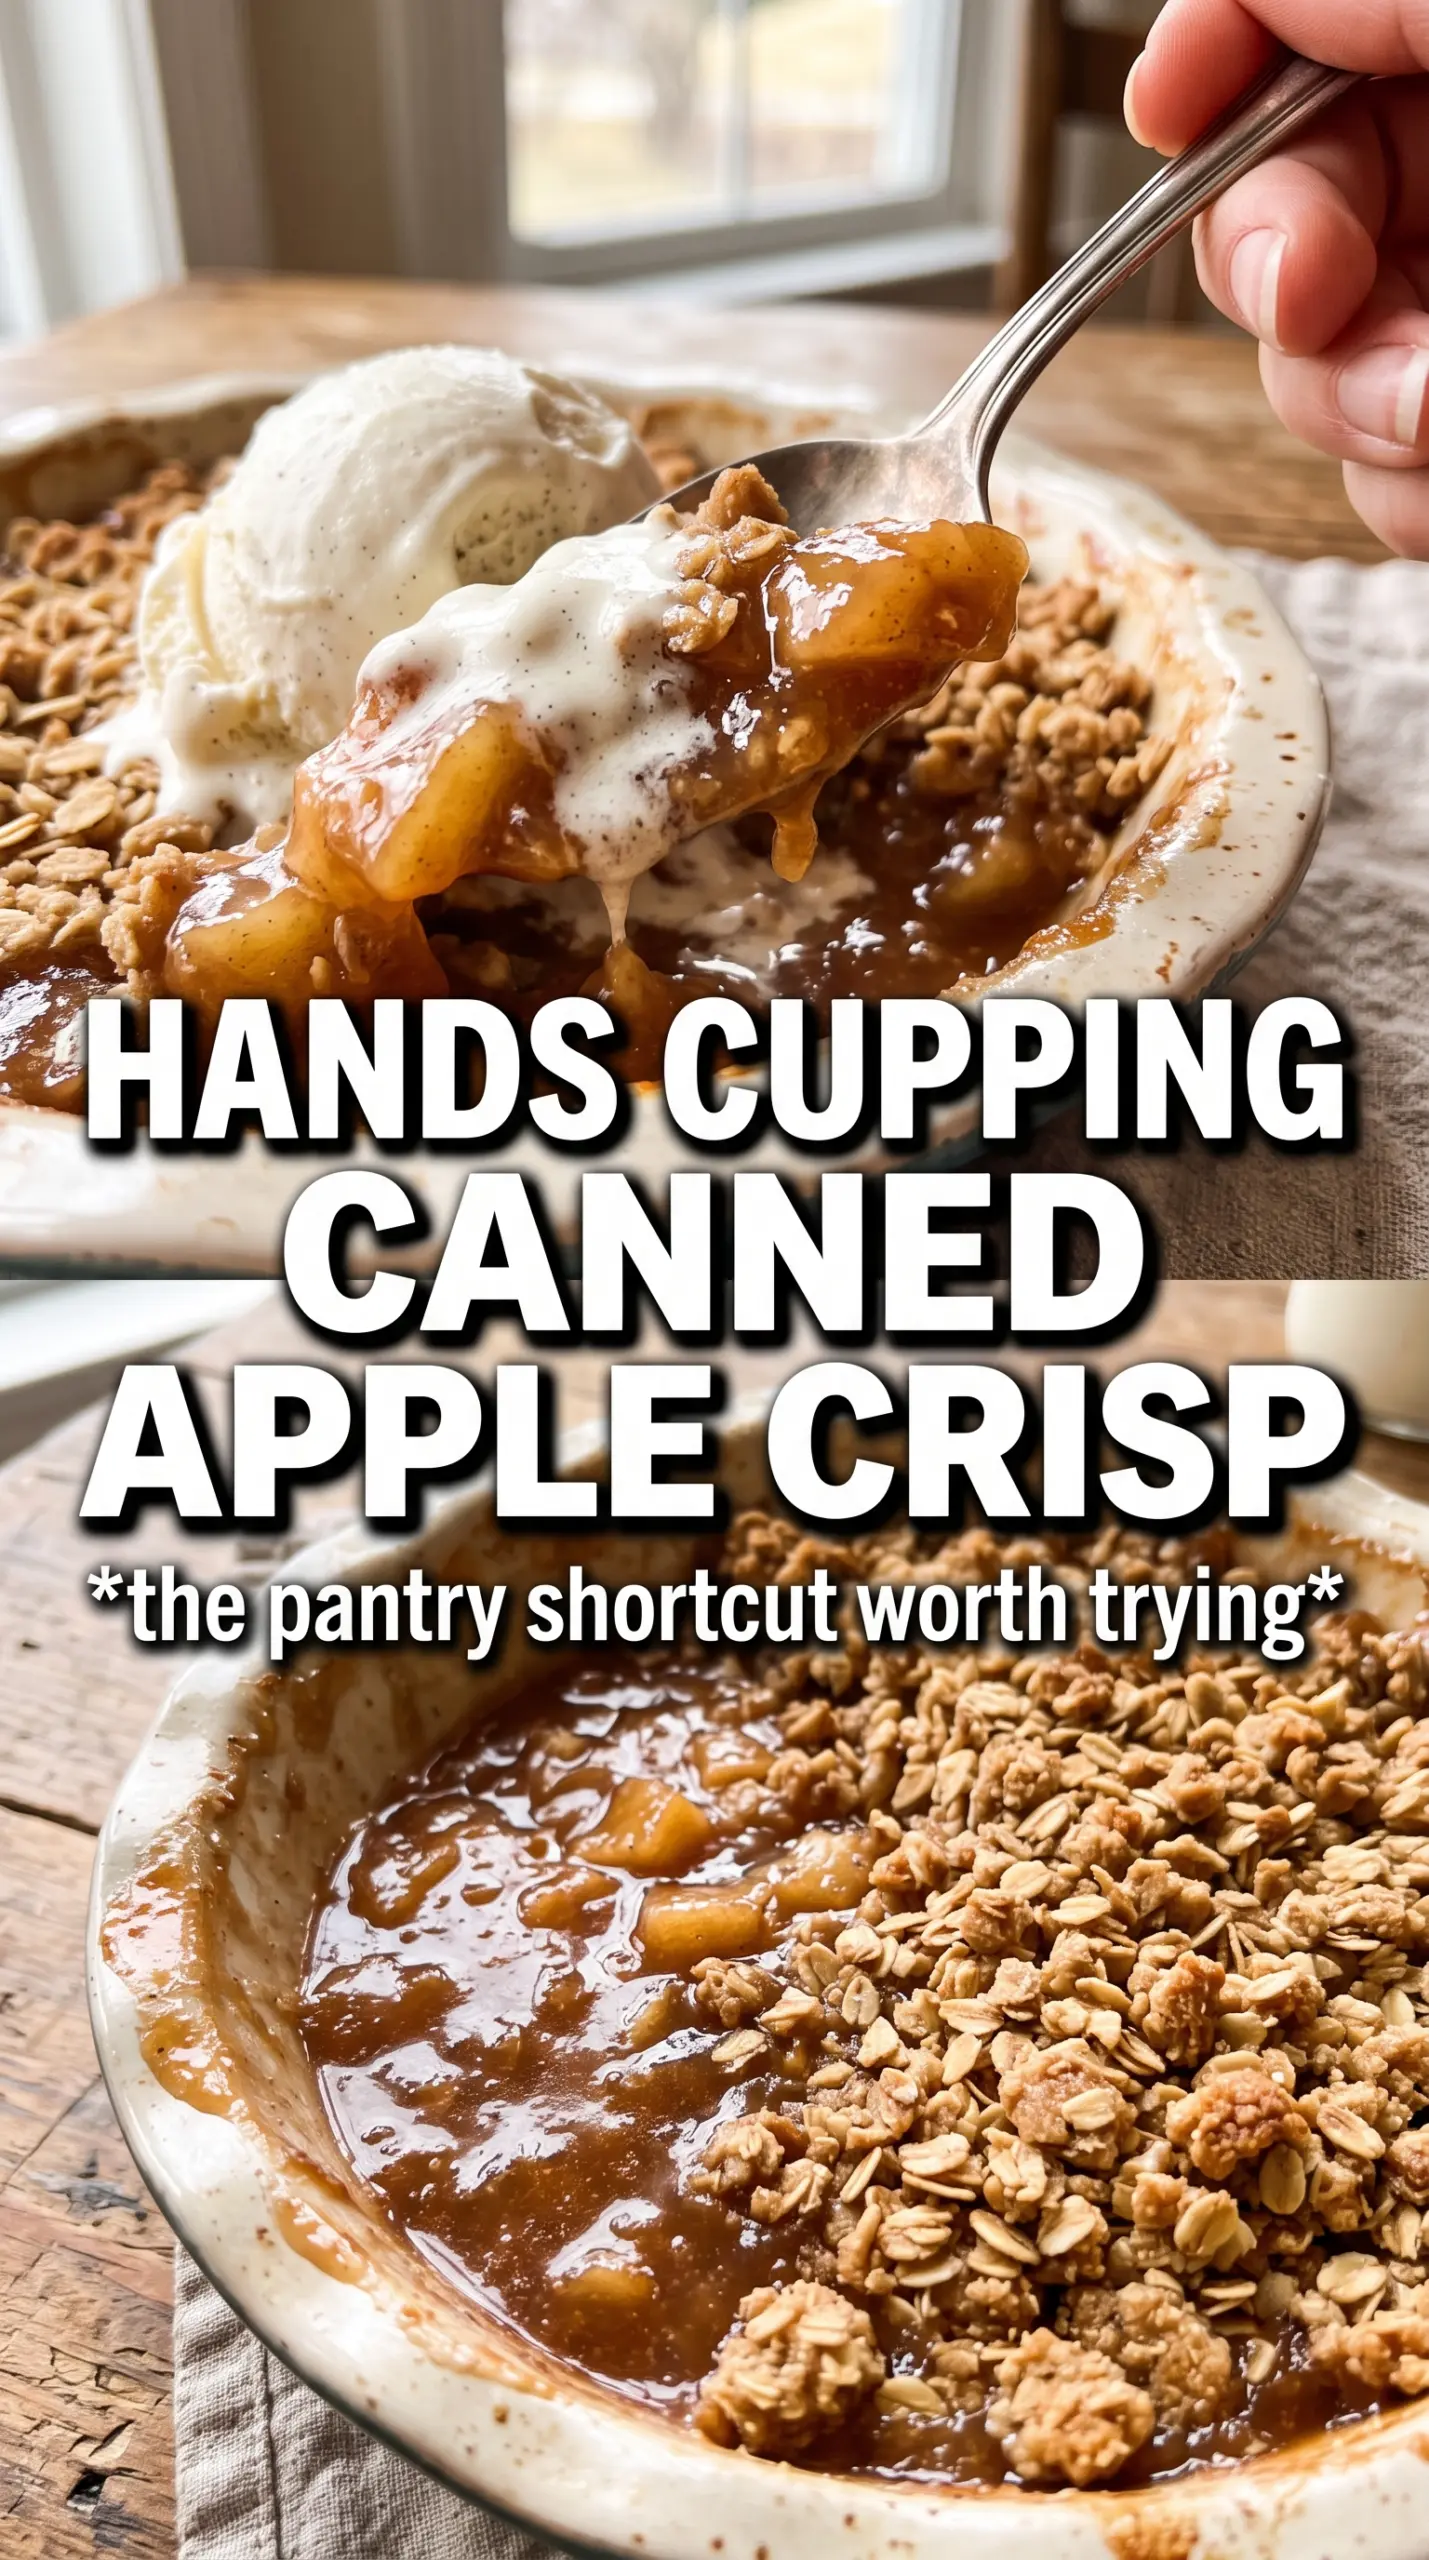
- Canned apple pie filling gives you the soft fruit base without peeling or slicing apples. Some brands are sweeter than others, so if yours tastes flat, the lemon juice and spices do the heavy lifting.
- Cinnamon, nutmeg, and allspice add warmth and make the filling taste like it simmered longer than it did. Cinnamon does most of the work; the other two are background notes, so don’t overdo them.
- All-purpose flour binds the crumble and keeps it from melting into a greasy sheet. If you swap in a gluten-free blend, use one built for baking so the topping still clumps.
- Cold unsalted butter is what creates those crisp, nubby clusters. Salted butter works in a pinch, but cut the added salt back a little so the topping doesn’t taste harsh.
Building the Crumble So It Browns Before the Filling Overcooks
Season the Filling First
Stir the cinnamon, nutmeg, allspice, and lemon juice straight into the canned filling before it goes in the dish. That step keeps the fruit layer from tasting one-dimensional and helps the spices distribute evenly instead of landing in little pockets on top. Spread it in an even layer so the topping bakes at the same rate across the pan. If the filling is heaped in the center, the middle stays loose while the edges overbake.
Cut the Butter Until You See Clumps
Mix the oats, flour, brown sugar, cinnamon, and salt first, then cut in the cold butter until the mixture looks like coarse crumbs with a few bigger chunks. Those bigger chunks are what turn into crisp clusters in the oven. Stop before it looks uniform or doughy. If it holds together like cookie dough, the butter got too warm and the topping will bake dense.
Bake Until the Edges Bubble
Scatter the crumble generously over the fruit and bake until the top is deep golden and the filling is bubbling around the edges. That bubbling is the cue that the center is hot enough and the cornstarch or thickener in the canned filling has activated. Pull it when the topping is browned, not pale, because the color is what gives you crunch. Let it rest for 5 minutes so the filling settles instead of running all over the plate.
Make It Gluten-Free
Swap the all-purpose flour for a 1:1 gluten-free baking blend. The topping will still crisp, though it may feel a little more delicate when you scoop it. Use certified gluten-free oats if cross-contamination matters.
Make It Dairy-Free
Replace the butter with a firm plant-based butter block, not a tub spread. You want something that stays cold and cuts into the dry ingredients cleanly, or the topping turns greasy instead of crumbly.
Add a Little Fresh Apple Bite
Fold in 1 to 2 cups of peeled, thinly sliced fresh apples with the canned filling if you want more texture. Granny Smith or Honeycrisp both work. The bake time may stretch by a few minutes because the fresh fruit needs more time to soften.
Storage and Reheating
- Refrigerator: Store covered for up to 4 days. The topping softens a bit in the fridge, but it still tastes good.
- Freezer: Freeze after baking and cooling completely. Wrap the dish well or portion it into airtight containers for up to 2 months.
- Reheating: Warm in a 325F oven until the filling is hot and the topping wakes back up, about 15 to 20 minutes. The microwave makes the crumble soggy, so use it only if you don’t care about the texture.
Answers to the Questions Worth Asking
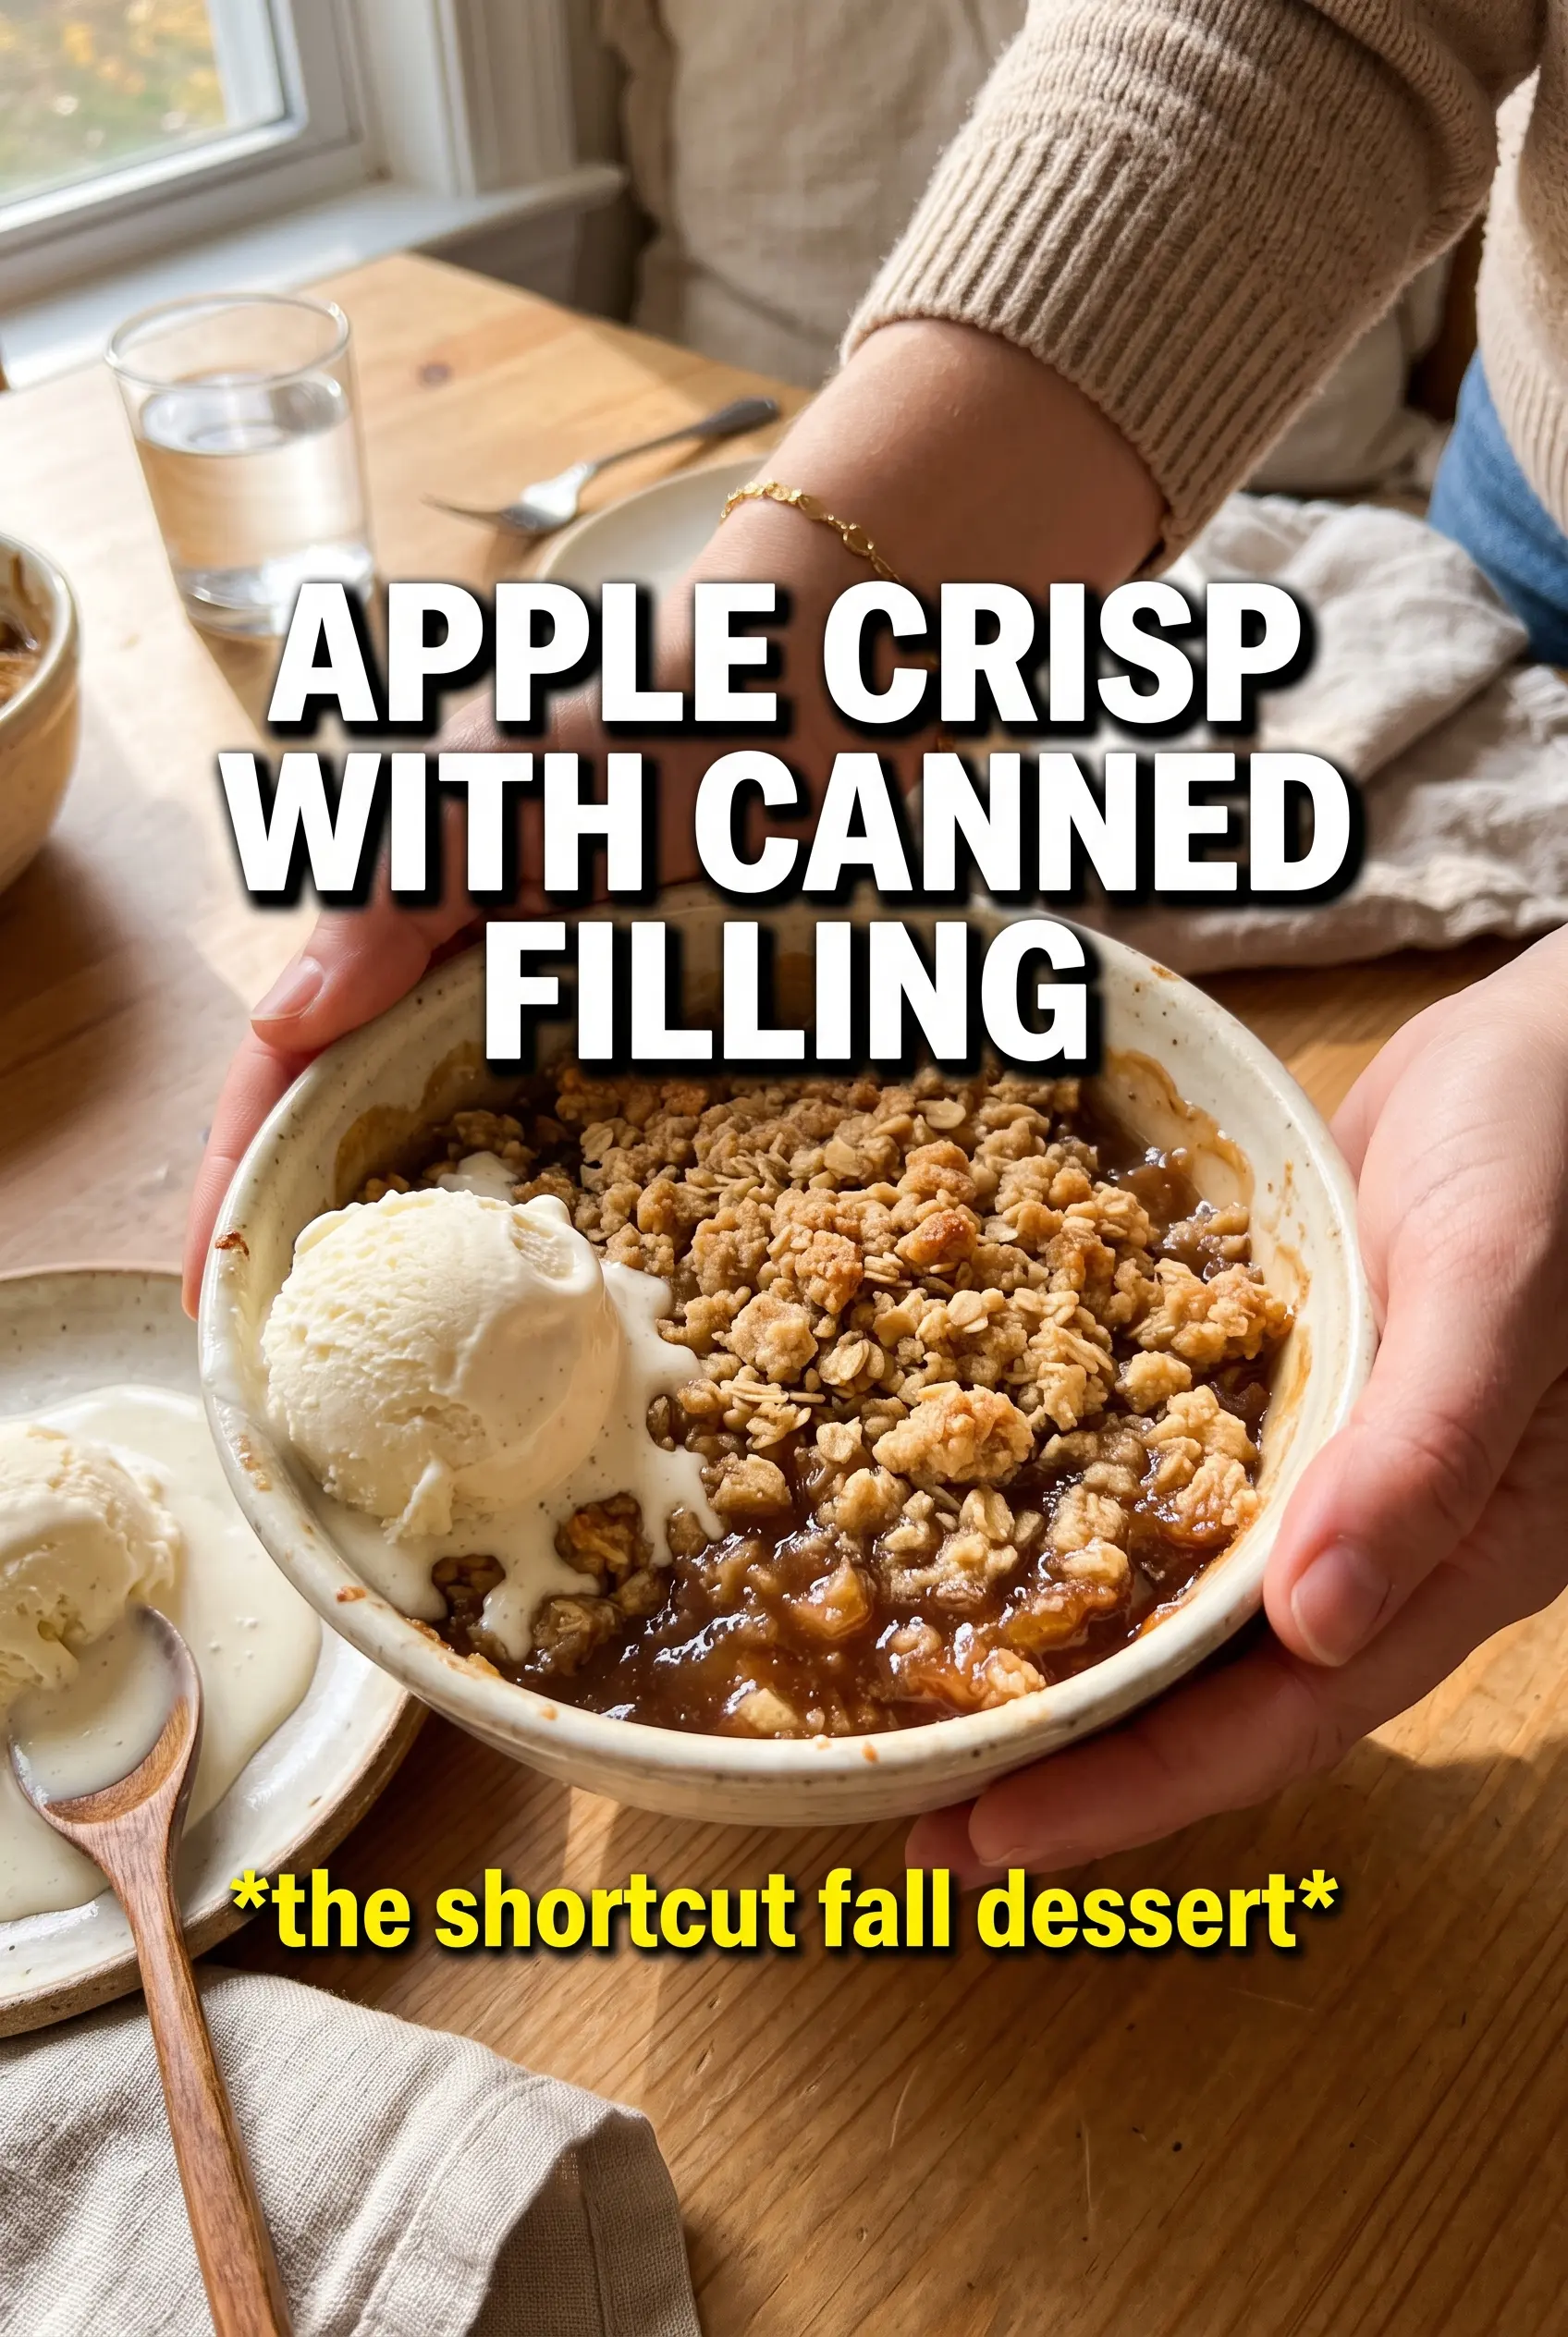
Apple Crisp With Canned Apple Filling
Ingredients
Equipment
Method
- Preheat the oven to 375°F and grease a 9x13 baking dish.
- Stir cinnamon, nutmeg, allspice, and lemon juice into the canned apple pie filling to season it, then spread it in the prepared dish.
- Combine rolled oats, all-purpose flour, brown sugar, cinnamon, and salt, then cut in cold unsalted butter until chunky clumps form.
- Scatter the crumble generously over the apple filling.
- Bake for 30-35 minutes until the topping is golden and the filling is bubbling around the edges.
- Rest for 5 minutes, then serve warm with vanilla ice cream.