Apple Crisp Mini Cheesecakes land in that sweet spot between bakery-style dessert and easy make-ahead treat. You get a firm graham cracker crust, a smooth cinnamon-kissed cheesecake layer, tender apples, and a crisp oat topping in every bite. The best part is the contrast: creamy, soft, and crunchy all at once, with enough apple flavor to keep them from tasting heavy.
What makes this version work is the way each layer is handled on its own before it ever goes into the oven. The apples are cooked briefly first, which keeps them soft and keeps extra moisture from seeping into the cheesecake. The crust gets a quick pre-bake so it stays snappy under the filling, and the crumble uses cold butter so it bakes into little golden clusters instead of melting into dust.
Below, I’ve included the timing cues that matter most, plus a few swaps for different dietary needs and a storage note for making these ahead without losing that crisp topping.
The crust stayed firm, the cheesecake baked up smooth, and the apples didn't turn watery like they usually do for me. I chilled them overnight and the crumble still had a nice little crunch the next day.
Save these apple crisp mini cheesecakes for a dessert with a creamy center, cinnamon apples, and a crunchy oat topping in every bite.
The Crumble Stays Crisp Only If You Keep the Apples Separate Until the End
The biggest mistake with mini cheesecakes like these is letting the apple topping sit raw on top of the filling. Raw apples release juice as they bake, and that extra moisture can soften the cheesecake and turn the crumble soggy before the centers are set. A quick cook on the apples changes everything. It softens them just enough, concentrates the cinnamon and brown sugar, and gives you a topping that sits neatly instead of sinking in.
The second detail that matters is texture control. The cheesecake layer should be smooth but not loose, and the filling goes into the crust after the crust has had a short bake. That little head start keeps the bottom from turning pasty while the filling firms up. Bake until the centers are just set with a slight wobble; if you wait for them to look completely firm in the oven, they usually end up dry after chilling.
What Each Layer Is Actually Doing in These Mini Cheesecakes
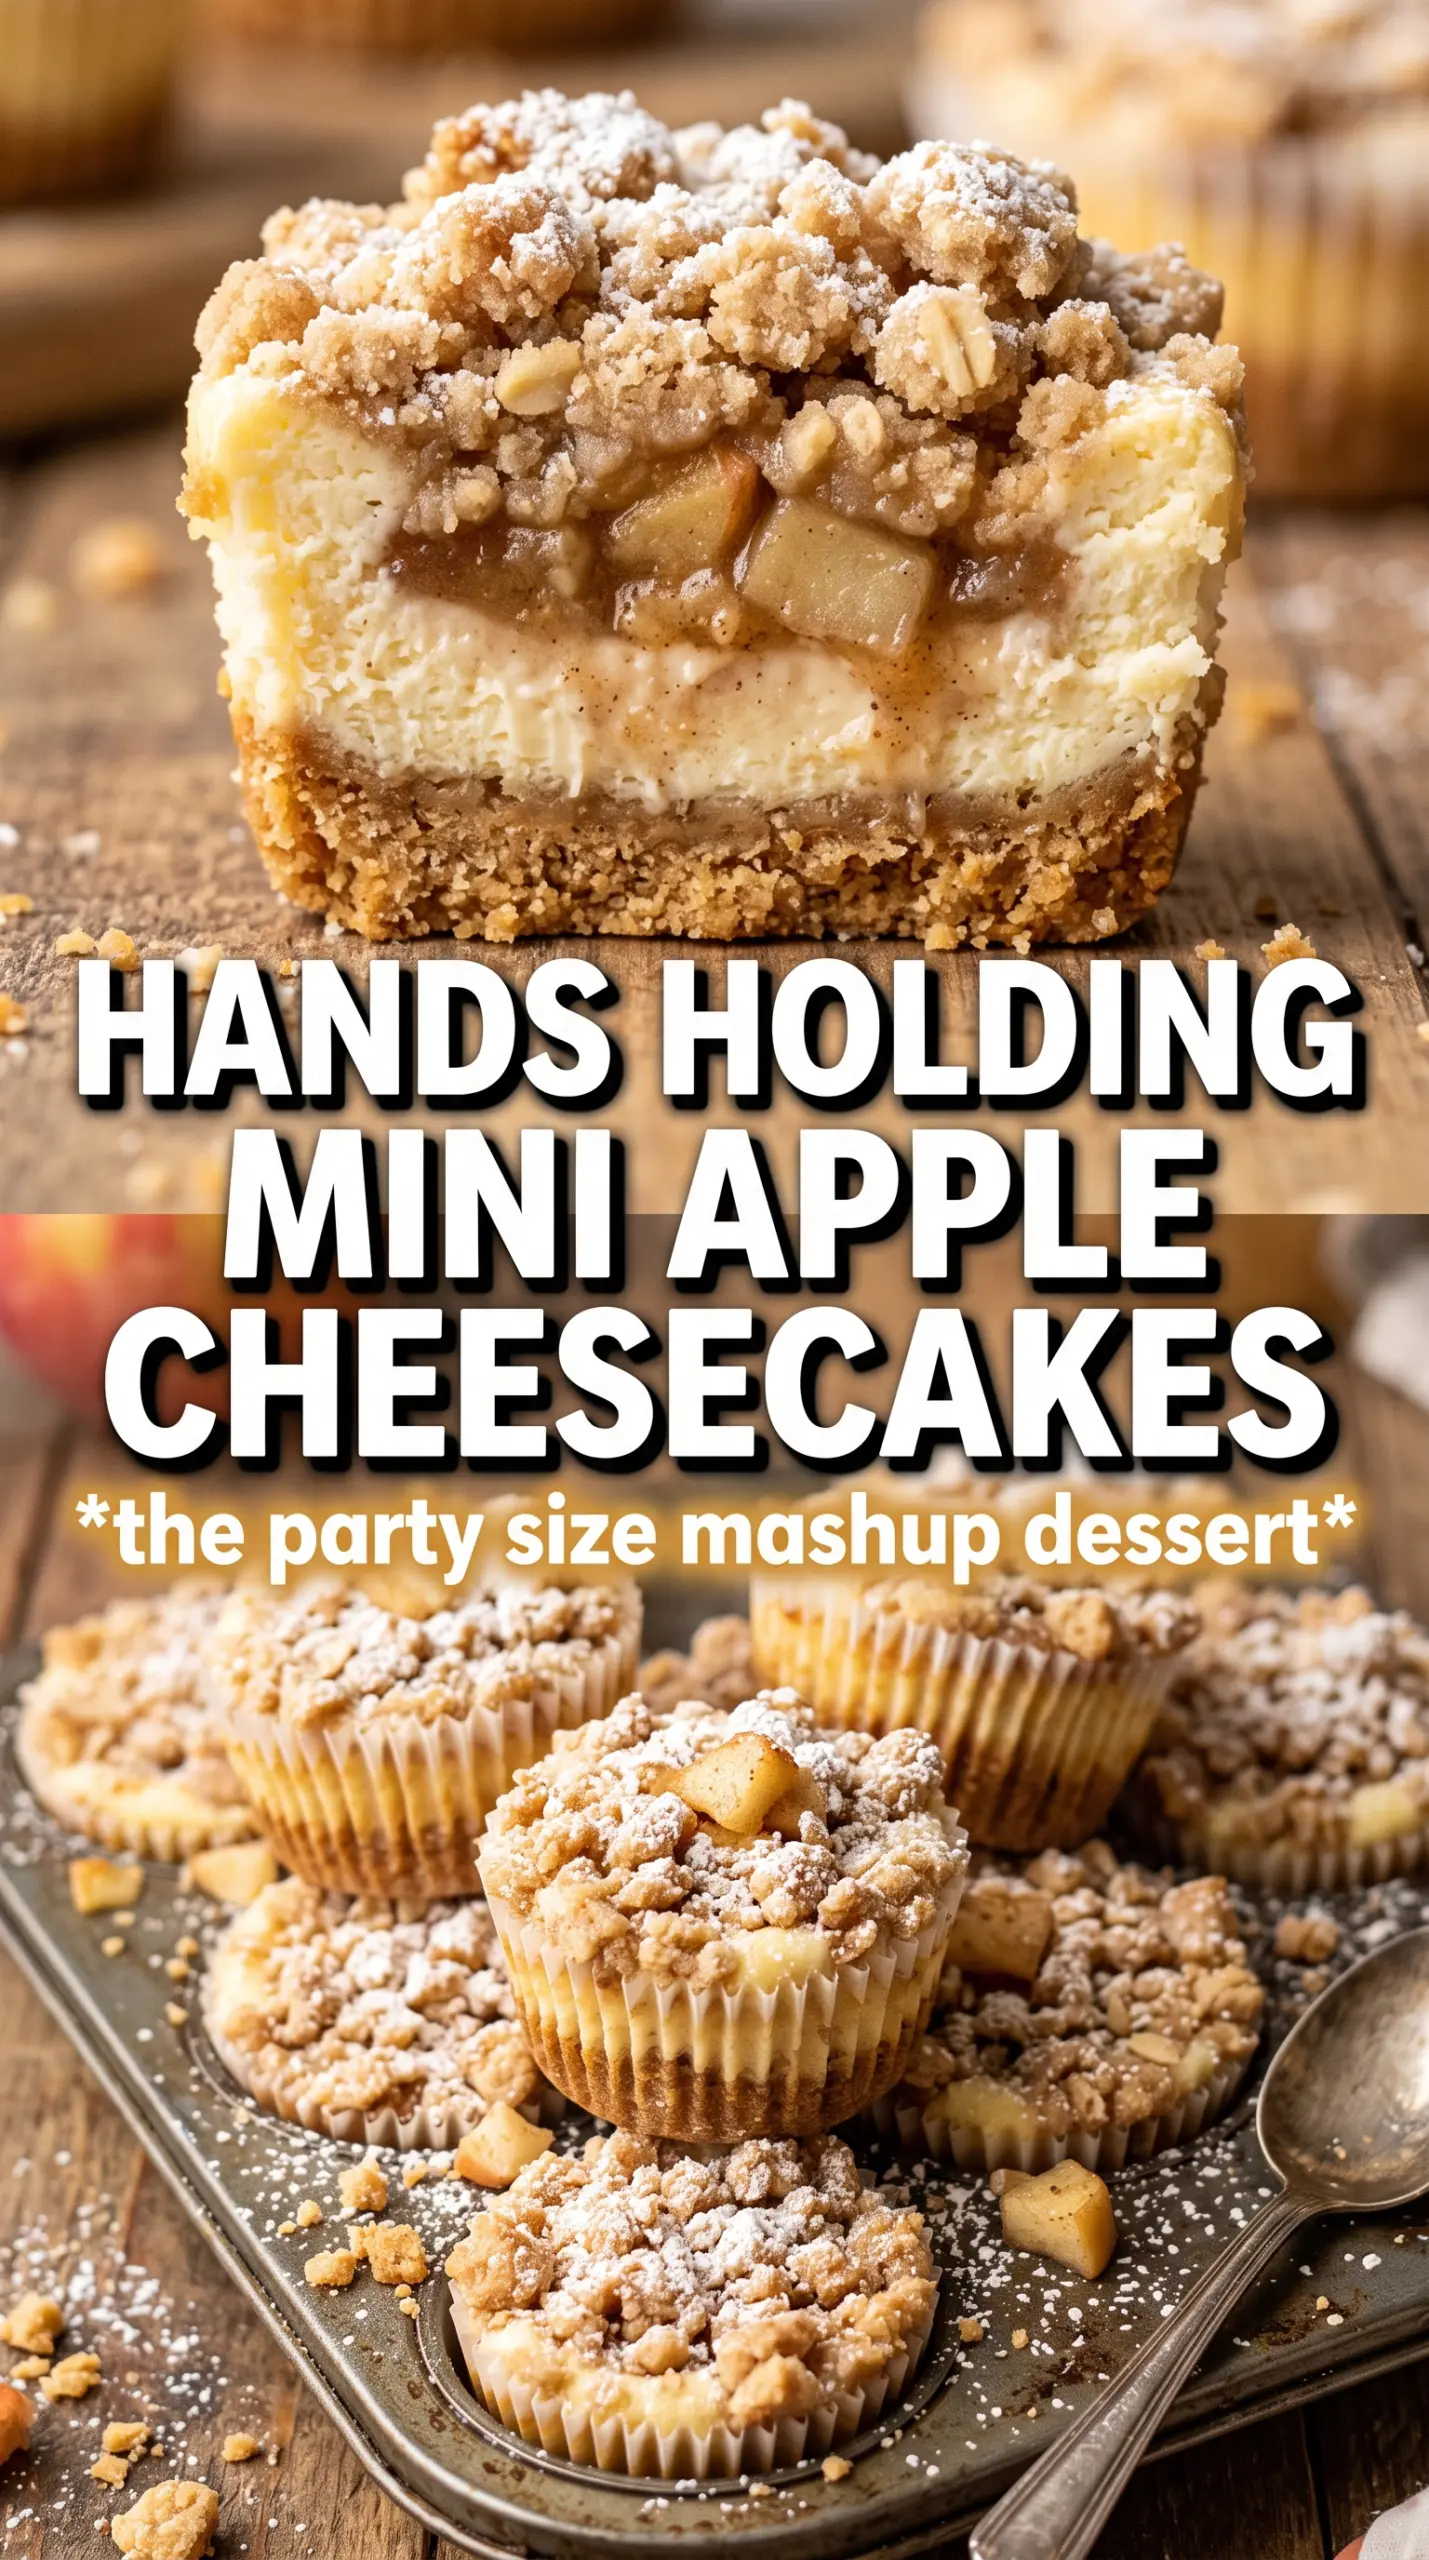
- Graham cracker crumbs — These give the base that familiar cheesecake-shop flavor and a sturdy bite. Fresh crumbs from whole crackers are fine, but the finer and more even the texture, the cleaner the crust will press into the liners.
- Cream cheese — This has to be fully softened before you mix it, or the filling stays lumpy no matter how long you beat it. Lower-fat cream cheese works in a pinch, but the texture won't be as rich or as smooth.
- Sour cream — This adds tang and helps the filling bake up creamy instead of dense. Full-fat is best here because it keeps the texture silky and balances the sweetness of the apples and crumble.
- Apples — Peel and dice them finely so they soften quickly and nestle into the cheesecake layer without creating a chunky, unstable top. A firm baking apple like Honeycrisp, Braeburn, or Granny Smith holds its shape better than a mealy variety.
- Cold butter for the crumble — This is what gives you those little crisp pockets on top. If the butter is too soft, the topping turns sandy and melts into the apples instead of baking into craggy bits.
Building the Layers So the Centers Set Cleanly
Pressing and Pre-Baking the Crust
Mix the graham crumbs, melted butter, and sugar until the mixture looks like damp sand, then press it firmly into each liner. A loose crust crumbles the second you peel the cupcake liner away. Bake it for just 5 minutes so it sets and takes on a little color without getting dark or hard.
Cooking the Apples First
Cook the diced apples with butter, brown sugar, and cinnamon until they soften and the sugar turns glossy. You're not trying to make applesauce here. Stop when the pieces are tender but still hold their shape, then let them cool before spooning them on top of the filling. Hot apples can thin the batter and throw off the bake.
Mixing the Cheesecake Batter Without Whipping in Too Much Air
Beat the cream cheese and sugar until smooth, then add the eggs, sour cream, vanilla, and cinnamon just until combined. Overbeating traps air, and that air expands in the oven and collapses as the cheesecakes cool, which leads to cracks and a puffed top that falls. The batter should look glossy and thick, not airy.
Finishing with the Crumble and Baking to the Right Set
Use cold butter in the oat crumble and work it in until the mixture forms small clumps. Scatter it over the apples before baking so it browns in the oven and stays crunchy. Pull the cheesecakes when the edges are set and the centers still have the smallest wobble; they finish setting as they chill for those full 3 hours.
How to Adapt These for Different Needs Without Losing the Crunch
Gluten-Free Version
Swap in gluten-free graham crackers for the crust and use a cup-for-cup gluten-free flour blend in the crumble. The texture stays close to the original, though the crumble may brown a little faster, so watch the oven in the last few minutes.
Dairy-Free Version
Use dairy-free cream cheese, plant-based butter, and a thick dairy-free yogurt in place of the sour cream. The flavor still works, but the filling will be a touch softer, so chill it fully before serving and don't skip the crust pre-bake.
Make It More Apple-Forward
If you want a stronger apple presence, add a third small apple and cook the filling down just a bit longer so more of the moisture cooks off. That gives you a thicker apple layer and keeps the tops from weeping after chilling.
Storage and Reheating
- Refrigerator: Store covered for up to 4 days. The crumble softens a little after day one, but the cheesecake stays creamy and the flavor deepens.
- Freezer: These freeze well without the best crunch on top. Freeze on a tray until solid, then wrap each cheesecake and store for up to 1 month.
- Reheating: Serve them chilled or let them sit at room temperature for 15 to 20 minutes. Don't microwave them; that softens the crust and makes the topping lose its texture.
Questions I Get Asked About This Recipe
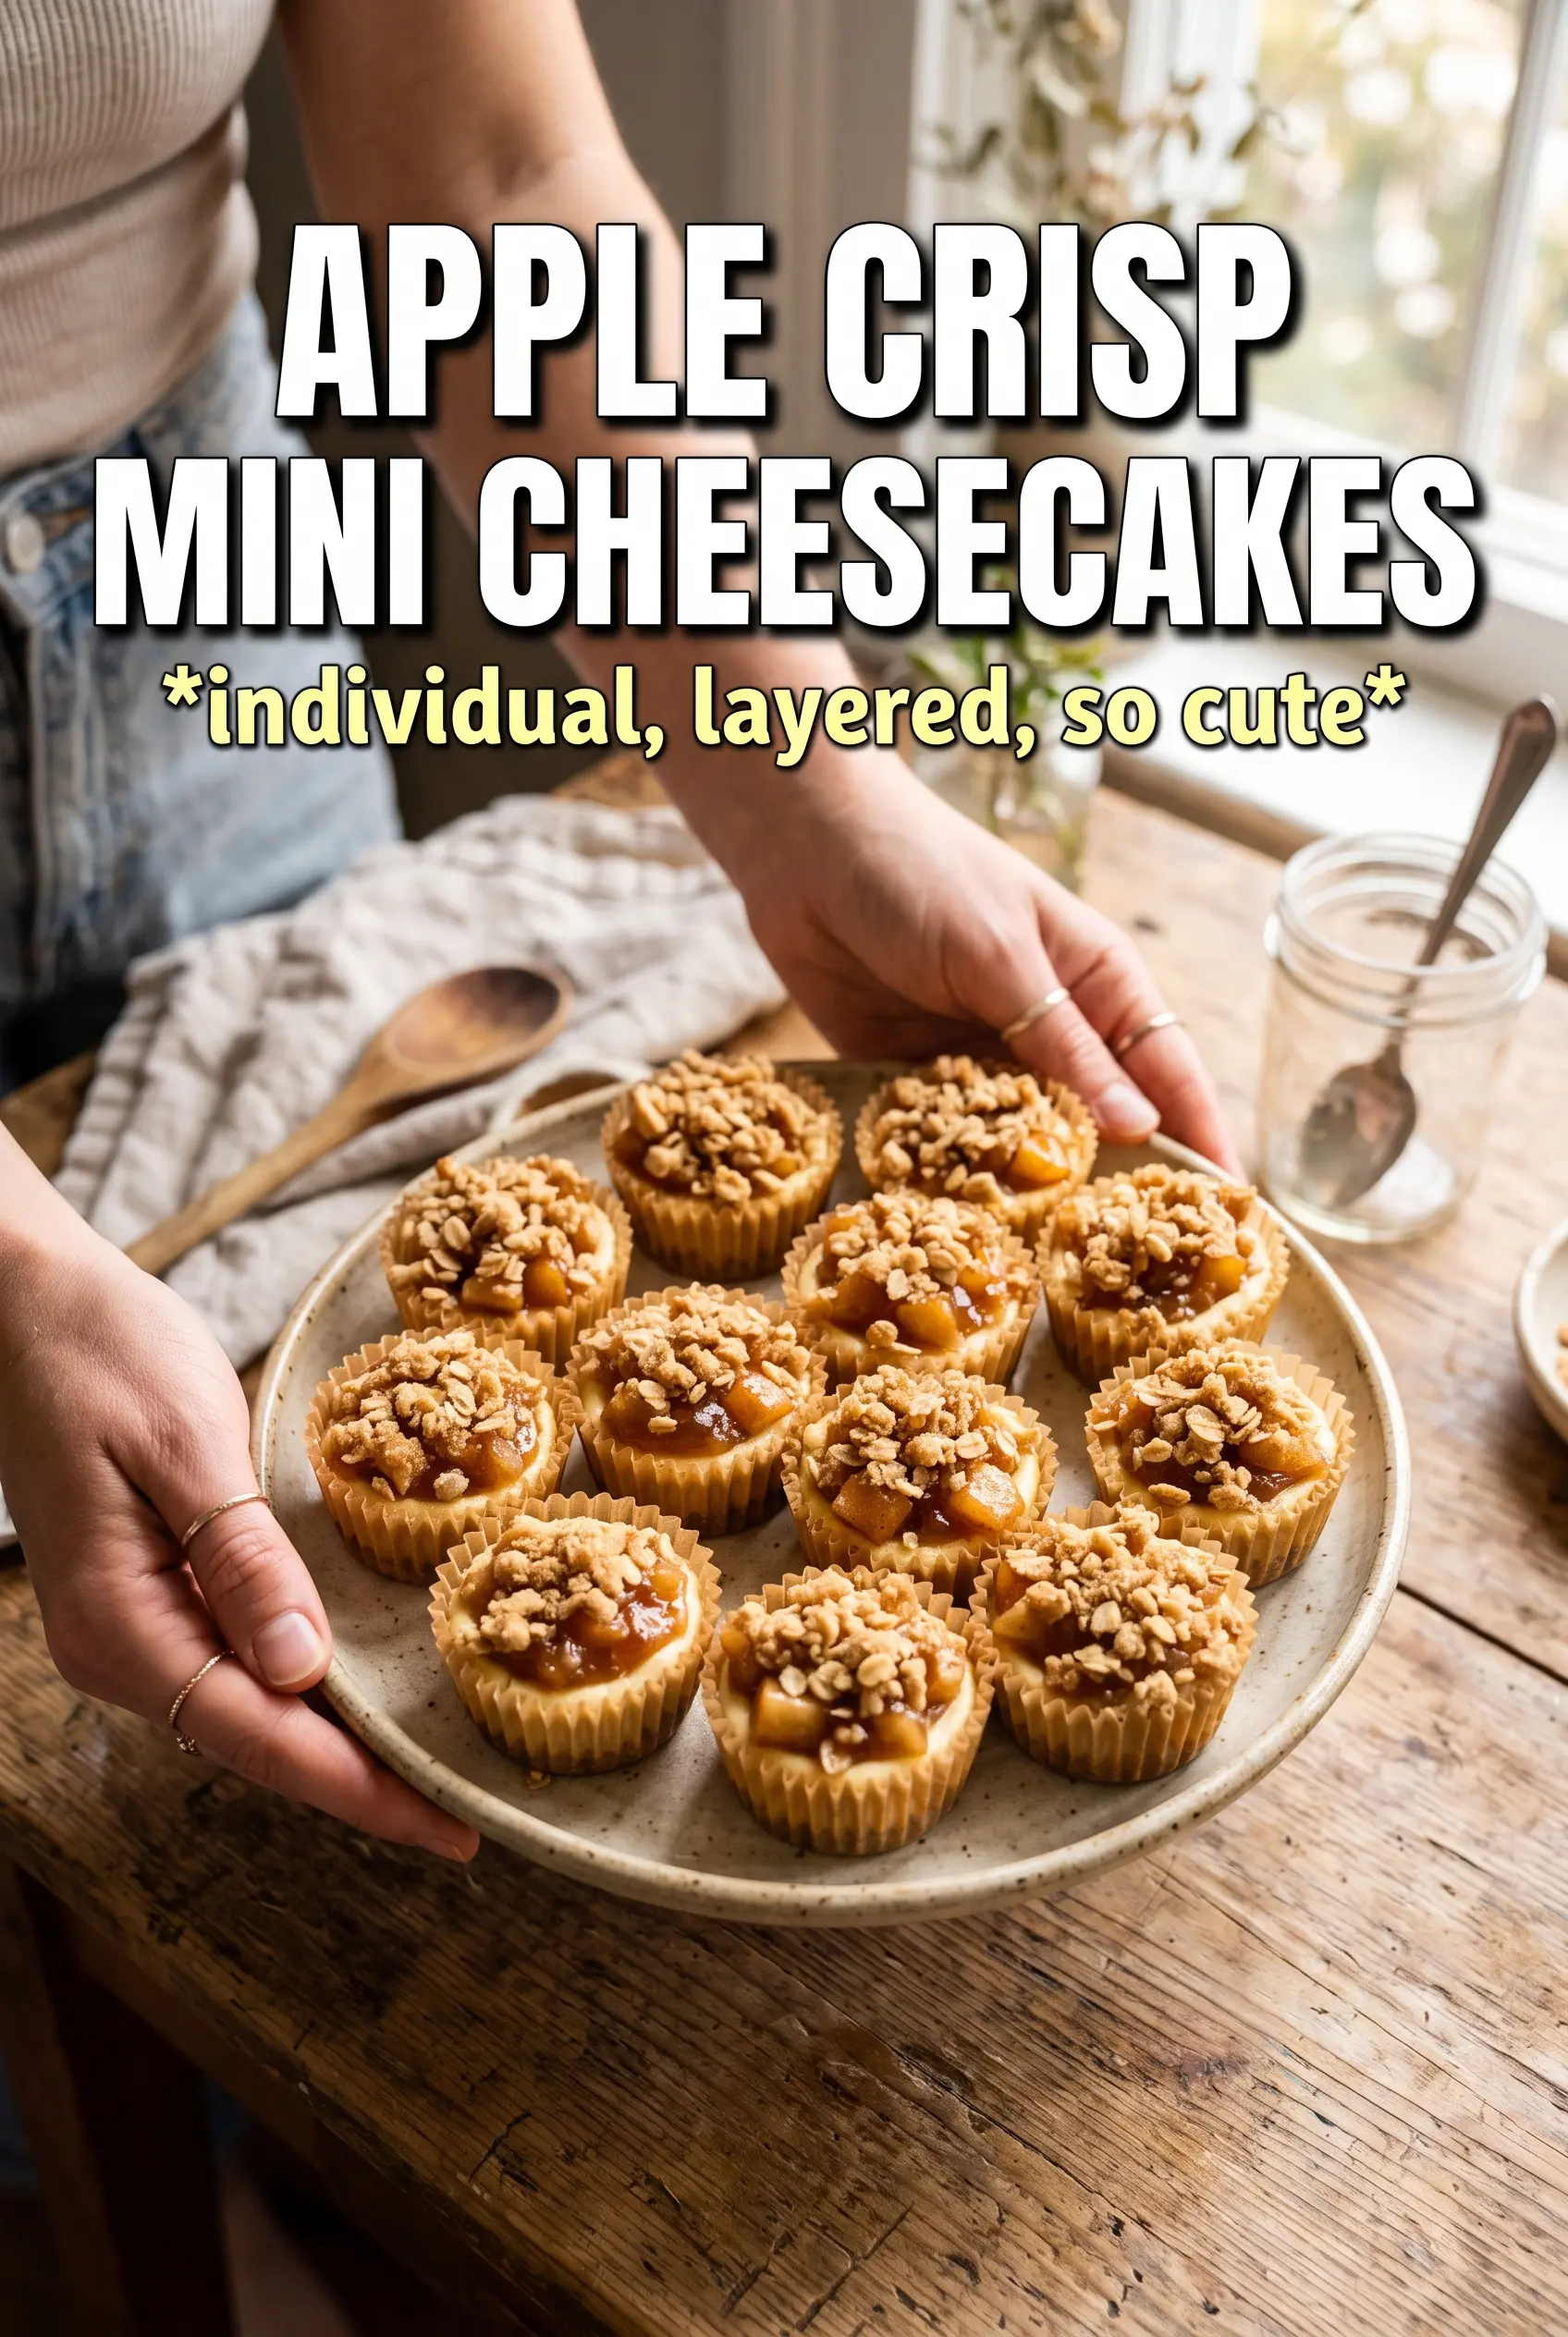
Apple Crisp Mini Cheesecakes
Ingredients
Equipment
Method
- Preheat the oven to 325°F and line a 12-cup muffin tin with cupcake liners.
- Combine graham cracker crumbs, melted butter, and sugar, then press firmly into the bottom of each liner.
- Bake for 5 minutes, then remove and let the crusts cool slightly while you prepare the filling and topping.
- Cook the diced apples with butter, brown sugar, and cinnamon for 5 minutes, until softened.
- Cool the cooked apples completely before assembling the cheesecakes.
- Beat the softened cream cheese and granulated sugar until smooth.
- Add the eggs and mix in, then add sour cream, vanilla, and cinnamon and mix until combined.
- Fill each crust with the cheesecake mixture and top with the cooled cooked apples.
- Make the mini crumble by combining oats, flour, brown sugar, cinnamon, and cold butter until crumbly, then scatter over each cheesecake.
- Bake for 20 to 22 minutes, just until the centers are set.
- Refrigerate the mini cheesecakes for 3 hours to set fully before serving, keeping them in the muffin tin or loosely covered.