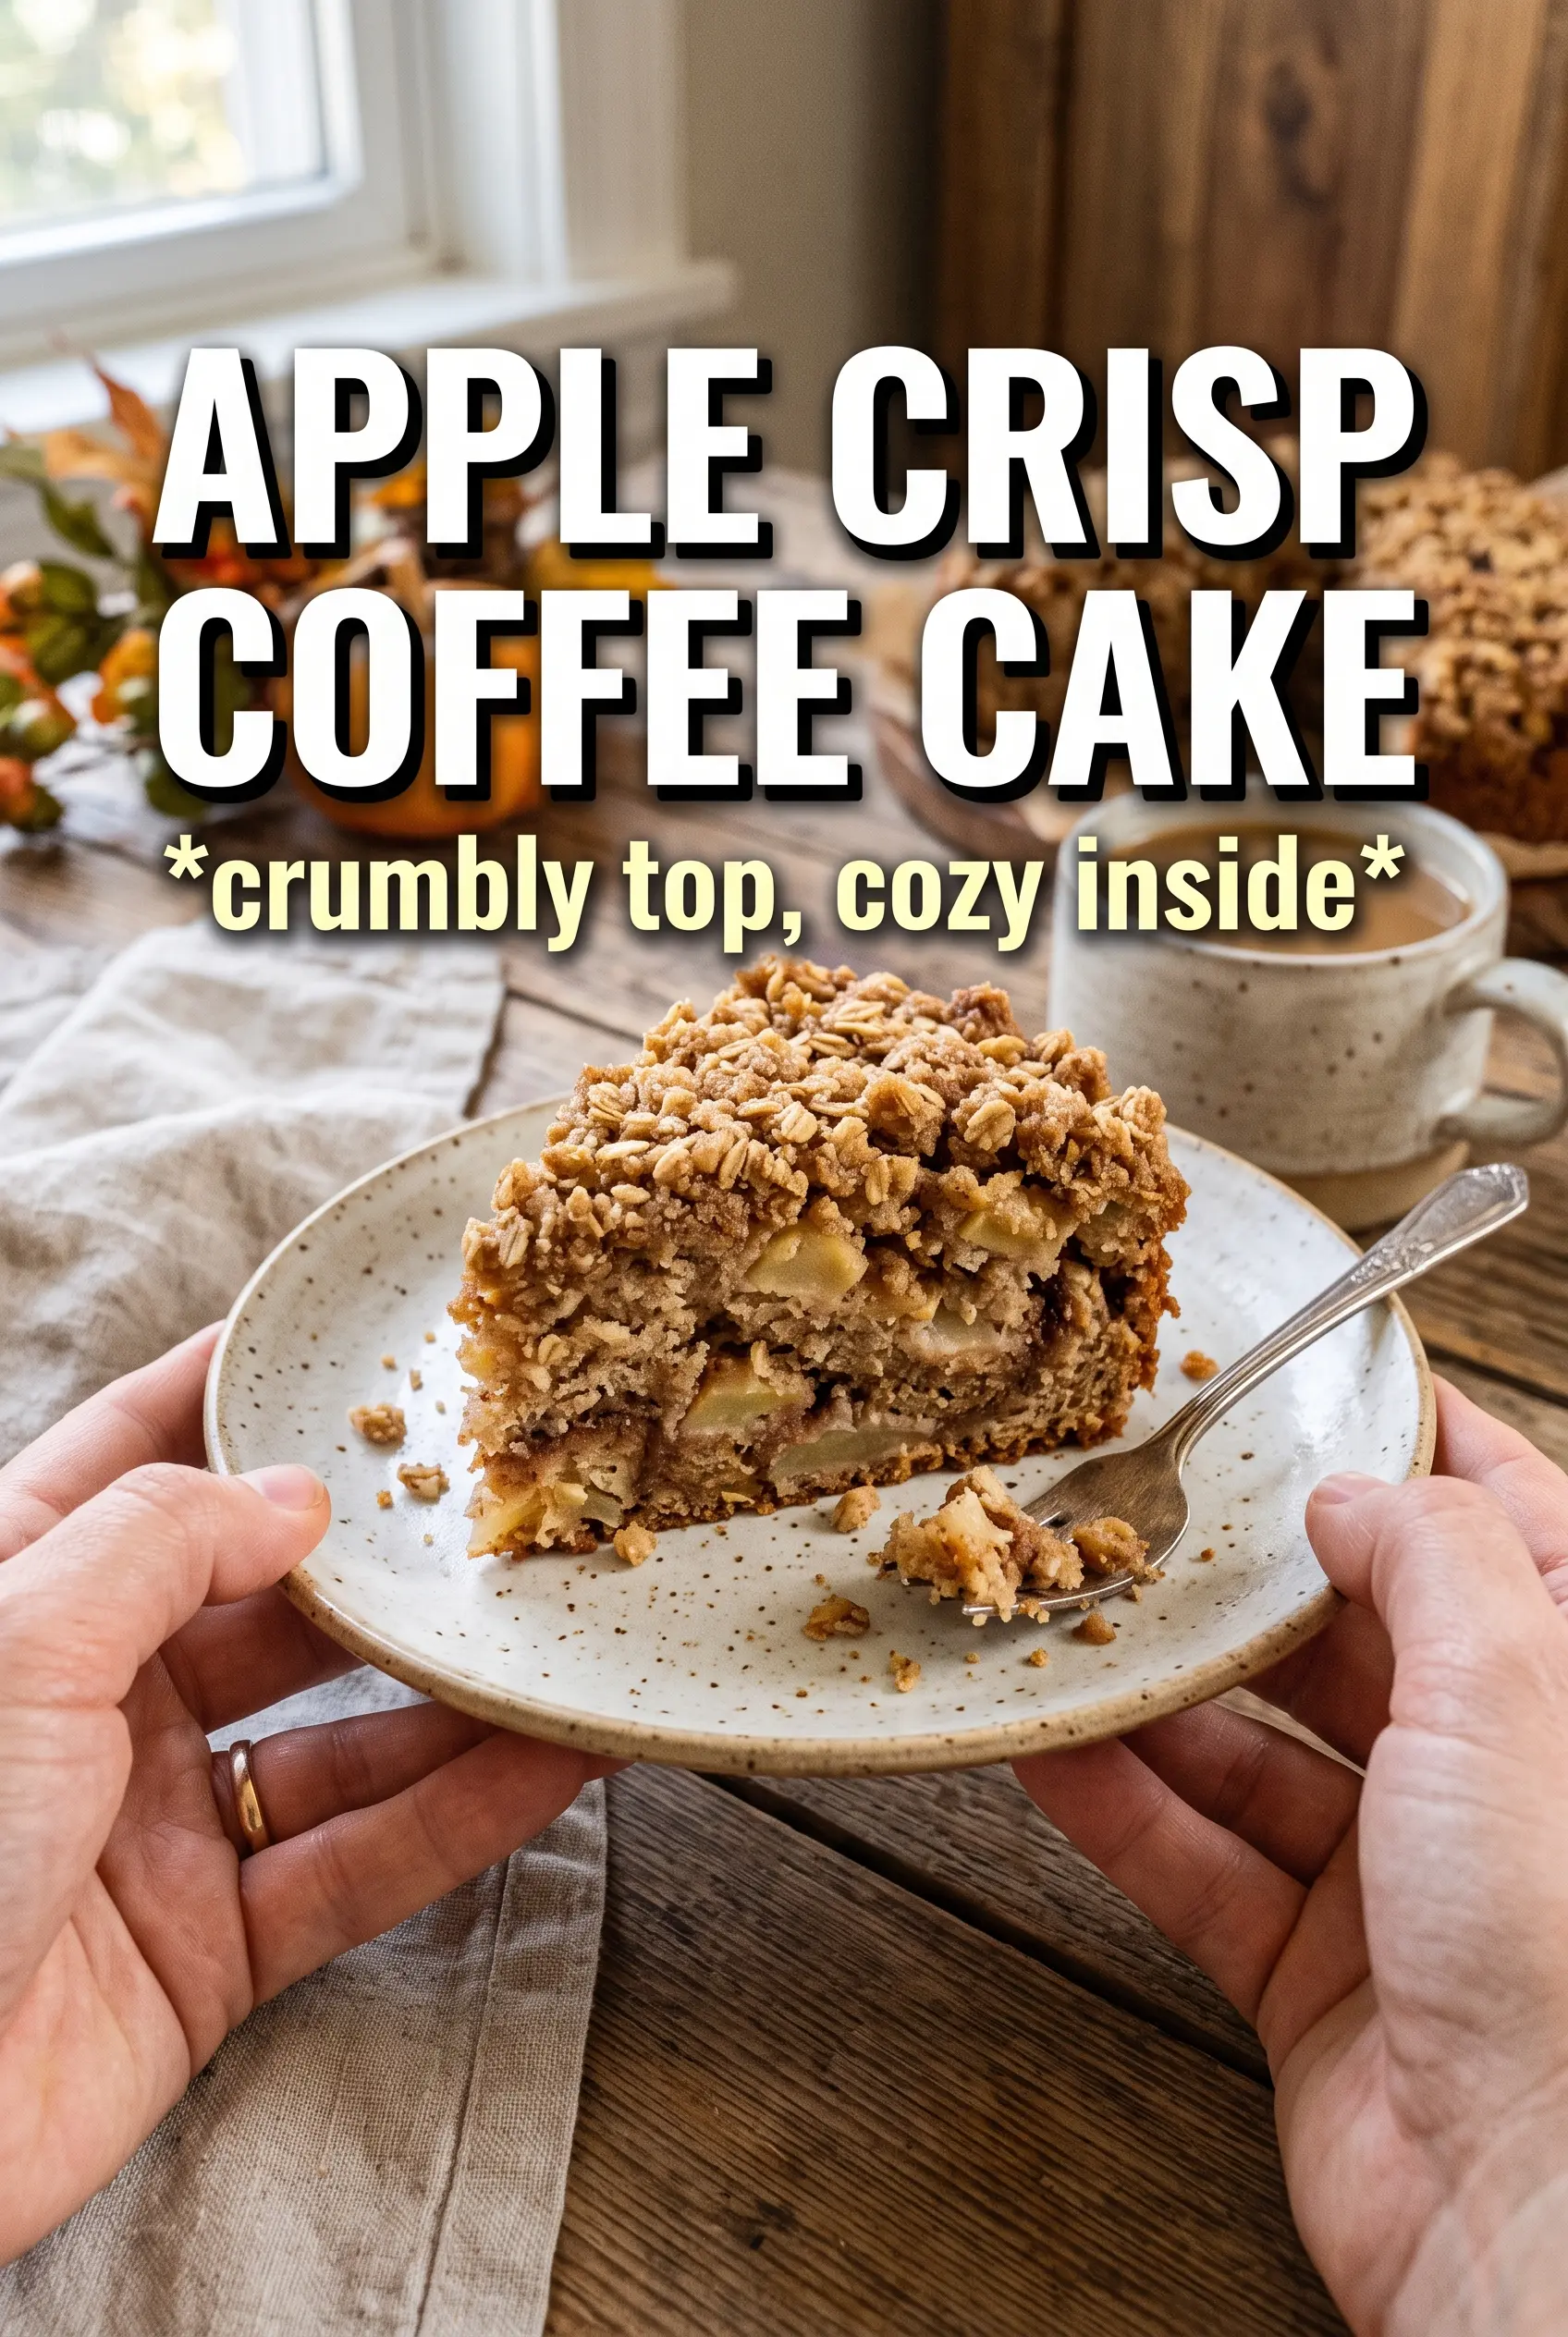
Apple Crisp Coffee Cake brings together the best parts of a tender breakfast cake and a warm apple crumble. The top bakes into a golden oat crown with cinnamon-caramelized edges, while the cake underneath stays soft and moist from sour cream and diced apples. Every slice gives you a little crunch, a little spice, and a lot of that just-baked comfort people keep coming back for.
What makes this version work is the contrast. The topping gets mixed first with cold butter so it stays clumpy instead of melting into the batter, and that keeps the oat layer crisp in the oven. Sour cream gives the crumb enough richness to stay plush without turning heavy, and the diced apples disappear into the cake just enough to leave little juicy pockets instead of big wet gaps.
Below, I’ll show you how to keep the crumble from sinking, what kind of apples give the best texture, and a few smart swaps if you need to work with what’s already in the kitchen.
The oat topping baked up crunchy instead of sinking, and the sour cream kept the cake super moist even the next morning. My kids kept sneaking slices before I could even glaze it.
Save this Apple Crisp Coffee Cake for the mornings when you want a buttery crumble top and a soft apple-studded center.
The Trick to Keeping the Crumble on Top Instead of Melting Into the Cake
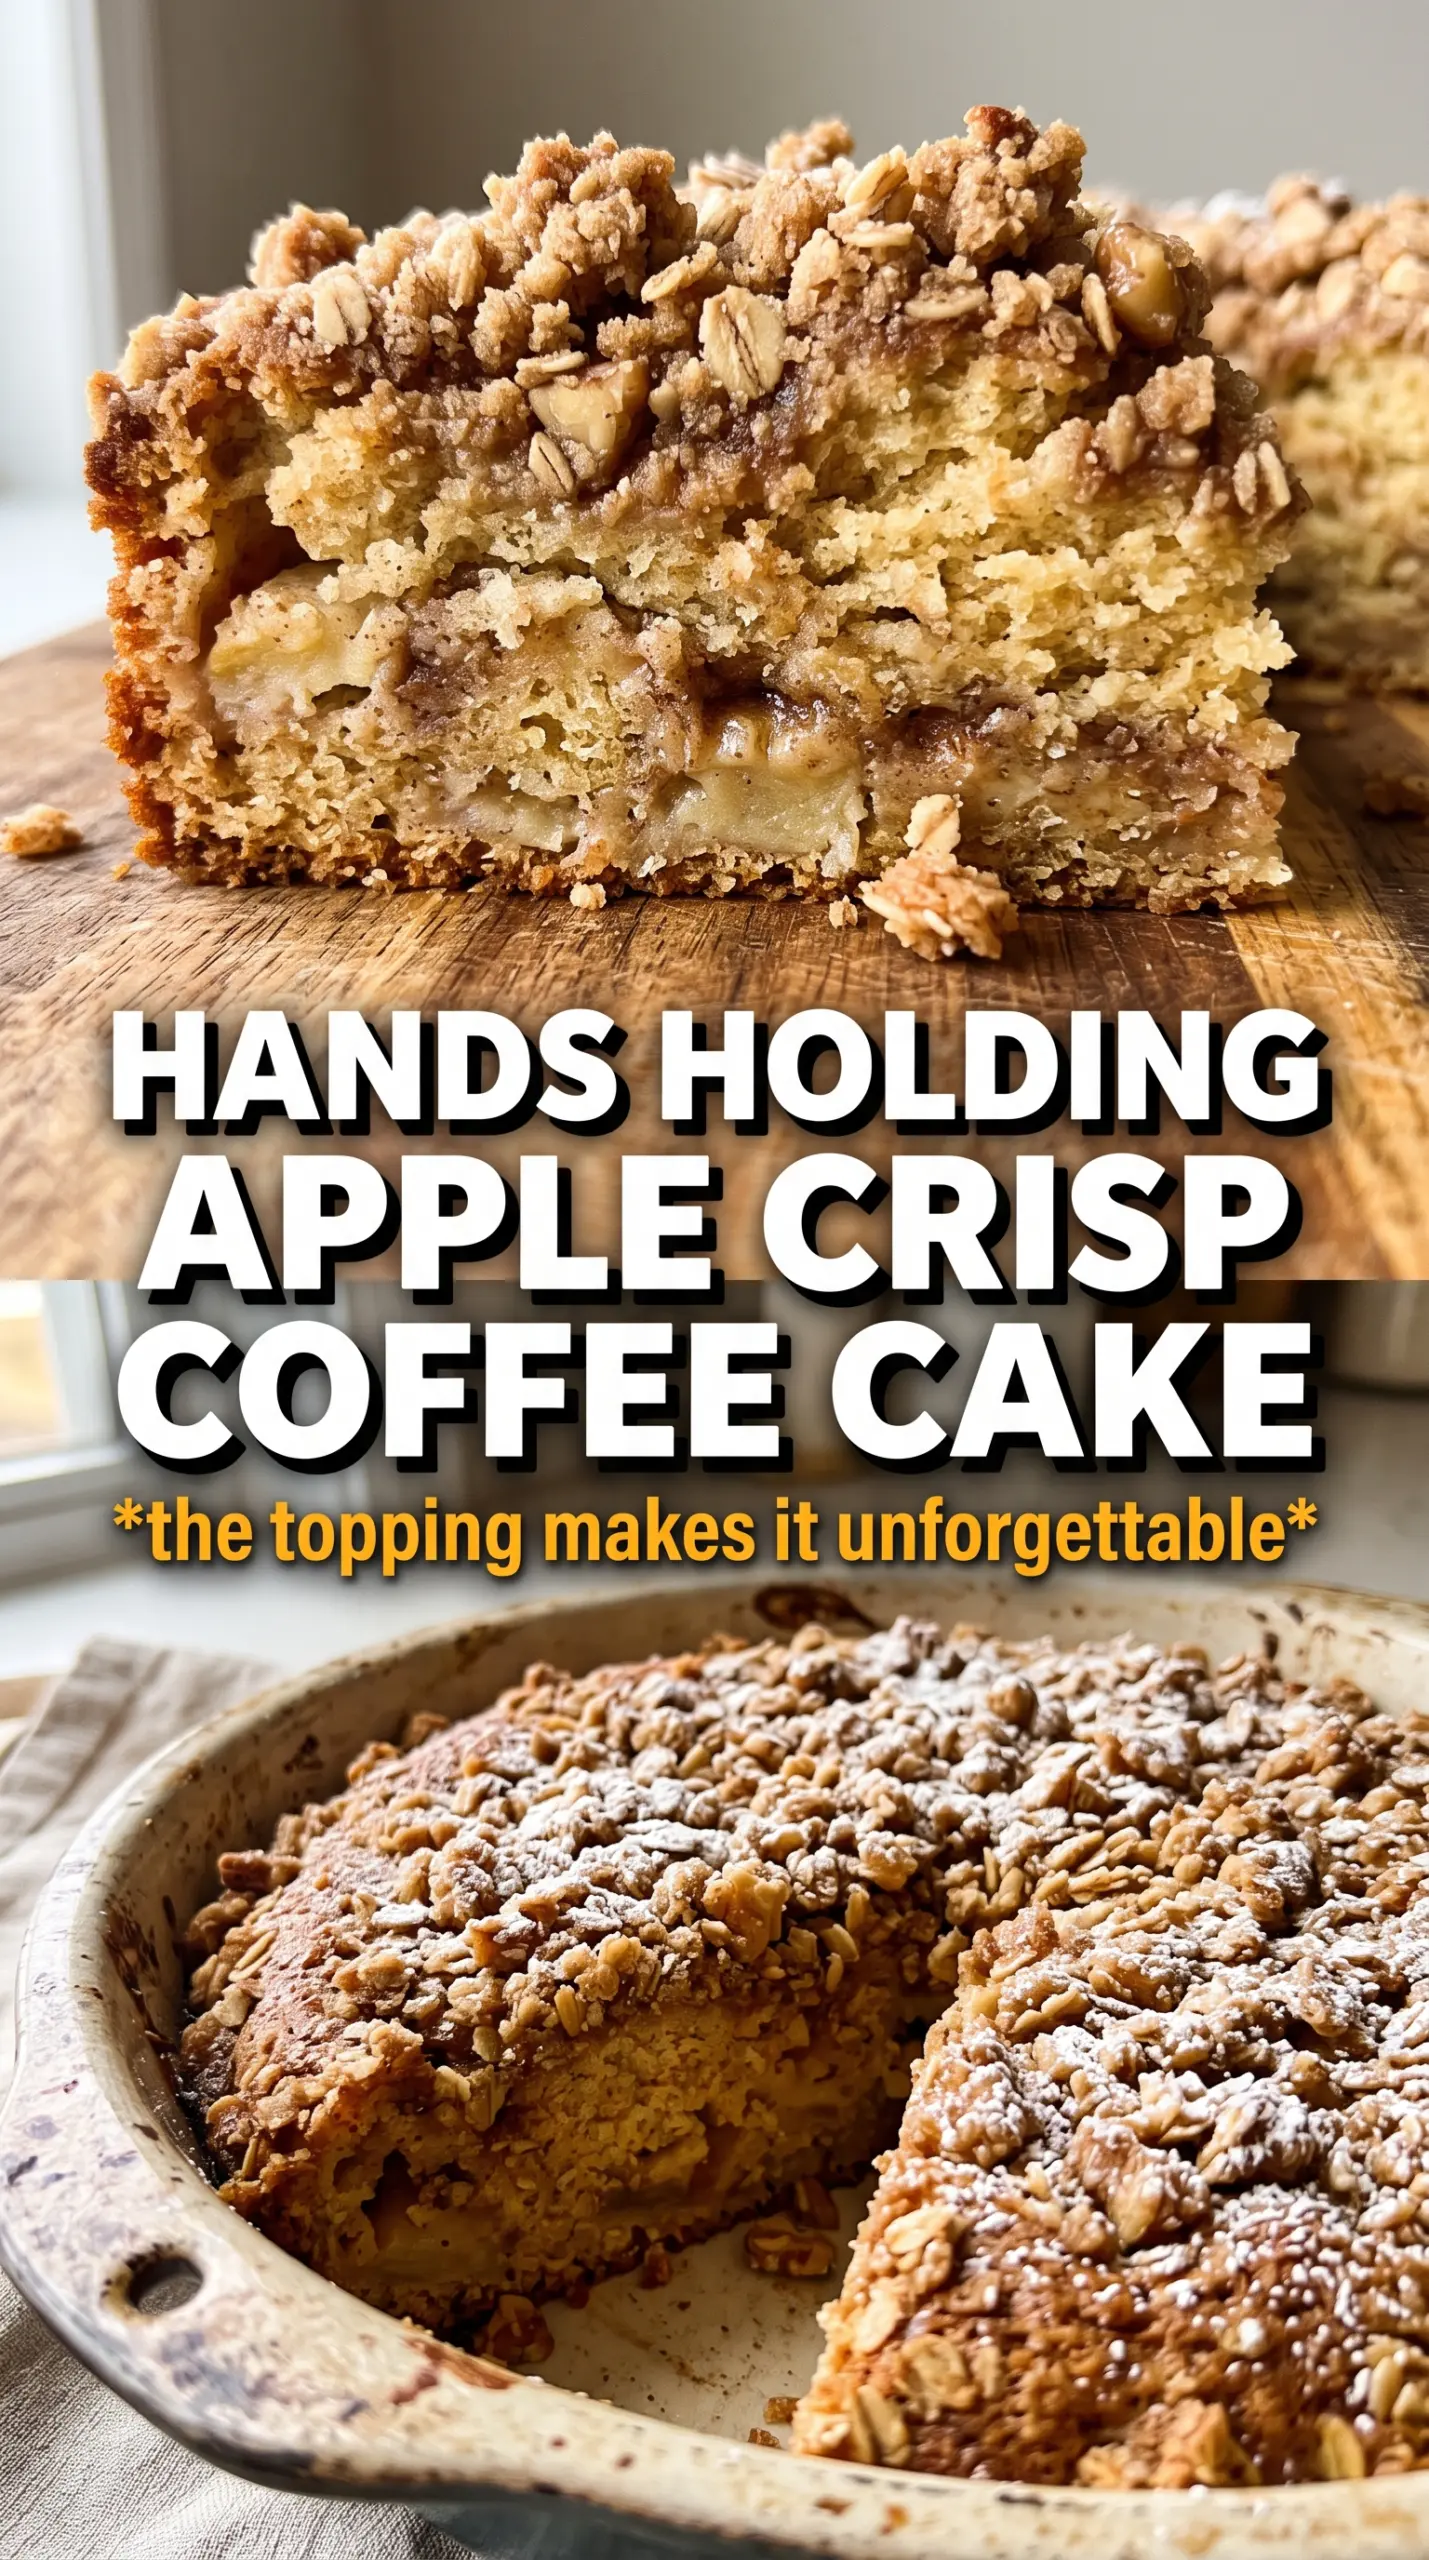
The biggest mistake with coffee cake toppings is letting the butter get too soft. Once the butter blends in completely, you end up with a sandy layer that disappears into the batter instead of a crisp, craggy top. Cold cubed butter keeps the mixture in uneven clumps, and those clumps bake into the crunchy pockets everyone wants.
Another place people go wrong is spreading the batter too thin or too aggressively. The batter is thick, and that’s a good thing. A thick base supports the topping, so when you scatter the crumble over the top, it stays visible and bakes into a proper cap instead of sinking in as the cake rises.
- Cold butter for the topping — This is what gives you that apple crisp texture. If the butter starts softening while you mix, pop the bowl into the fridge for 10 minutes before finishing it.
- Sour cream in the batter — It makes the crumb tender and keeps the cake from drying out under the weight of the topping. Plain Greek yogurt works in a pinch, but the cake will taste a little tangier.
- Diced apples — Small pieces bake evenly and release moisture without turning the center soggy. Large chunks can leave wet pockets and make slices fall apart.
What Each Ingredient Is Actually Doing in This Cake
- All-purpose flour — It gives the cake structure and also forms the base of the crumble. Using a little in both places ties the texture together instead of making the topping feel separate from the cake.
- Cinnamon — It carries the apple flavor from the first bite to the last. Don’t bury it under extra spice; this cake works because the cinnamon is warm, not heavy.
- Apples — Use a firm baking apple such as Granny Smith, Honeycrisp, or Braeburn. Softer apples can break down too much and make the center wet.
- Butter — Softened butter in the cake builds a light, tender crumb. Cold butter in the topping creates those crisp little pieces that brown at the edges.
Building the Batter and Topping in the Right Order
Mix the Crumble First
Start with the topping so it has time to chill while you make the cake. Combine the oats, flour, brown sugar, cinnamon, and salt, then cut in the cold butter until the mixture looks like damp pebbles with some larger clumps. Refrigerating it firms up the butter again, which helps the topping bake up with sharp edges instead of disappearing into the batter.
Whip the Base Until It Looks Light
Beat the softened butter and sugar until the mixture turns pale and fluffy. That step traps air and gives the cake a lighter crumb, so don’t rush it. Add the eggs one at a time, then the vanilla and sour cream; if the batter looks slightly curdled at this point, that’s normal and it smooths out once the dry ingredients go in.
Fold in the Apples Without Overworking the Batter
Once the dry ingredients are just combined, stop mixing and fold in the diced apples. Overmixing after the flour goes in develops gluten and makes the cake dense. Spread the batter evenly into the pan, then scatter the crumble generously over every inch so the whole top bakes into a crisp layer, not just the center.
Bake Until the Center Sets
Bake until the topping is deep golden and a toothpick in the center comes out clean or with a few moist crumbs. If the top browns too quickly before the middle is done, lay a loose piece of foil over the pan for the last 10 to 15 minutes. Let the cake cool before slicing; that resting time gives the crumb a chance to set, and the slices come out cleaner.
Three Smart Ways to Adapt Apple Crisp Coffee Cake
Use Greek Yogurt Instead of Sour Cream
Plain full-fat Greek yogurt works well here if that’s what you have. It keeps the cake moist, though the crumb comes out a little tighter and the flavor is slightly tangier. Stick with full-fat yogurt so the batter doesn’t turn thin.
Make It Gluten-Free
A good 1:1 gluten-free flour blend works for both the cake and the topping. The texture will be a little more delicate, so let the cake cool fully before cutting. Old-fashioned oats are naturally gluten-free, but use certified gluten-free oats if cross-contact matters.
Switch the Apples for Pears or Peaches
Firm pears work beautifully and give the cake a softer, floral note. Peaches can work too, but they release more juice, so toss them with a spoonful of flour before folding them in. That keeps the center from turning wet.
Storage and Reheating
- Refrigerator: Store covered for up to 4 days. The topping softens a bit in the fridge, but the cake stays moist.
- Freezer: Freeze tightly wrapped slices for up to 2 months. Thaw overnight in the refrigerator for the best texture.
- Reheating: Warm slices in a 300F oven for 10 minutes or microwave briefly. The oven brings the crumble back to life; the microwave is faster, but the topping will stay softer.