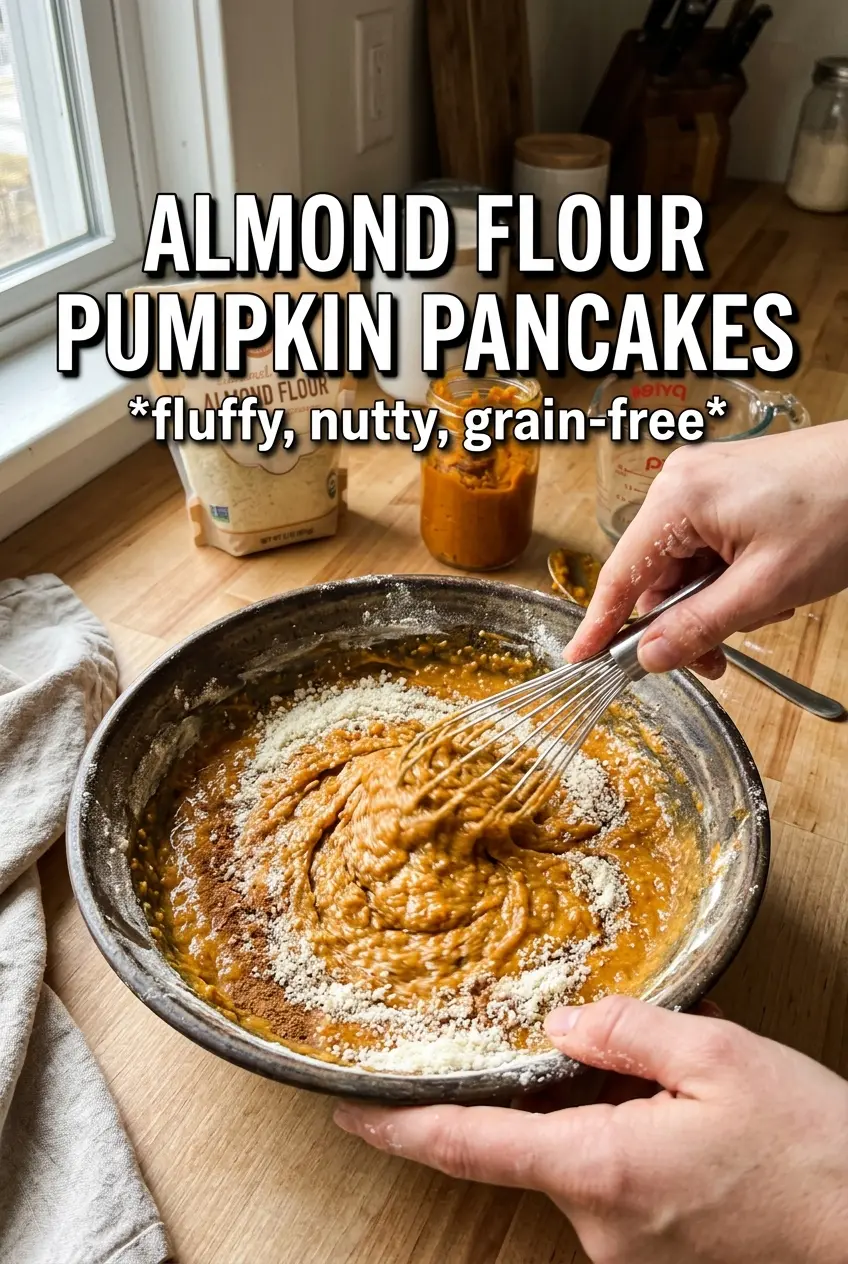
Almond flour pumpkin pancakes land with a soft, custardy middle and crisp, golden edges when they’re cooked low and slow. The pumpkin keeps them moist, the almond flour gives them a little more body than a standard pancake, and the warm spice hits the maple syrup in all the right ways. They’re filling without feeling heavy, which is exactly why they disappear fast at the table.
The difference between pancakes that hold together and pancakes that slump in the pan comes down to heat and timing. Almond flour browns faster than wheat flour, but the eggs and pumpkin need a little extra time to set, so medium-low heat is the sweet spot. The vinegar wakes up the baking soda for a gentler lift, and the batter stays thicker on purpose; if it looks more like a scoopable batter than a pourable one, you’re on track.
Below, I’ve added the one visual cue I watch for before flipping, plus a few smart swaps if you want to keep these dairy-free or make them ahead.
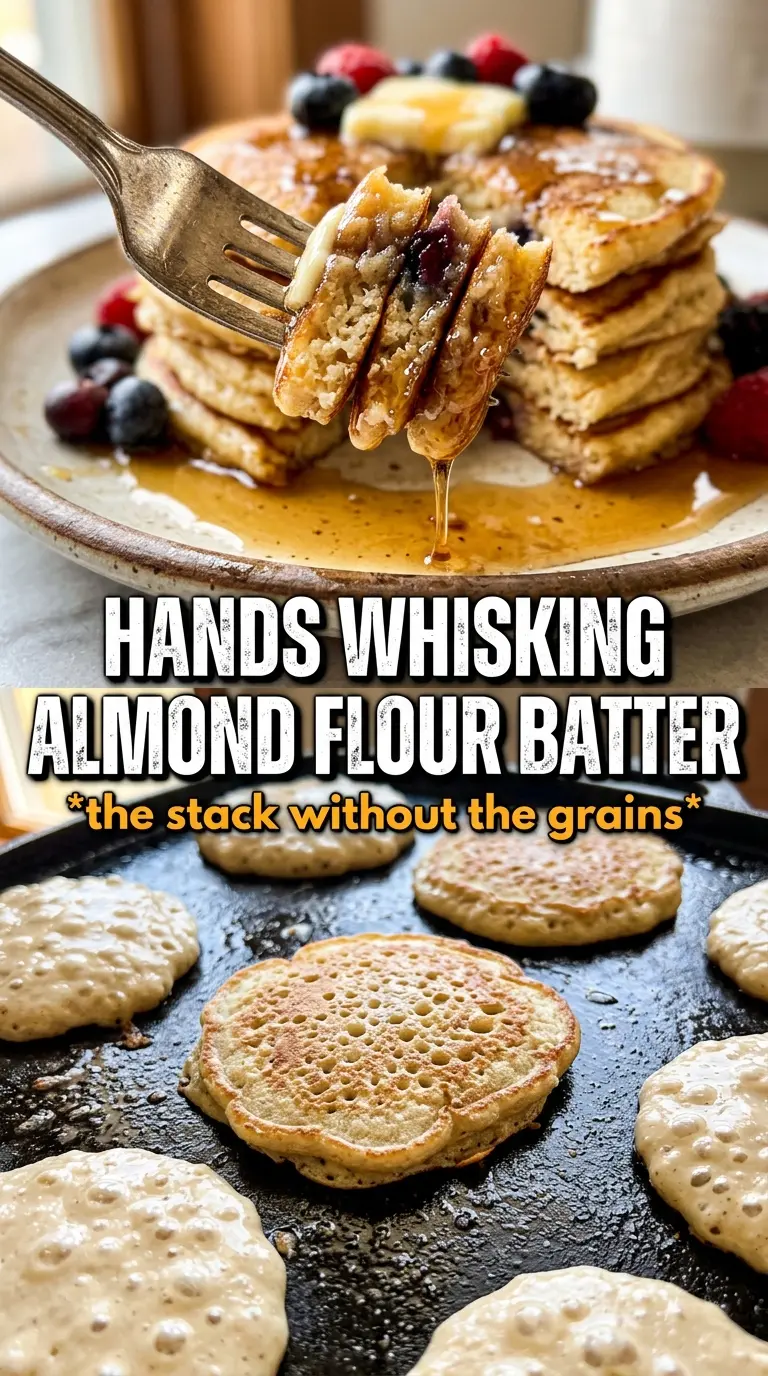
These cooked up thicker than my usual pancakes, but that was the best part. The centers stayed tender, the edges got a little crisp, and they flipped cleanly after about 3 minutes without falling apart.
Save these almond flour pumpkin pancakes for the mornings when you want a grain-free stack with crisp edges and a soft, spiced center.
The Trick to Flipping Almond Flour Pancakes Before They Tear
Almond flour pancakes don’t behave like regular pancakes. They need time to set on the first side, and if you rush that flip, the center can smear or the surface can split. Medium-low heat gives the eggs enough time to firm up before the bottom over-browns, which is the mistake that causes a lot of grain-free pancakes to look done outside and raw in the middle.
The batter is meant to be thick. That’s not a problem to solve; it’s what helps these pancakes hold their shape. If you add extra milk to thin it out, they spread too much in the skillet and lose the soft, sturdy texture that makes this recipe work.
- Low heat matters. Almond flour darkens faster than all-purpose flour, so a hot skillet burns the outside before the eggs set.
- Let the edges speak first. Wait until the edges look dry and the top no longer looks wet before you flip.
- Use a small pancake size. Two to three tablespoon rounds are easier to turn cleanly and cook through evenly.
What Each Ingredient Is Actually Doing in These Pancakes
- Almond flour — This is the structure here, and it’s not interchangeable with regular flour one-for-one. Fine blanched almond flour gives the best tender crumb and the least grit; almond meal will work, but the pancakes will be a little more rustic and denser.
- Pumpkin puree — Use pure pumpkin, not pumpkin pie filling. The puree brings moisture and body, and it’s what gives the pancakes that soft, dense middle without making them gummy.
- Eggs — They bind the batter and help the pancakes lift. With a grain-free batter like this, the eggs are doing a lot of the heavy lifting, so I wouldn’t reduce them.
- Apple cider vinegar — This reacts with the baking soda and gives the batter a little extra rise. If you skip it, the pancakes still work, but they won’t be as light around the edges.
- Almond milk or coconut milk — Just a small amount loosens the batter enough to scoop and spread slightly. Any unsweetened milk works, but coconut milk makes the pancakes a touch richer.
Getting the Batter to Cook Through Without Burning
Whisk the Dry Ingredients First
Start by blending the almond flour with the baking soda, pumpkin pie spice, cinnamon, and salt until the color looks even throughout. This keeps the spice from clumping and helps the baking soda distribute evenly, which matters in a batter this small. If you see streaks of spice after mixing the wet ingredients in, the pancakes can cook unevenly and taste sharp in spots.
Build the Wet Base Separately
Whisk the pumpkin, eggs, milk, maple syrup, vanilla, and apple cider vinegar until the mixture looks smooth and glossy. That vinegar won’t do much sitting by itself, so add it right before combining the batter. If the wet mixture looks separated, keep whisking; the eggs should be fully broken down before they hit the almond flour.
Cook Low and Give Them Time
Heat the skillet over medium-low and coat it lightly with coconut oil. Spoon on small rounds and flatten them just a little with the back of the spoon, then leave them alone until the edges set and the bottoms turn a deep golden color. If you move them too early, the center drags and the pancake tears; if the pan is too hot, the outside browns before the middle firms up. Flip carefully and cook the second side until it springs back lightly when pressed.
How to Tweak These for Different Kitchens and Schedules
Make Them Dairy-Free Without Changing the Texture
These are already easy to keep dairy-free because the recipe uses almond milk or coconut milk and coconut oil for cooking. Stick with unsweetened milk so the pancakes don’t get sweeter than you expect, and choose coconut milk if you want a slightly richer finish.
Swap the Sweetener for a Less Sugary Stack
You can cut the maple syrup down a bit if you want to lean on the pumpkin and spice instead of sweetness. Don’t remove it completely unless you’re comfortable with a more savory pancake, since the syrup helps round out the flavor and keeps the crumb from tasting flat.
Use Them as a Gluten-Free Breakfast Base
Almond flour already makes these naturally gluten-free, which is part of why the batter behaves differently from standard pancakes. The trade-off is a more delicate flip, so keep the pancakes small and the heat lower than you would for wheat-based batter.
Storage and Reheating
- Refrigerator: Store in an airtight container for up to 4 days. They’ll soften a bit as they sit, but the flavor stays strong.
- Freezer: They freeze well. Layer parchment between pancakes, seal them tightly, and freeze for up to 2 months.
- Reheating: Warm them in a toaster oven, skillet, or a low oven until heated through. The mistake is microwaving them too long, which makes almond flour pancakes rubbery instead of tender.