Air fryer chicken breasts come out with a crisp, seasoned crust and a juicy center when the heat is high enough to brown the outside before the meat dries out. The payoff is a dinner that looks and tastes like you worked harder than you did, and the whole thing lands on the table in under 30 minutes.
The trick is even thickness. Once the chicken breasts are pounded to the same height, they cook at the same pace, which is what keeps the thinner ends from turning dry while the thicker middle catches up. A light coating of olive oil helps the spices cling and encourages that deep golden finish without needing breadcrumbs or flour.
Below, I’ve included the exact timing that keeps the chicken juicy, plus a few simple swaps if you want to change up the seasoning without losing that crisp exterior.
I pounded the breasts to an even thickness like you said, and they cooked evenly for once. The outside got that seasoned crust, and the center stayed juicy all the way through.
Save these juicy air fryer chicken breasts for a fast dinner with a golden crust and no dry edges.
The Trick to Juicy Chicken Is Treating Both Ends the Same
The most common reason chicken breasts dry out in the air fryer is uneven thickness. The thin tip is finished long before the thick middle, and by the time the center is safe, the narrow end has already lost too much moisture. Pounding the chicken to a steady 3/4-inch thickness solves that problem before the heat ever turns on.
The other mistake is cooking by color alone. A golden crust is a good sign, but it doesn’t tell you whether the middle is done. Pull the chicken when it reaches 165°F in the thickest part, then let it rest for five minutes so the juices settle back into the meat instead of running onto the cutting board.
- Chicken breasts — Boneless, skinless breasts are the right cut here because they cook fast and take on the seasoning well. If one end is much thicker than the other, pound it before seasoning so the air fryer can do its job evenly.
- Olive oil — You only need enough to coat the surface. It helps the spice blend stick and gives the crust a better chance to brown. A neutral oil works too, but olive oil adds a little more flavor.
- Smoked paprika — This is doing more work than it looks like. It adds color, a little warmth, and that cooked-through savory edge that makes the chicken taste seasoned all the way to the center.
- Italian seasoning — This brings dried herbs that stand up well to high heat. If yours is old and dusty, replace it; tired dried herbs taste flat instead of fragrant.
What Each Ingredient Is Actually Doing in This Recipe
- Primary ingredient (the star) — Quality matters most. Choose the best you can find.
- Cooking medium (oil, butter, or broth) — This carries flavors and prevents dryness.
- Seasonings (salt, pepper, spices, herbs) — Layer flavors so nothing overpowers. Build depth gradually.
- Aromatics (garlic, onion, herbs) — Cook with fat to bloom flavors. Become the foundation.
- Supporting ingredients — Complement the main ingredient without overpowering it.
- Sauce or liquid (if applicable) — Brings flavors together. Balance richness with acid.
- Acid (lemon, vinegar, wine, or other) — Brightens and prevents flat-tasting results.
- Final finish (garnish, glaze, or sauce) — Prevents one-dimensional taste and adds visual appeal.
Getting the Spice Rub to Brown Without Drying Out the Meat
Preheating the air fryer
Set the air fryer to 390°F and give it time to come fully up to temperature before the chicken goes in. Starting in a hot basket helps the outside set quickly, which is what builds that lightly crisp crust instead of a pale, steamed surface. If your air fryer runs hot, check it a minute early the first time you make this.
Seasoning both sides evenly
Brush the chicken with olive oil, then rub the seasoning mixture over every exposed surface. Press it on with your fingers so it actually sticks. If you scatter it from a height, much of it ends up in the basket instead of on the chicken, and the coating turns patchy.
Cooking to temperature, not just time
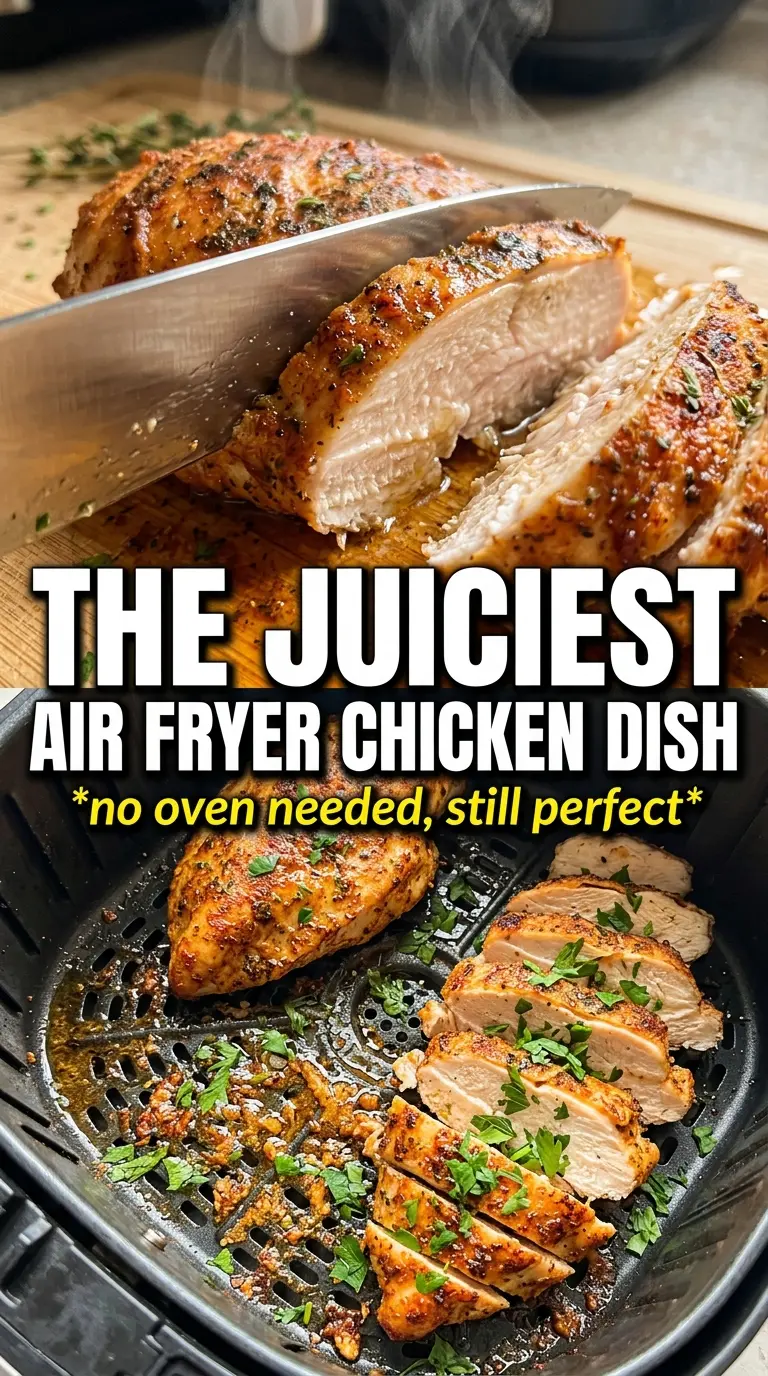
Air fry for 16 to 18 minutes, flipping halfway through. The chicken should look deeply golden with some darker spots where the paprika and herbs caramelize. Start checking the internal temperature at the 16-minute mark; thinner breasts can finish early, and extra minutes are where dry chicken usually happens.
Resting before slicing
Move the chicken to a plate and let it rest for five minutes before cutting. This part matters more than people think. Slice too soon and the juices run out, leaving the center less tender than it should be. Rested chicken slices cleanly and stays moist on the plate.
How to Change the Seasoning Without Losing the Crispy Finish
Make It Gluten-Free Without Any Extra Work
This recipe is naturally gluten-free as written, so there’s nothing special to swap. Just check that your spice blends are labeled gluten-free if you’re cooking for someone with celiac disease, since some seasoning mixes can pick up fillers during processing.
Use Boneless Chicken Thighs for a Richer, Juicier Result
Chicken thighs work well if you want a darker, more forgiving cut. They usually need a few extra minutes in the air fryer, and the texture will be more succulent than lean chicken breast. Keep the same seasoning, but cook to temperature instead of relying on the clock.
Swap the Herb Blend for a Spicier Dinner
Replace the Italian seasoning with chili powder or a Cajun-style blend if you want more heat. The crust will taste bolder and a little smokier, but the cooking method stays the same. Watch the color closely, since spice blends with more sugar can darken faster.
Storage and Reheating
- Refrigerator: Store in an airtight container for up to 4 days. The crust softens a bit, but the chicken stays useful for slicing over salads, grain bowls, or sandwiches.
- Freezer: Freeze cooked, cooled chicken breasts tightly wrapped for up to 2 months. Thaw overnight in the refrigerator so the texture stays closer to fresh-cooked instead of stringy.
- Reheating: Reheat in the air fryer at 350°F for 3 to 5 minutes, just until warmed through. The common mistake is blasting it too long, which dries out the lean meat fast.
Questions I Get Asked About This Recipe
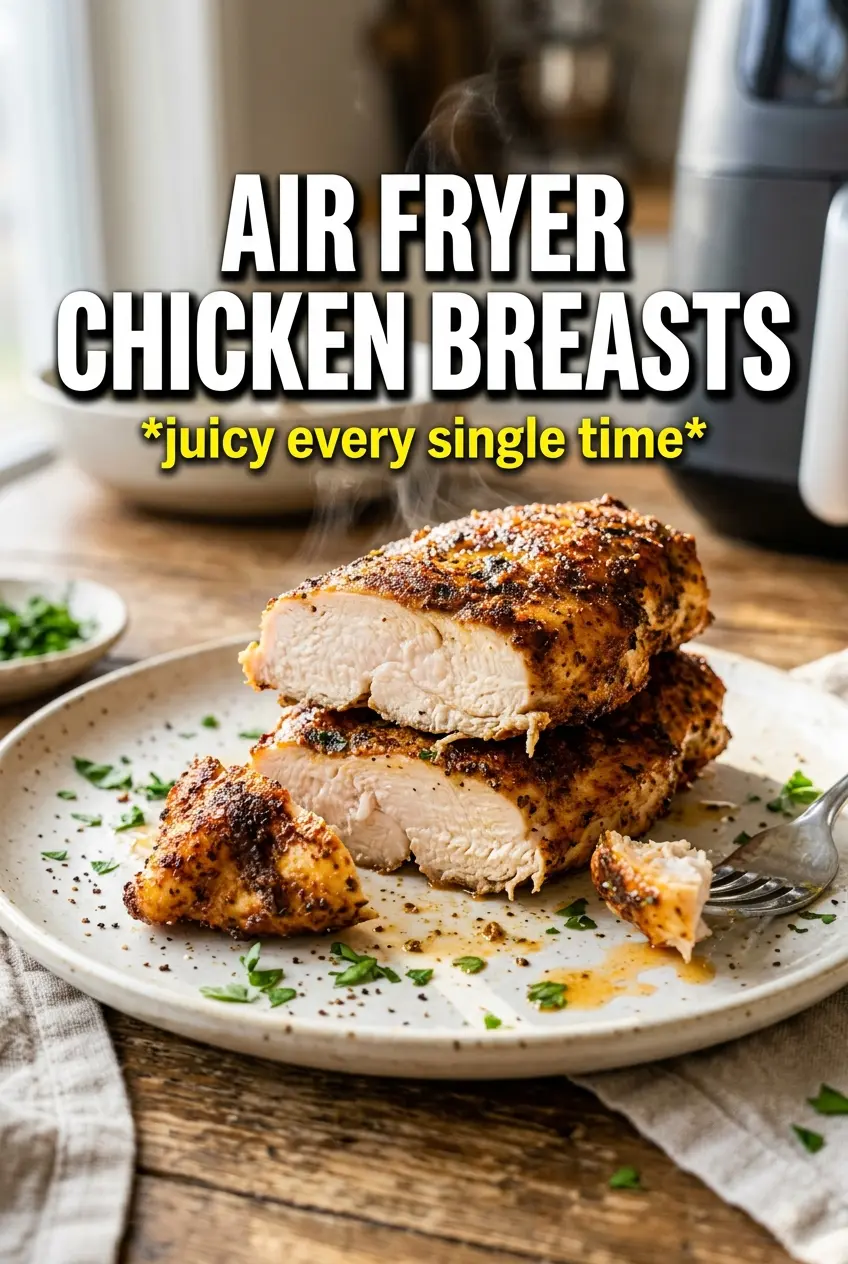
Air Fryer Chicken Breasts
Ingredients
Equipment
Method
- Preheat the air fryer to 390°F so it reaches temperature before the chicken goes in. This helps the coating set quickly for a browned exterior.
- Pound the chicken breasts to an even 3/4-inch thickness if needed for uniform cooking. Look for consistent thickness so they finish at the same time.
- Brush both sides of the chicken with olive oil. The surface should look lightly glossy.
- Mix together garlic powder, onion powder, smoked paprika, Italian seasoning, salt, and cracked black pepper. Rub the spice mixture evenly over both sides of the chicken so it’s fully coated.
- Air fry the chicken at 390°F for 16-18 minutes, flipping halfway through. Cook until the internal temperature reaches 165°F and the outside is golden.
- Rest the chicken for 5 minutes before slicing. The juices should redistribute and the center should look juicy rather than runny.
- Garnish with fresh parsley and lemon wedges. Serve with the bright lemon for extra flavor at the first bite.