Golden garlic butter chicken earns its place in the weeknight rotation because the sauce tastes like it took a lot more effort than it did. The chicken sears into a deep, savory crust, then gets bathed in a pan sauce that stays glossy instead of greasy, with little bits of garlic floating through every spoonful. It’s the kind of skillet dinner that lands hard on flavor without asking for a long ingredient list or a sink full of dishes.
The key is keeping the heat in the right place at the right time. The chicken needs a hot pan so it browns before it overcooks, but the garlic needs gentler heat once the butter goes in so it turns fragrant instead of bitter. A splash of broth lifts the browned bits off the skillet and gives the sauce enough body to cling to the chicken instead of running straight to the bottom of the plate.
Below, I’ll walk through the parts that matter most: how to get that sear without drying out the chicken, what the garlic is doing in the sauce, and a few smart ways to adapt the dish if you want to change the herbs, make it dairy-free, or plan for leftovers.
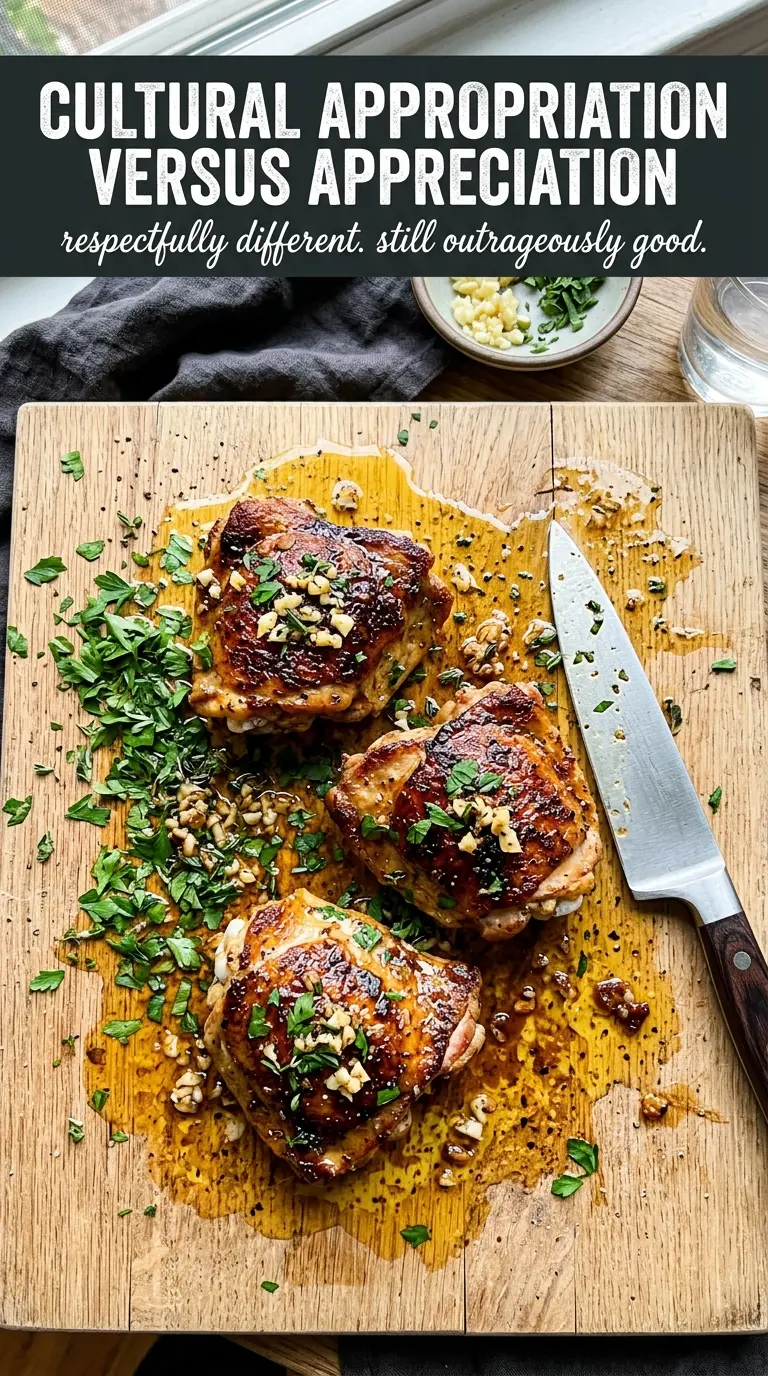
The chicken came out juicy and the garlic butter sauce thickened just enough to coat every bite. I served it with crusty bread and there wasn’t a drop left in the pan.
Save this garlic butter chicken for the nights when you want a fast skillet dinner with a glossy pan sauce and almost no cleanup.
The Sear Is the Difference Between Juicy Chicken and Stovetop Steam
The biggest mistake with pan-seared chicken is crowding the skillet or starting with a pan that isn’t hot enough. Both lead to pale, slippery chicken that releases a lot of liquid and never develops the browned crust this dish needs. Give the breasts space in the pan and let the first side sit undisturbed until it lifts cleanly and looks deeply golden around the edges.
Once the chicken is done, the sauce starts in the same skillet. That matters because the brown bits stuck to the bottom are concentrated chicken flavor, and the broth loosens them into the butter instead of leaving them behind. If the pan looks dry or the garlic starts browning too quickly, pull the heat down right away; burnt garlic will take over the whole sauce in seconds.
What Each Ingredient Is Actually Doing in This Dish
- Chicken breasts — Boneless breasts cook quickly and give you that neat, sliceable presentation, but they dry out fast if they’re uneven in thickness. If one end is much thicker, pound it lightly so the whole piece cooks at the same pace.
- Butter — This is what turns the skillet juices into a sauce that feels rich and spoonable. Use real butter here; margarine won’t give you the same body or the same clean finish.
- Garlic — Minced garlic flavors the butter directly, so it needs to cook just until fragrant. Fresh garlic matters more than jarred here because the sauce is built around its sharp, sweet edge.
- Chicken broth — The broth lifts the fond from the pan and gives the sauce enough volume to coat the chicken. Low-sodium broth is the best choice if you want control over the final seasoning.
- Thyme and parsley — Thyme gives the sauce its savory backbone, while parsley cuts through the richness at the end. Dried thyme works fine, but use fresh parsley if you can because it brightens the butter instead of just decorating it.
- Lemon juice — A small squeeze at the end wakes everything up and keeps the butter sauce from tasting flat. Add it gradually; too much will overpower the garlic and make the sauce taste sharp instead of balanced.
Getting the Chicken and Sauce to Finish at the Same Time
Seasoning and Searing the Chicken
Season the chicken generously before it hits the pan so the salt has time to pull flavor into the meat surface. Heat the olive oil until it shimmers, then lay the chicken in without moving it; if it sticks, it isn’t ready to turn yet. After 6 to 7 minutes per side, the outside should be deeply golden and the center should reach 165°F. If the outside is browning too fast before the inside cooks through, lower the heat a touch and keep going.
Building the Garlic Butter Base
When the chicken comes out, reduce the heat before you add the butter. That’s the moment that keeps the garlic from scorching. Stir it for just 1 to 2 minutes until it smells sweet and nutty, not sharp and raw. The pan will look noisy and glossy, and that’s exactly right. If the garlic starts to darken too quickly, add the broth immediately to stop the cooking.
Deglazing and Bringing It All Together
Pour in the broth and scrape the bottom of the pan with a wooden spoon to release every browned bit. Those little stuck-on pieces are the backbone of the sauce, so don’t rush this part. Let the broth simmer for a couple of minutes until it reduces slightly and looks a bit more cohesive. Return the chicken to the pan, spoon the sauce over the top, then finish with parsley and lemon juice right before serving so the flavor stays bright.
Three Smart Ways to Adapt Garlic Butter Chicken Without Losing What Makes It Good
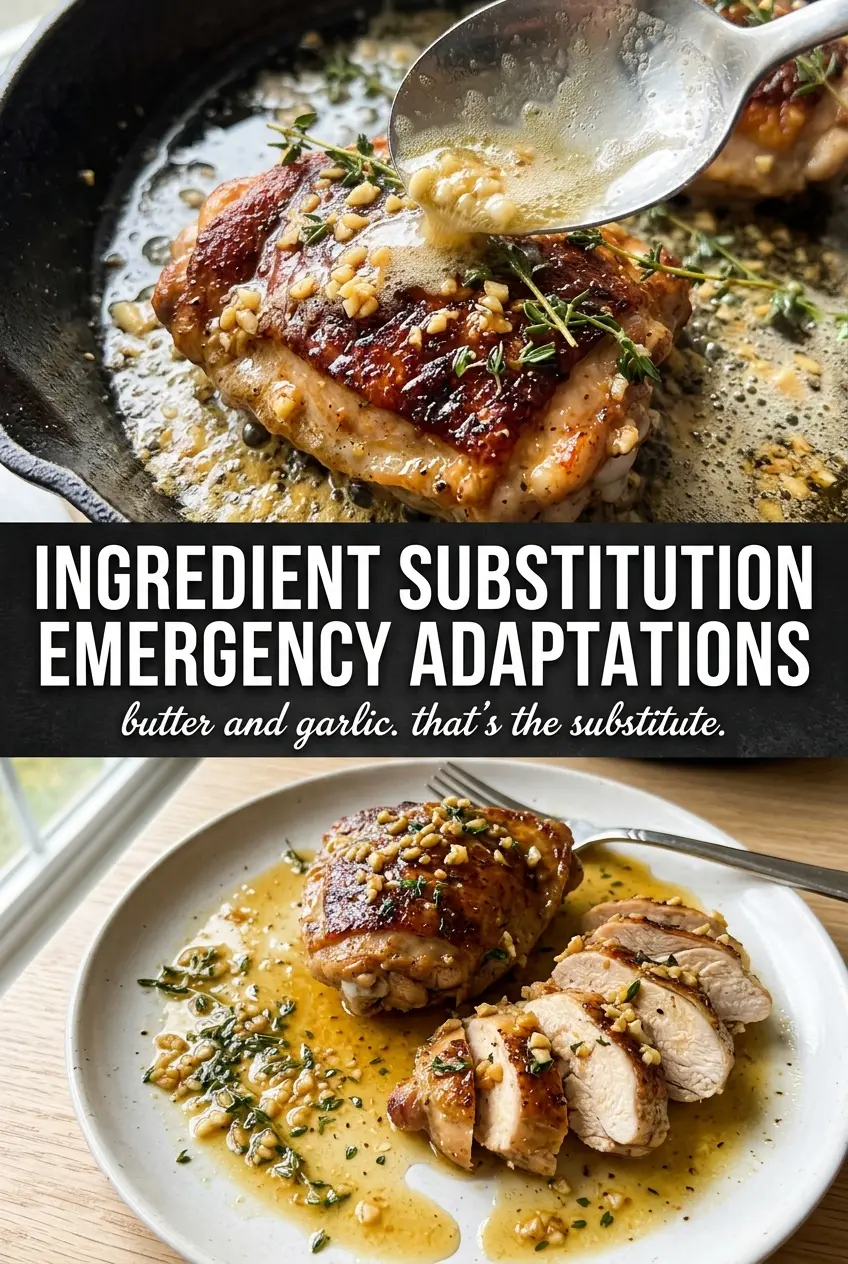
Make It Dairy-Free with Olive Oil Instead of Butter
Use an extra tablespoon or two of olive oil in place of the butter and keep the garlic on low heat so it doesn’t burn. The sauce will be lighter and less velvety, but it will still pick up the browned bits and carry the garlic well. Finish with lemon and parsley to replace some of the richness you lose.
Use Chicken Thighs for a Juicier, More Forgiving Result
Boneless thighs work well if you want a richer bite and a little more flexibility on cook time. They need a few extra minutes in the skillet, but they stay tender even if you take them slightly past perfect. The sauce works the same way, though it will taste a little deeper and more savory because the thighs bring more fat to the pan.
Turn It Into a Gluten-Free Dinner with the Right Sides
The chicken itself is naturally gluten-free, so the main thing is what you serve with it. Spoon the sauce over rice, mashed potatoes, or roasted vegetables instead of bread or pasta if you’re keeping the whole meal gluten-free. The sauce has enough body on its own that you won’t miss a flour-thickened base.
Storage and Reheating
- Refrigerator: Store leftovers in an airtight container for up to 3 days. The sauce may thicken as it chills, but it loosens again when reheated.
- Freezer: It freezes reasonably well, though the butter sauce can separate a little after thawing. Freeze in a sealed container for up to 2 months and thaw overnight in the fridge.
- Reheating: Warm it gently in a skillet over low heat with a splash of broth or water. High heat can overcook the chicken and break the sauce, so go slow and spoon the sauce over the chicken as it warms.
Answers to the Questions Worth Asking
Garlic Butter Chicken
Ingredients
Equipment
Method
- Season chicken breasts generously with salt and pepper, then pat lightly to help the seasoning adhere. Visual cue: the surface looks evenly speckled.
- Heat olive oil in a large cast iron skillet over medium-high heat until shimmering, then add chicken breasts. Sear for 6-7 minutes per side until golden and cooked through to 165°F, without moving them constantly.
- Remove chicken to a plate and reduce heat to medium. Visual cue: the browned fond remains in the pan for the sauce.
- Add butter and minced garlic to the skillet and cook for 1-2 minutes until fragrant. Visual cue: garlic softens and looks lightly golden.
- Add chicken broth and dried thyme, scraping up any browned bits from the bottom of the skillet. Simmer for 2-3 minutes until the sauce looks slightly thickened.
- Return chicken breasts to the pan, then spoon the garlic butter sauce over the top. Visual cue: sauce clings and turns glossy on the chicken.
- Add lemon juice and chopped parsley, then serve immediately. Visual cue: fresh parsley is visible and the lemon brightens the aroma.