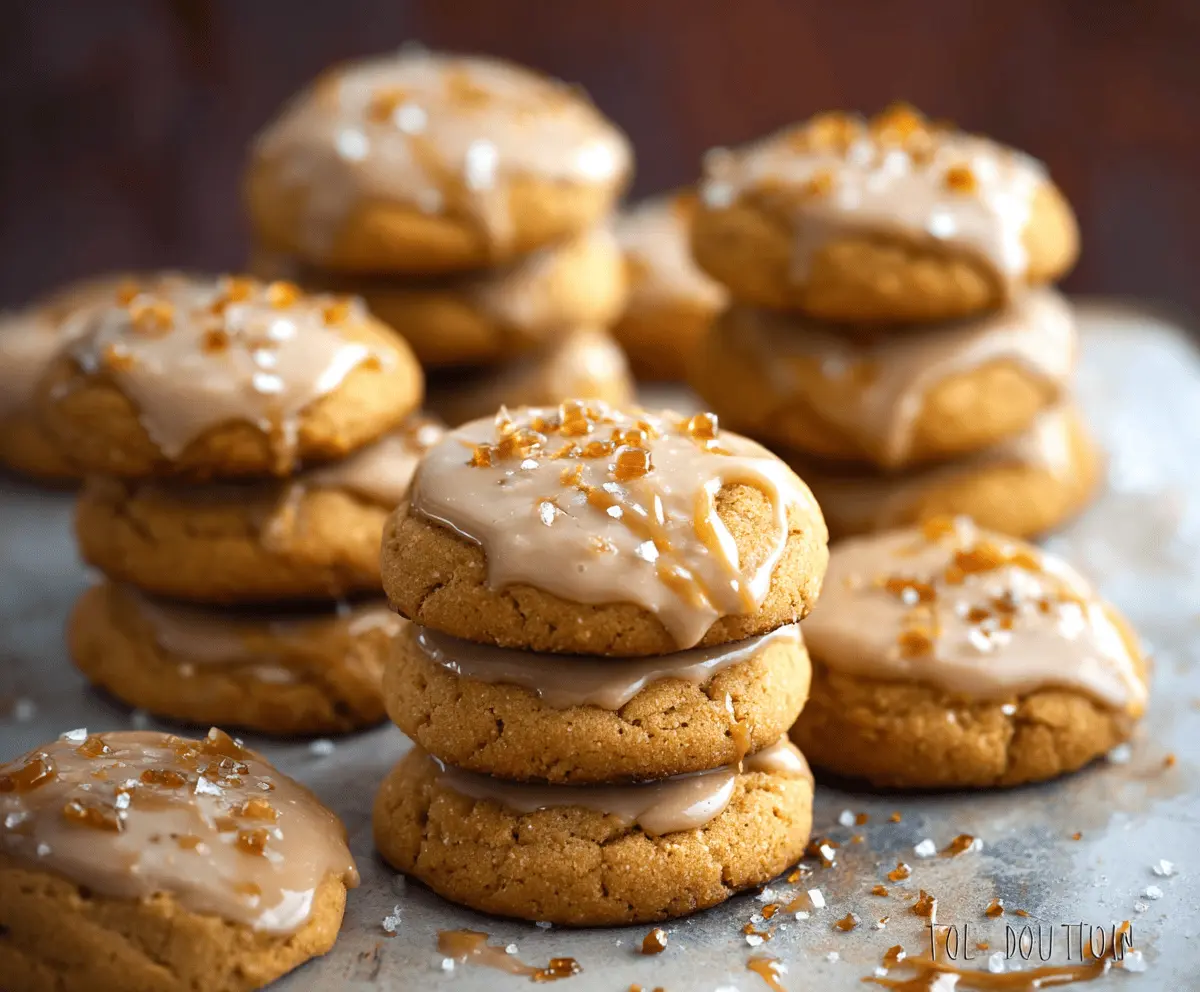
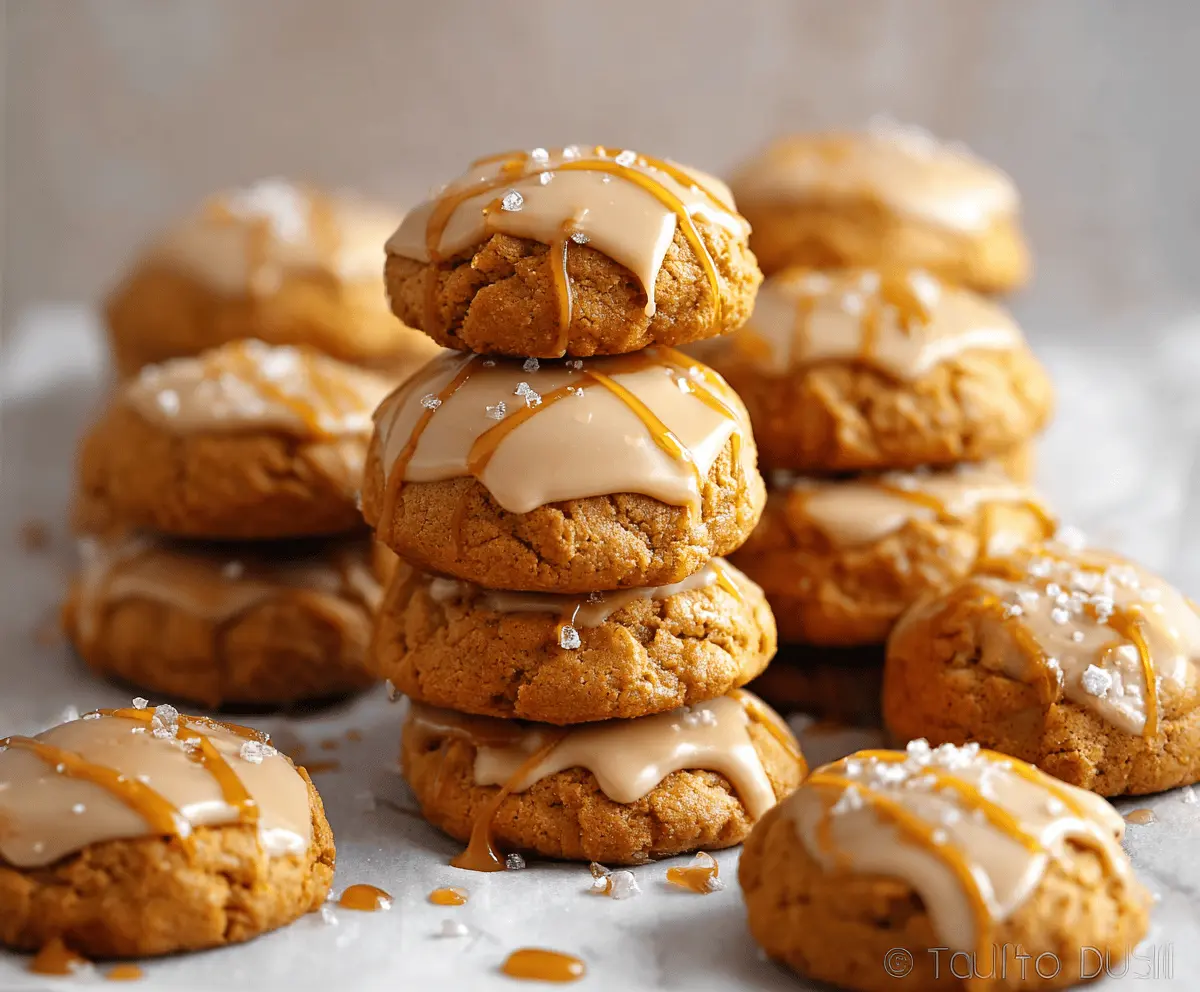
These Pumpkin Salted Caramel Cookies are a tasty treat, blending the warm flavors of pumpkin with sweet, gooey caramel. Perfect for fall, they are soft and chewy, and oh-so-delicious!
Who doesn’t love that sprinkle of salt on top? It makes each bite even more fun! I usually make a batch and share them, but let’s be real, I keep a few hidden just for me! 😄
Key Ingredients & Substitutions
Pumpkin Puree: Use pure pumpkin puree, not pumpkin pie filling, for the right flavor and texture. You can swap it out with unsweetened applesauce if you’re looking for a different twist, but keep in mind it will change the flavor.
Flours: The base flour is all-purpose, but you can substitute with a gluten-free blend if needed. I’ve also had good results using white whole wheat flour for added nutrition!
Spices: This recipe uses warm spices like cinnamon, ginger, nutmeg, and cloves. If you don’t have all of them, a pumpkin pie spice mix will work, too! It saves time and adds a nice flavor.
Caramel Sauce: You can use store-bought or homemade caramel for the glaze. If you can’t find caramel sauce, melted butterscotch can be a great substitute, just be mindful of the sweetness.
How Do I Get the Perfect Cookie Texture?
To achieve the ideal soft and chewy texture in your cookies, remember these tips:
- Don’t over-mix the dough when combining wet and dry ingredients; mix just until they’re combined.
- Be careful not to bake them too long. They should look set around the edges but still soft in the center. They’ll continue to firm up as they cool!
- Let cookies cool on the sheet for a few minutes before transferring to a wire rack. This helps them maintain their shape.
Following these steps will help you enjoy the best texture in your pumpkin salted caramel cookies!
How to Make Pumpkin Salted Caramel Cookies
Ingredients You’ll Need:
For the Cookies:
- 1 cup (225g) unsalted butter, softened
- 1 cup (200g) granulated sugar
- 1/2 cup (100g) brown sugar, packed
- 1 large egg
- 1 cup (240g) pumpkin puree (not pumpkin pie filling)
- 2 teaspoons vanilla extract
- 3 1/2 cups (440g) all-purpose flour
- 1 teaspoon baking soda
- 1/2 teaspoon baking powder
- 1/2 teaspoon salt
- 2 teaspoons ground cinnamon
- 1/2 teaspoon ground ginger
- 1/4 teaspoon ground nutmeg
- 1/4 teaspoon ground cloves
For the Salted Caramel Glaze:
- 1 cup (120g) powdered sugar
- 2 tablespoons (30g) caramel sauce (store-bought or homemade)
- 1-2 tablespoons milk or cream (to thin glaze)
- 1/4 teaspoon sea salt or flaky salt
For Drizzling:
- Additional caramel sauce
- Sea salt flakes for garnish
How Much Time Will You Need?
This recipe will take approximately 15 minutes to prepare and about 12-14 minutes to bake. Plus, you’ll need an additional 20-30 minutes for the glaze to set before serving. So, plan for around an hour total from start to finish!
Step-by-Step Instructions:
1. Preheat Oven and Prepare Baking Sheets:
First things first, preheat your oven to 350°F (175°C). While that’s heating up, line your baking sheets with parchment paper or silicone baking mats. This will help prevent sticking!
2. Make Cookie Dough:
In a large bowl, cream together the softened butter, granulated sugar, and brown sugar until it’s nice and fluffy. This usually takes a couple of minutes. Then, add in the egg, pumpkin puree, and vanilla extract, mixing until everything is well combined.
3. Mix Dry Ingredients:
In a separate bowl, whisk together the flour, baking soda, baking powder, salt, and spices (cinnamon, ginger, nutmeg, and cloves). This step is important to get even flavor throughout the dough!
4. Combine Wet and Dry Ingredients:
Now, gradually add the dry ingredients to your pumpkin mixture. Don’t over-mix—just stir until everything is combined. Your dough should feel soft and slightly sticky.
5. Shape Cookies:
Using a cookie scoop or a spoon, scoop about 2 tablespoons of dough for each cookie and place them onto your prepared baking sheets. Leave about 2 inches of space between each cookie. If you want, you can flatten them slightly for more even baking.
6. Bake:
Pop the cookies in the oven and bake for 12-14 minutes. You want the edges to be set and just starting to brown, but the centers should still look a bit soft. Once done, let them cool on the baking sheet for 5 minutes before transferring them to a wire rack to cool completely.
7. Prepare Salted Caramel Glaze:
In a small bowl, whisk together the powdered sugar, caramel sauce, and 1 tablespoon of milk or cream. Add more milk a little at a time until the glaze is pourable but still thick enough to coat the cookies. Stir in the sea salt for that yummy salty flavor.
8. Glaze Cookies:
Once the cookies have cooled completely, it’s time for the fun part: glazing! Spoon or spread a thin layer of the salted caramel glaze on top of each cookie.
9. Drizzle Caramel and Sprinkle Salt:
Next, drizzle a little extra caramel sauce over each glazed cookie in a fun pattern, and while the glaze is still wet, sprinkle a pinch of flaky sea salt on top.
10. Set Glaze:
Finally, allow the glaze to set for about 20-30 minutes before diving in!
Enjoy these deliciously soft and flavorful pumpkin cookies with a lovely salted caramel twist! Perfect for sharing but even better for keeping a few to yourself! 🍪
Can I Use Canned Pumpkin Puree for This Recipe?
Absolutely! Canned pumpkin puree is perfect for this recipe. Just make sure to choose pure pumpkin puree and not pumpkin pie filling, which contains added sugars and spices.
How to Store Leftover Cookies?
Store any leftover cookies in an airtight container at room temperature for up to 3 days. If you want them to stay soft longer, you can also refrigerate them, but let them come back to room temperature before serving for the best taste and texture.
Can I Freeze These Cookies?
Yes, these cookies freeze wonderfully! To freeze, place them in a single layer in an airtight container or a zip-top bag lined with parchment paper to separate layers. They can be stored for up to 3 months. Thaw at room temperature when you’re ready to enjoy them!
Can I Make This Recipe Gluten-Free?
Yes! You can replace the all-purpose flour with a gluten-free all-purpose flour blend. Just ensure that your blend contains xanthan gum, which helps provide the right texture and structure!