This Mini Pumpkin Cream Cheese Bread is a cozy treat that is perfect for fall! It’s soft and spiced with warm flavors, and the cream cheese filling adds a delightful surprise.
Baking these little loaves makes your kitchen smell amazing! I love sharing them with friends or keeping a few for myself. They’re great with coffee or as an afternoon snack!
Key Ingredients & Substitutions
Pumpkin Puree: Fresh pumpkin can be used, but canned pumpkin is super convenient! If you want to add depth, try using sweet potato puree instead. It adds a nice sweetness and is also just as easy to find.
All-Purpose Flour: While all-purpose flour is great, you can use whole wheat flour for a nuttier flavor, or gluten-free flour if you have dietary needs. Just ensure it’s a good 1:1 blend.
Granulated Sugar and Brown Sugar: If you prefer less sugar, try substituting coconut sugar or maple syrup. Keep in mind, for syrup, reduce other liquid ingredients slightly.
Cream Cheese: If you’re looking for a lighter option, light cream cheese or mascarpone cheese works well. You could also try a dairy-free cream cheese if you’re avoiding dairy.
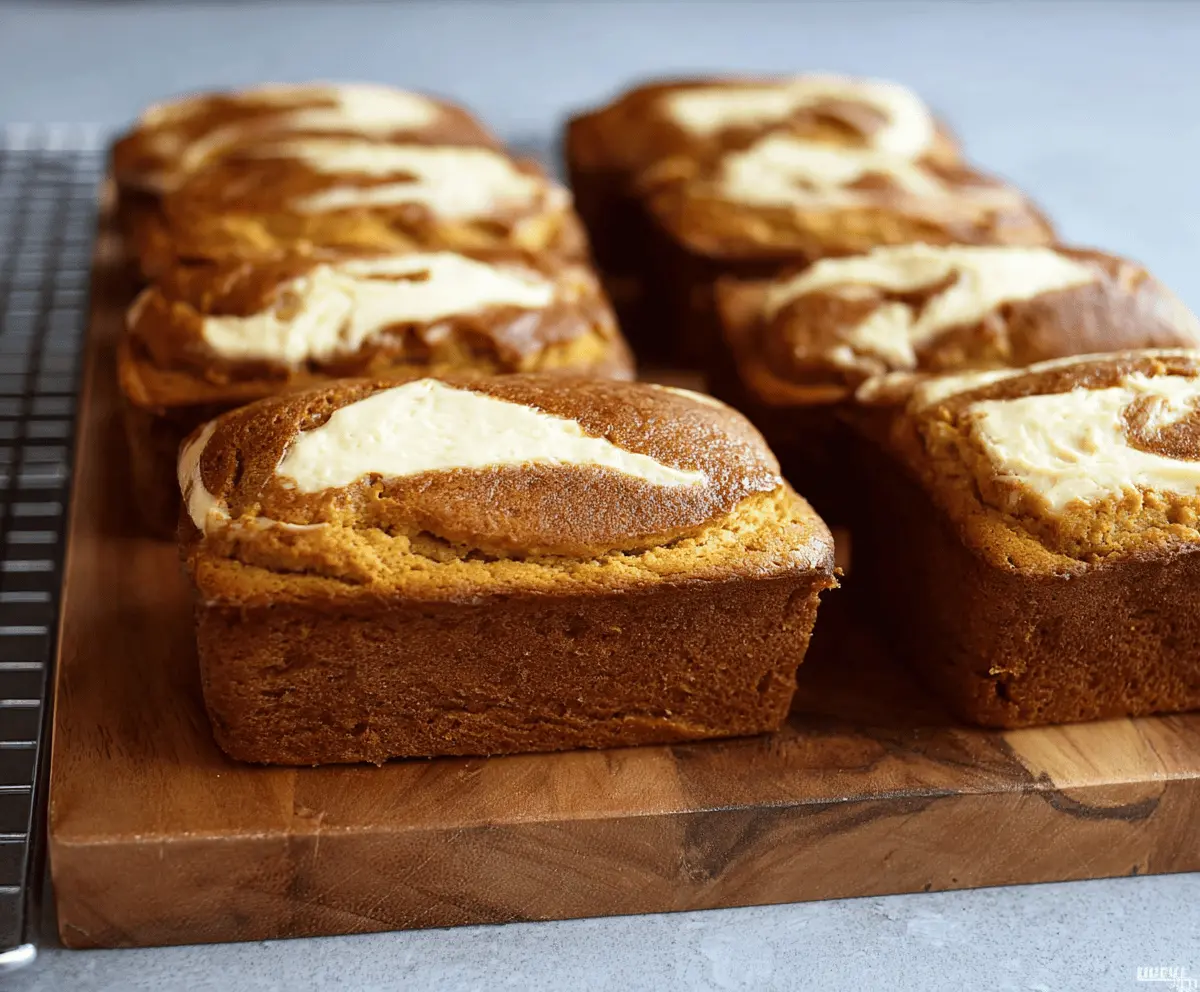
How Do I Create the Perfect Cream Cheese Swirl?
The cream cheese filling is a key part of what makes this bread special. It’s all about ensuring it stays at the center and gives a nice swirl. Here’s how:
- Make sure your cream cheese is softened. This makes it easy to blend smooth.
- Spoon the batter into the mini loaf pans first, filling about 1/3 full to provide space for the cream cheese.
- When adding the cream cheese filling, use a spoon to create a dollop right in the middle. This keeps it from sinking too much.
- Cover the cream cheese with more pumpkin batter, sealing it well on the top.
These steps will help keep the cream cheese filling right where it should be for a delightful surprise in every bite!
Mini Pumpkin Cream Cheese Bread
Ingredients You’ll Need:
For the Pumpkin Bread:
- 2 cups all-purpose flour
- 1 teaspoon baking powder
- 1/2 teaspoon baking soda
- 1/2 teaspoon salt
- 1 teaspoon ground cinnamon
- 1/2 teaspoon ground nutmeg
- 1/4 teaspoon ground cloves
- 1/4 teaspoon ground ginger
- 1 cup pumpkin puree (canned or fresh)
- 1/2 cup granulated sugar
- 1/2 cup brown sugar, packed
- 1/2 cup vegetable oil
- 2 large eggs
- 1 teaspoon vanilla extract
For the Cream Cheese Filling:
- 8 oz cream cheese, softened
- 1/4 cup granulated sugar
- 1 large egg
- 1/2 teaspoon vanilla extract
For the Glaze:
- 1 cup powdered sugar
- 2-3 tablespoons milk
- 1/4 teaspoon vanilla extract
How Much Time Will You Need?
This recipe takes about 15-20 minutes for preparation and another 30-35 minutes for baking, making a total of about 1 hour. After baking, allow it to cool for about 10 minutes in the pans before transferring the loaves to a wire rack. Don’t forget to let the glaze dry a bit before serving!
Step-by-Step Instructions:
1. Preparing the Cream Cheese Filling:
Start by taking your softened cream cheese and putting it in a medium bowl. Add granulated sugar, egg, and vanilla extract. Use a hand mixer or a whisk to beat everything together until it’s nice and smooth. Set this aside for later.
2. Making the Pumpkin Bread Batter:
Preheat your oven to 350°F (175°C). While that’s warming up, lightly grease or line 6 mini loaf pans. In a medium bowl, whisk together the flour, baking powder, baking soda, salt, and all those warm spices (cinnamon, nutmeg, cloves, and ginger). In a large bowl, combine pumpkin puree, the granulated sugar, brown sugar, vegetable oil, eggs, and vanilla extract. Mix everything well until it’s a smooth mixture. Gradually pour the dry ingredients into the wet mixture and stir gently until just combined – no need to overmix!
3. Assembling the Mini Breads:
Take the pumpkin batter and spoon it into each mini loaf pan until they’re about 1/3 full. Then, using a spoon, add a dollop of the prepared cream cheese filling in the center of each loaf. Finally, top each one with the remaining pumpkin batter, making sure to cover the cream cheese filling completely.
4. Baking Your Loaves:
Place the mini loaf pans in your preheated oven and bake for 30-35 minutes. You’ll know they’re done when you insert a toothpick into the pumpkin bread (make sure it’s not going into the cream cheese center) and it comes out clean. Once baked, take them out and cool them in the pans for about 10 minutes, then move them to a wire rack to cool completely.
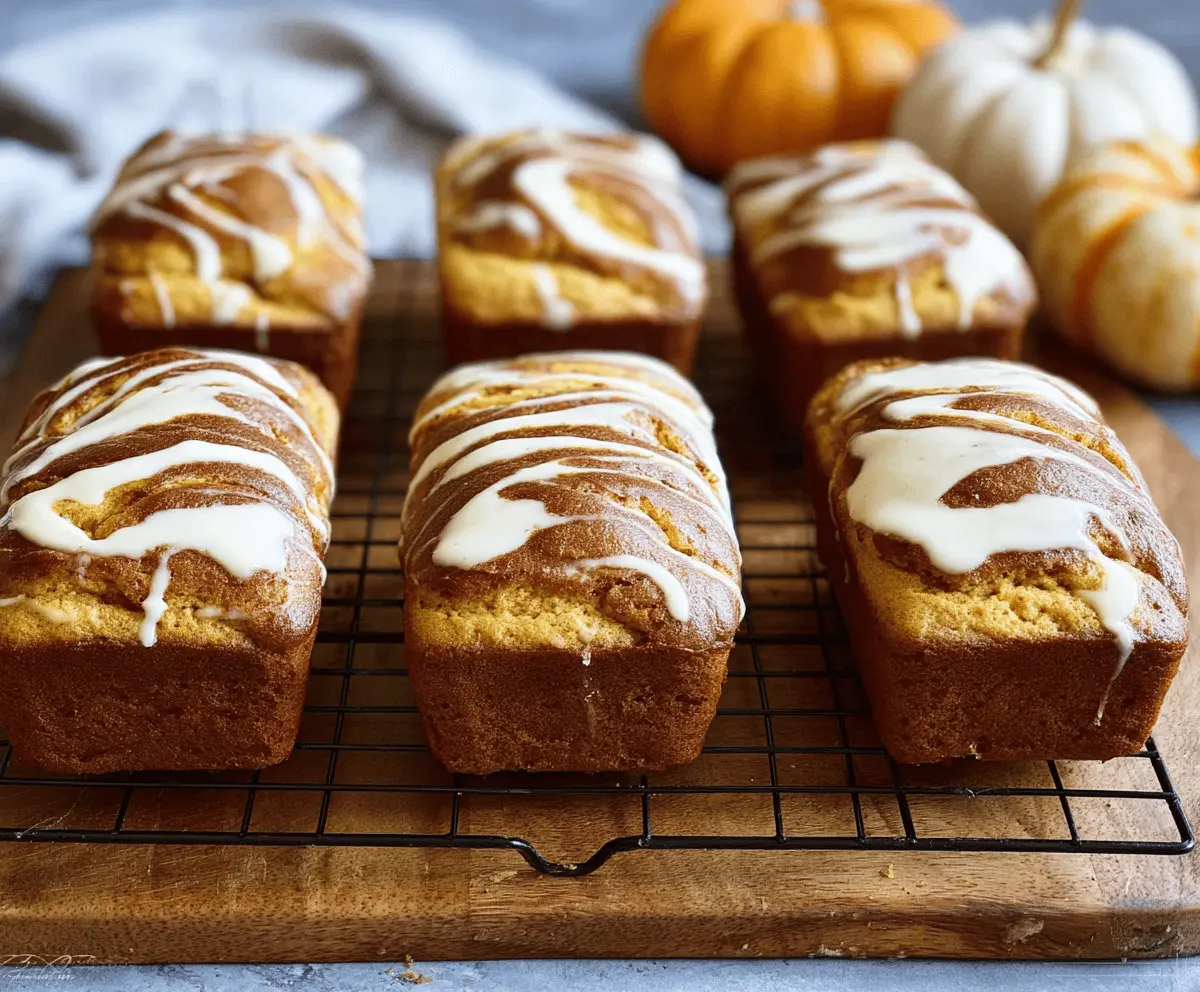
5. Drizzling the Glaze (optional):
While the loaves are cooling, prepare the glaze. In a small bowl, whisk together powdered sugar, milk, and vanilla extract until smooth. Once the mini loaves are completely cool, drizzle this glaze on top for a sweet finish!
Now you’re all set to enjoy these delicious mini pumpkin cream cheese breads! Treat yourself or share with friends and family during the cozy fall season. Happy baking!
Can I Use Low-Fat Cream Cheese?
Yes, you can use low-fat cream cheese as a substitute for regular cream cheese. It will still provide a creamy texture, but the flavor might be a little less rich. Just make sure it’s softened for easy mixing!
How Can I Adjust the Sweetness?
If you’d like a less sweet bread, you can reduce the amount of granulated and brown sugar by about 1/4 cup total. Alternatively, using less sweet toppings or omitting the glaze can help control the overall sweetness.
What Should I Do If the Bread Is Too Moist?
If you find the bread is too moist, it may be due to excess liquid in the pumpkin puree. To avoid this, make sure to drain any excess water from fresh pumpkin or use a thicker canned puree. Additionally, ensure that you’re not overmixing the batter.
Can I Double the Recipe?
Yes, you can easily double the recipe to make more mini loaves. Just make sure to bake them in batches if you don’t have enough mini loaf pans, and adjust the baking time as needed, checking for doneness with a toothpick.