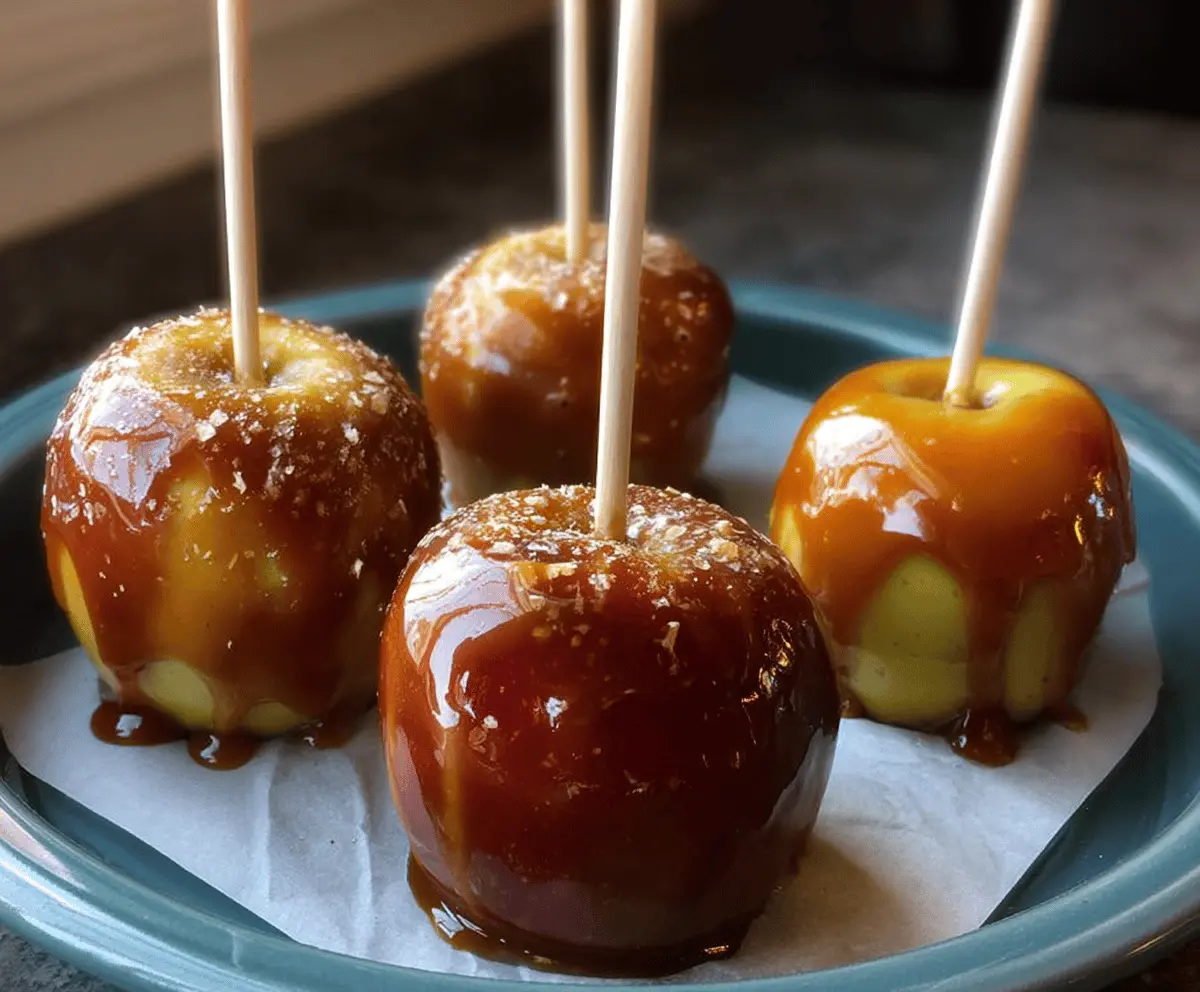
These gluten-free caramel apples are a sweet treat that’s fun to make! Just dip your favorite apples into soft caramel and let them cool. It’s a tasty way to enjoy fruit!
I always end up with sticky fingers after making these, but it’s totally worth it! 🍏 Plus, you can dress them up with nuts or sprinkles for a bit of extra fun!
Making these is super easy! Just grab some apples, melt your caramel, and let your creativity shine. They’re perfect for sharing (or keeping all to yourself!).
Key Ingredients & Substitutions
Apples: Granny Smith apples are my go-to for these caramel treats. They add a nice tartness that balances perfectly with the sweetness of the caramel. If you prefer sweeter apples, Fuji or Honeycrisp work great too!
Brown Sugar: I like using brown sugar for a deeper flavor. Light brown sugar is a bit milder, while dark brown sugar gives a richer taste. You can replace it with coconut sugar for a lower glycemic option.
Heavy Cream: For a lighter version, you could use half-and-half. Just keep in mind it may change the creaminess of the caramel slightly.
Corn Syrup: Make sure to choose a brand that is gluten-free. If you want to avoid it altogether, you can replace it with honey or maple syrup, but the texture might change a bit.
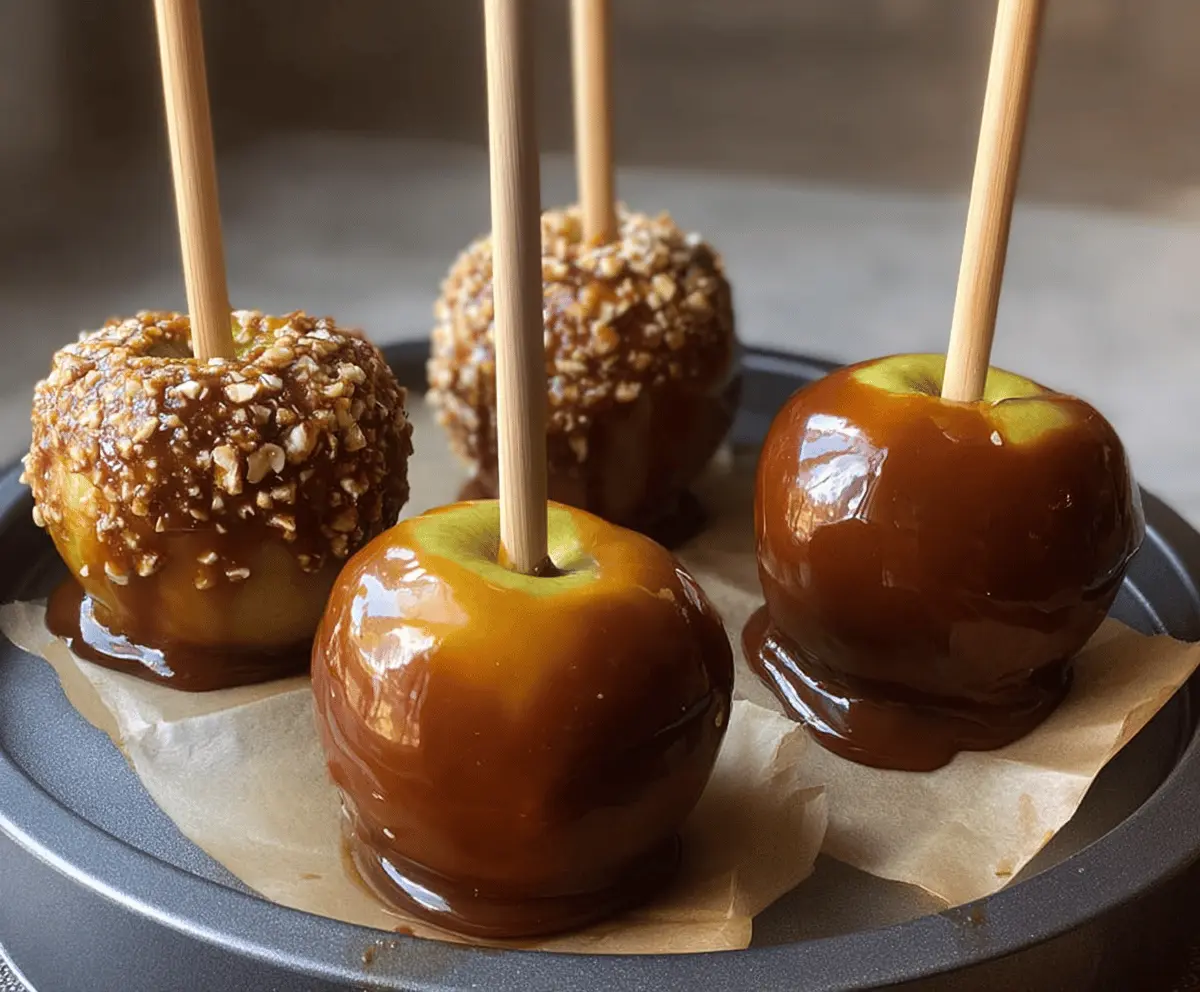
Nuts: I love rolling the caramel apples in crushed peanuts or pecans for an added crunch. If you have nut allergies, gluten-free sprinkles are a fun alternative!
How Do You Get the Caramel to Stick Perfectly to the Apples?
Getting that caramel to stick just right can sometimes be tricky. Here’s how to ensure your apples are ready for dipping:
- Make sure your apples are clean and dry. Wipe them with a cloth to remove any wax that might make the caramel slide off.
- Insert the sticks securely; use another stick if needed to anchor them well.
- Dip the apples while the caramel is warm; this helps the caramel to adhere better.
- Allow the excess caramel to drip back into the pot, which helps create a nice, even coating.
- Let the dipped apples cool on parchment paper, which prevents sticking and makes for an easy cleanup.
Following these tips will help you create the most deliciously coated caramel apples. Happy snacking!
How to Make Gluten Free Caramel Apples
Ingredients You’ll Need:
- 4 medium-sized apples (Granny Smith or your preferred variety)
- 1 cup packed brown sugar (light or dark)
- 1/2 cup heavy cream
- 4 tablespoons unsalted butter
- 1/4 cup light corn syrup (ensure gluten free)
- 1/2 teaspoon sea salt (optional for salted caramel)
- 1 teaspoon pure vanilla extract
- Chopped nuts or gluten-free toppings of choice (optional)
- Wooden sticks or skewers
Time Needed:
This tasty treat will take around 15 minutes to prepare, plus some time to let the caramel set. You can expect to spend about 30 minutes total, with 15 minutes of hands-on work and about 15 minutes for the apples to cool and harden.
Step-by-Step Instructions:
1. Prepare the Apples:
Start by washing and thoroughly drying each apple. This step is important because moisture can make the caramel slide off. Remove the stems from the apples and insert wooden sticks securely into the top center of each apple. This will make them easy to hold while dipping!
2. Set Up Your Workspace:
Next, prepare a baking sheet lined with parchment paper or a silicone mat. This will be where the dipped apples cool, keeping them from sticking.
3. Make the Caramel:
In a medium saucepan, combine the brown sugar, heavy cream, butter, and corn syrup. Cook over medium heat while stirring continuously until the sugar dissolves and the mixture comes to a gentle boil. It’s super important to keep stirring to prevent burning!
4. Check the Temperature:
Now, attach a candy thermometer to the saucepan, making sure it doesn’t touch the bottom of the pan. Allow the mixture to cook without stirring until it reaches about 240°F (115°C), known as the soft-ball stage. If you don’t have a thermometer, you can test the caramel by dropping a small amount into cold water; it should form a soft ball.
5. Finish the Caramel:
Once your caramel has reached the right temperature, remove it from the heat. Stir in the vanilla extract and sea salt if you want to make salted caramel. This adds a delicious flavor contrast!
6. Dip the Apples:
Now comes the fun part! Dip each apple into the warm caramel, tilting the pan if needed to cover the whole apple. Allow any excess caramel to drip back into the saucepan for a nice, even coating.
7. Add Toppings:
If you’re adding toppings like chopped nuts or gluten-free sprinkles, do it right after dipping. This way, the caramel can hold them in place.
8. Cool the Apples:
Place your caramel-coated apples on the prepared baking sheet to cool and harden at room temperature. This should take about 15 minutes but keep an eye on them!
9. Serve or Store:
Once the caramel has set, enjoy your homemade caramel apples right away! If you have leftovers, wrap each apple in wax paper to keep them fresh and store them in a cool place.
Now, enjoy your sticky, sweet, gluten-free caramel apples! They make a delightful treat for any occasion.
Can I Use Different Types of Apples?
Absolutely! While Granny Smith apples are great for their tartness, you can use any variety you prefer, such as Honeycrisp, Fuji, or Gala. Just make sure they are firm and fresh for the best results!
What Can I Substitute for Corn Syrup?
If you’d like to avoid corn syrup, you can use honey or maple syrup instead. Just keep in mind that this may change the flavor profile of your caramel slightly, but it will still work beautifully!
How Do I Store Leftover Caramel Apples?
Store any leftover caramel apples in a cool place, wrapped individually in wax paper to prevent them from sticking together. They’ll stay fresh for up to 3 days!
Can I Make Caramel Apples in Advance?
Yes, you can! Make the caramel apples a day ahead of time. Just make sure to store them properly so they don’t get too sticky, and enjoy them within 3 days for the best flavor and texture.