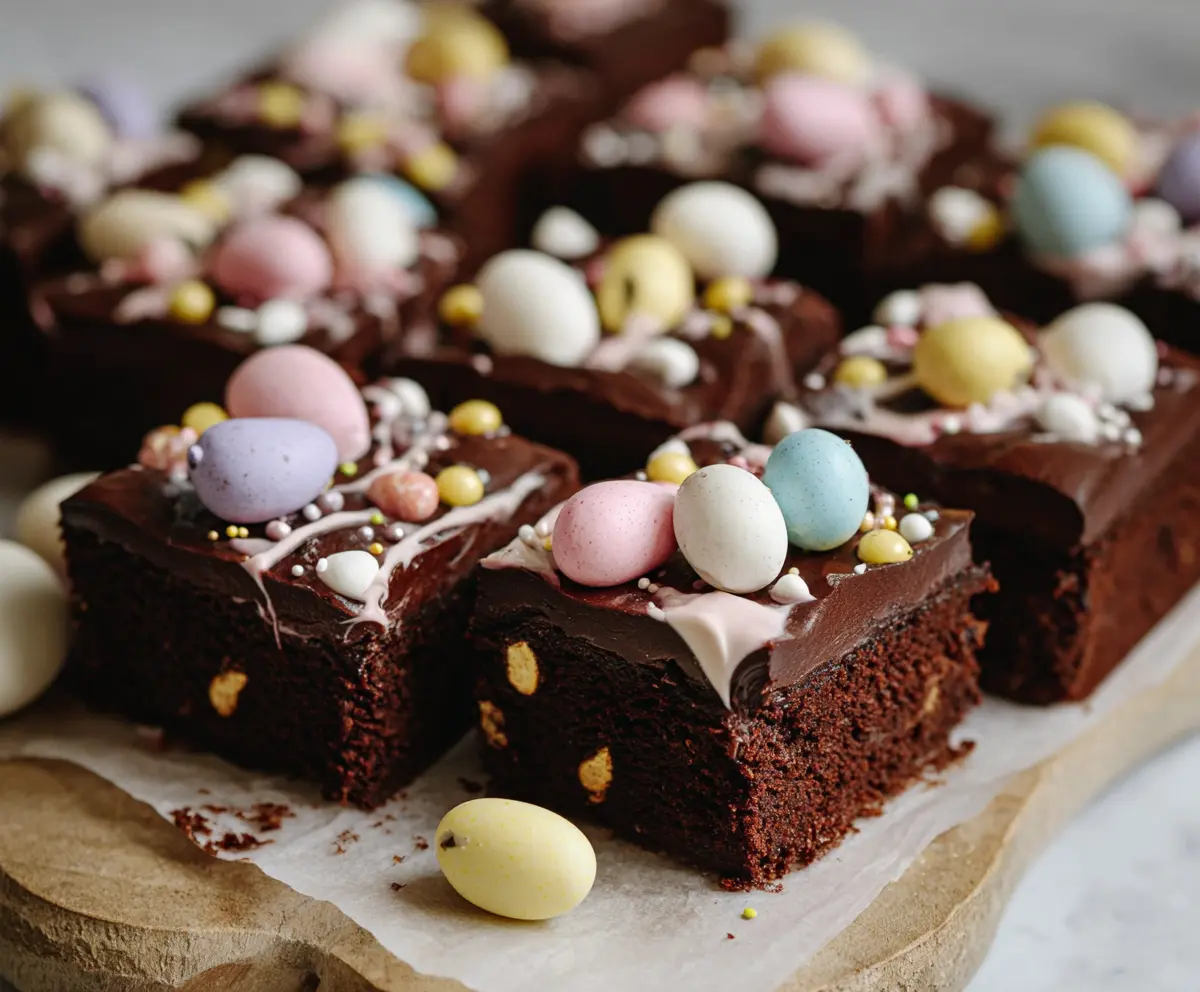
These Frosted Mini Egg Easter Brownies are a fun treat for any springtime gathering! Rich, fudgy brownies are topped with a creamy frosting and colorful mini eggs that add a crunchy surprise.
Every bite feels like a celebration! I love making these with the kids because they can help decorate. Just don’t let them eat all the mini eggs before we finish! 😂
These brownies are super easy to whip up, and they’re perfect to share with family and friends. Plus, they look so festive on a dessert table—I can’t resist them!
Key Ingredients & Substitutions
Butter: Unsalted butter gives the brownies a rich flavor. If you’re out, you can use margarine, but unsalted is best for controlling salt levels.
Granulated & Brown Sugar: Both sugars add sweetness and moisture. For a refined touch, use coconut sugar instead of brown. It gives a caramel flavor!
Cocoa Powder: Unsweetened cocoa is key for that deep chocolate taste. If you’re looking for a lighter option, try using Dutch-process cocoa which gives a milder flavor.
Chocolate Chips: I like using semi-sweet chocolate chips for balance. If you prefer a healthier option, go for dark chocolate chips or even sugar-free ones.
Frosting: The frosting calls for cocoa and powdered sugar. You can replace butter with vegan margarine for a dairy-free version or add almond extract instead of vanilla for a unique twist!
How Can I Ensure My Brownies are Moist and Chewy?
To achieve that perfect moist and chewy texture, focus on mixing and baking time. Here are a few tips:
- Don’t overmix the batter after adding dry ingredients; fold until just combined.
- Check your brownies at the lower time of the bake (25 mins). A toothpick should come out with a few moist crumbs, not dry.
- Let them cool completely before frosting to avoid a messy spread. A wire rack helps air circulate!
How to Make Frosted Mini Egg Easter Brownies
Ingredients You’ll Need:
For the Brownies:
- 1 cup (226g) unsalted butter
- 1 cup (200g) granulated sugar
- 1 cup (220g) brown sugar, packed
- 4 large eggs
- 1 tsp vanilla extract
- 1 cup (85g) unsweetened cocoa powder
- 1 cup (125g) all-purpose flour
- 1/2 tsp baking powder
- 1/2 tsp salt
- 1 cup (180g) chocolate chips or mini chocolate candies (some inside brownie)
For the Frosting:
- 1/2 cup (115g) unsalted butter, softened
- 1/4 cup (25g) unsweetened cocoa powder
- 1 1/2 cups (180g) powdered sugar
- 3-4 tbsp milk or cream
- 1 tsp vanilla extract
- A few drops of pink food coloring (optional)
For Decoration:
- Mini chocolate Easter eggs (such as Cadbury Mini Eggs or similar), assorted pastel colors
- Edible sprinkles or small candy beads in pastel colors
How Much Time Will You Need?
This delicious treat takes about 15 minutes to prepare and around 25-30 minutes to bake. Cooling will take at least 30 minutes to an hour, bringing the total time to approximately 2 hours before serving. It’s perfect for Easter celebrations!
Step-by-Step Instructions:
1. Prepare Your Baking Pan:
Start by preheating your oven to 350°F (175°C). Line a 9×9 inch square baking pan with parchment paper, leaving some overhang for easy removal later. This makes it simple to lift the brownies out once they’re baked.
2. Melt the Butter:
Take a microwave-safe bowl and melt the butter completely. Once melted, let it cool down a bit while you prepare the rest of the ingredients.
3. Mix the Wet Ingredients:
In a large mixing bowl, whisk together the granulated sugar, brown sugar, and the cooled melted butter until the mixture is smooth. Then, add the eggs one at a time, whisking well after each addition. Finally, stir in the vanilla extract to blend everything nicely.
4. Combine the Dry Ingredients:
In a separate bowl, sift together the cocoa powder, flour, baking powder, and salt. Gradually fold this dry mixture into the wet ingredients until just combined. Be careful not to overmix!
5. Add the Chocolate Chips:
Gently fold in the chocolate chips or mini chocolate candies into the brownie batter to add a delightful chocolate burst.
6. Bake the Brownies:
Pour the brownie batter into the prepared pan, spreading it evenly. Place in the oven and bake for 25-30 minutes, or until a toothpick inserted in the center comes out with a few moist crumbs. Make sure not to overbake them!
7. Cool the Brownies:
Once baked, remove the brownies from the oven and let them cool completely in the pan on a wire rack. This is important to ensure they set well.
8. Make the Frosting:
While the brownies are cooling, prepare the frosting. In a medium bowl, beat the softened butter until creamy. Then add cocoa powder and powdered sugar alternately with milk or cream, mixing well after each addition. Stir in vanilla extract, and if you like, add a few drops of pink food coloring for a lovely pastel shade. Adjust the texture with more milk or powdered sugar as needed.
9. Frost the Brownies:
Once the brownies are completely cool, spread the frosting evenly over the top using an offset spatula for a smooth finish.
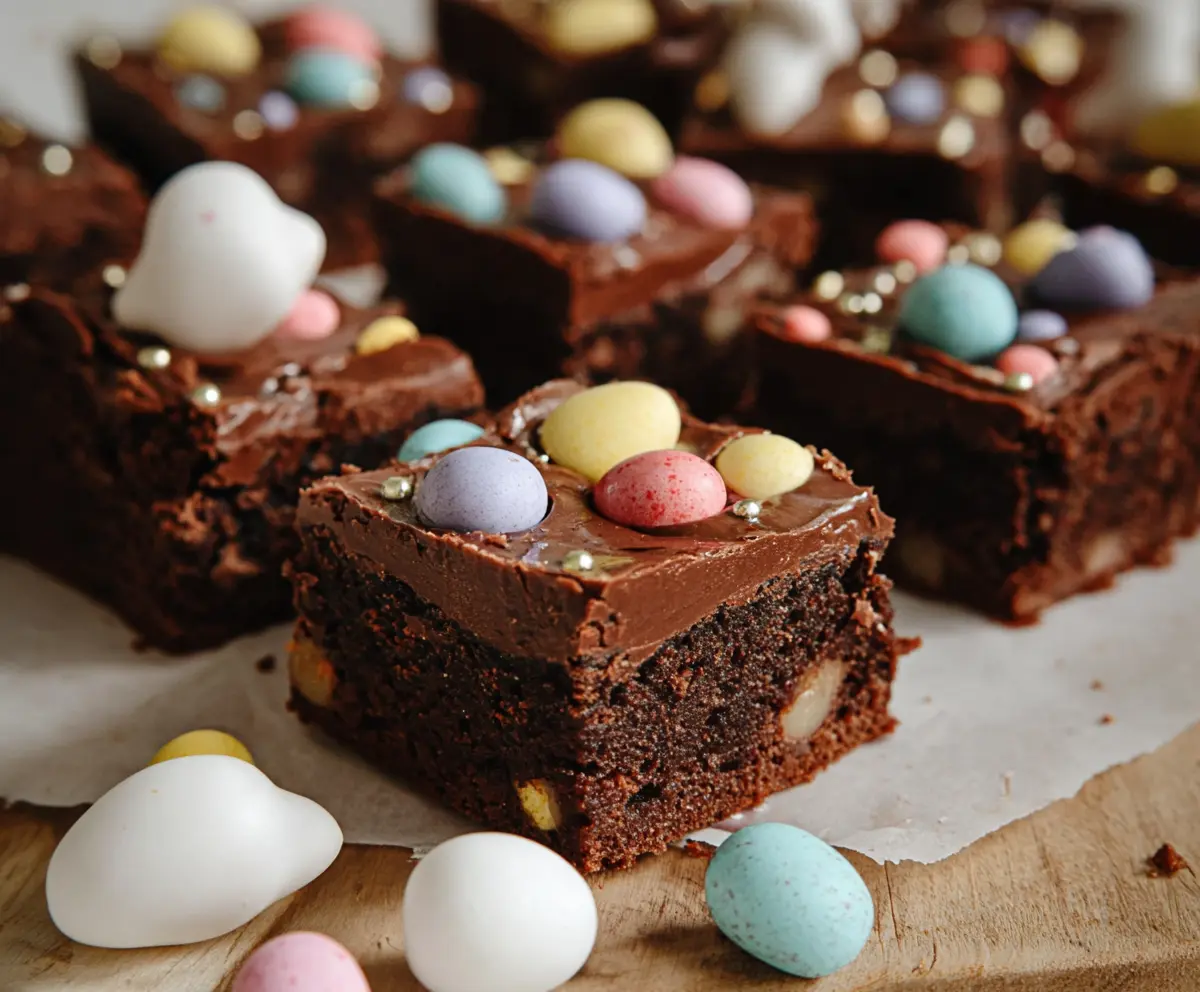
10. Decorate Your Brownies:
Get creative! Decorate the brownies generously with mini chocolate Easter eggs and sprinkle pastel-colored sprinkles or small candy beads on top. Press the eggs lightly into the frosting to hold them in place.
11. Cut and Serve:
Carefully lift the brownies out of the pan using the parchment paper. Cut them into squares and serve. Enjoy your festive and delicious Frosted Mini Egg Easter Brownies!
Can I Use Different Types of Chocolate Chips?
Absolutely! You can use semi-sweet, dark, or even white chocolate chips based on your preference. For a fun twist, try mixing varieties for a more complex flavor.
How Do I Store Leftover Brownies?
Store any leftover brownies in an airtight container at room temperature for up to 3 days. For longer storage, wrap them tightly and freeze for up to 2 months. Just thaw at room temperature.
Can I Make These Brownies Gluten-Free?
Yes! You can substitute the all-purpose flour with a gluten-free flour blend. Make sure to choose a blend that contains xanthan gum for better texture and binding.
What If I Don’t Have Pink Food Coloring?
No worries! The pink food coloring is optional. You can skip it, use any other color you prefer, or even add a bit of natural coloring like beet juice for a healthier option!