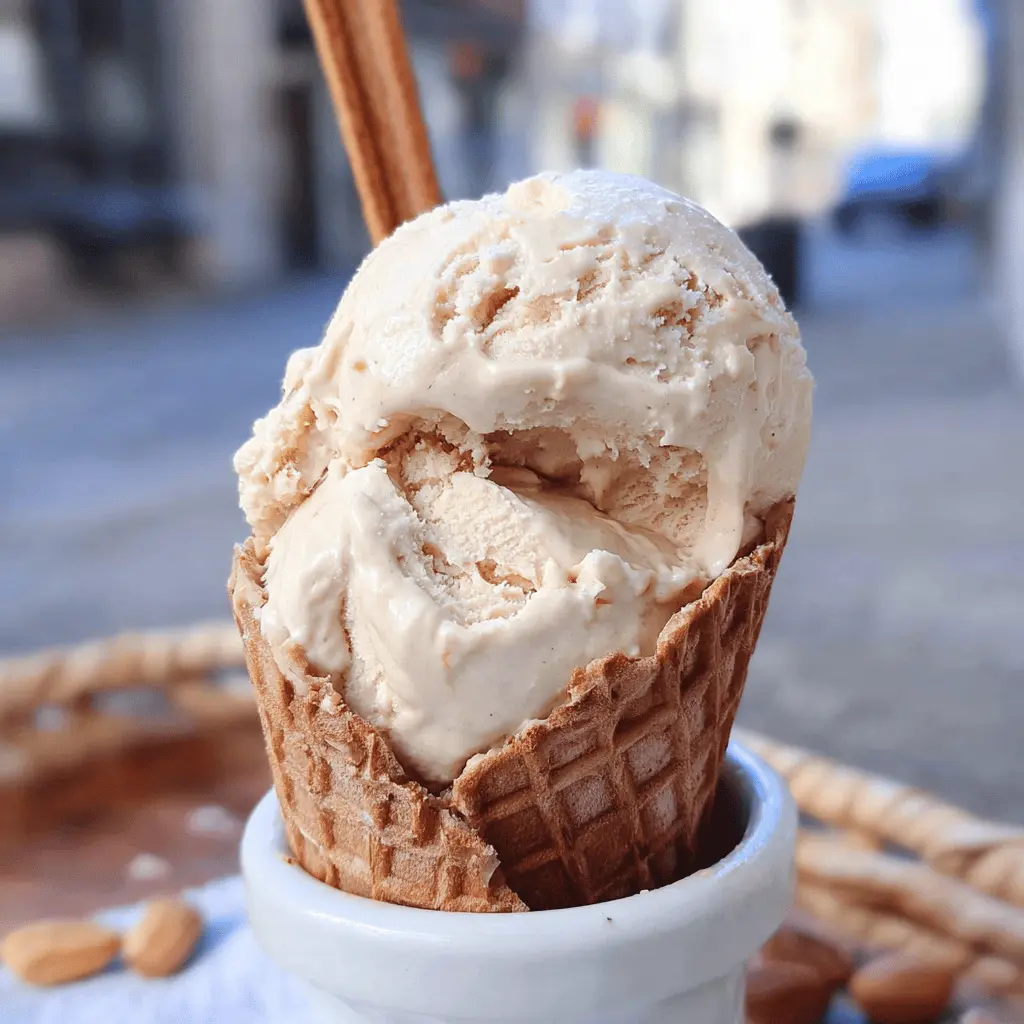
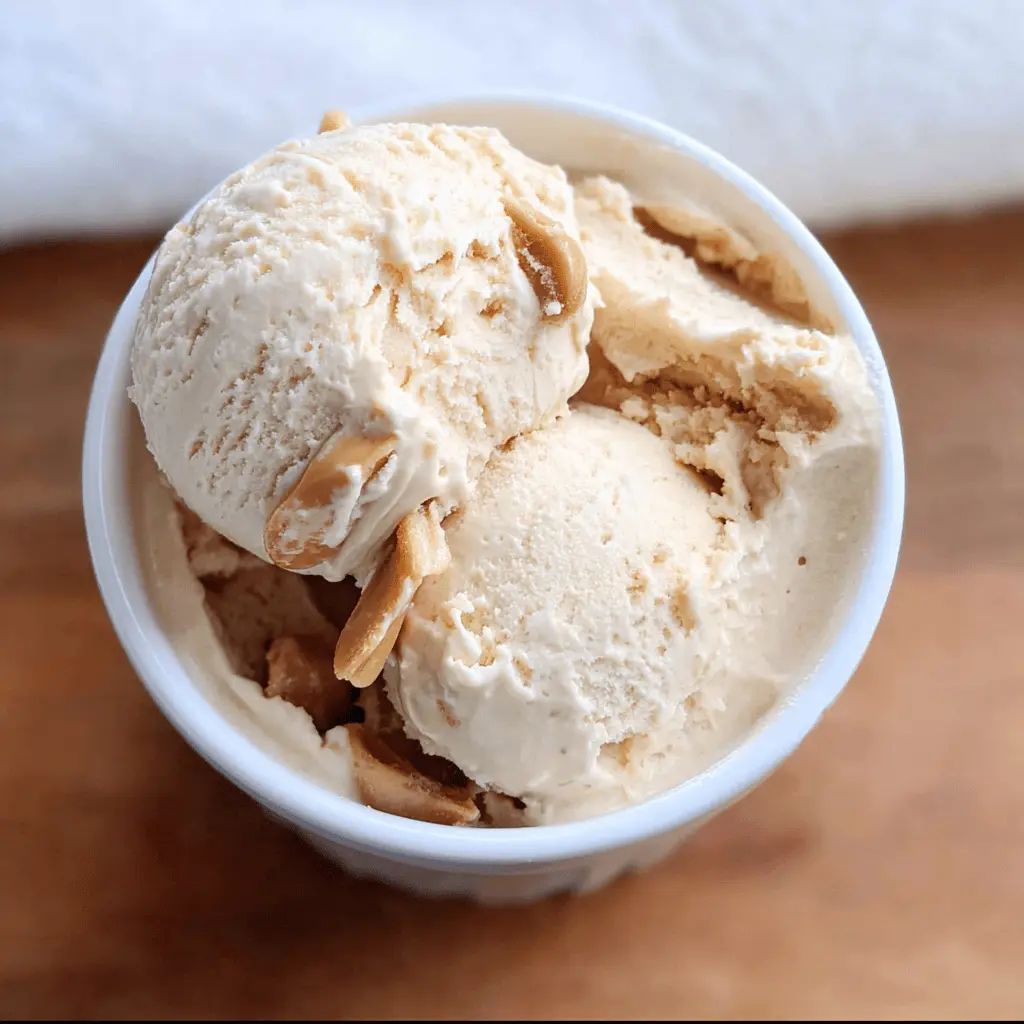
This creamy no-churn peanut butter ice cream is a dream come true for peanut butter lovers! It’s smooth, rich, and super easy to make without an ice cream maker.
Honestly, I could eat this all day! Just whip it up, freeze, and enjoy. Top it with some chocolate sauce and you’ve got a treat that’s hard to resist! 🍦🥜
Key Ingredients & Substitutions
Heavy Whipping Cream: This is key for a creamy texture. If you’re looking for a lighter option, you can substitute it with coconut cream, but keep in mind it will have a different flavor.
Sweetened Condensed Milk: This adds sweetness and creaminess. If you want a dairy-free version, you can use sweetened coconut condensed milk, which works great!
Pepanut Butter: Smooth peanut butter is preferred for a nice texture. You can use crunchy for added texture or substitute with almond or cashew butter if you have allergies or prefer a different flavor.
Vanilla Extract: This enhances the flavor. Pure vanilla makes a big difference, but if you don’t have it, imitation vanilla can work too. You can skip it, but it adds depth to the ice cream.
How Do You Get Light and Airy Whipped Cream?
Whipping cream properly is essential for the best texture! Here’s how to achieve those perfect stiff peaks:
- Start with cold heavy cream and a chilled mixing bowl. This helps it whip better.
- Use an electric mixer on medium-high speed and whip until the cream holds stiff peaks, usually 3-5 minutes. Don’t overwhip, or it can turn to butter!
- When folding in the peanut butter mixture, do so gently to avoid deflating the whipped cream. Use a spatula and make smooth, large strokes until just combined.
How to Make Easy No Churn Peanut Butter Ice Cream
Ingredients You’ll Need:
- 2 cups heavy whipping cream, cold
- 1 can (14 oz) sweetened condensed milk
- 1 cup creamy peanut butter (natural or regular)
- 1 teaspoon vanilla extract
- Pinch of salt (optional)
How Much Time Will You Need?
This delightful peanut butter ice cream takes about 20 minutes to prepare and will need at least 6 hours to freeze. So, plan to make it ahead of time for the best results! Just mix it up, freeze, and enjoy later!
Step-by-Step Instructions:
1. Whip the Cream:
In a large mixing bowl, pour the cold heavy whipping cream. Using an electric mixer, whip the cream on medium-high speed until stiff peaks form, which should take about 3-5 minutes. You want it fluffy and airy!
2. Mix the Peanut Butter Base:
In another bowl, combine the sweetened condensed milk, creamy peanut butter, vanilla extract, and a pinch of salt (if using). Mix everything together until it’s smooth and well combined. This will create a delicious, nutty base for your ice cream.
3. Fold the Mixtures Together:
Now, gently fold the whipped cream into the peanut butter mixture in batches. Use a spatula and be careful not to deflate the whipped cream too much. You’re aiming for a light and airy texture!
4. Freeze the Mixture:
Once the mixtures are combined, transfer the ice cream mixture to a freezer-safe container. Spread it evenly and make sure to smooth out the top. Cover it well, so no ice crystals form, and pop it in the freezer.
5. Let it Freeze:
Allow the ice cream to freeze for at least 6 hours or overnight for the best texture. You want it nice and firm!
6. Serve and Enjoy:
Before serving, let the ice cream sit at room temperature for a few minutes to soften slightly—it’ll be easier to scoop. Then, scoop it into bowls or cones. If you’d like, drizzle with chocolate sauce or sprinkle some chopped peanuts on top for extra flavor and crunch!
Now, dig in and enjoy your homemade peanut butter ice cream! It’s perfect for any time of year! 🍦🥜
Frequently Asked Questions (FAQ)
Can I Use Different Nut Butters?
Absolutely! Feel free to substitute creamy peanut butter with almond butter, cashew butter, or even sunflower seed butter for a nut-free option. Just keep in mind that the flavor will change depending on the nut butter you choose!
How Do I Store Leftover Ice Cream?
Store any leftover ice cream in an airtight container in the freezer. To maintain its creamy texture, press a piece of plastic wrap directly against the surface of the ice cream before sealing it. This minimizes air exposure and helps prevent ice crystals from forming.
Can I Make This Recipe Vegan?
Yes! To make this ice cream vegan, use full-fat coconut cream in place of heavy cream and opt for a dairy-free sweetened condensed milk. You can find many great brands or make your own at home!
What If My Ice Cream Is Too Hard to Scoop?
If your ice cream is too hard to scoop, simply let it sit at room temperature for about 5-10 minutes before serving. This will help soften it up just enough to make scooping easier!